Barefoot Hallucination
  • Blog
  • About
  • Photography
  • Video
  • Music
  • Contact
  • Links to Cool Stuff
  • Wade
  • Cabs

Updating updatey update

10/29/2017

0 Comments

 
So Kumoricon was this last weekend. Sigh.

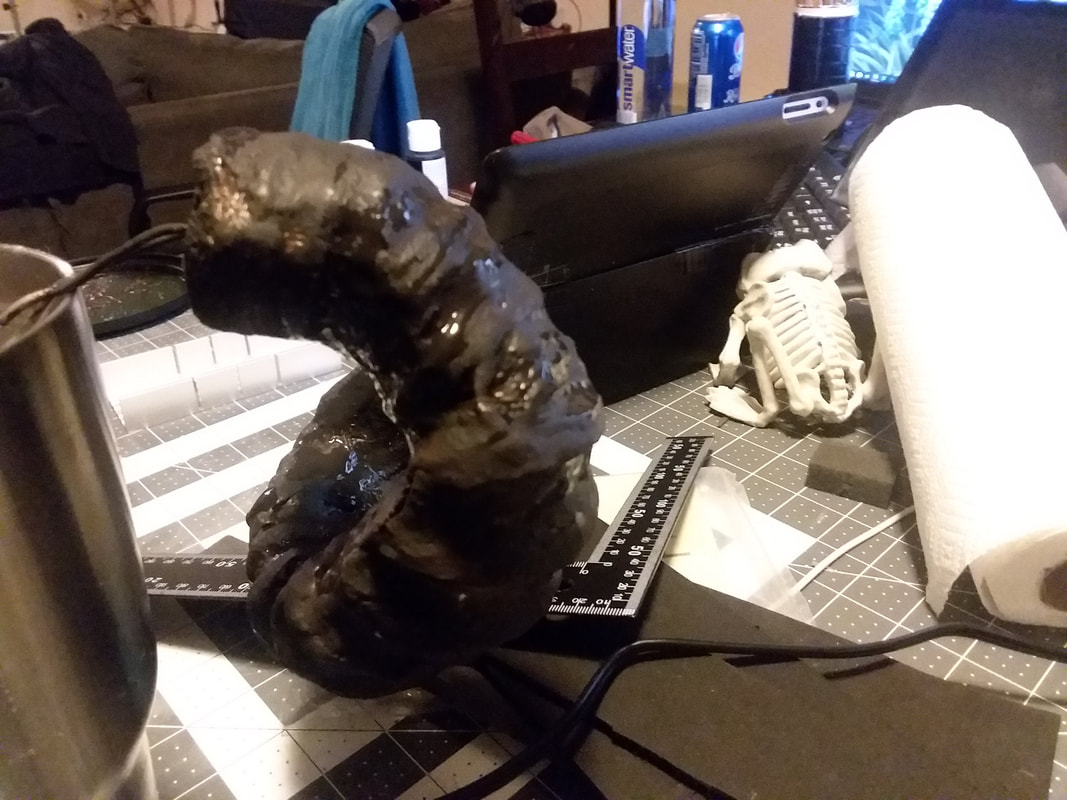
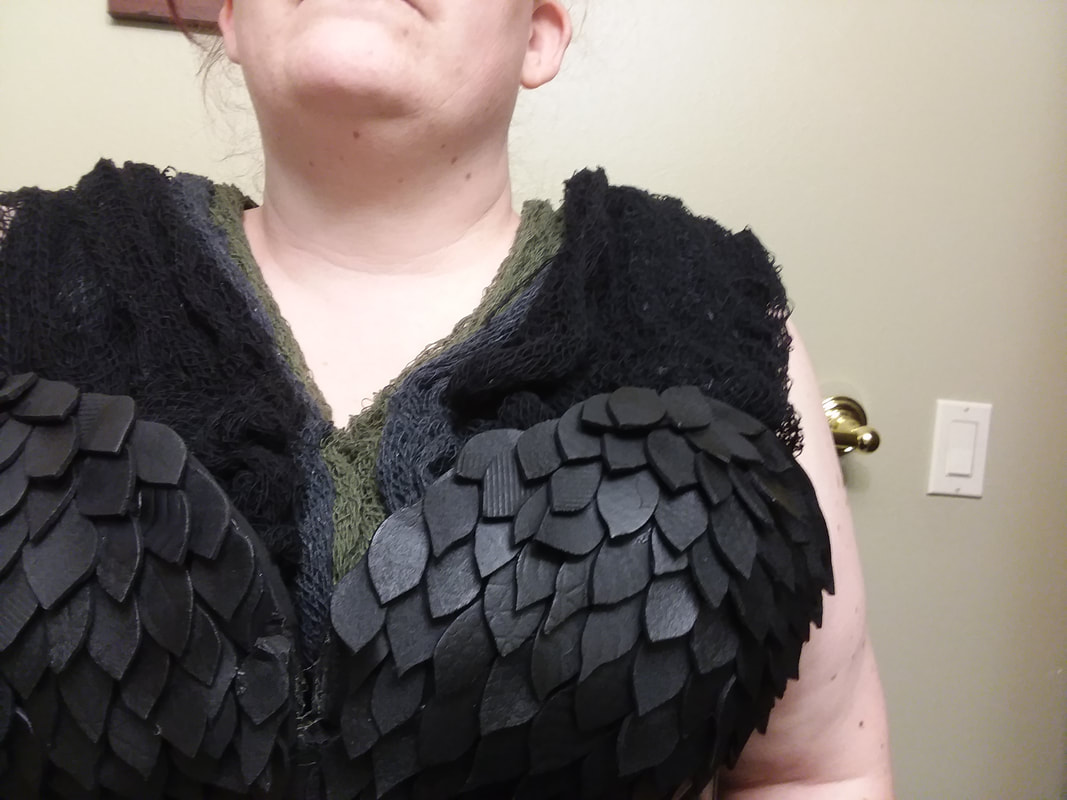
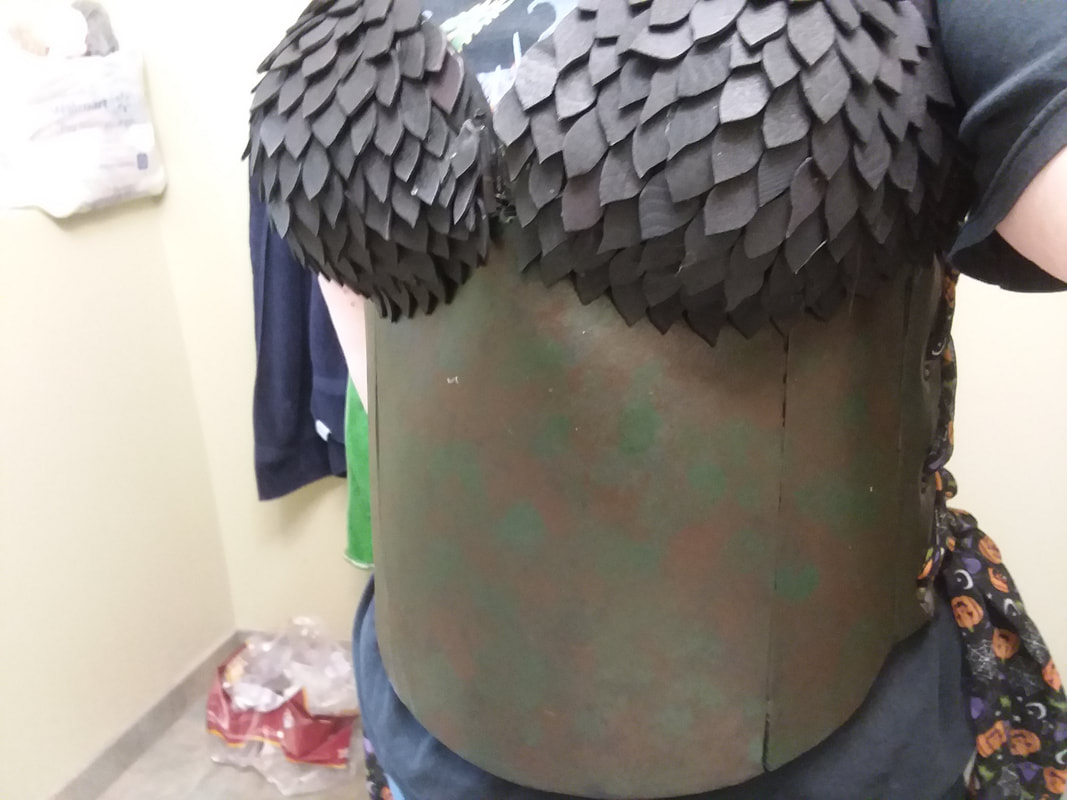
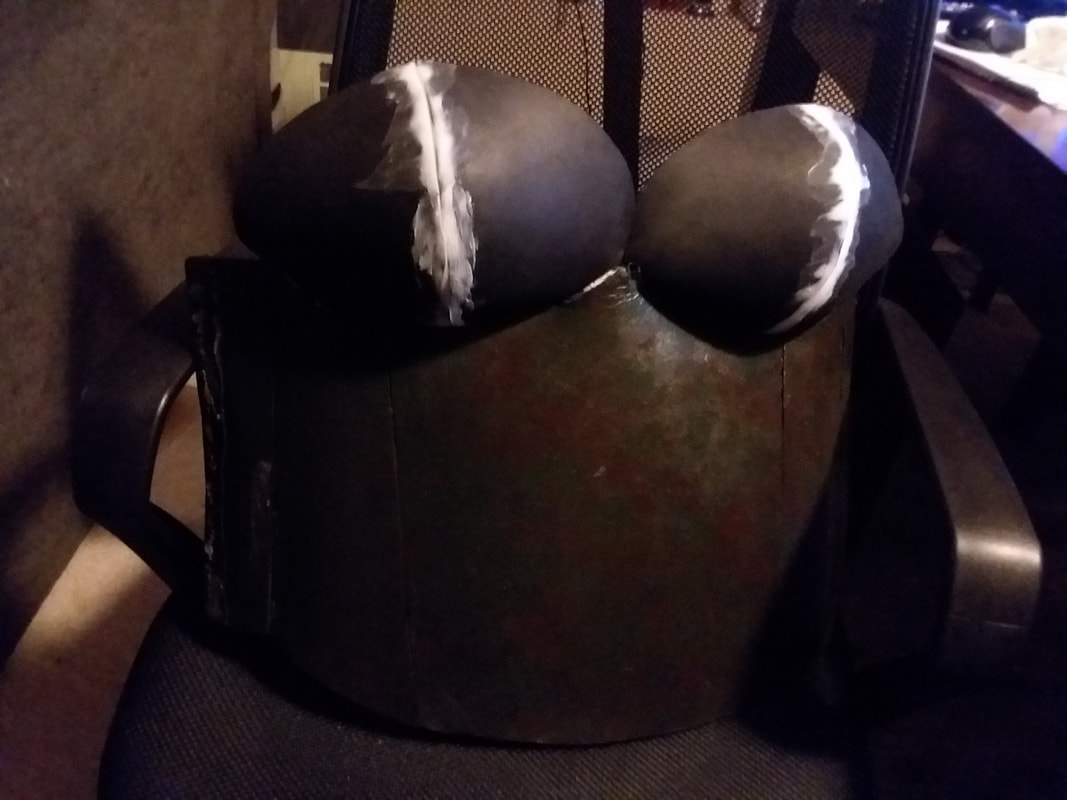
It did not go as planned. First of all...here is the iteration that ended up at the con..
Picture
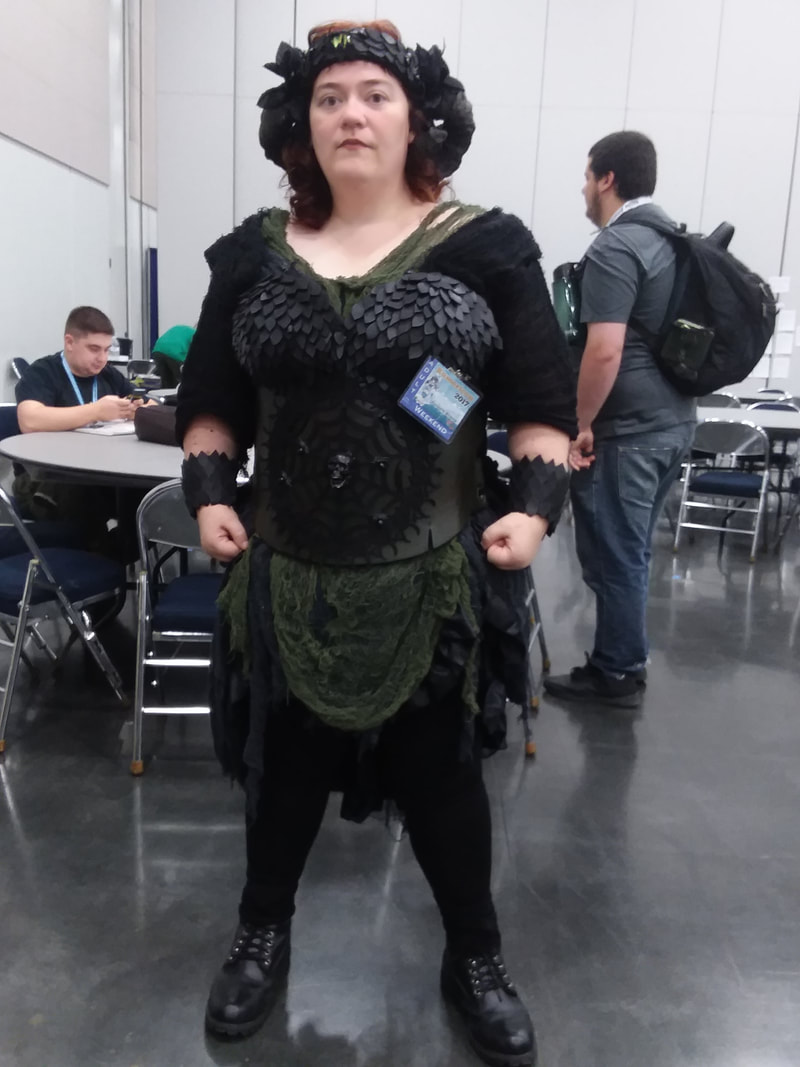
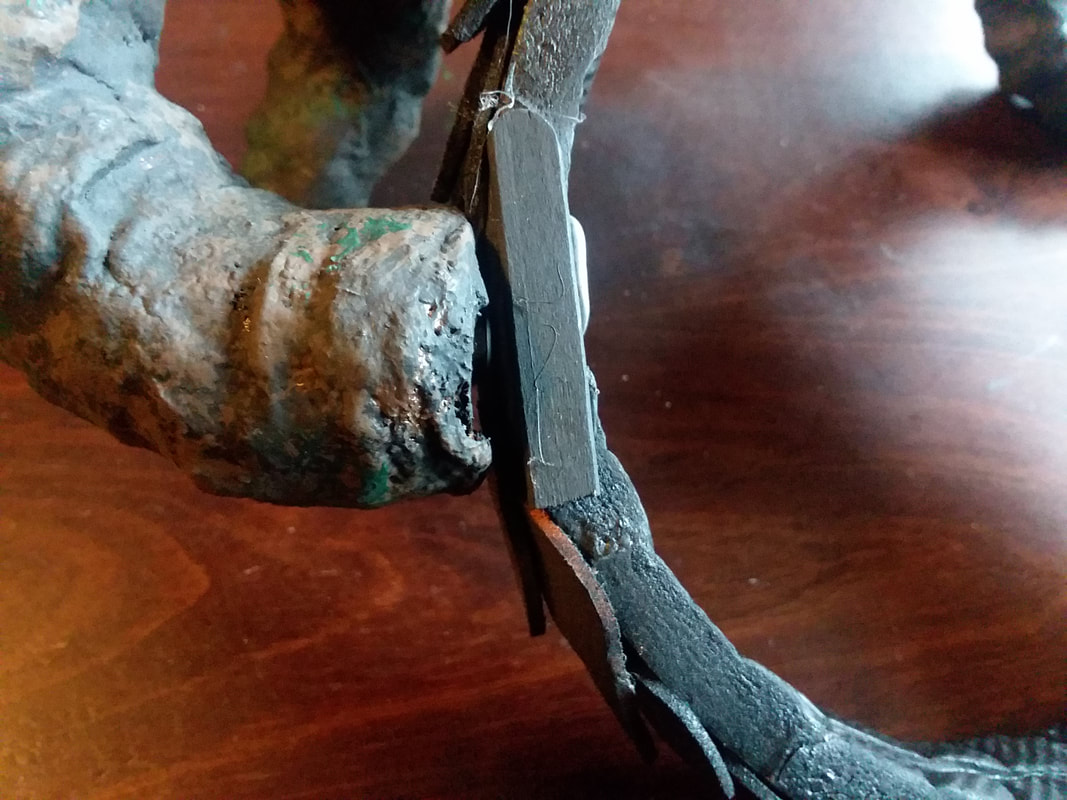
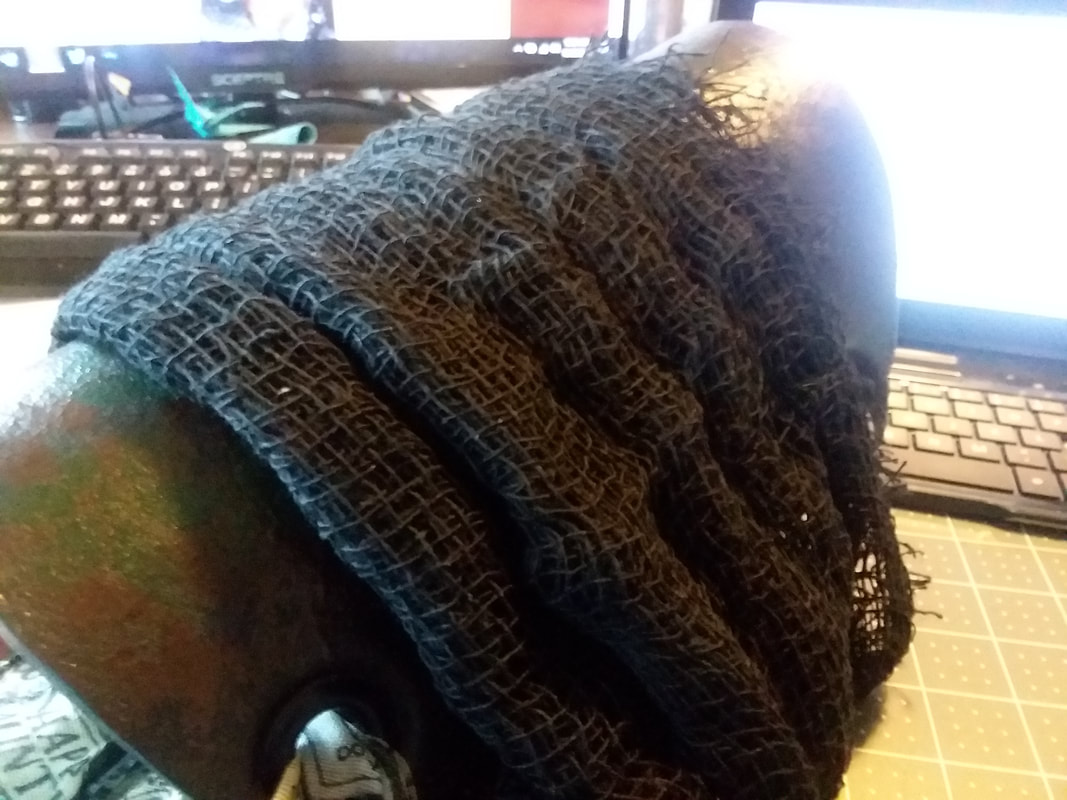
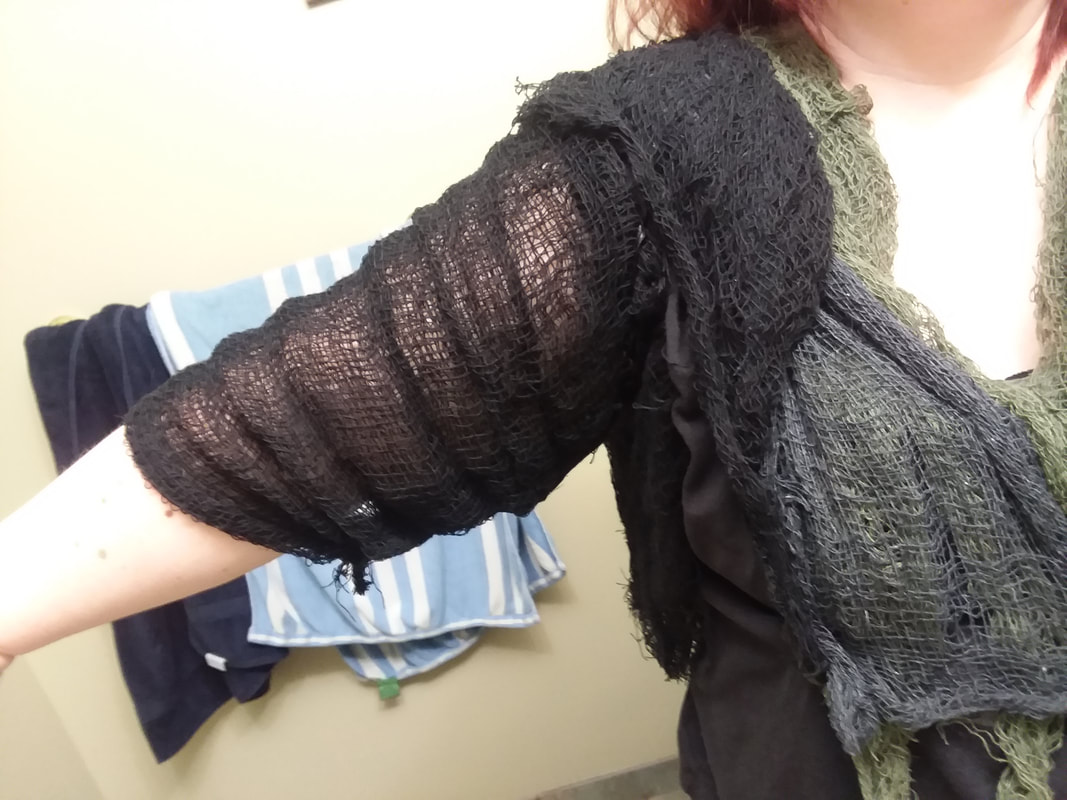
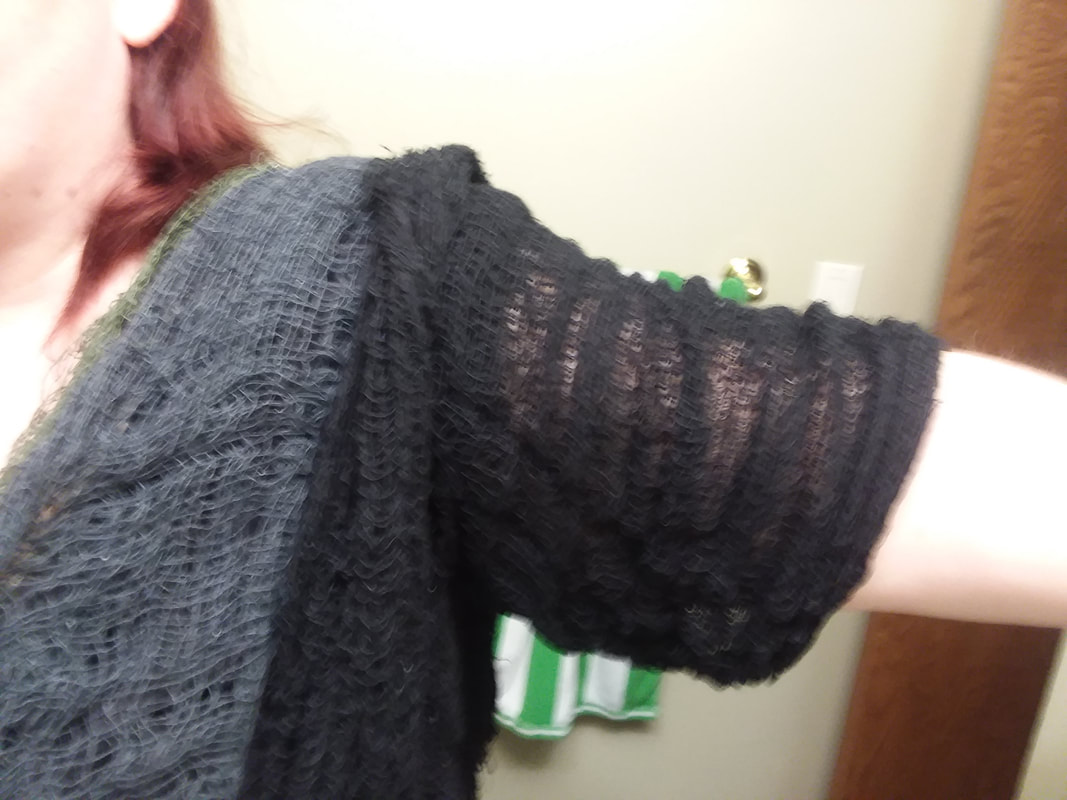
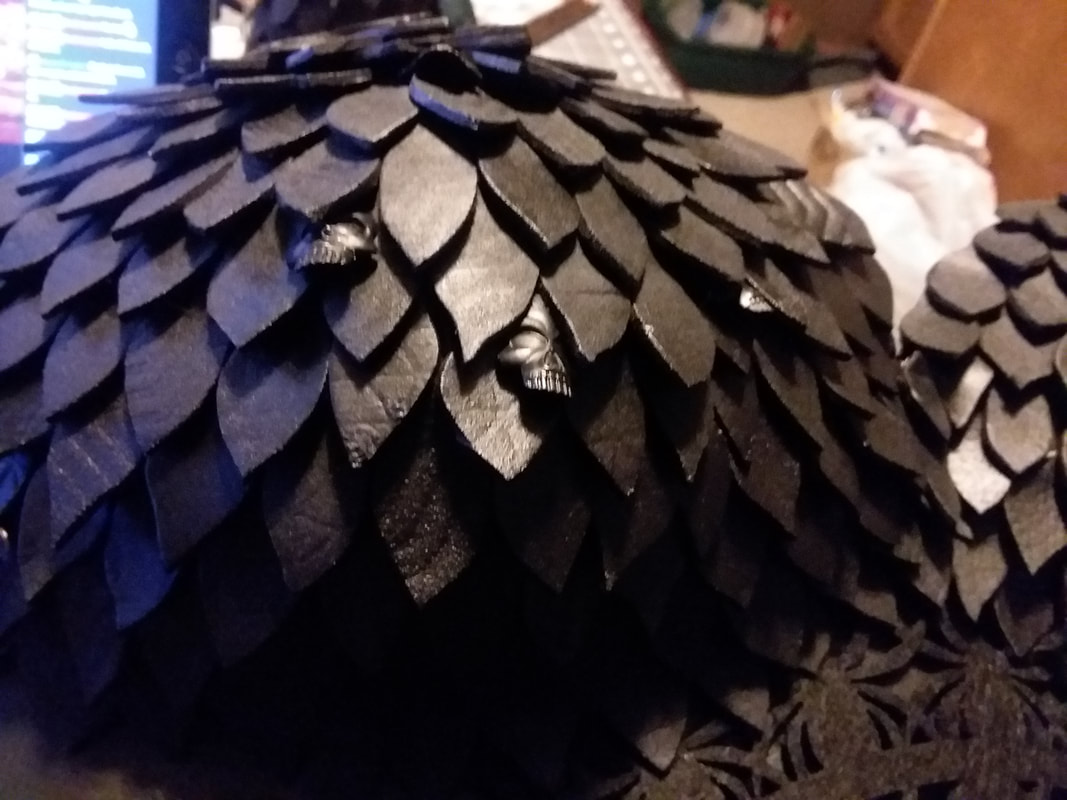
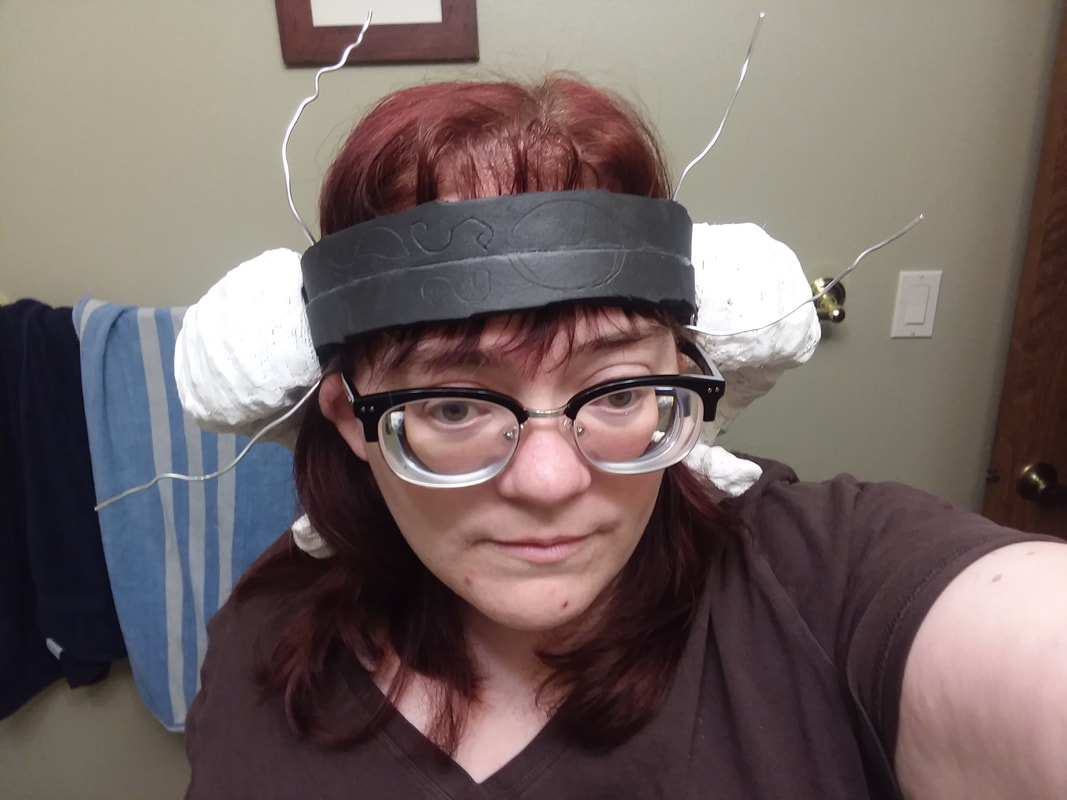
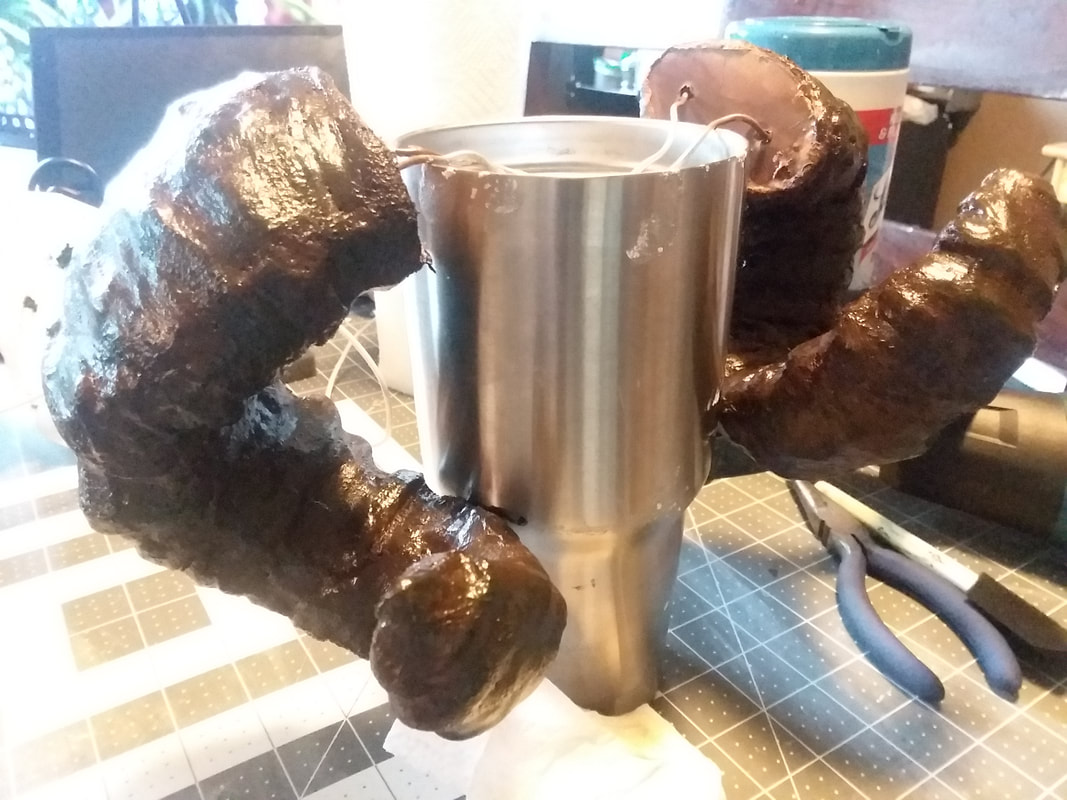
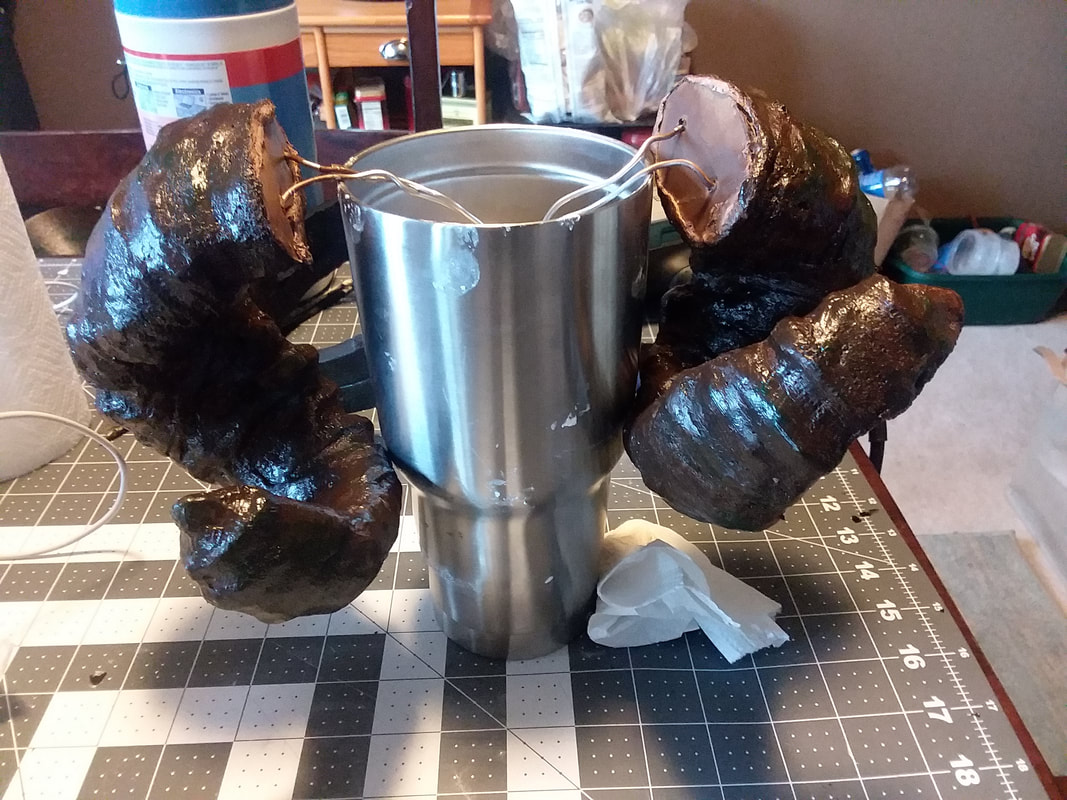
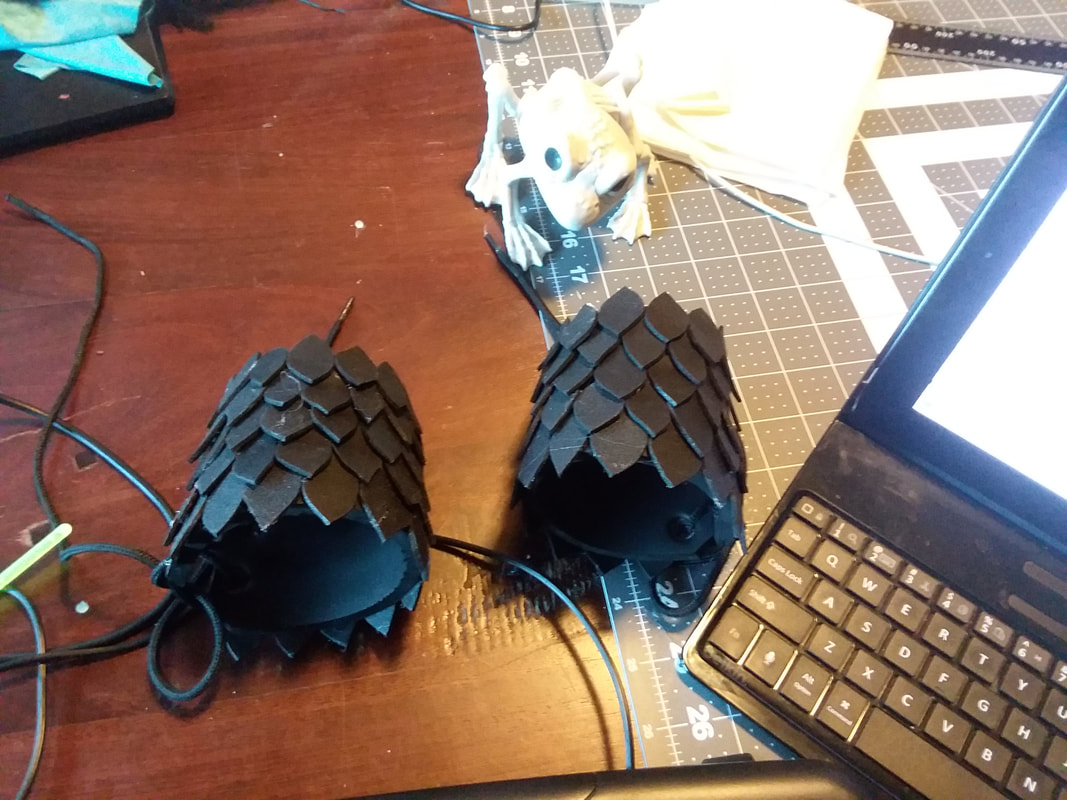
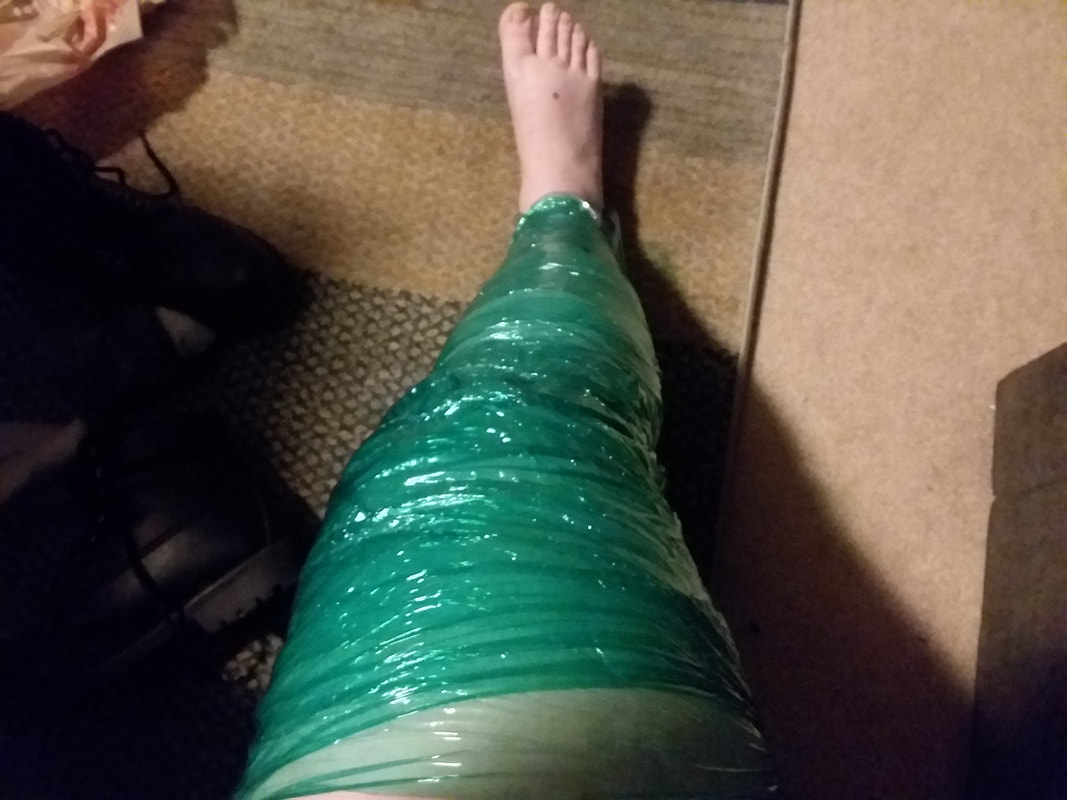
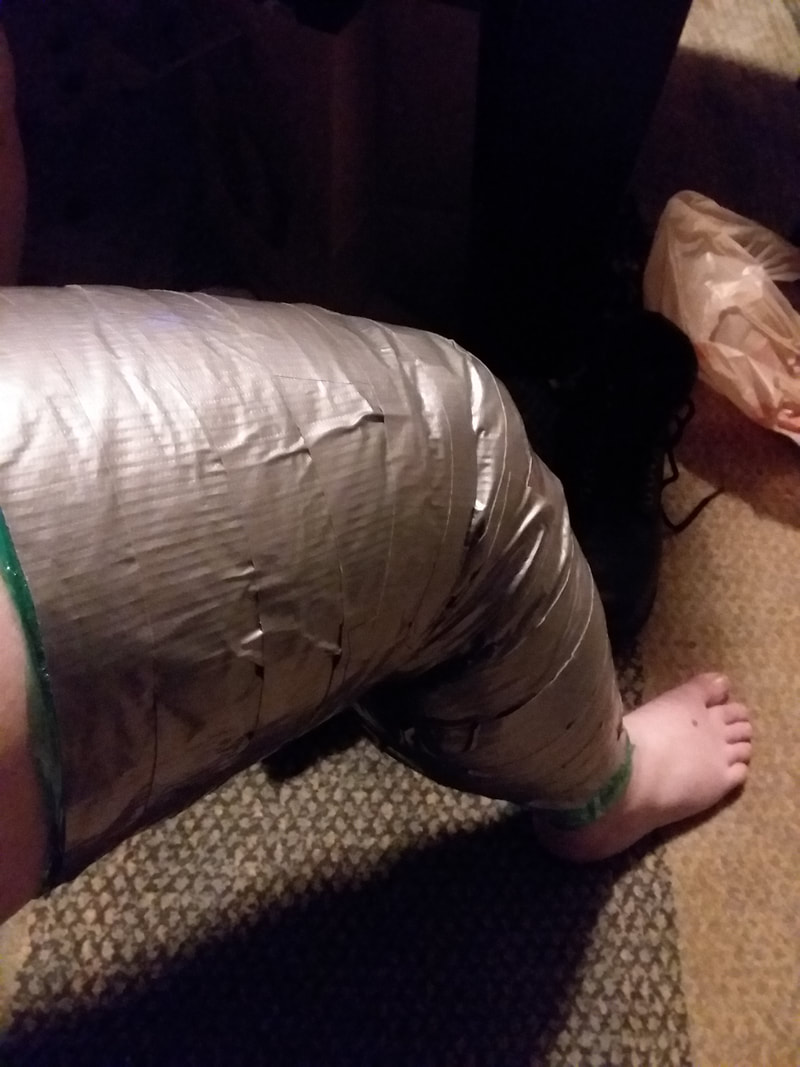
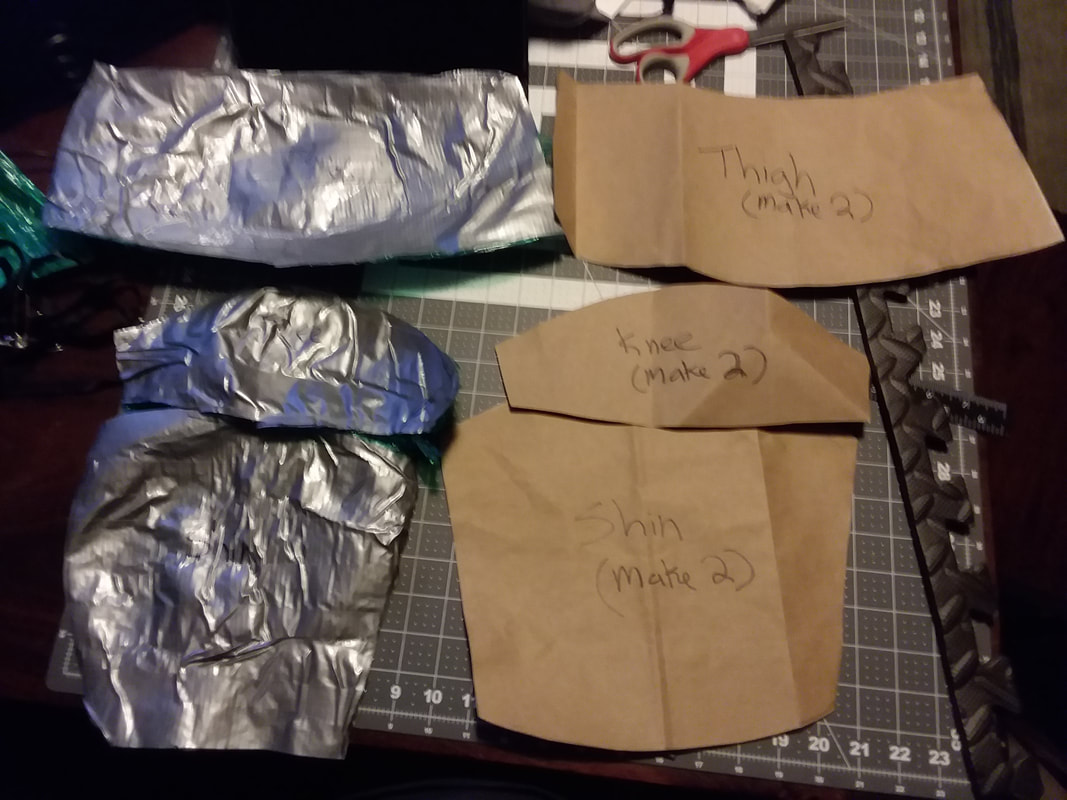
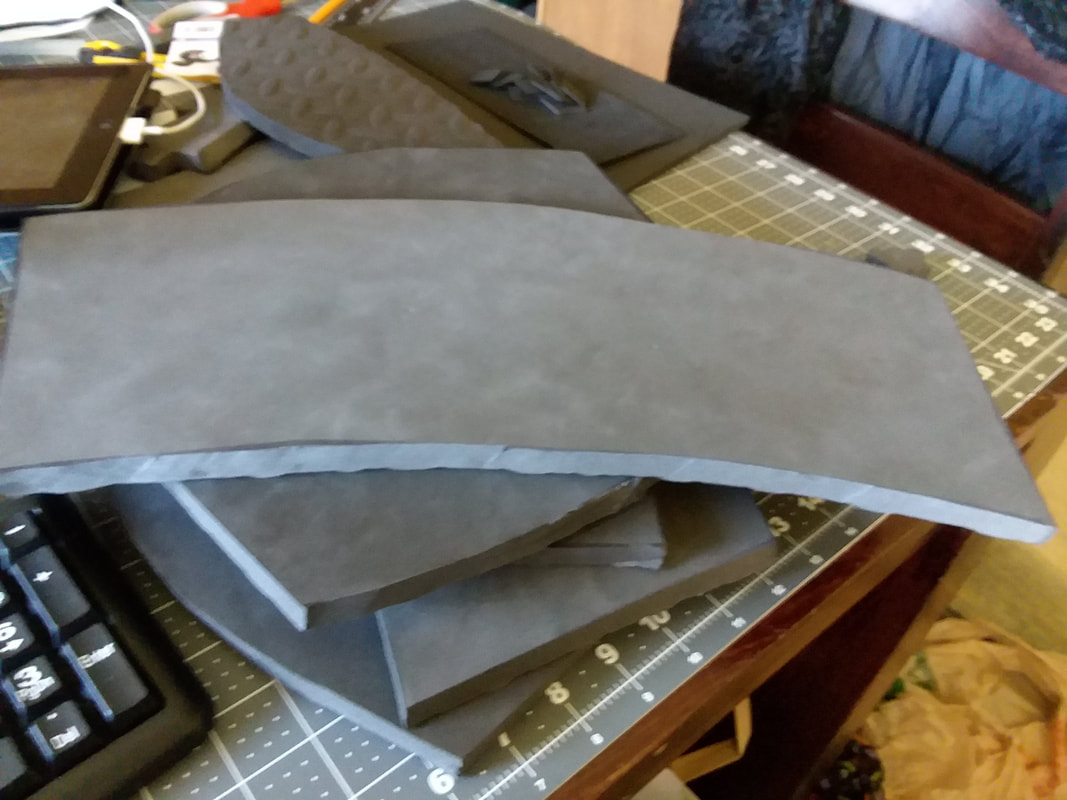
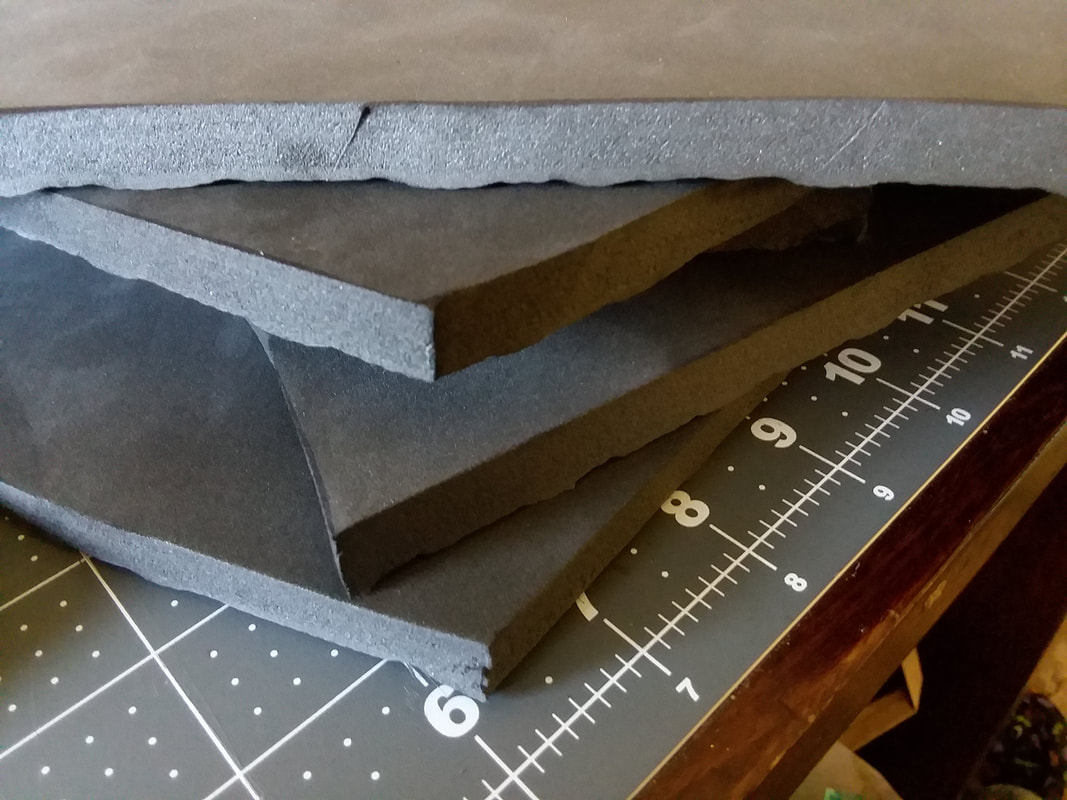
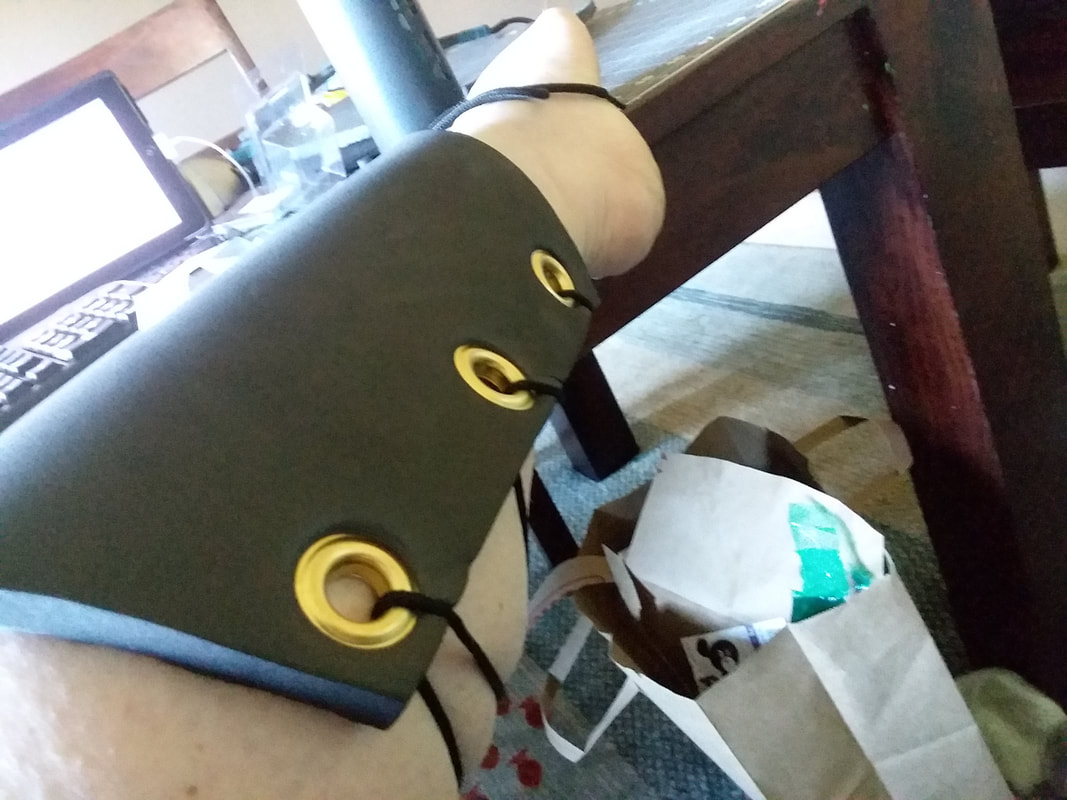
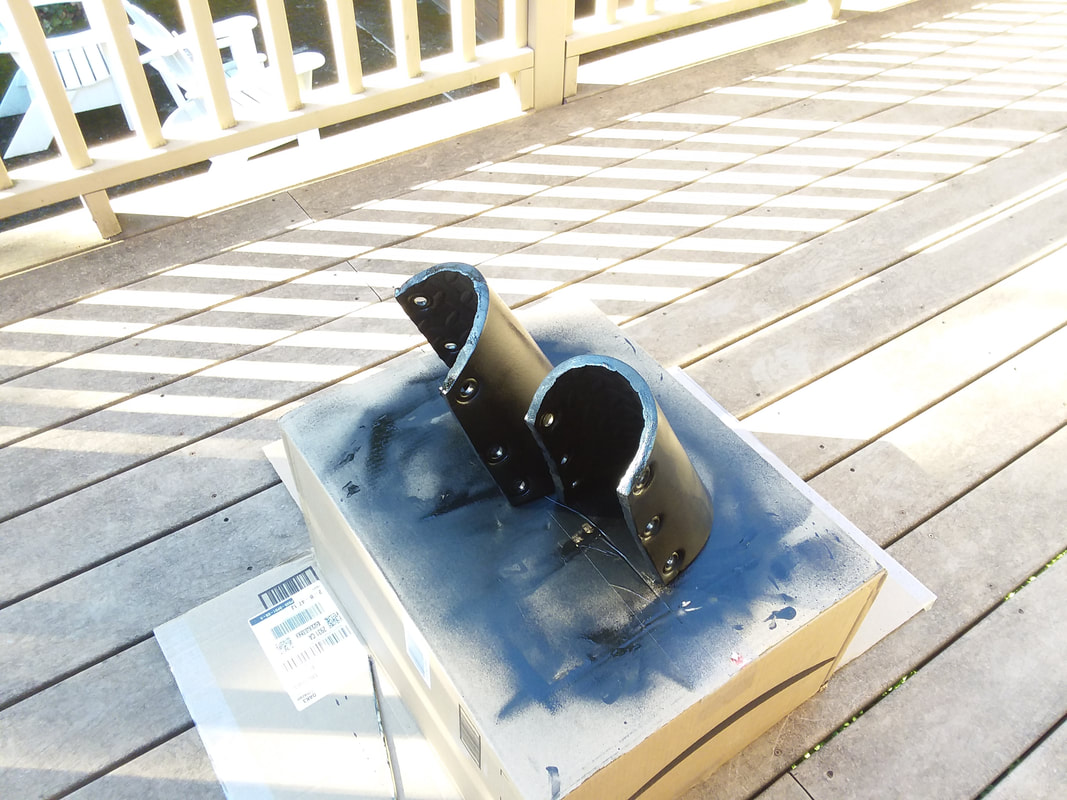
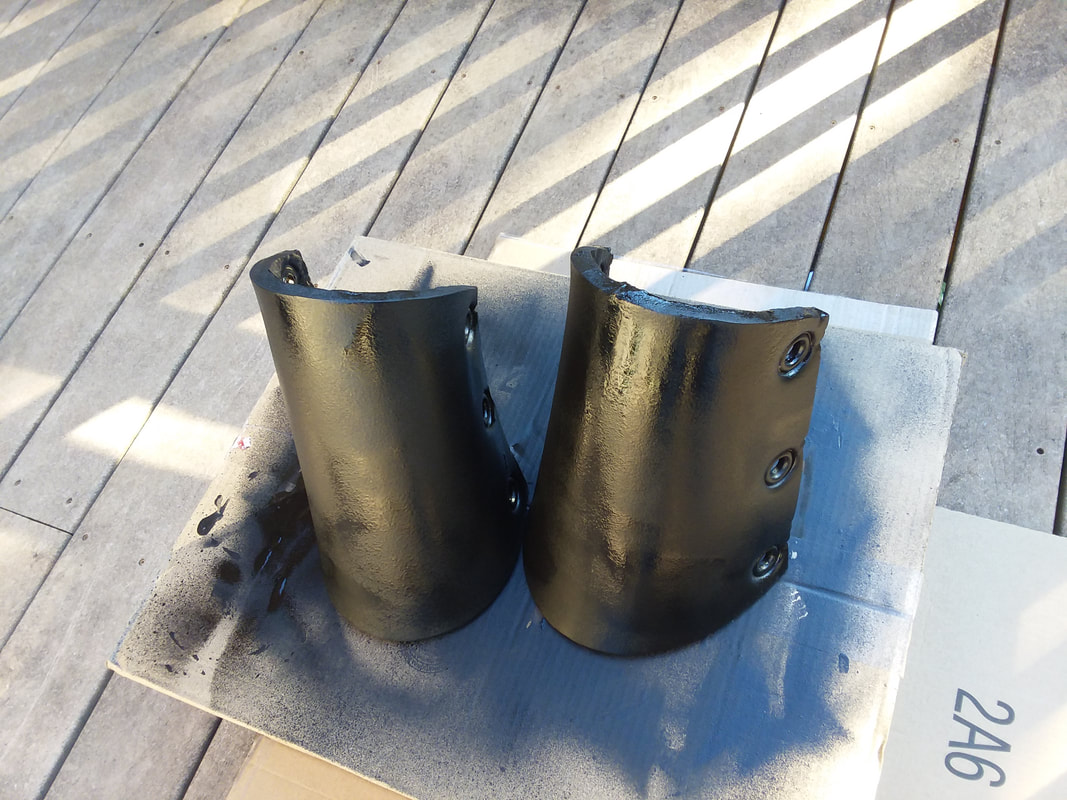
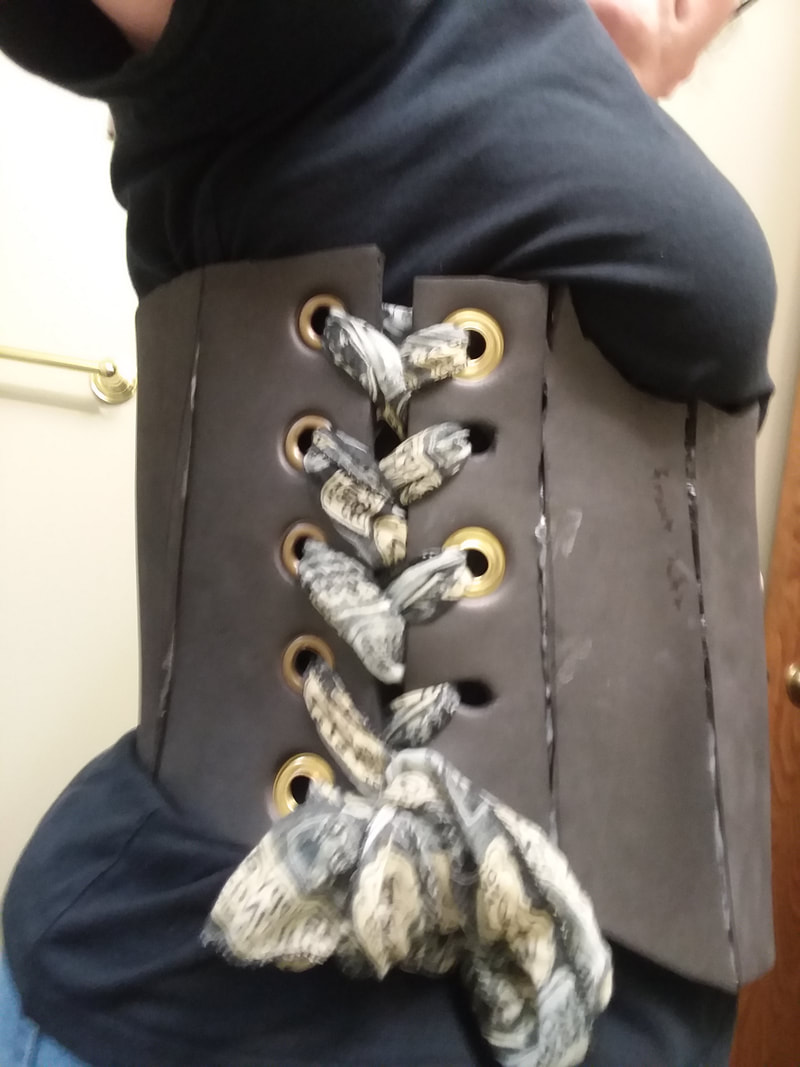
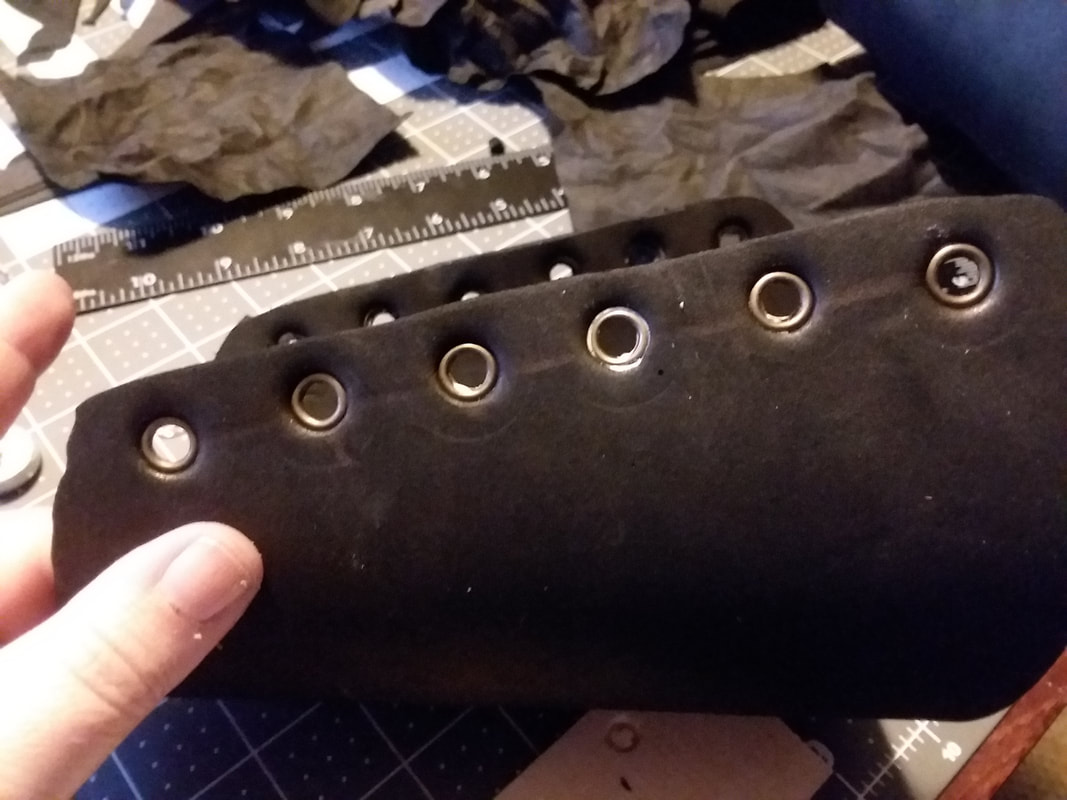
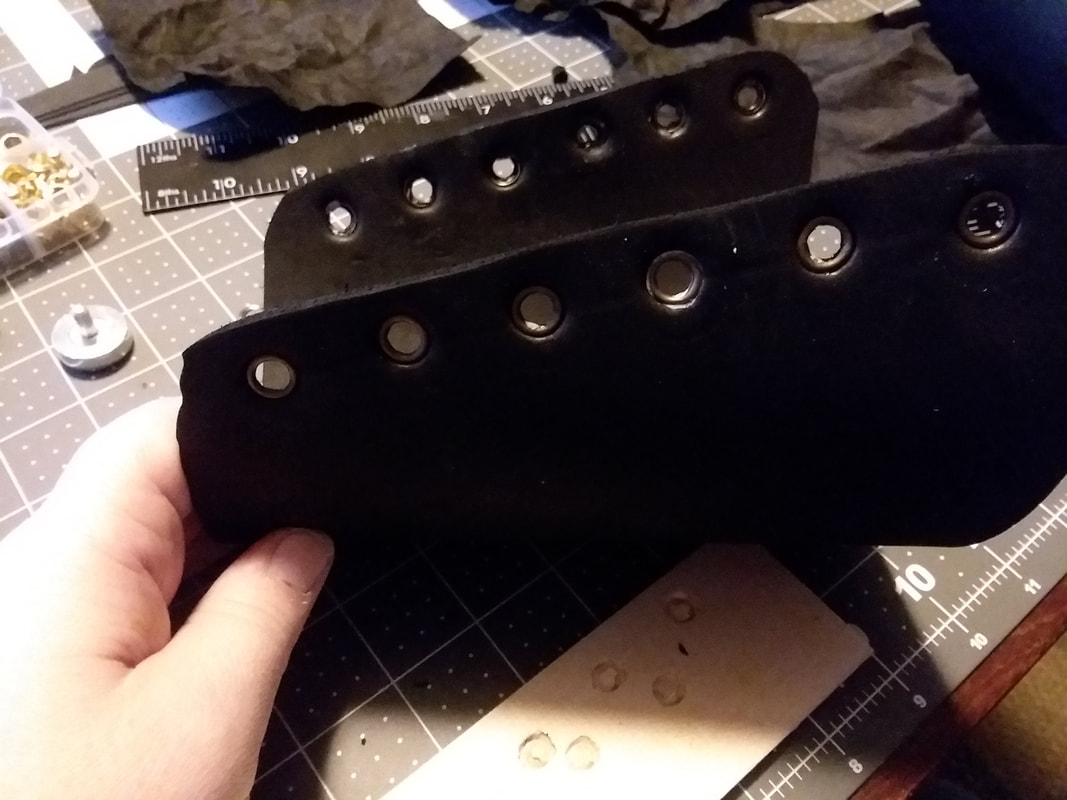
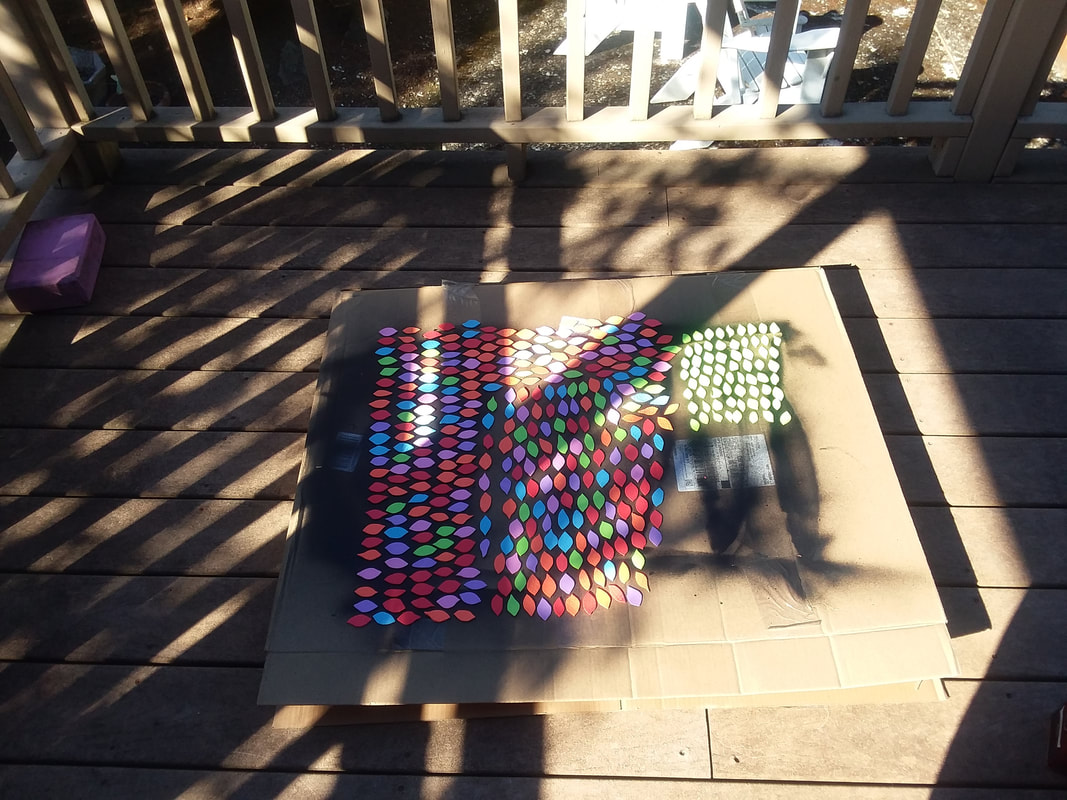
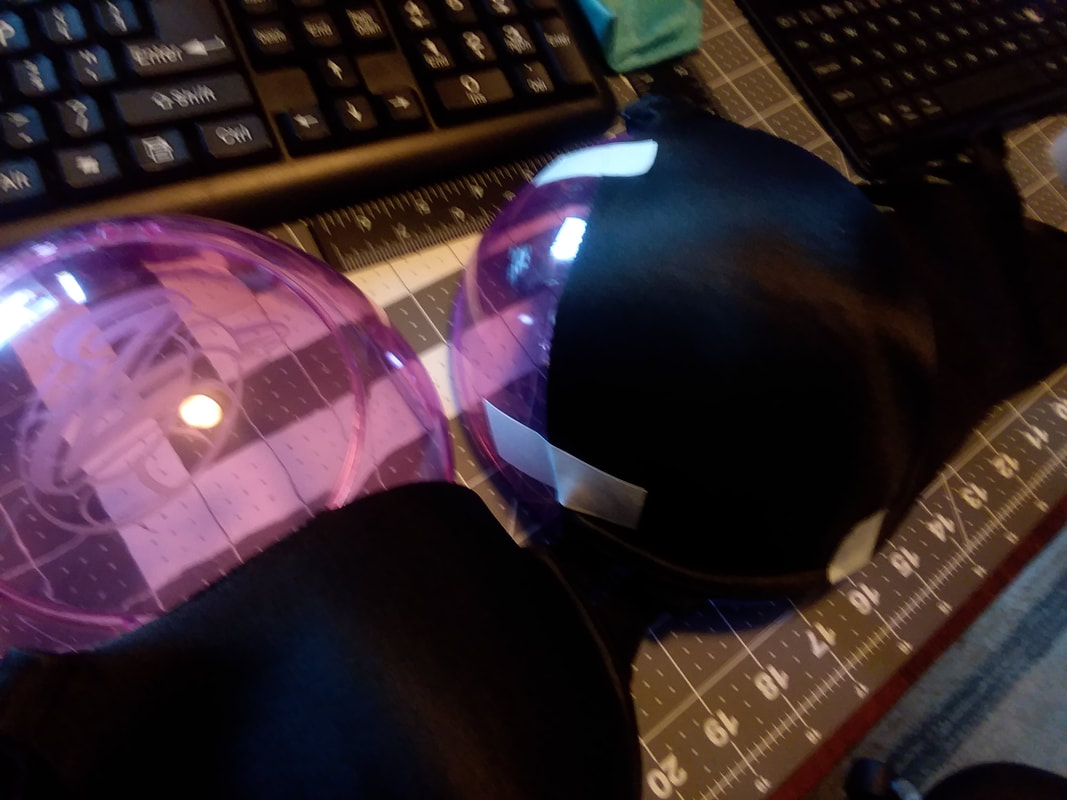
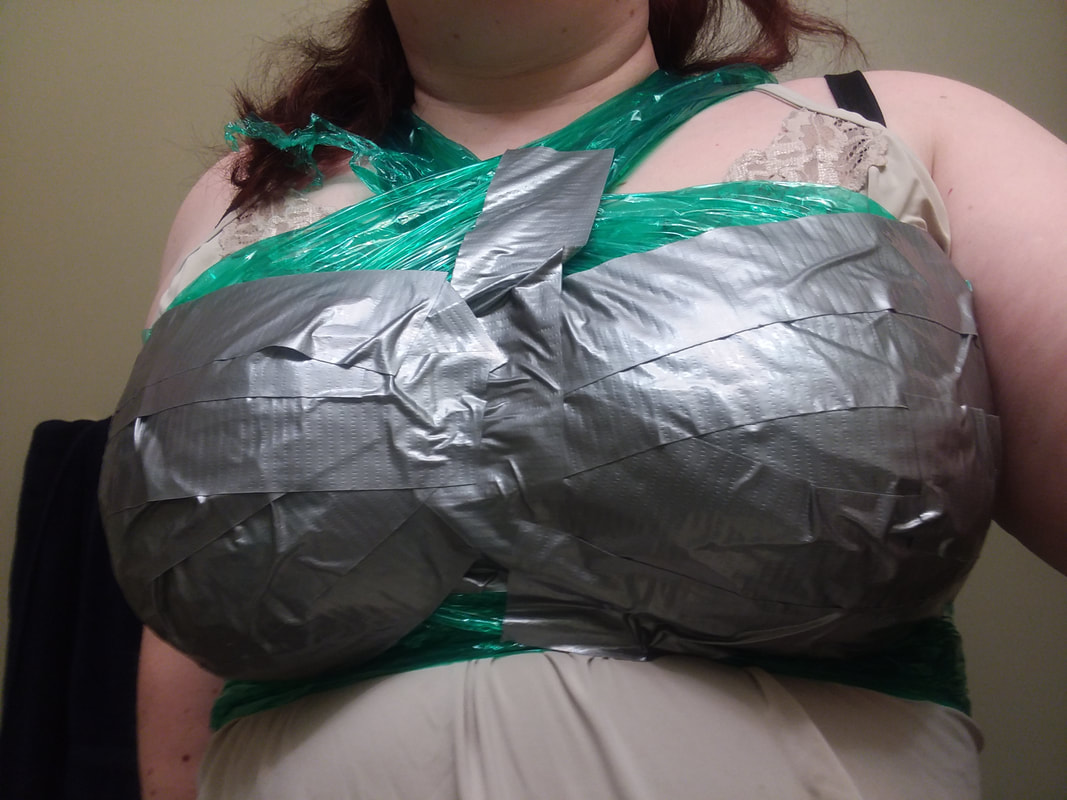
The greaves did not work, so they are conspicuously absent. Other than that it looks almost what I wanted. I did not have time to get makeup worked out. Well, I tried. But I have not the makeup knowledge. And the white I got had adverse effects. I am apparently allergic. First it turned blue, then my eyes started swelling up. Then I got itchy lumps, and I am still dealing with those. Today they were so bad I couldn't walk and thus missed the last day of the con. :( And the top...

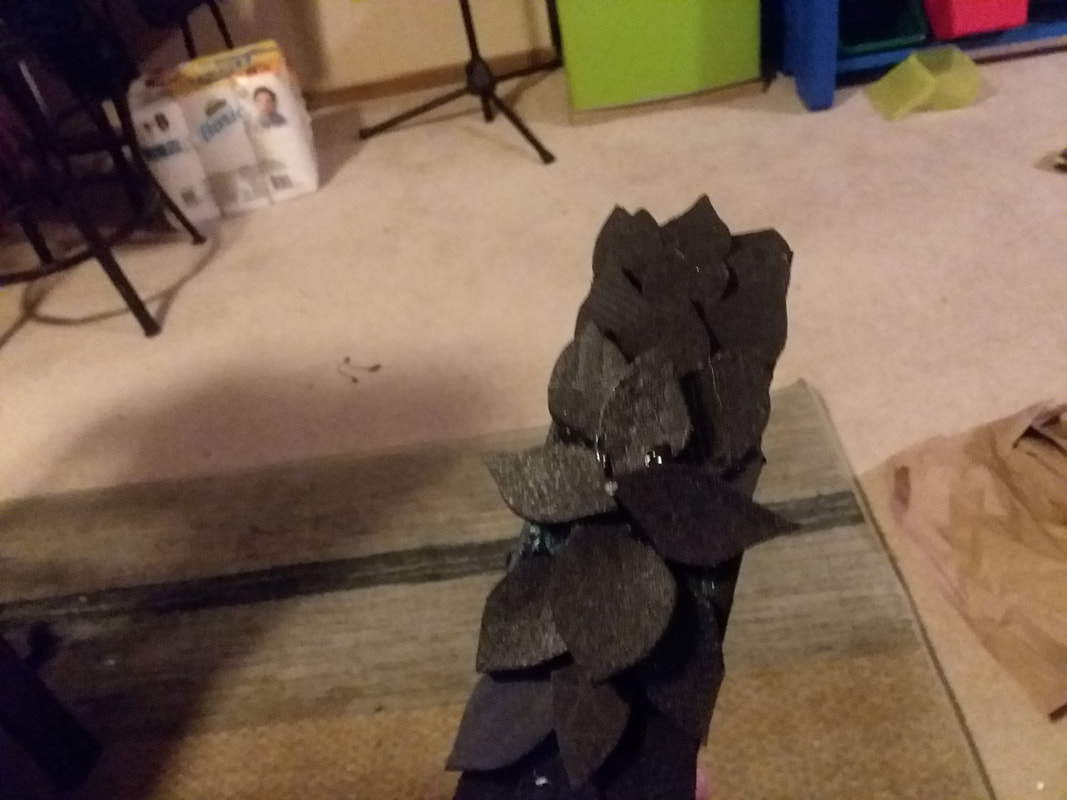
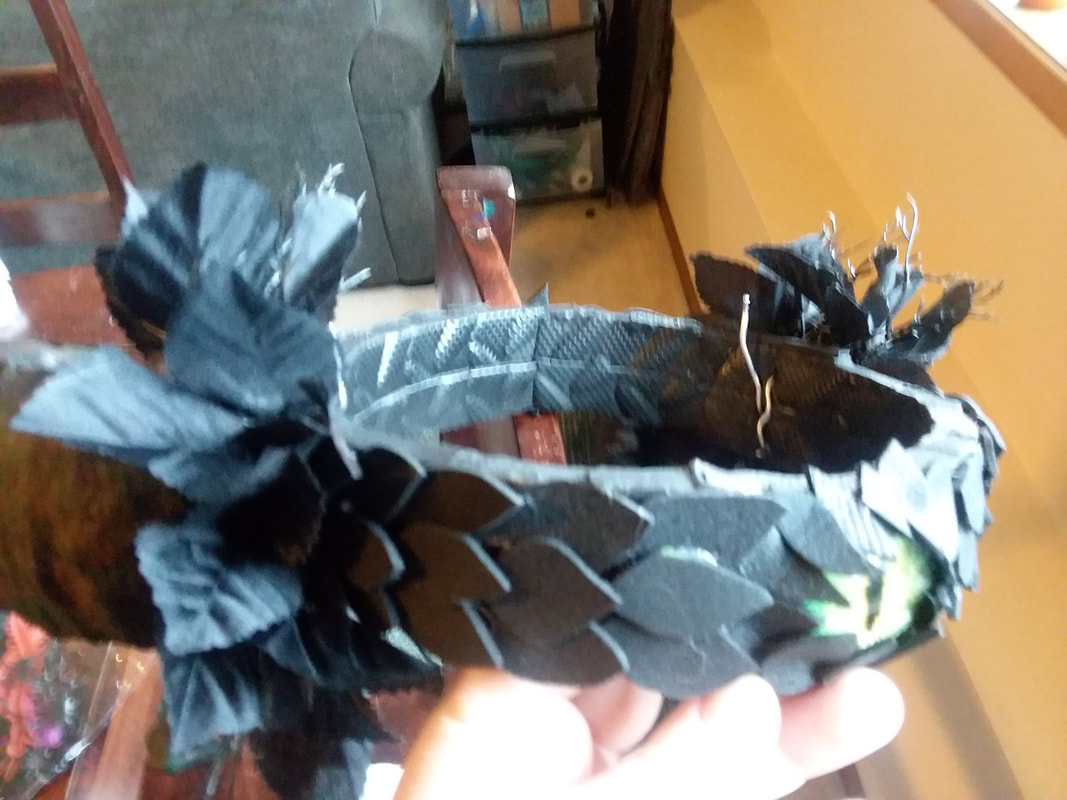
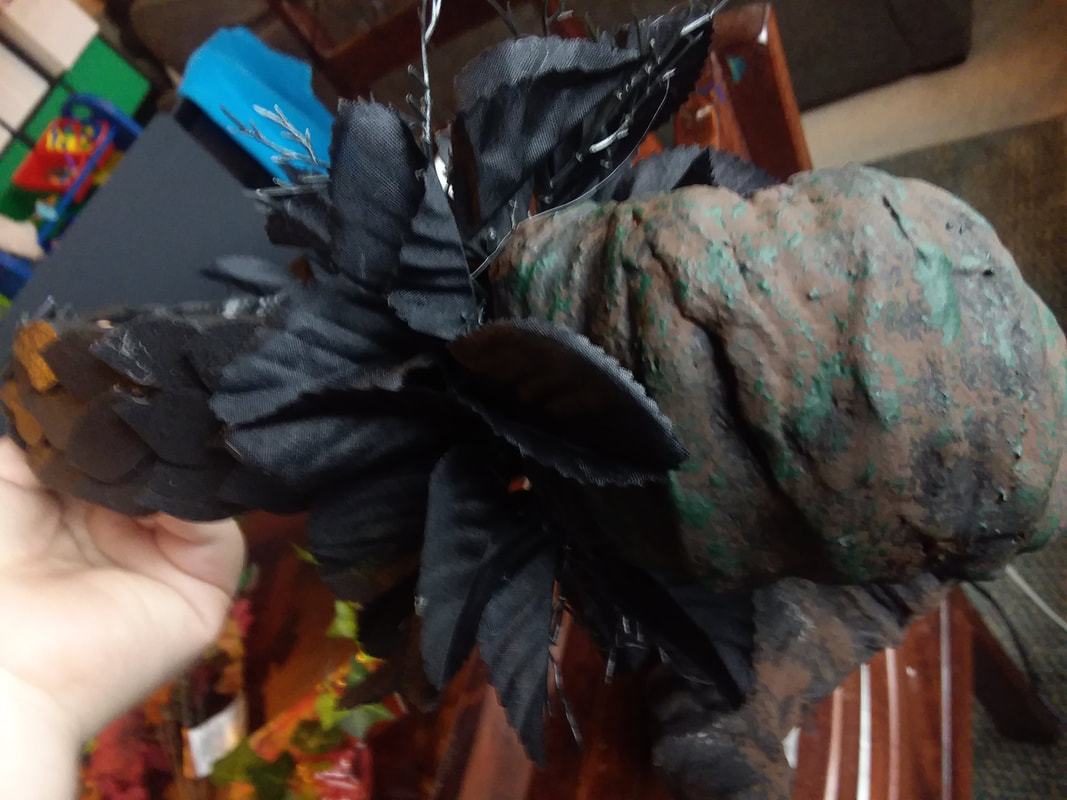
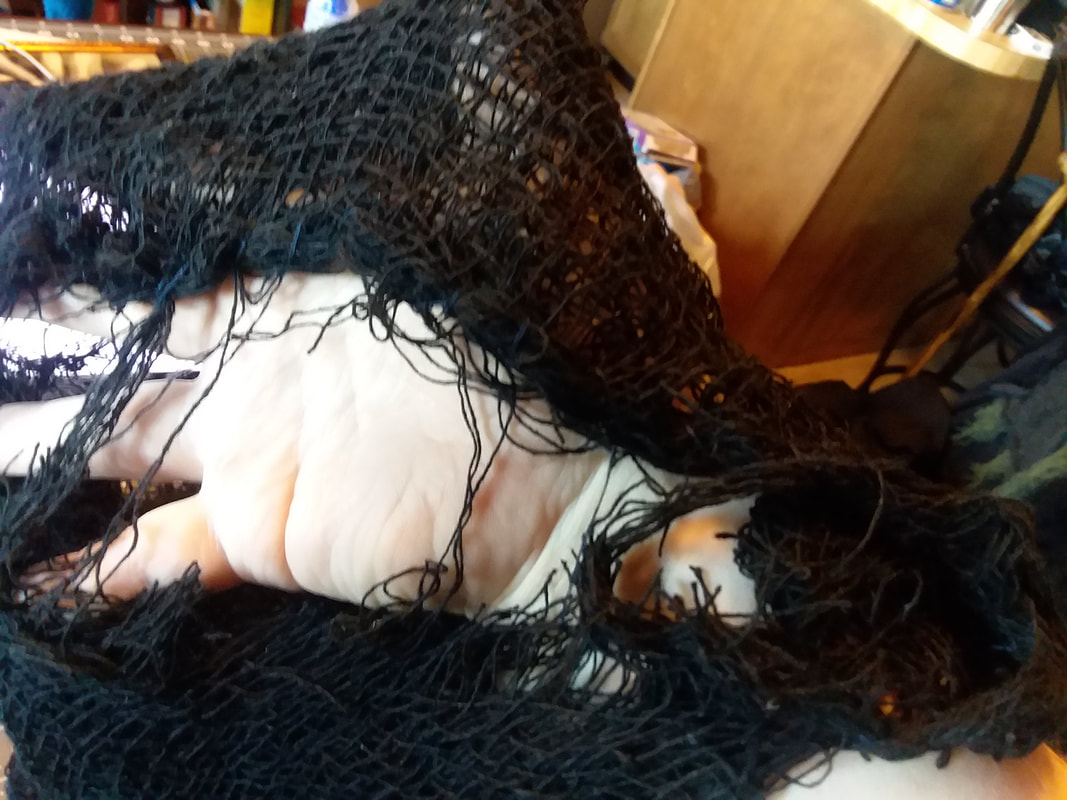
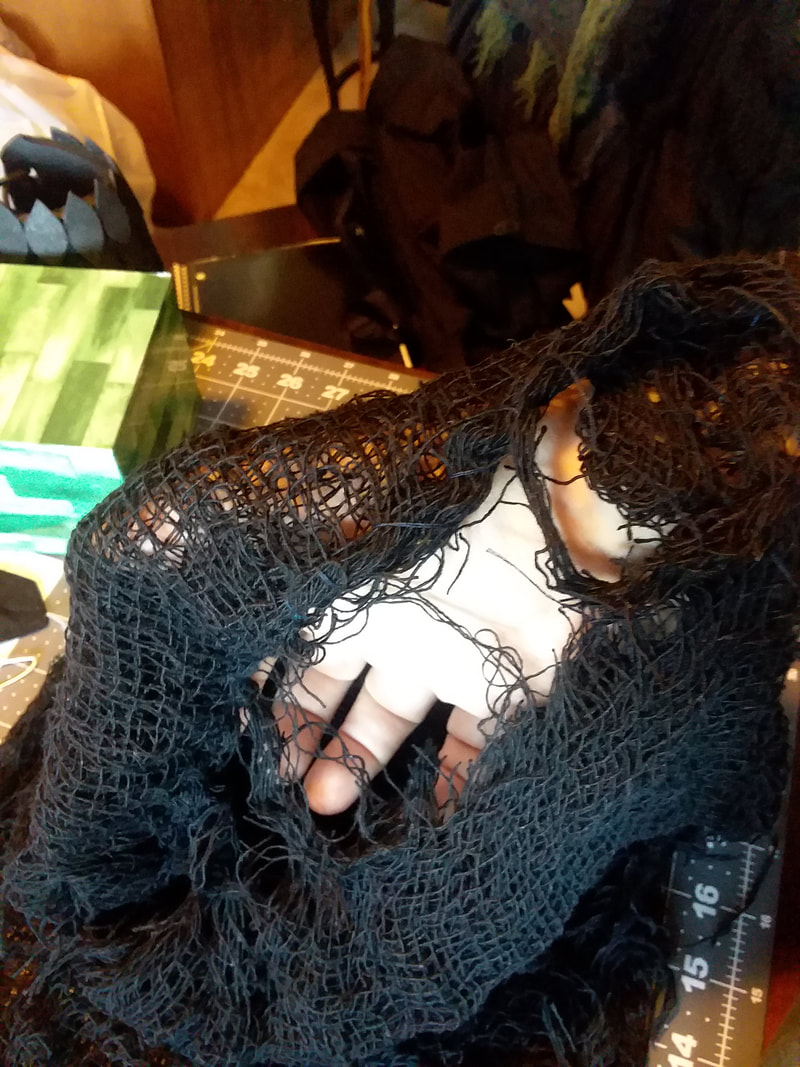
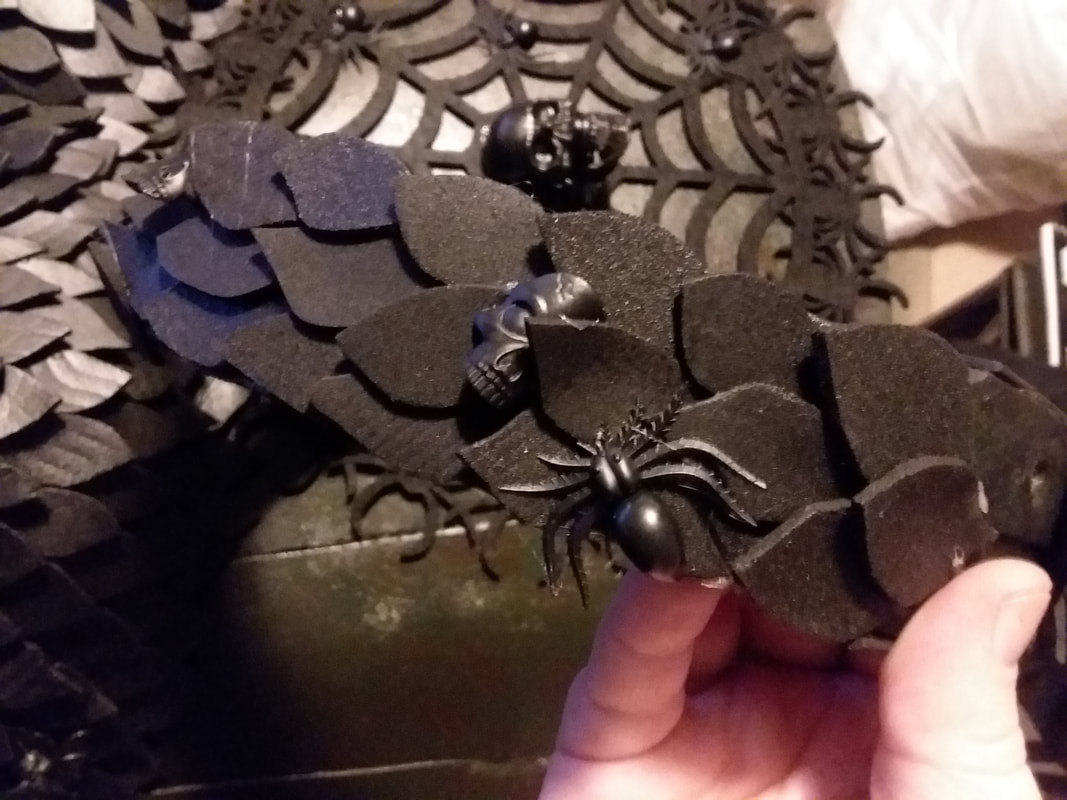
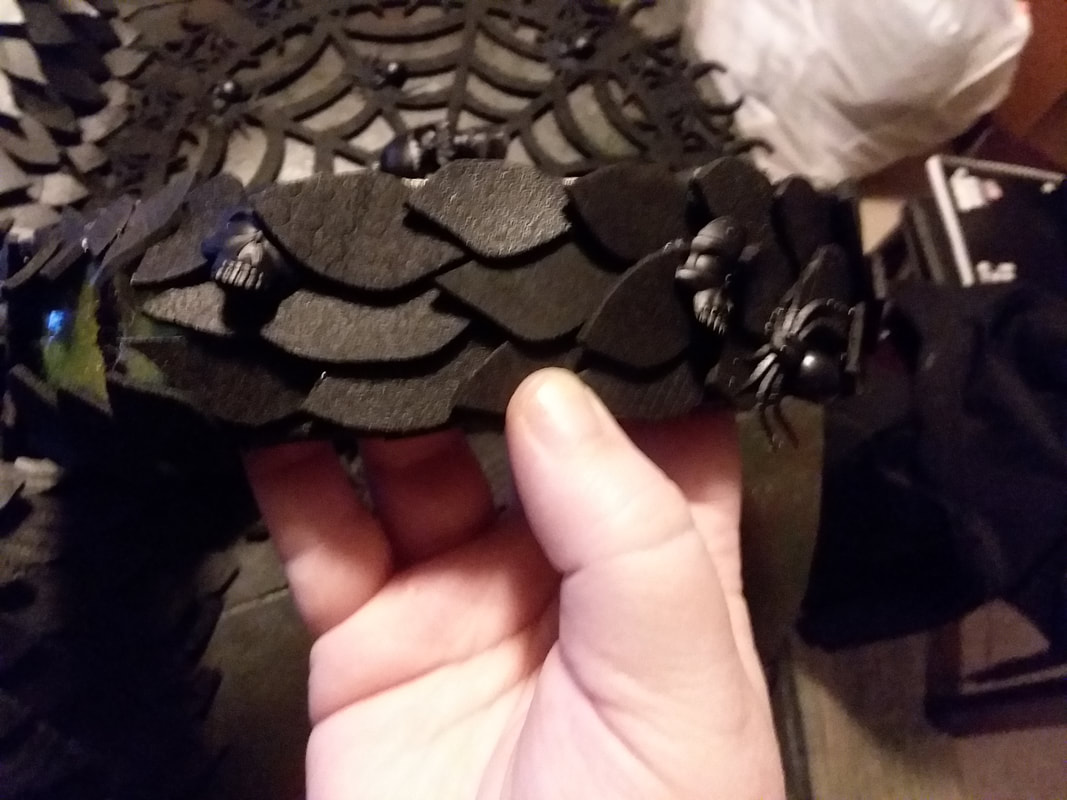
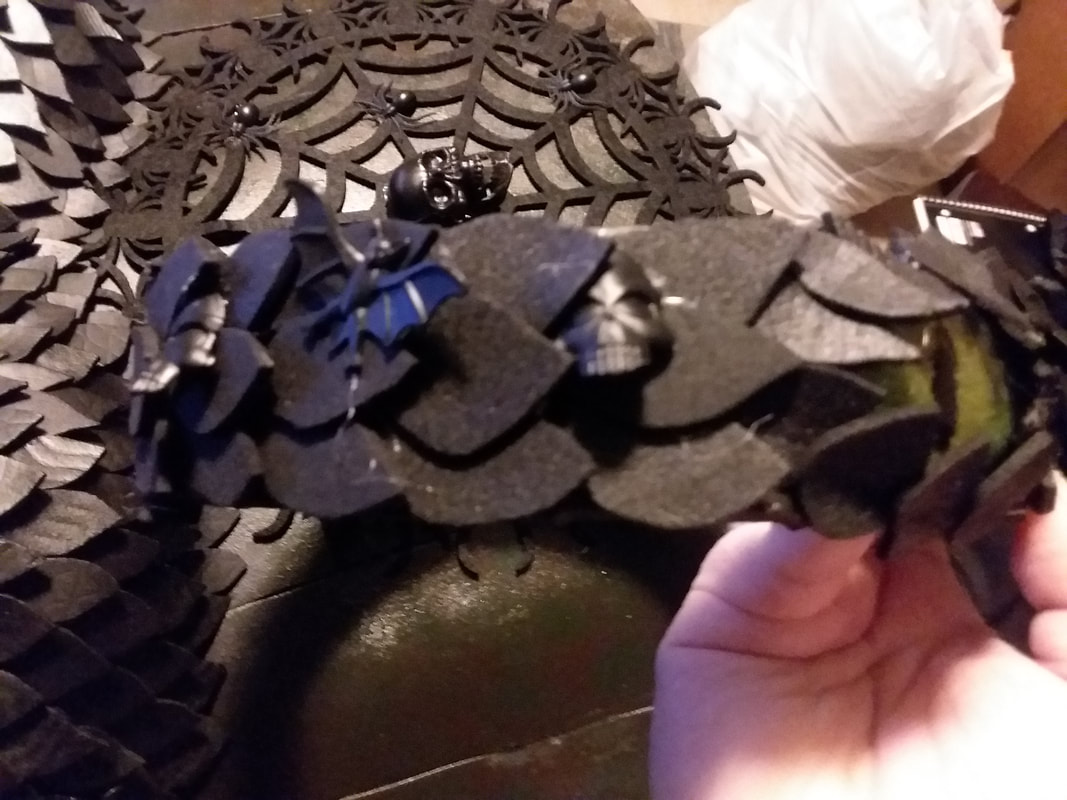
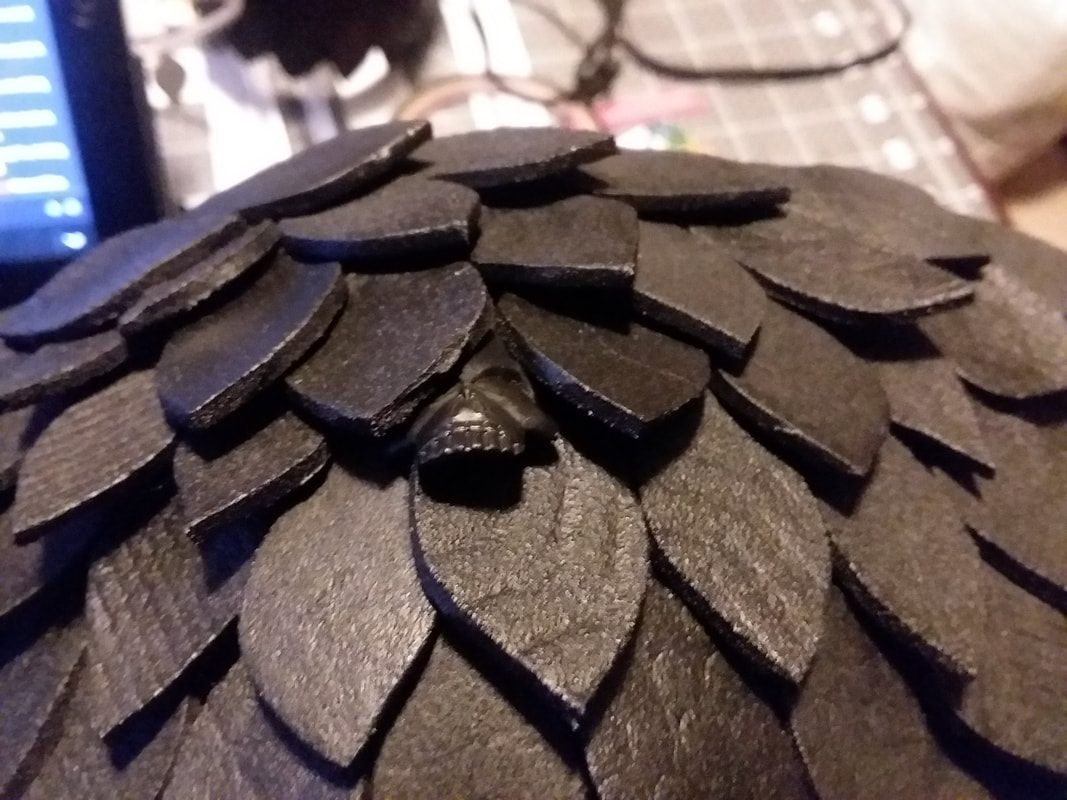
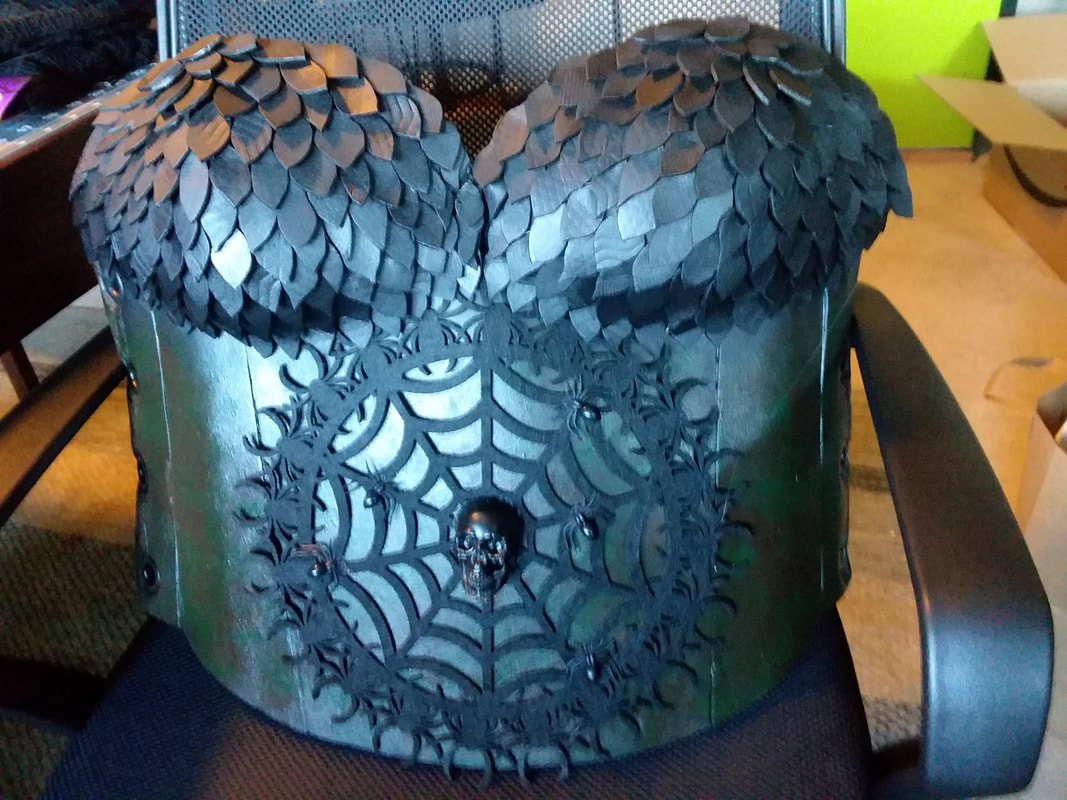
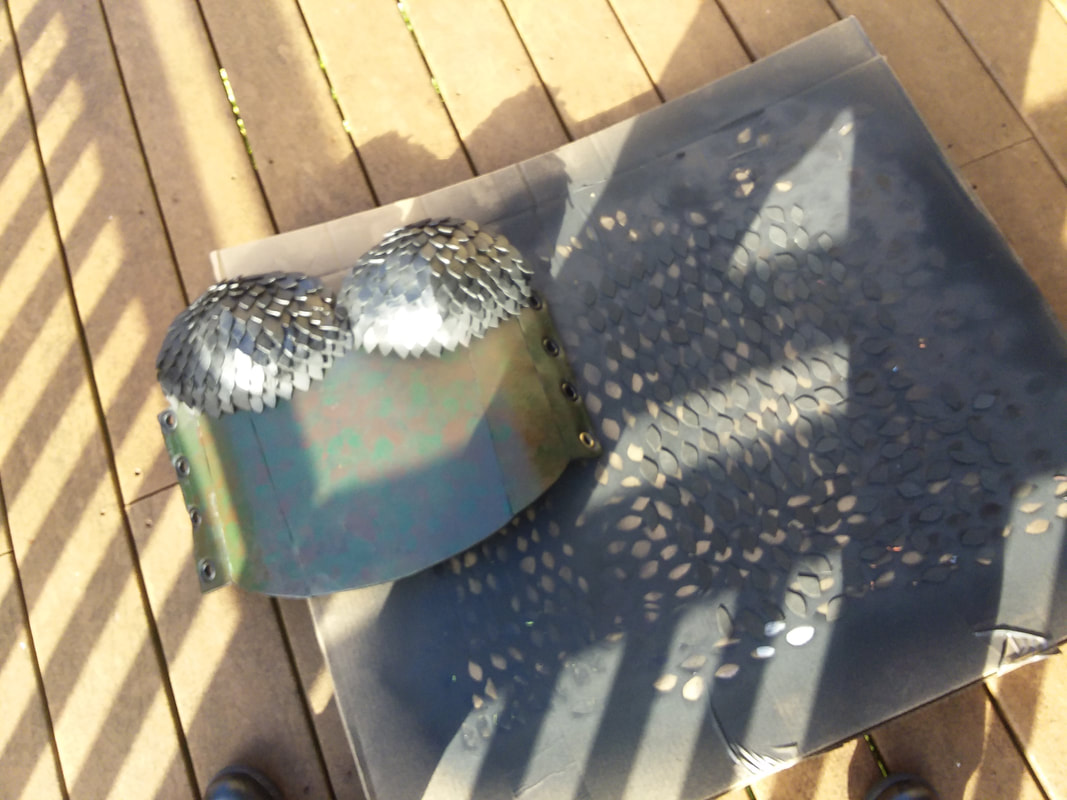
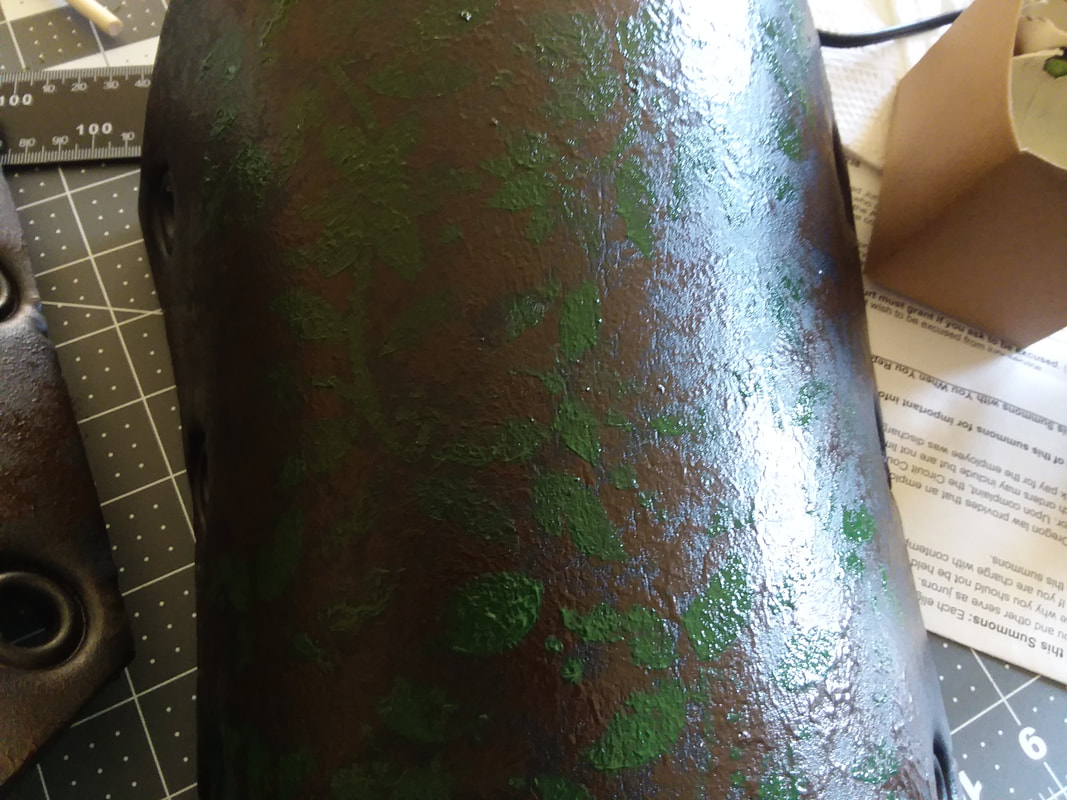
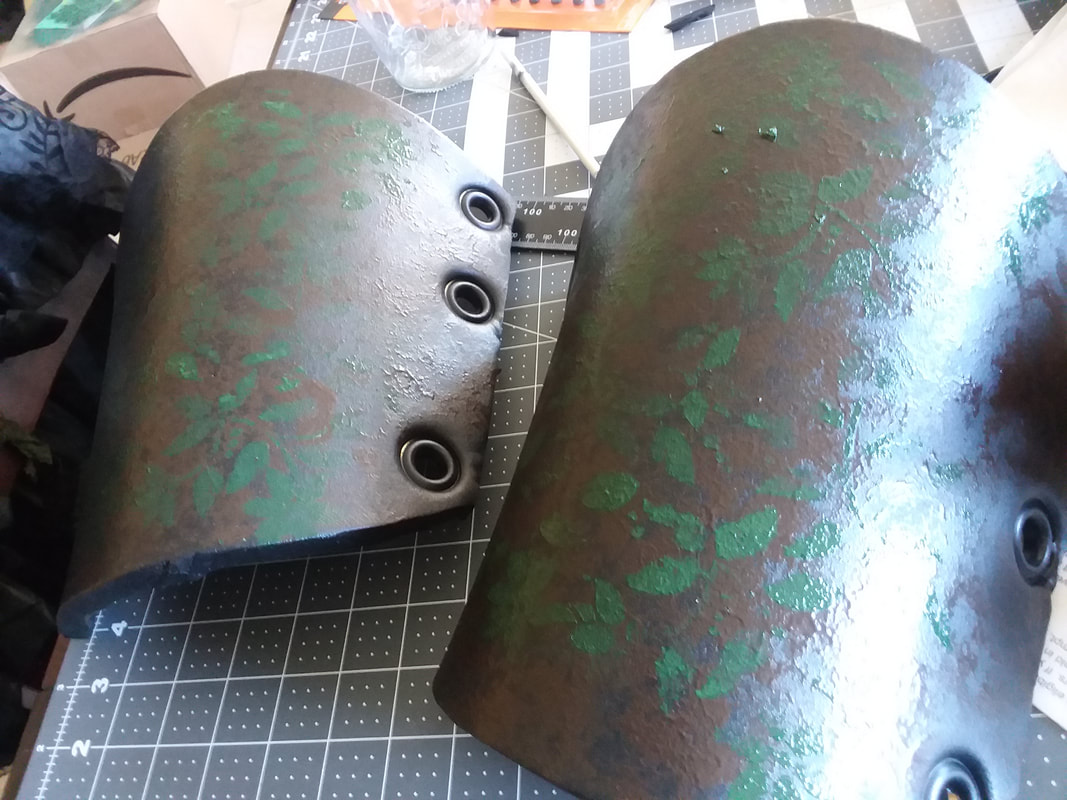
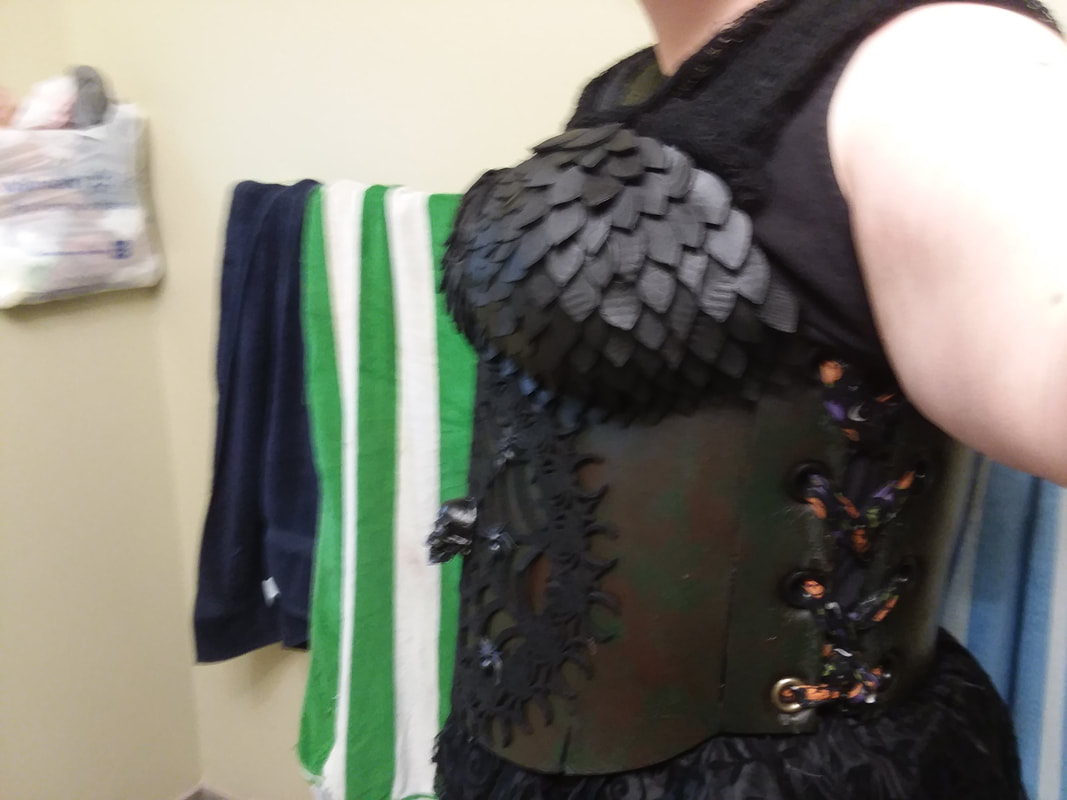
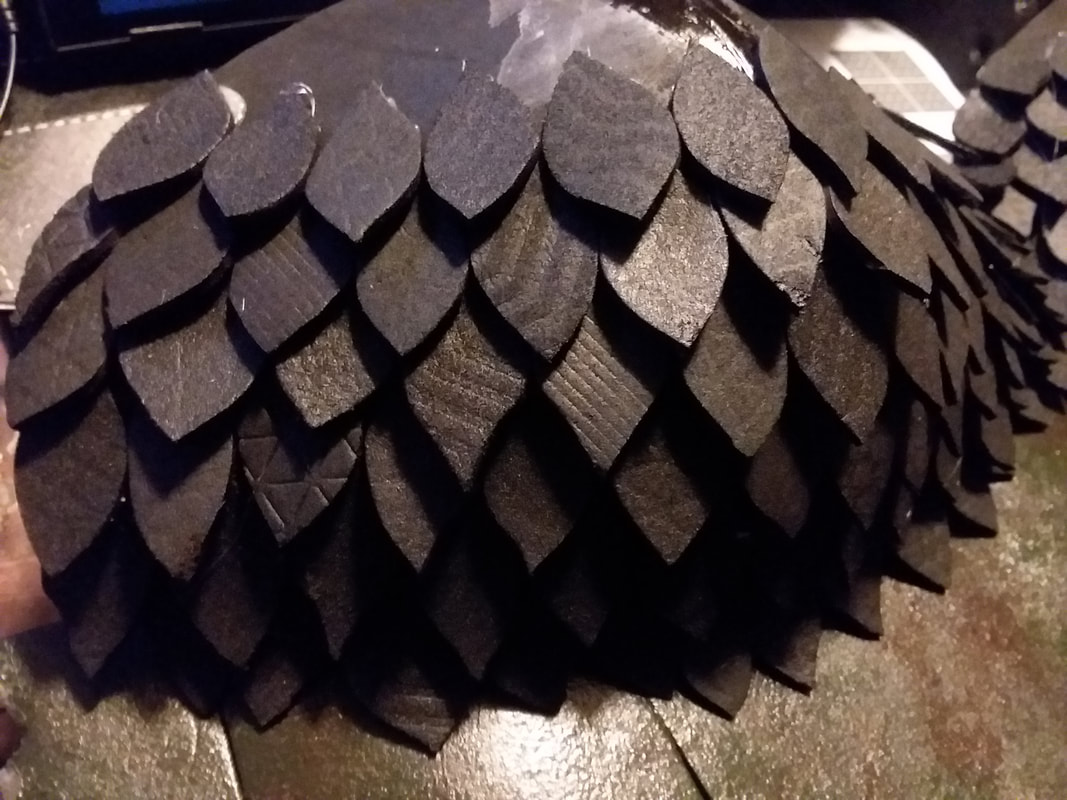
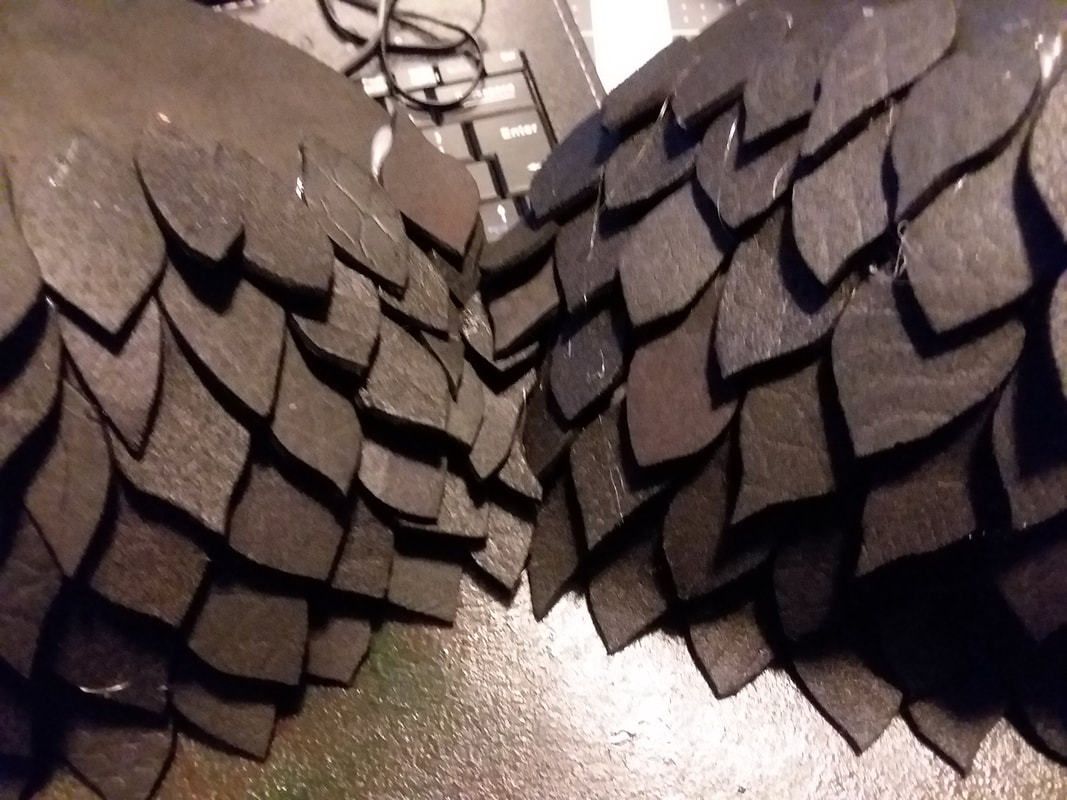
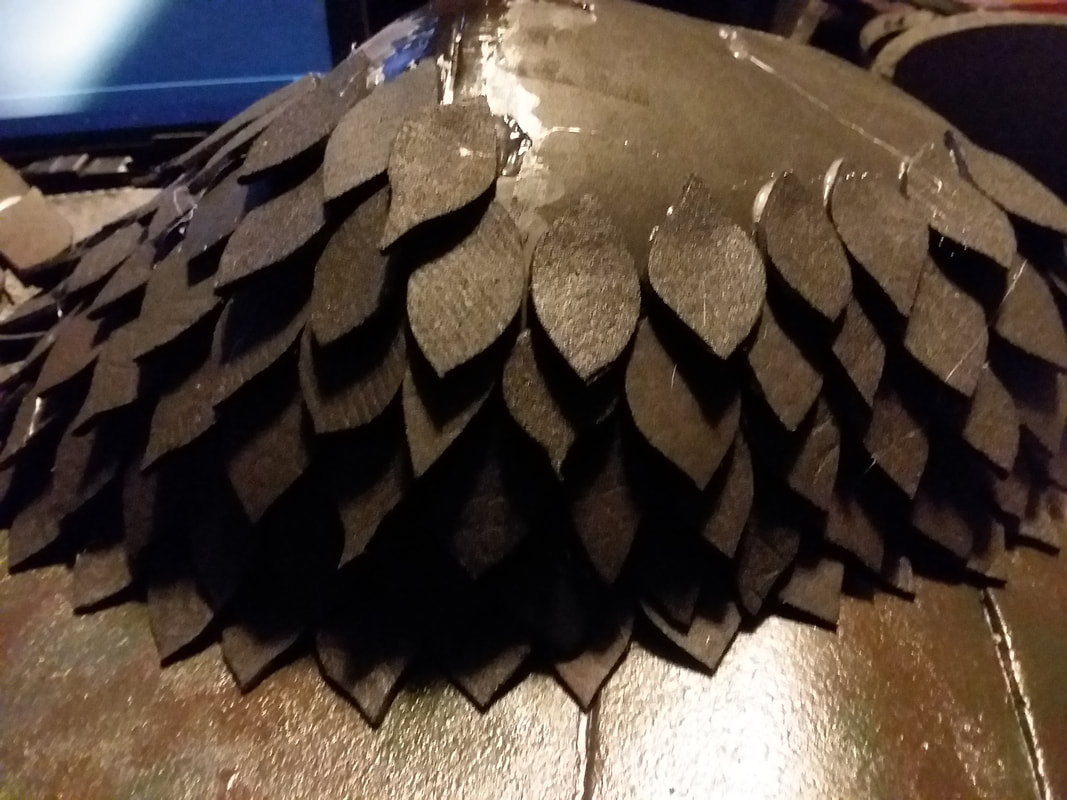
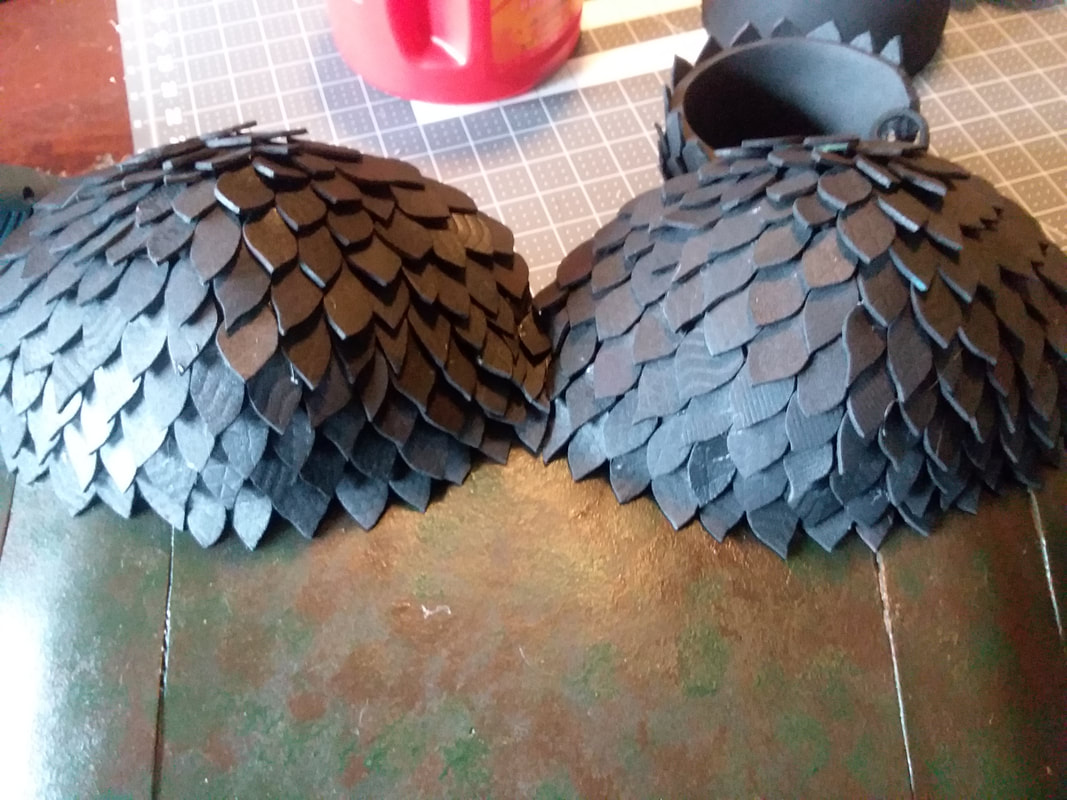
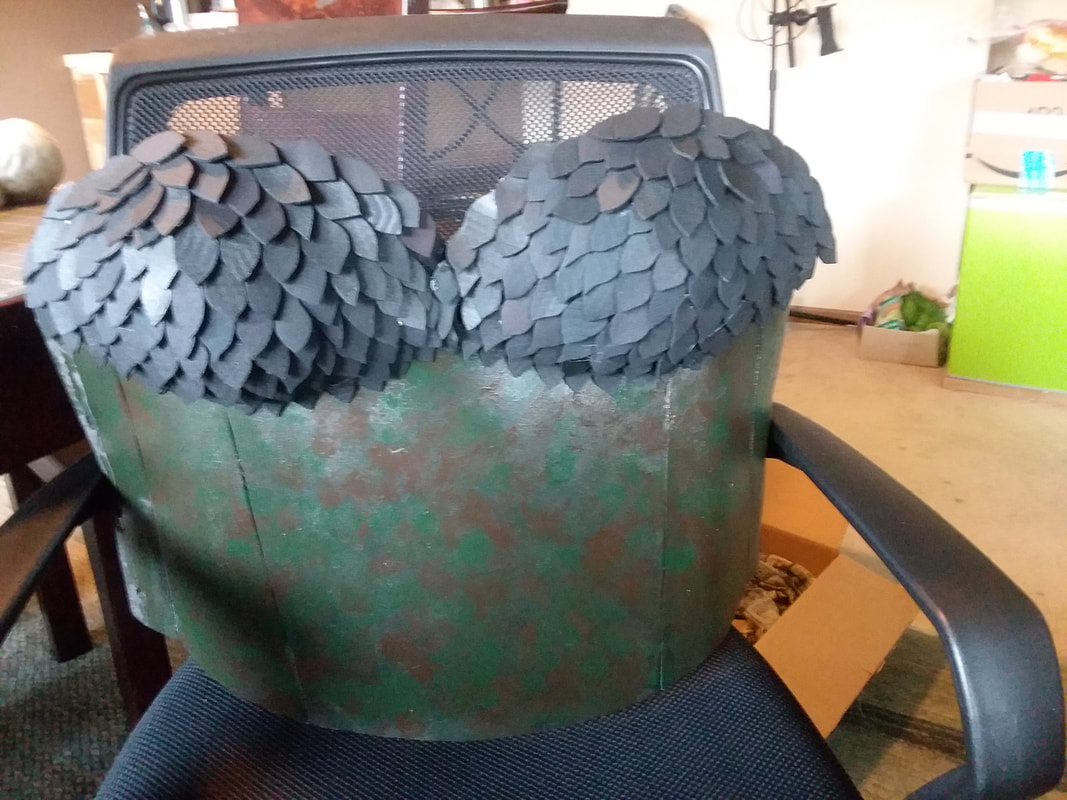
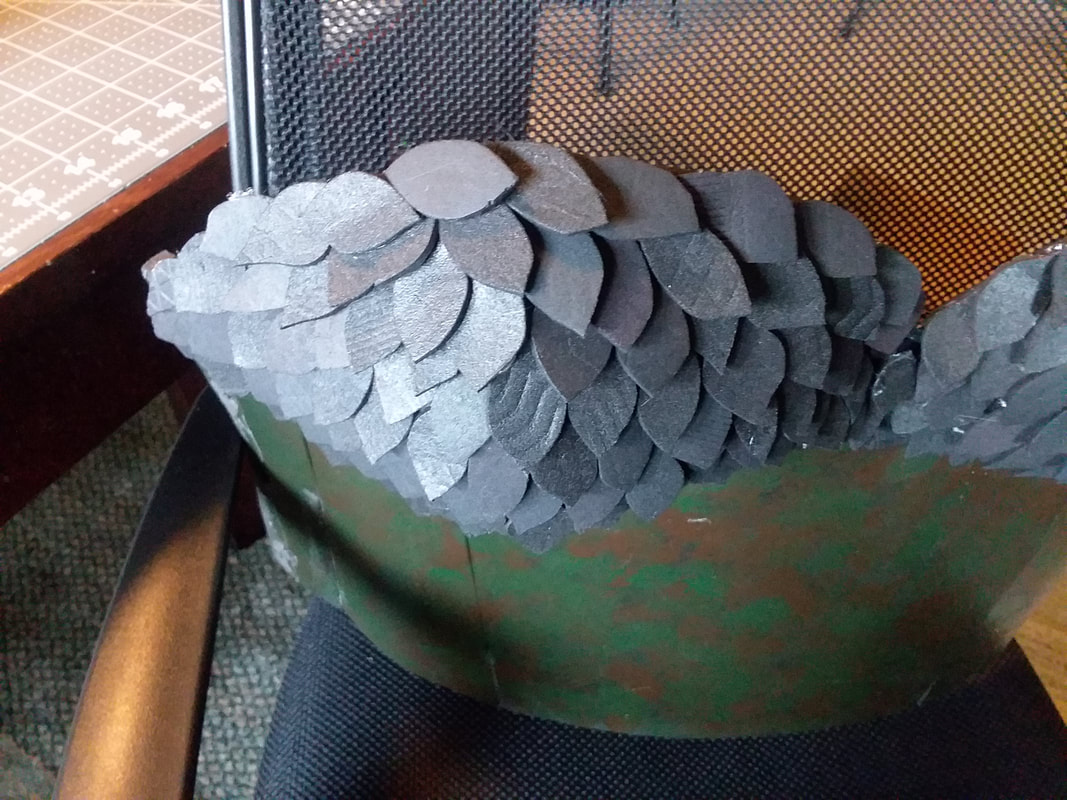
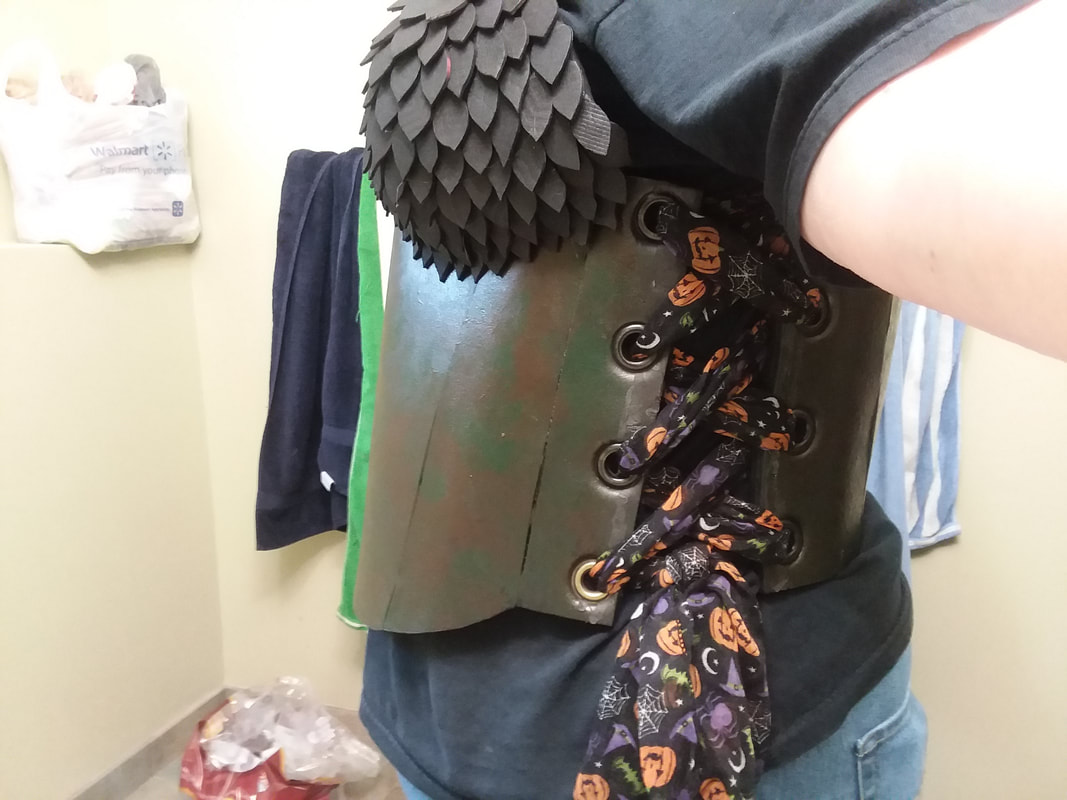
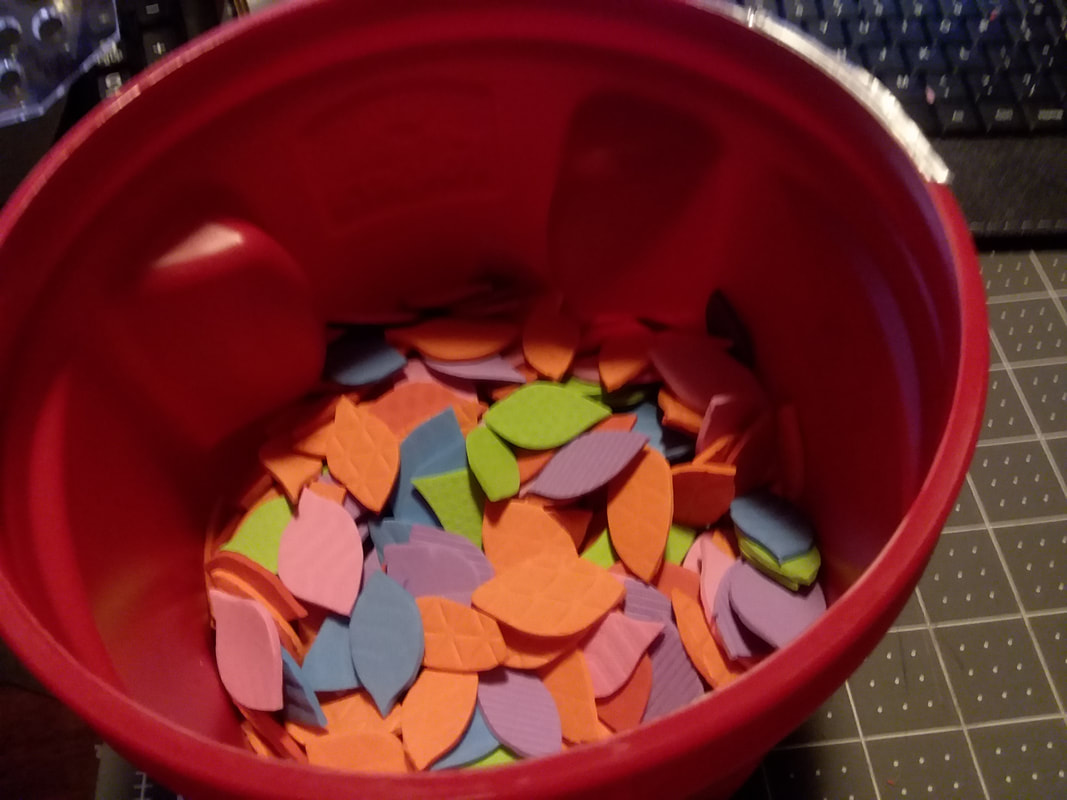
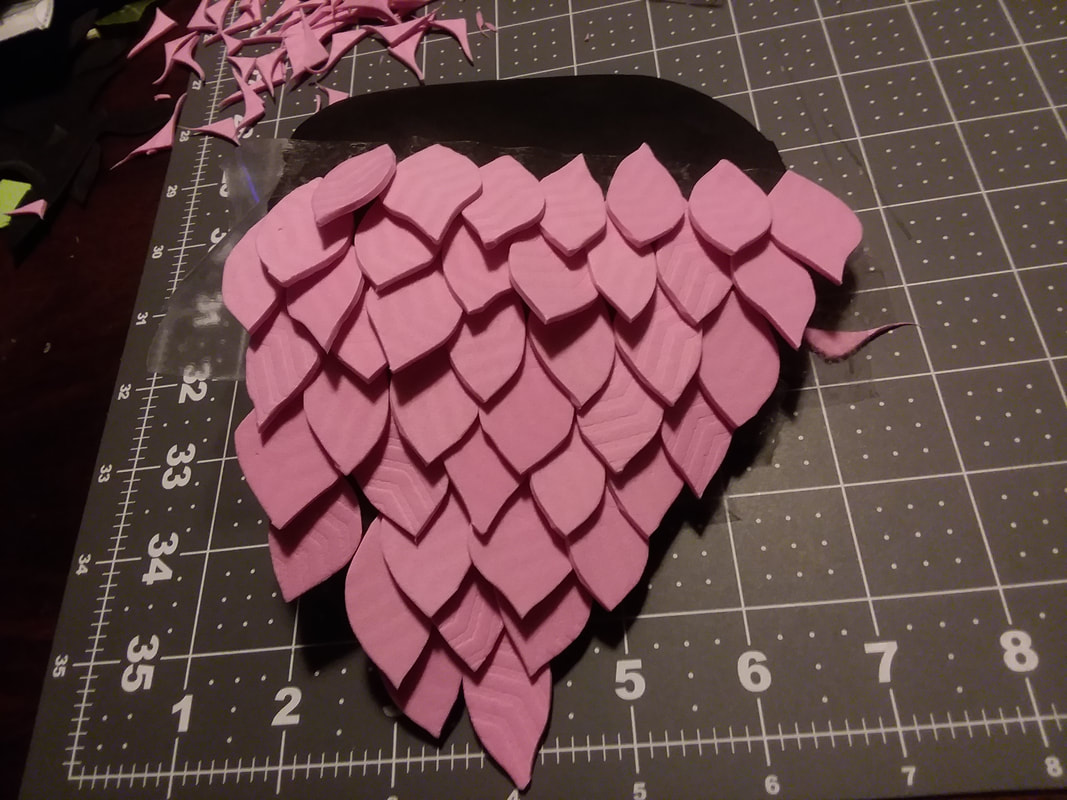
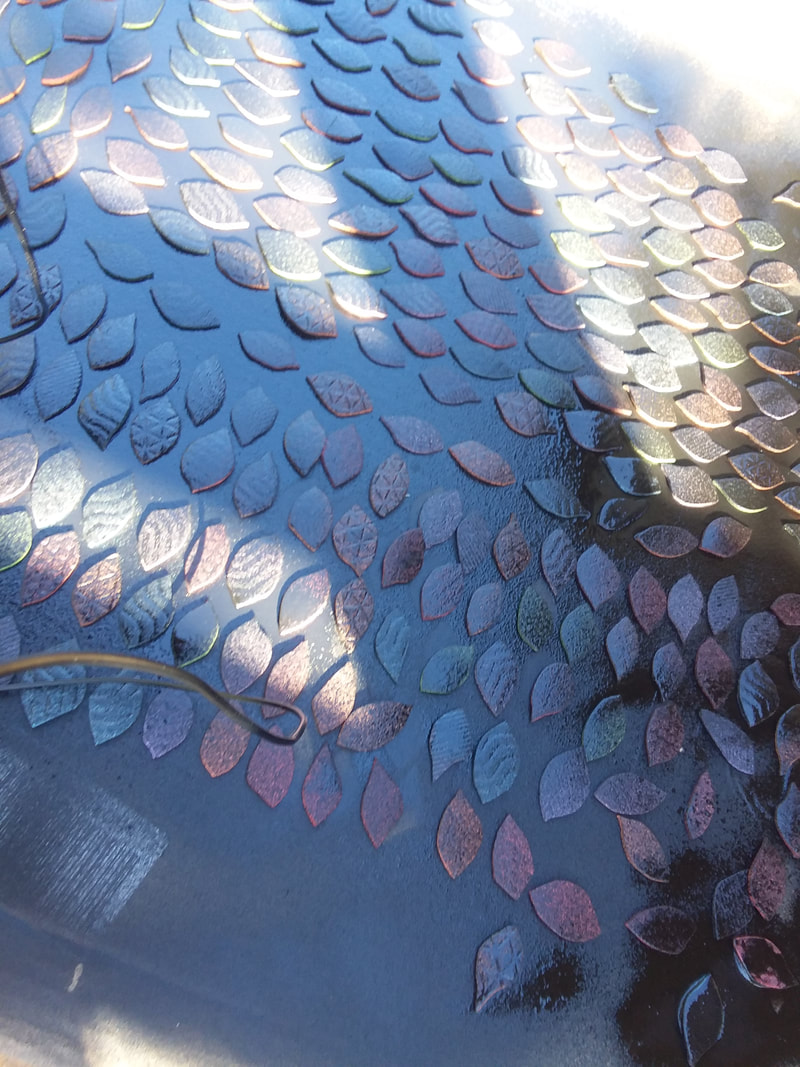
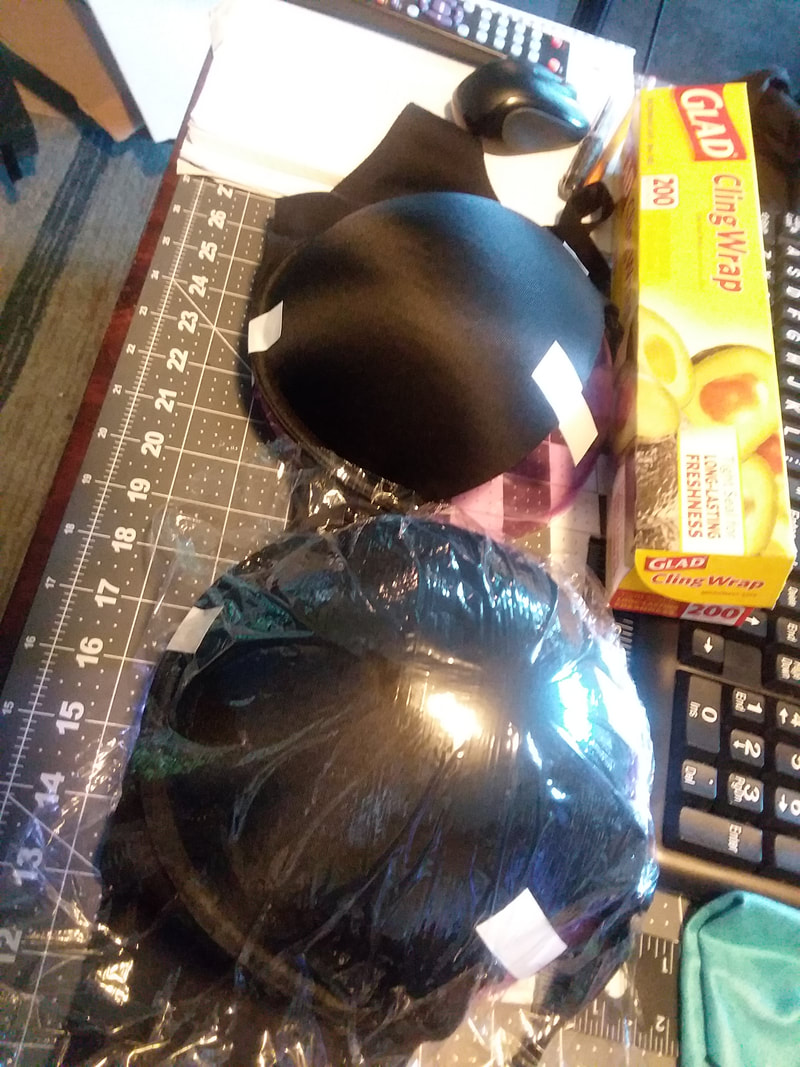
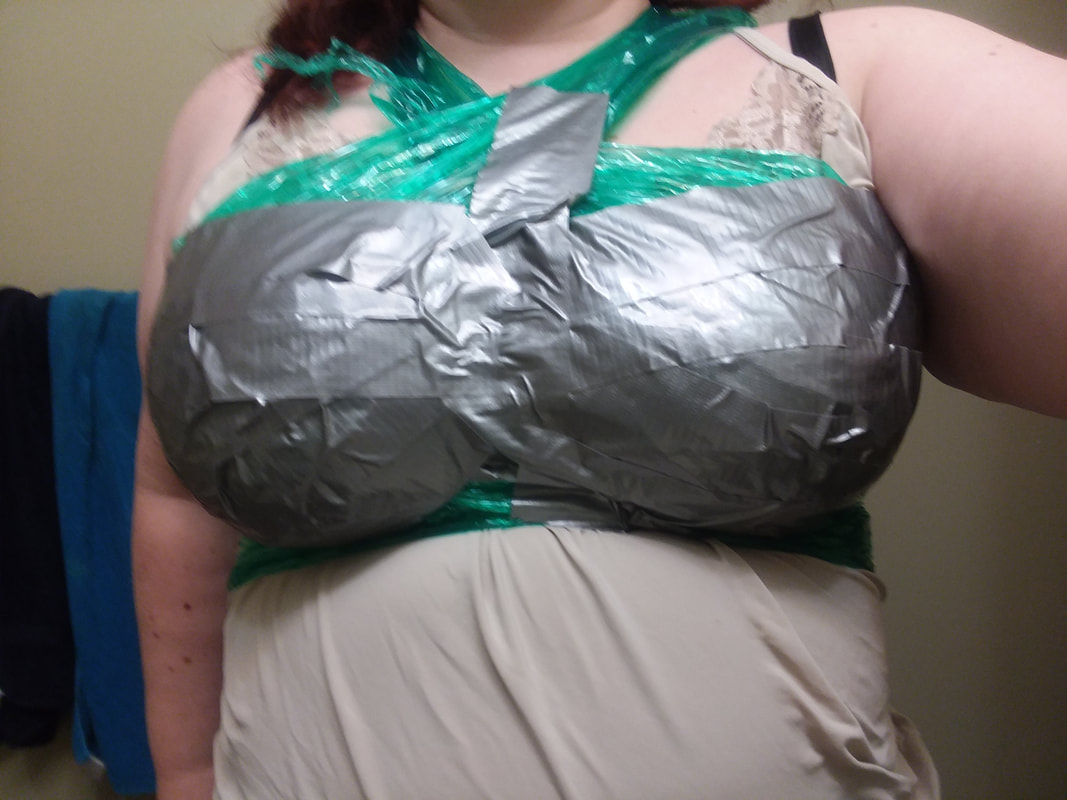
Well, it looks great, but that fabric is weak. So fricken weak. It disintegrated within a few hours of the con. Unfortunately, though they looks great, the leaf scales are also grabby fuckers. Every time I moved my arms, they grabbed the already precarious sleaves. After a while thye started falling apart. I ended up borrowing a tshirt from a friend to keep from exposing my shame to the kiddos. I need to figure out a better way to implement that.

But Saturday at the con was the DnD open. It was fun, but also frustrating. It was not well written, so there were huge holes in implementation. You don't have a timed side adventure with many, many arbitrary parameters, then expect the player to know the paramenters. You can't possibly complete a timed game like that. One fun part, though...THIS HAPPENED!!!
Picture
Picture
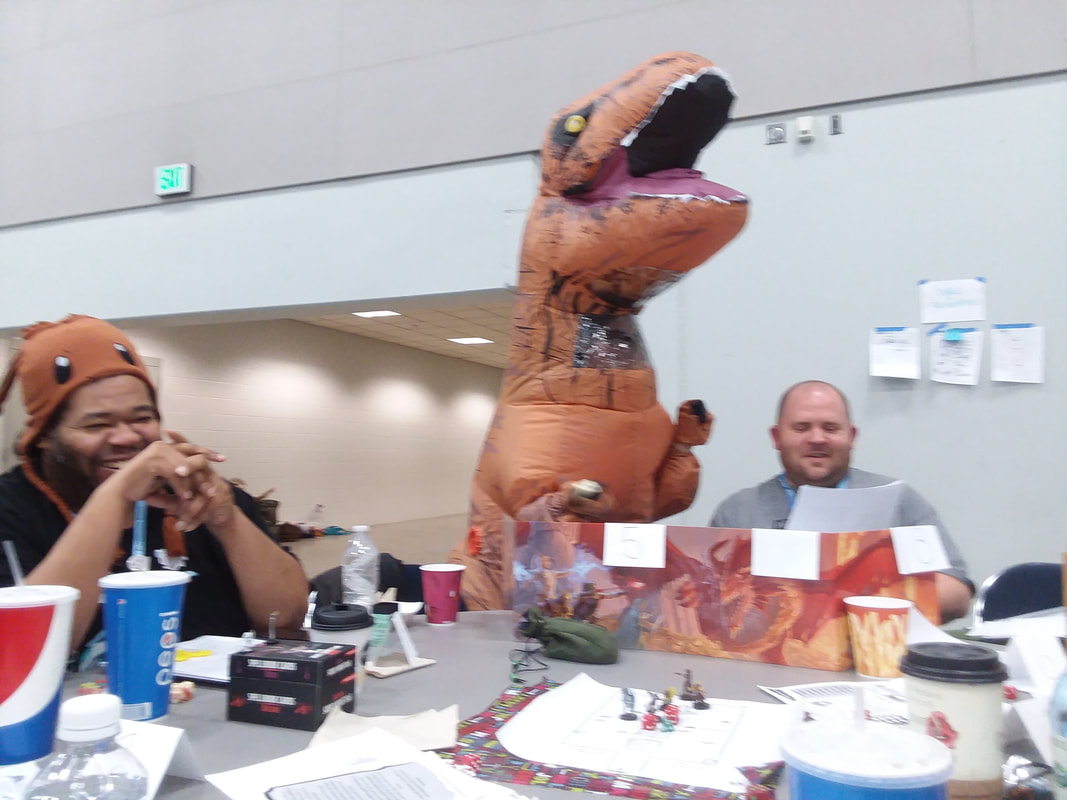
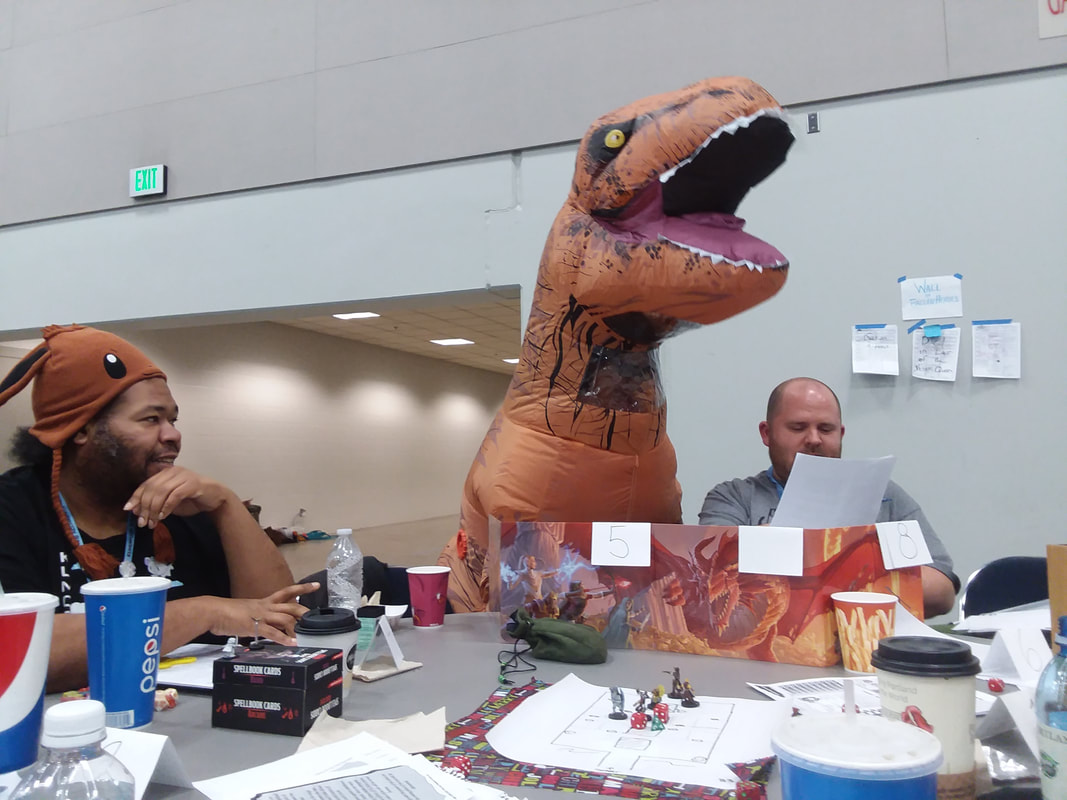
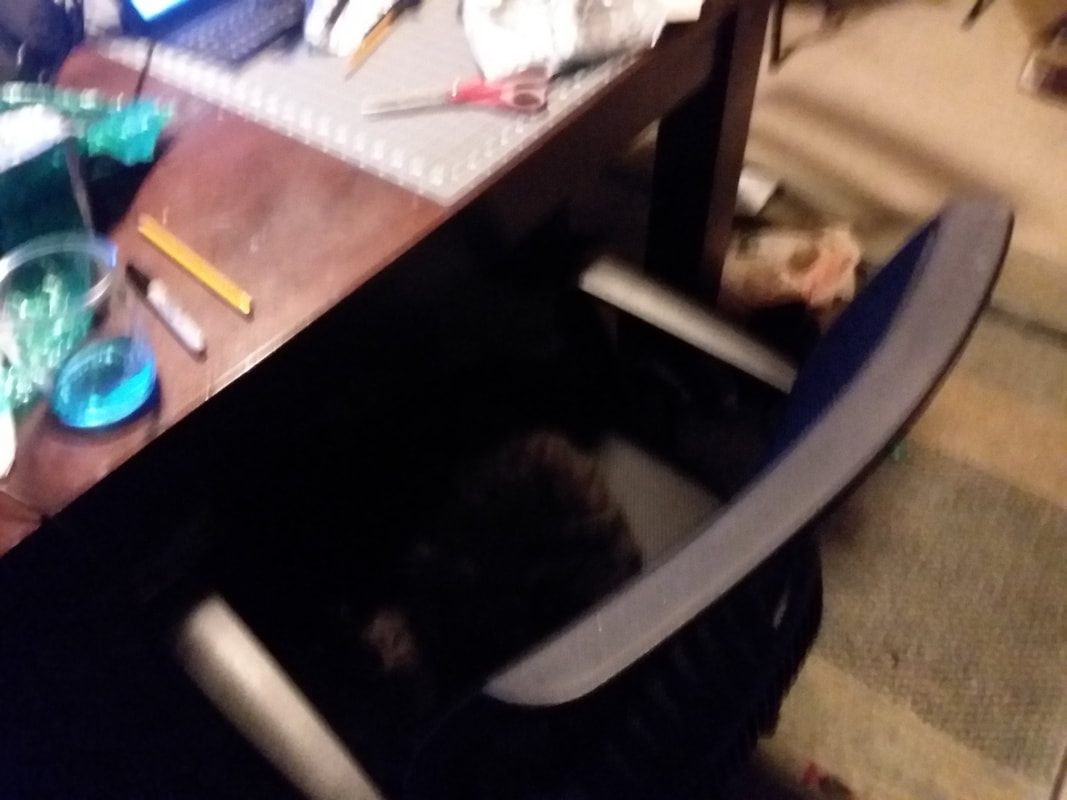
This, my friends, is a teleporting T-rex. And he rolled a mondo D20 the size of a baseball. the guy on the left is my friend Krush. My friend Krush was playing a character that has polymorph And he turned me into a great ape. Great Apes have 157 HP. They ahve an armor class of 12, so easliy hit, but can withstand a ton. So basically, we had a Kaiju fight on our hands. T-rex vs KING FLIPPIN KONG!! We almost won too, if the encounter hadn't run out of time.

But anyway, I wish I had more to report. I went to several panels on Friday. But because of joint pain I ended up going home early. The DnD lasted from 9:30am to 6:30pm on Saturday, and I did not get much time to do anything else. We even had only 30 minute break for food in the middle. Barely had time to get that.

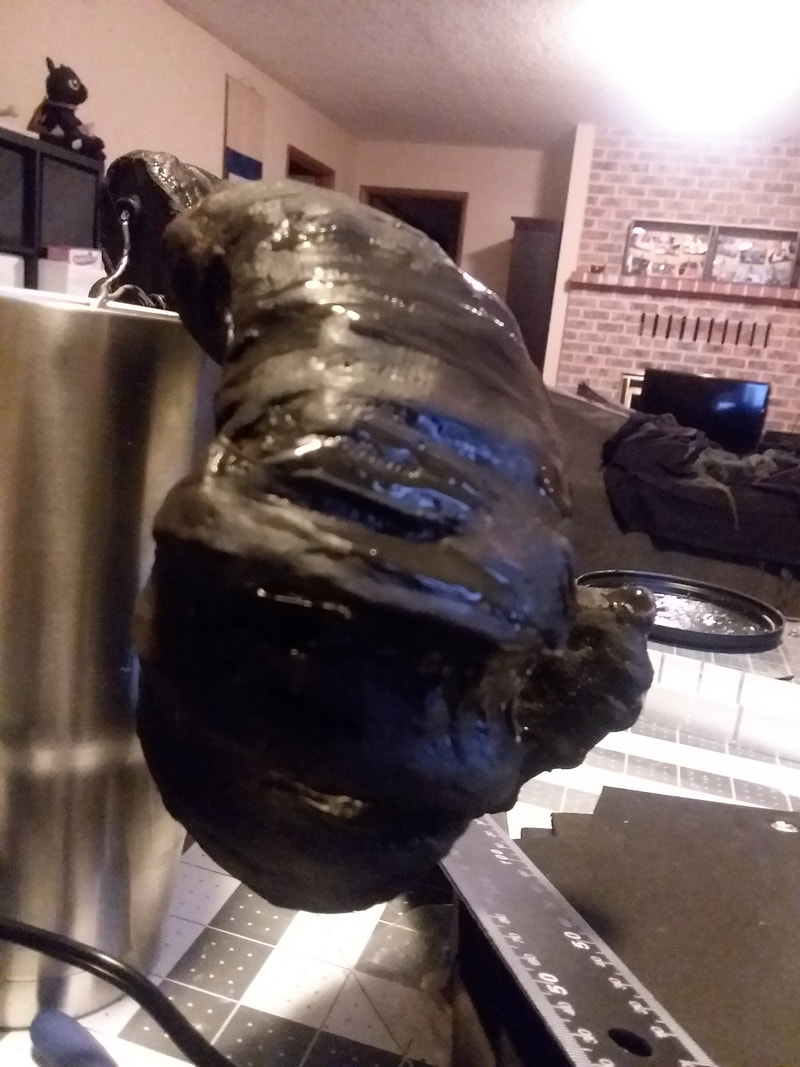
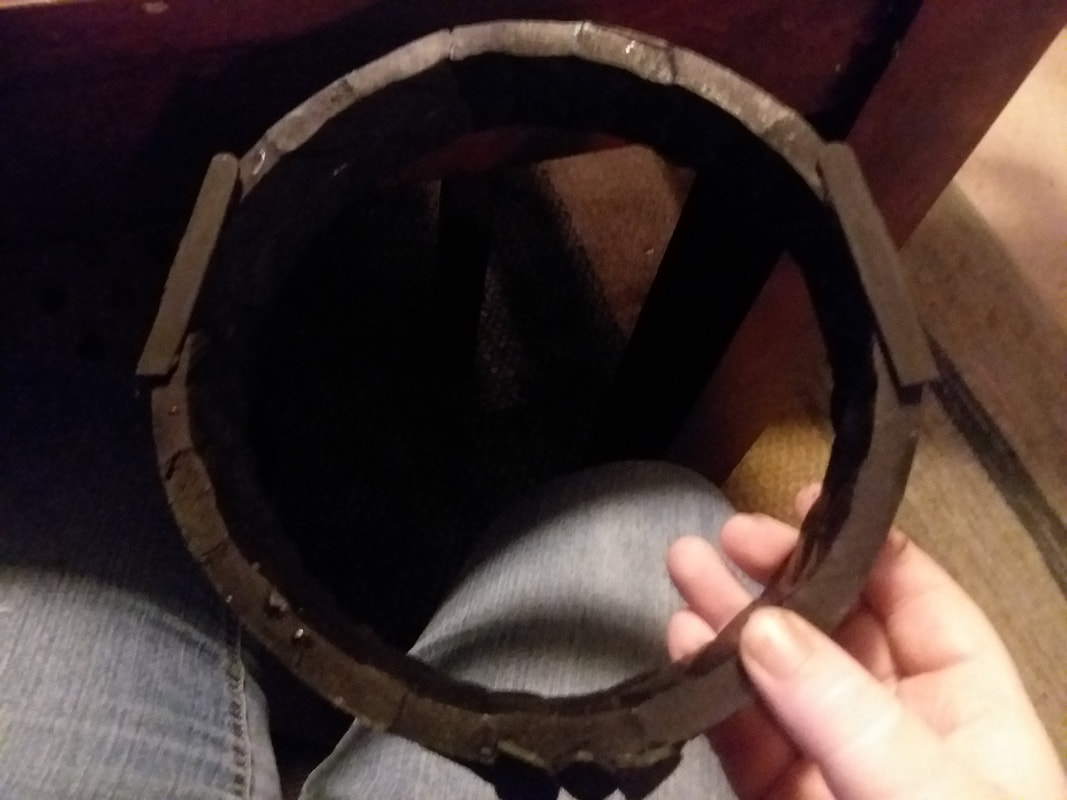
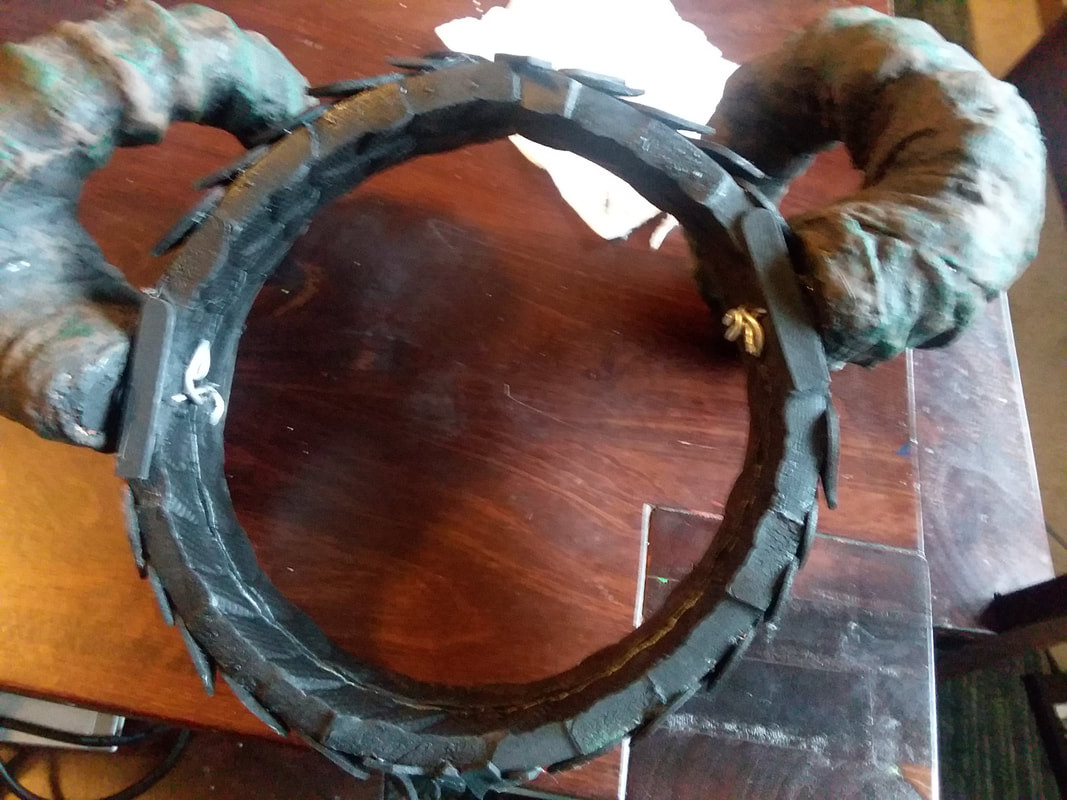
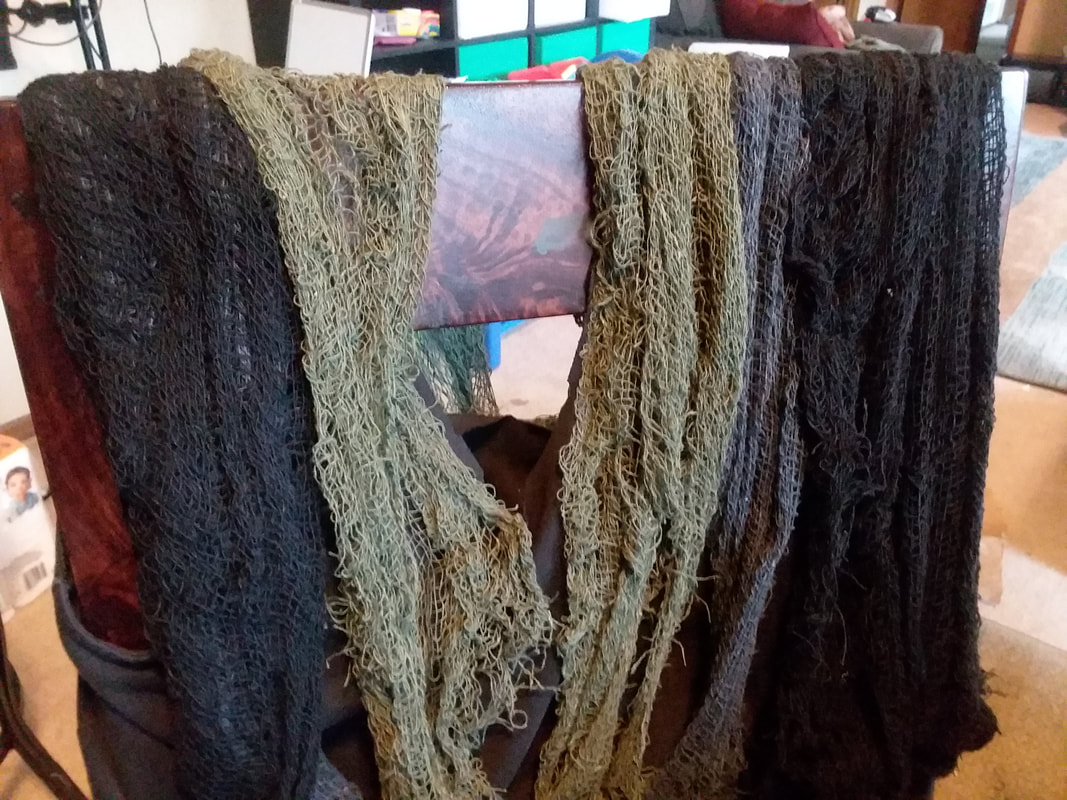
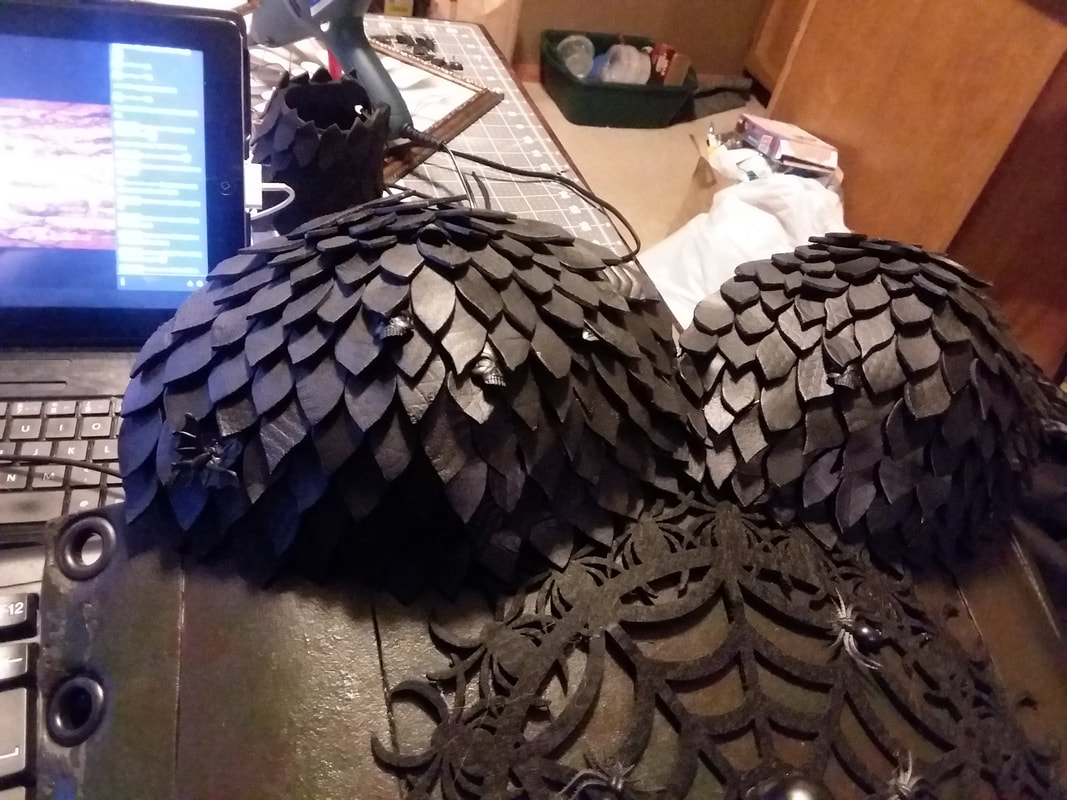
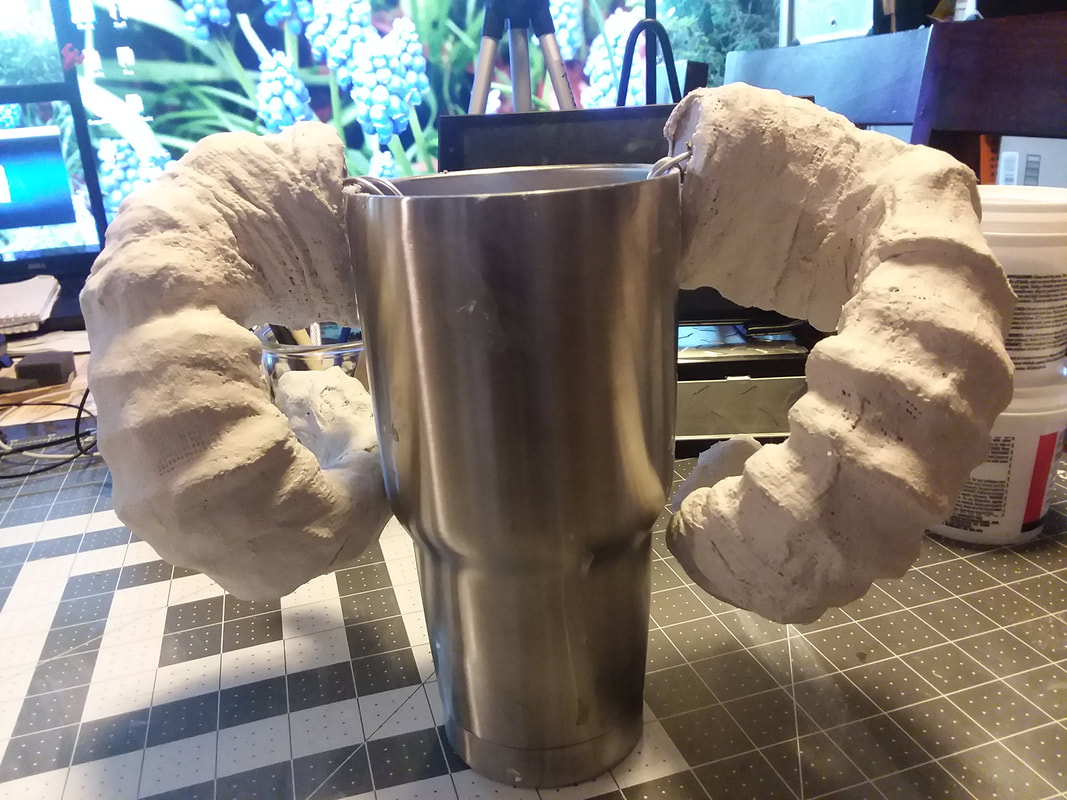
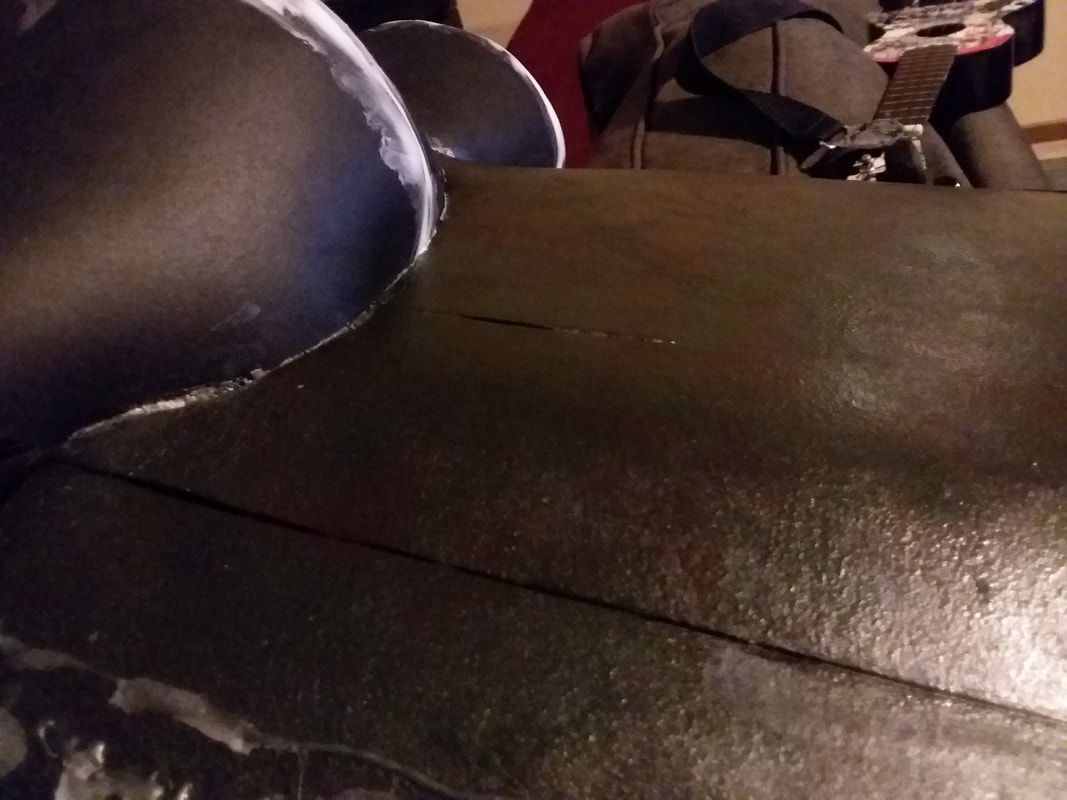
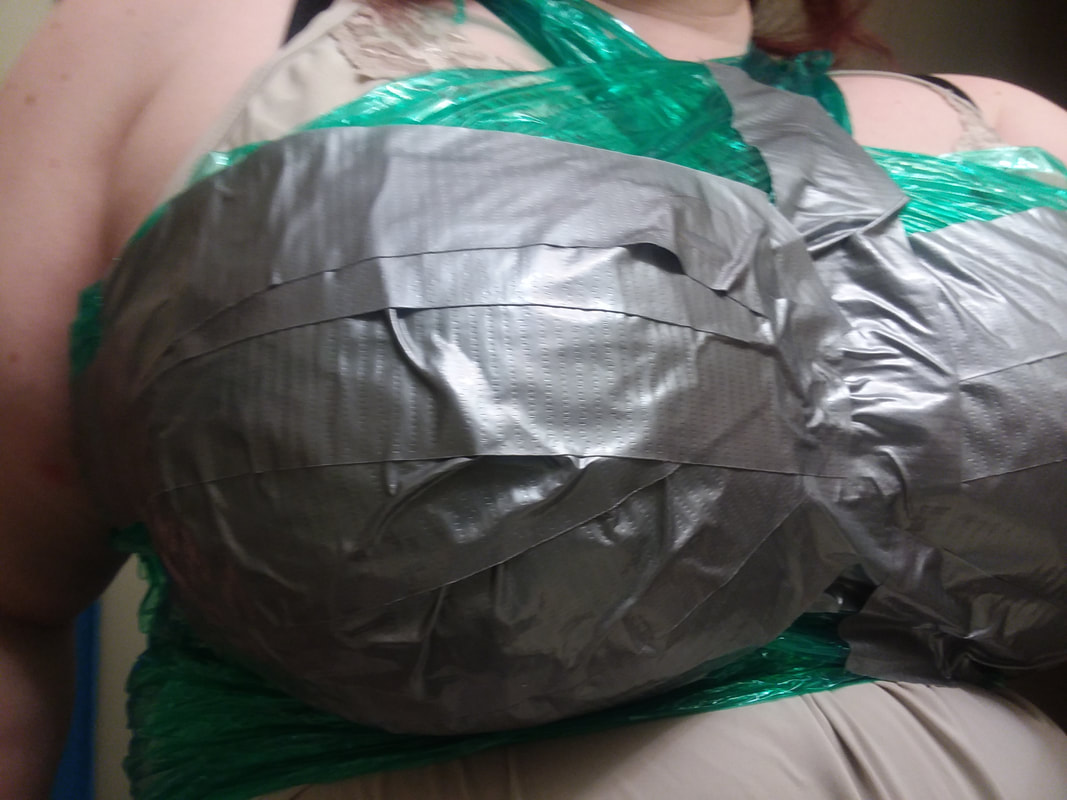
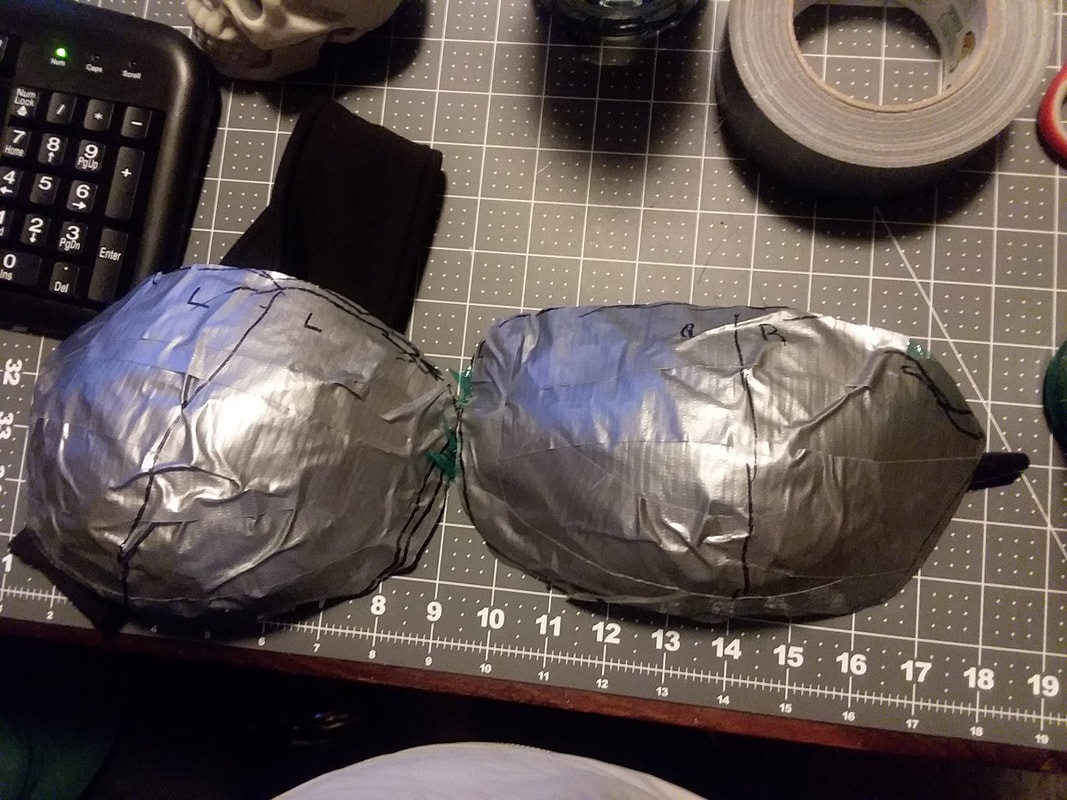
So the torso armor and the horns worked well, the skirt is ok. But the shirt...I really need to rethink that. Krush suggested I try a bodysuit. See if I can get one that is flesh colored and glue the fabric to it a bit better so it doesn't get ripped off or disintegrate. I will think about it. For now, I need to go lay down and put my ankle up. I really wish this would jsut stop happening.
0 Comments

Closer to done....

10/24/2017

0 Comments

 
I really need to blog more often when I am doing so much in a short period of time. Hold on to your hats, and expect a ton of pictures. Sorry. I will try to keep it shorter.

So...I think I will start on the horns, since that is where I left off last time. So I headed to Michaels and got some new paints. They worked really well. I am so glad.
Picture
Picture
I then set to working on the circlet they set on. I glued one of my dragon eyes to it, and added leaves. I am pretty happy with how it turned out. I was concerned about the horns being too heavy for the EVA foam, so I glued some popcicle sticks to the top and bottom, right where the horns attach, to give it a little more support.  However, there was a gap between the horns and the circlet. I dug around a bit and found some black plastic roses with leaves on the stems. I stripped em off and glued em to the horns. I think it looks alright.
Picture
Picture
Picture
Picture
Picture
Picture
Picture
Picture
Next I started working on the top thingy again. I cannot sew worth a damn, and I know it, and yet I insist on designing this outfit with stuff that requires sewing. On fabric that is pretty resistent to sewing. I finally ended up gluing the fabric to an old tank top. The sleeves gave me a ton of trouble. There was nothing to glue them to. I tried sewing them into a tube. They fell apart disappointingly.
Picture
Picture
Picture
Picture
After a couple of days of brooding about it, I finally decided to glue the ends of the fabric to a strip of solid fabric, then glue that to the tank top. That worked beautifully.
Picture
Picture
That finally figured out, I decided to add some embelishments. I got some tiny skull faces, and some bats, and glued them to the circlet, torso of the ormor, and in the fabric.
Picture
Picture
Picture
Picture
Picture
Picture
Next I need to figure out the greaves. Then the skirt. I already removed the lacy upper layer of the skirt I am going to use. Now I need to glue creepy fabric, the same that is in the top, all over it and add spiders, bats and skulls. I also need to figure out makeup. It is getting pretty late, so I am going to head to bed. When I get more done, and indeed when I have pictures of the full outfit, I will post again.
0 Comments

Getting horny.....

10/20/2017

0 Comments

 
So now school is done until the 1st. I passed all my classes. I can concentrate on getting this bugger done before the con...which is next thursday.

I decided to tackle the headpiece. I am still unsure what to do with it. If you remember, a few months ago I made rams horns out of cardboard and wire and hot glue. I haven't done anything beyond that, and I thought about incorporating them into my costume. In order to do that, though, I needed to finish them. They were still just wire, cardboard and foam board held together with hot glue. First I took some plaster fabric...the kind they use for making casts when you break an arm or a leg. I covered them with that. I was going to then reshape it with spackle, but after they were dry they were so heavy I didn't want to do anything that would make them heavier, so I decided to use them as is. If you want to watch that process, I Periscoped it. You are welcome to watch it HERE.
Picture
Picture
I waited overnight to allow them to set and dry properly. Then I took them out to the garage and spray painted a brown undercoat. I fully expected it to absorb into the plaster...which it did. Then I used the same brown and green paint I used on the torso and greaves to paint the horns. They are now dry and they look..kind of poop like. They look like curly poops. Now I get to figure out how to de-gloss them. I did not realize the paint was that glossy. I am unsure how to do this. Here are all the pics I tok of the progress.
Picture
Picture
Picture
Picture
Picture
Picture
Picture
Picture
Picture
Picture
Picture
Picture
Picture
Picture
See...curly poop. Sigh. Later on today I will try rubbing them down with steel wool. See if it helps. I may have to buy non-gloss paint and repaint it though. Humph. Literally shitty. :P
0 Comments

And now you get part of the rest of the story...

10/15/2017

0 Comments

 
 As we are getting closer, I have stepped up my building on the cosplay. I still haven't turned in my final project or taken my last final (shame on me, procrastinationg those for this), so I am attempting to work on both at the same time. Fortunately I have my final scheduled for tomorrow morning, and as soon as I am done editing it I will just turn in my final project and get whatever they want to give me.

After I finished the leaves on the boobs, I glued my spider web doily and a skull. I took a white plastic skull, cut off the back half, then sprayed it with Plasti-dip. Yup, that junk is my new favorite stuff. Then I glued the skull and some plastic spiders to the front of the torso piece. That is all I am going to do for now, until I get the rest of it done. I did hit the boobs with a coat of black spray paint while i was making more leaves to glue to the bracers.
Picture
Picture
So at some point I decided to make the bracers match the boobs on the torso piece. So I cut out 200 more leaves from some black 2mm foam I ordered off Amazon. The dollar store stuff was great, but textured, and I didn't have time to try to de-texture them. I also decided just to use Plasti-dip, and not put an additional layer of spray paint on them. I thought about it, and decided there really was no point in putting black spray paint over black Plasti-dip. So last night I glued up the bracers. I need to clean up the hot glue hairs on them, but otherwise they didn't turn out too badly.
Picture
Picture
I also made the greaves. I started out thinking I would do full leg armor. That changed quickly. but I used the packing plastic wrap I used on the boobs to cover my leg. Then I added some duct tape, and drew out my pieces. Then I cut it off my leg, and cut the pieces apart. Now, even if I am not drawing on myself, free handing is not my biggest talent. Once I cut the tape off my leg, it was obvious I had missed a bit. But I found two points on each edge that were close and used them for guidelines.
Picture
Picture
Picture
Picture
In the chair there is my helper. As soon as I got up to find the scissors, he took over keeping my chair warm for me. :) As is evidenced by the last picture, I was able to get 3 pieces...thigh, knee and shin. I transferred these to a paper grocery bag and did my best to get an even pattern piece. I discovered that if I secured a small edge piece from the EVA foam on two points to the paper with handi-tac, I could approximate an even curve for the top and bottoms of each piece. I do not know why I didn't think about that before. Works SOOOO much better than trying to free hand if you don't have drawing skills.

So then I cut all the pieces and discovered a flaw in my plan. The 1/2 inch foam was way too thick on it's own. And also, my knee piece wouldn't work.
Picture
Picture
Unsure what to do about this, I took a look at the skirt I am using, and determined it was long enough you wouldn't see thigh armor anyway. I then tried different materials for the knee piece. Nothing worked easily, and I am running out of time, so I decided to just use the shin pieces and use some of the creepy fabric over the knees.

So I moved forward with heat treating, curving and Plasti-dipping the greaves. Greaves...a fancy word for those shin bits of armor. I tied them to my shin for curving. Which was a great idea, with the exception of one thing. Ya see those grommets on the sides? Well, when you hit those with a heat gun they tend to absorb the heat. And burn your skin. Worked much better after I put leggings on under them. I finished them off this morning by painting the background brown and stenciling some ivy in green on them.
Picture
Picture
Picture
Picture
Picture
Picture
I did work a little bit on the shoulders and front of the shirt piece. I have not even gotten close to being done with that. The saga continues...noward and, um, downward, and all that.
Picture
Picture
0 Comments

Boobs..the continuing continuing saga...

10/13/2017

0 Comments

 
Part le deuxiem (part 2)

So after that, I started getting worried that the white from the caulking would show through. After a bit of deliberation, I decided to cover over it with black. Only, I don't have any black paint, just black nail polish. So I used that. It stuck just fine. And I had no issues gluing the leaves to it. However, there are a few small holes between the leaves that would normally be unnoticeable, but now are blaringly obvious because of the shine. In future, I would not use nail polish for that.
Picture
Picture
So whle I waited for the leaves to finish curing, I started turning my brain to how to attach the sides together. My original idea was to glue stretchy fabric. That failed. Spectacularly. See, my boobs and my butt are way too big for that idea. If I made it stretchy enough to get over one of those bits, it would not hold it close enough together to be effective. So that was a bust. So the next thing I thought of was to add gormmets and lace it up the sides. I ordered some off Amazon, along with a setting toold and a hole puncher. What I wanted was between 1/4 inch and 1/2 inch in size. Large. You know, like the kind used on tarps, etc. Also...grommets...grommets are larger, heftier and are made to hold up to more wear and tear. Eyelets are not so large, flimsier, and are meant for lightweight clothing or shoes. Apparently someone on Amazon does not understand the difference. Nor do they know how to size thier product. Cause this is what I needed, and that is what I got.
Picture
Picture
Learn the difference people. Also, I learned that just because you work in a hardware store does not mean you know what a grommet is. How do you NOT know what a grommet is if you work in a hardware store? And when you stock "grommets", why would you carry tarps that use 1/2 inch grommets, then right next to them sell "fixing kits" with "grommets" that are 1/4 inch or smaller? There are a couple of hardware stores that have lost any respect I may have had for them. But when I did finally find a few that would work, they worked great. Except they were too lightwieght. Only 1 in 5 would hold. Grr. So I ended up going back to Amazon.
Picture
Picture
These were the right ones, wrong color. But the setter and hole puncher worked great on the foam, and I was able to prove my concept.
Picture
Picture
I went back to Amazon and found an industrial supplier who did have the size and heftiness I needed. They also had gun metal grey. Perfect!

So while I was waiting for those to arrive, I went back to the leaf scales and boobs. I spent 5 hours glueing and setting. I tested with tacky glue and hot glue, and hot glue won out as far as durability.
Picture
Picture
Picture
Picture
Picture
Picture
Picture
Picture
Picture
Picture
Those last 2 pics are of me in the thing. I am very happy with how it turned out. As you can see I did get the grommets and I did install them. That is not how I plan to tie it together. I just used the halloween scarves to check that it works fine. I need to reglue a few spots, and hit the leaves with another coat of spray paint, but other than that it is great. I am so excited. I did not expect it to go that well.

So the next thing I got going are bracers. I got them patterned and cut out, but I need to make more leaves to glue to them. I ended up cutting them in half cause my fat forarms don't like them that long. I accidentally started gluing the leaves to the wrong piece, so now I don't have enough left over to cover both bracers. I meant for them to match the boobs exactly, but that isn't going to happen now. they will be close, but not the same. Oh well.
Picture
Picture
Picture
Picture
On the table are remnants of what I was originally going to do with the bracers. I was going to use the crinkled foam to try tomake em look like fabric. Then I saw how many leaves I had left over and decided to make em match the boobs. I cut em down just after the 3rd hole. I may try making another set longer and see which works best.

Either way, I no longer have enough leaves to glue on them, so I have to make more. I got some 2mm black foam in yesterday. I cut about 200 out. I have been waiting for more Plasti-dip, which is now delayed until Tuesday. I need it before then so I can get to gluing, so today I am heading out to see if I can round some up in meat space. I have also decided to make greaves as well. So I need to work on the fabric top and the greaves. More update when I have more to update.
0 Comments

Boobs..the continuing saga...

10/12/2017

0 Comments

 
So it has been a while. A lot has happened in the last week or so. I only have a few minutes right now, so I will break this up into several parts.

When last I left, I had glued the boob parts together, but nothing was done with them. The seam was popping a bit, so I filled em with caulk.
Picture
Picture
Then I set to cutting out all the leaves I wanted to use to cover the boobs. I meant them to look like scales made out of leaves. Maybe they did, I dunno. But that was the intention. I cut out 330-ish leaves, each individually. Crap that is a lot of leaves. I used 2mm thick foam. One of the biggest issues with that, is the thinner foam is also a lighter foam. Trying to heat treat it was impossible, and painting em was hard.
Picture
Picture
I took em outside and tried to spray em. I had a hell of a time getting them to sit still and let me paint em. I started with Plasti-dip. I love this stuff. It works as a primer and an undercoat. The leaves that ended up with the plasti-dip are flexible even with the spray paint over them. I ran out and there were a few that ended up without the plasti-dip on em. Those ones were crunchy and the paint cracked when I tried to bend em to glue em to the boobs.
Picture
Picture
Oh yeah...I also had a helper. That is Floofy Butt. Every time I turned around he was trying to get into the 2 inch high box I put the leaves on, or he was trying to sprawl across em. I had to sit there between layers to make sure he didn't walk off with any in his fur.
Picture
Picture
I also accidentally entrapped a wasp. I do not feel bad about that. Wasps are evil, evil creatures.
Picture
Picture
So next I glued the finished boob pieces to the stomach piece. I guess I don't have a lot to say about that. Except the curve of the boobs were not the same as the curve in the stomach piece. I think the next time I do this, I will make the boob pieces first, then cut the curve in the stomach piece to match.
Picture
Picture
I gotta go now, so thus endeth part 1. I will be back later with the rest of the story.
0 Comments

Boobs....

10/3/2017

0 Comments

 
No, not the salascious kind. I worked on the boob forms for my EVA foam. I had planty of fails. I watched a bajillion YouTube videos...most of which were crap. Tip...when you are making a tutorial video don't leave out any steps. Even if you think your audience already knows that part. I got the concept, but without crucial information, execution was...less than stellar.

So some of the tutorials called for forms. So I did a look around the interwebtubes, and found not very much for my size. Most metal bowls big enough for my boob size have a large flat area on the bottom. To keep them from rolling around. Because they are big. I did some guestimating, and ended up with these...a 5 inch metal bowl from Ikea, a 10 inch hampster ball, and a piece of random plastic kind of sort of in the right shape-ish.
Picture
Picture
The 10 inch hampster ball fit the best inside my bra, so I started with that. The idea was to tape my spare bra to it, cover it with plastic wrap, then cover that with tape to make the pattern. That worked up to a point.
Picture
Picture
I mean, the tape on the bra was mainly to keep it from sliding off while I worked. It fit so perfectly. I knew I was larger, but wasn't aware I was that large. :) The problems started when I began taping. See, I decided to use faux colored electrical tape I got at the dollar tree. That crap is stretchy. Stretchier than I realized. What happened is it streteched too much while I was applying it, and when I took the final product off the form it...um....deflated, for lack of a better word. It did not hold it's shape. I love this idea. And it worked ok sorta kinda ok, if I just A. used non stretchy tape and B. made sure it was loosely put on there, not tightly. Evidence of my epic failure.
Picture
Picture
So at that point I rewatched some of the videos, and regrouped a bit, and decided to try a different approach. First I cut what looked like a pacman, based on one person's video. There were no instructions on how to get the right measurements, though, so that ended in epic failure. I forgot to get pics of that attempt. So next attempt....maybe tracing the hampster ball would help. Nope and nope.
Picture
Picture
Those are all the pics I got of that step, though I wish I had more just for the comic relief. Seriously...that was a total epic over the top failure. Just the circle alone wouldn't shape. And trying to figure out how much to cut out to try to help it ended up in foam confetti. No one...I mean NO ONE...has instructions on how to get the right measurements for this step. That is so frustrating. I am not a seamstress. I can't sew, I don't get sewing. I tried, learning one on one with a master seamstress to learn how to sew for 5 fucking years. I don't get it. I am guessing the reason no one includes this info is because they assume if you are doing costumes you know how to sew, and therefore know how to make this work. How to do that part right is an important step. And not yell Evil Ted at me. That guy does not have the answers either, just already made patterns that don't fit as is, and I do not have the skill or the knowledge to alter them. They are useless for plus sized, odd shaped people. Yes, this part frustrated me.

I had tried earlier to make myself a pattern by taping myself up. That failed spectacularly, because I also have joint issues and can't reach places that need to be reached, and don't have anyone else around to help me. That is why my first pattern ended up just the bottom part. Because I COULD reach most of that. Well, I sat down and had a bit of a think, and remembered I have a roll of furniture plastic wrap on a handle dispenser for moving. I thought maybe I could use that just to get the upper part, just enough to cover my boobs, and loosely put some duct tape on it. That worked. It looked aweful, and I had to make a bunch of alterations afterwards, but I did get a general boobish shaped thing when I was done. Warning: pics of duct taped boobs next.
Picture
Picture
Picture
Picture
So that kind of sorta worked. I got something workable, but not perfect. But whatever, it was the best I got thus far. So I cut one of them down the middle to make 2 parts, and taced the bits onto white paper. Then I taped those bits of paper together and tried it on to see if that ruined the shape. It did as little, but not enough to start over. So I untaped em and traced them onto an old grocery bag to make the pieces more durable. Then...you guessed it...I traced and cut the pieces of foam. Then I taped those pieces together to check the fit.
Picture
Picture
Picture
Picture
Worked ok. Because I am not good at freehand, though, the lines were not exactly smooth. It is foam, and I was able to kind of smoosh them together, but it wasn't great nor was it ideal. But after untaping them I took out the heat gun and used the 5 inch metal bowl to kind of shape the pieces into curves. They did not end up the shape I wanted, exactly, but they are workable. I think if I do it this way again I will need to get the 7 inch bowl. This one worked barely, but it was not the right size so I had to keep rolling the foam over the surface to get the whole thing to curve. But I did it, glued it, and let it set over night. Not spectacular results, but results none the less. I can use em.
Picture
Picture
I chose not to use the second duct tape boob, but instead make two of the same one. this is because I ended up with 2 different shapes, and I decided I could just flip it and use it for the second boob instead of having 2 different shaped boob pieces.

So I let em set over night. I didn't get the seams as close as I want. They are pulling away. My guess is it is because of how unstraight the cutting lines are. They seem solid enough, though. There is a tutorial online on how to fill gaps with caulk. I think I will try that and smooth them out. I don't have a Dremmel nor do I have the budget for one, so I have some decisions to make on how to finish them. I was going to just use a heat tool to carve leaves into it. I think that they are not pretty enough for that now. If I didn't decide to put seems down the middle of the front that may have been ok. But I think that would make an obvious detraction from the overall costume now. I think I will try to figure out how to layer cut leaves onto it. I wanted them to look like leaf scales. That may not be feasable. I also have to determine how to attach them to the stomach part of the top.
Picture
Picture
So I have decided if I do this again, I am going to use the hampster ball and bra like I did in the first attempt, but I will use duct tape and the gentle technique I used on the last one. I think I will get a much better, more consistent shape that way. I may try to redo them. Hell, I may have to redo them if I fuck em up while trying to attach leaves. But I did learn a lot. So...uh....bonus?
0 Comments

    Author

    Eleanor...nerd, musician, stop motion animator, techy, crafty. But not in the crafty crafty way...I just like making things. You can find me on Twitch & Twitter @TeaWeaselStopMO & Tiktok.

    RSS Feed

    Picture
    Tips/ Supply Fund
    If you feel like contributing to help me upgrade equipment or pay for building supplies, feel free to click this button. Anything you contribute is appreciated muchly.

    Archives

    August 2021
    May 2021
    March 2021
    February 2021
    November 2020
    October 2020
    July 2020
    March 2020
    January 2020
    December 2019
    November 2019
    October 2019
    August 2019
    July 2019
    June 2019
    May 2019
    March 2019
    February 2019
    January 2019
    December 2018
    October 2018
    September 2018
    August 2018
    July 2018
    June 2018
    May 2018
    April 2018
    March 2018
    February 2018
    January 2018
    December 2017
    November 2017
    October 2017
    September 2017
    August 2017
    July 2017
    June 2017
    May 2017
    April 2017
    March 2017
    February 2017
    January 2017
    December 2016
    November 2016
    October 2016
    September 2016
    August 2016
    July 2016
    June 2016
    May 2016
    February 2016
    January 2016
    November 2015
    October 2015
    September 2015
    August 2015
    February 2015
    September 2014
    April 2014
    March 2014
    January 2014
    December 2013
    November 2013
    October 2013
    September 2013
    August 2013
    July 2013
    May 2013
    April 2013
    March 2013
    February 2013
    January 2013
    December 2012
    November 2012
    October 2012
    September 2012
    August 2012
    July 2012
    June 2012
    May 2012
    April 2012
    March 2012
    February 2012
    January 2012
    December 2011
    November 2011
    July 2011
    June 2011

    Categories

    All
    3d Printing
    4th Of July
    Aardman
    Ae
    After Effects
    Allergies
    And
    And...
    Animation
    Animation Rendering
    Aoifa
    Apothecary Cabinet
    Argh Sigh
    Armatures
    Attack Of The Killer Crows
    Audio Recording
    Babel Fish
    Background Music
    Bad Allergies
    Balsa Wood
    Being A Nerdist
    Birthdays
    Birthdays Suck
    Bob
    Bookcases
    Break Dancing
    Bunny Suicides
    Cake
    Chairs
    Chris Hardiwck
    Chris Hardwick
    Chuffiness
    Clay Building
    Cleaning
    Comical Movement
    Compositing
    Computer Fix
    Conventions
    Copping Out For Tonight
    Cosplay
    Craft Doo Dads
    Craft Doo-dads
    Craft Hoarders
    Crafting
    Creative Commons Copyright
    Creative Constipation
    Creativity
    Crocheting
    Cushions
    Dalek
    Damien Kulash Is Awesome
    David Tennant
    Dialog Matching
    Dice
    Digital Photography
    DnD
    Doctor Who
    Donation
    Douglas Adams
    Doulgas Adams
    Dragon Stop Motion
    Eddie Izzard
    Eddie Izzard Contest
    Eddie Izzard Is A Saint
    Eddie Izzard Sucks
    Epoxy Putty
    EVA Foam
    Excuses
    Failure Leading To Success?
    Fail Whale Video Style
    FAWM
    Fear
    Finally Done
    First Blog Post
    Fixing Things
    Flowers
    Foam-Mo
    Frustrations
    Geek Culture
    Glue Crazy
    Glue Dots
    Humor
    Ineptitude
    Insomnia
    Ipad
    Irish Music
    Jenny Lawson
    Job Hunting
    Job Interview
    Job Search
    Joco Optimism
    Kitten
    Kitty
    Lebowskifest Solo
    Macro Photography
    Magnets
    Mcgyver As A Verb
    Miniatures
    Mini Furniture
    Mini Pottery Wheel
    Minis
    Monkeyjam
    Motivation Constipation
    Movement Test
    Mushy Fish
    Music
    Names
    Neglect
    Neil Gaiman
    Nerdist Way
    New Sets
    New Year
    No Sleep
    Nostalgia
    Nothing Has Made Me Happier
    One Tiny Thing
    Photography
    Pinnacle
    Pinnacle 20
    Podcasting
    Pottery
    Procrastination
    Progress
    Really Small Furniture
    Rip Anatrax
    RL RPG
    RL-RPG
    Rocks
    Sales
    Scene 2
    Scripts
    Sets
    Skills Sets
    Snow
    Somedays You Just Want To Take The Rifle
    Sonic Screwdriver
    Spiders
    Spoon Maille
    Stephen Fry
    Stop Motion
    Stop Motion Animation
    Stop Motion Animation.
    Storytelling
    St Patrick's Day
    Streaming
    Stuck
    Talleg
    Tardis
    Testing
    The Bloggess
    Things I
    Twitter
    Ukulele
    Update
    Venting
    Video Contest
    Video Contests
    Video Cotnest
    Video Delay
    Video Games
    Viscera Cleanup Detail
    Vogon Poetry
    Volunteering
    Wee Furniture
    What The Hell Am I Doing
    Who Needs Sleep?
    Who Needs Sleep?
    Wierd Obsession
    Wigs
    Wil Wheaton Collating Paper
    Write Or Die
    Writing
    Yes
    Yes And
    Yes And. Writing

    RSS Feed

Powered by Create your own unique website with customizable templates.