I have been trying to post f a while now, but it has not been working. Now hat the Aardman course is starting, I wat to try to get my blog working again. ife has been busy and dealing with joint issues, so fixing thishas ot been priority. When you only have so many spoons, you have to do what you can and let some things go.
So this is the first time it has even let me type anything in here, so I am going to assume this is going to post. Maybe
There would be a lot to say here, so I am just goin to sum up and then pic dump.
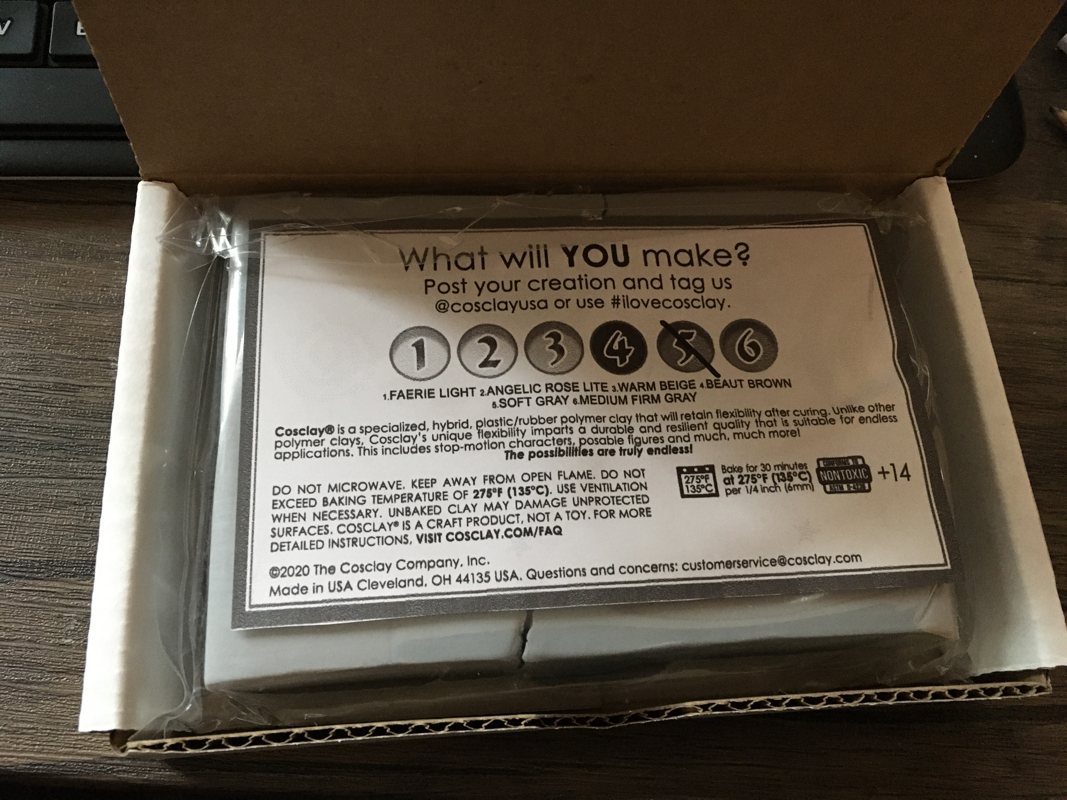
I got the Jazza Scultpure box. There are some cool tools I want to play with, as well as Monster Clay and Cosclay. I have had a chance to play with someof the tools and the Cosclay. I must admit the reason I wanted to get this box was to get a sample of the Coscaly to see if I can animate with it.
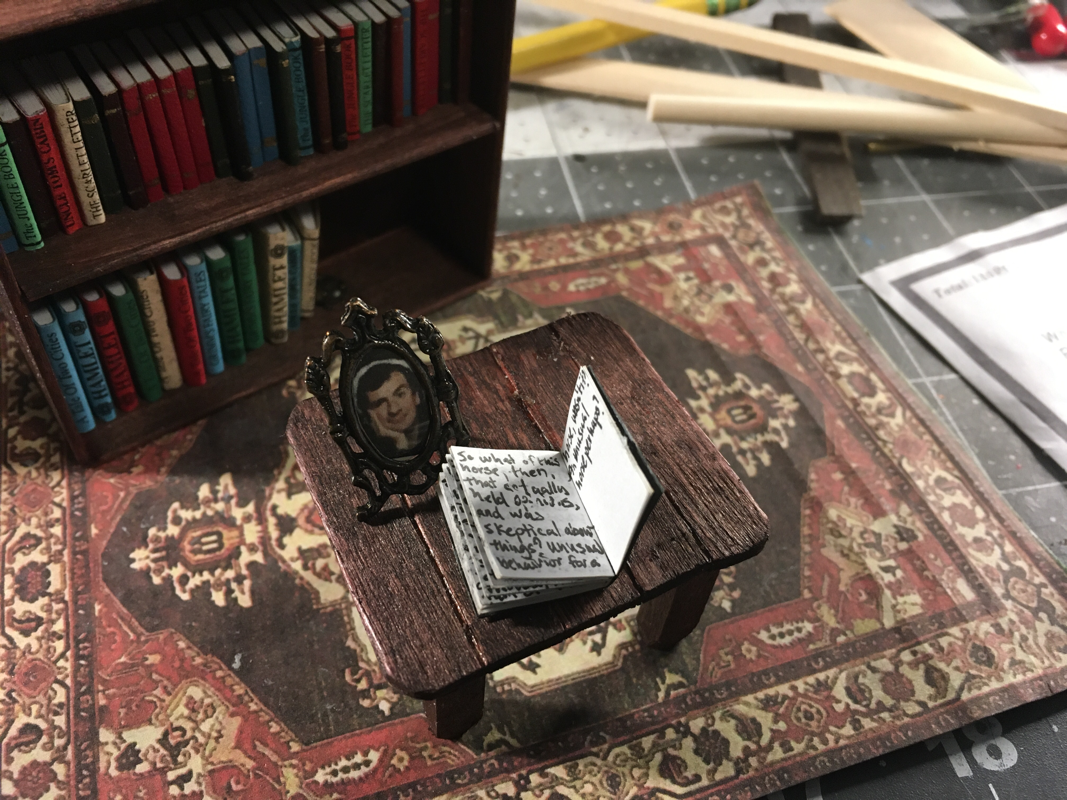
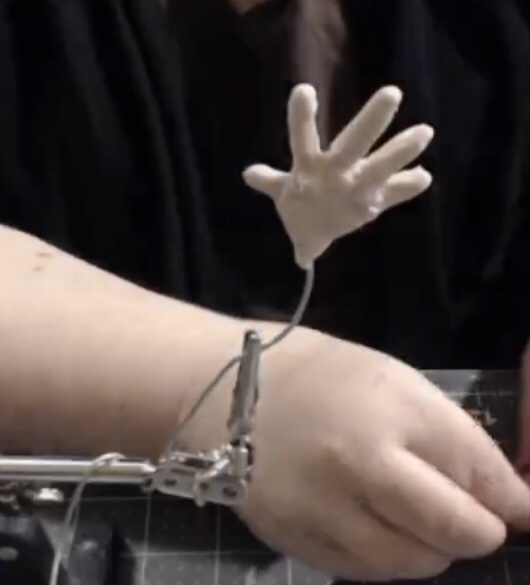
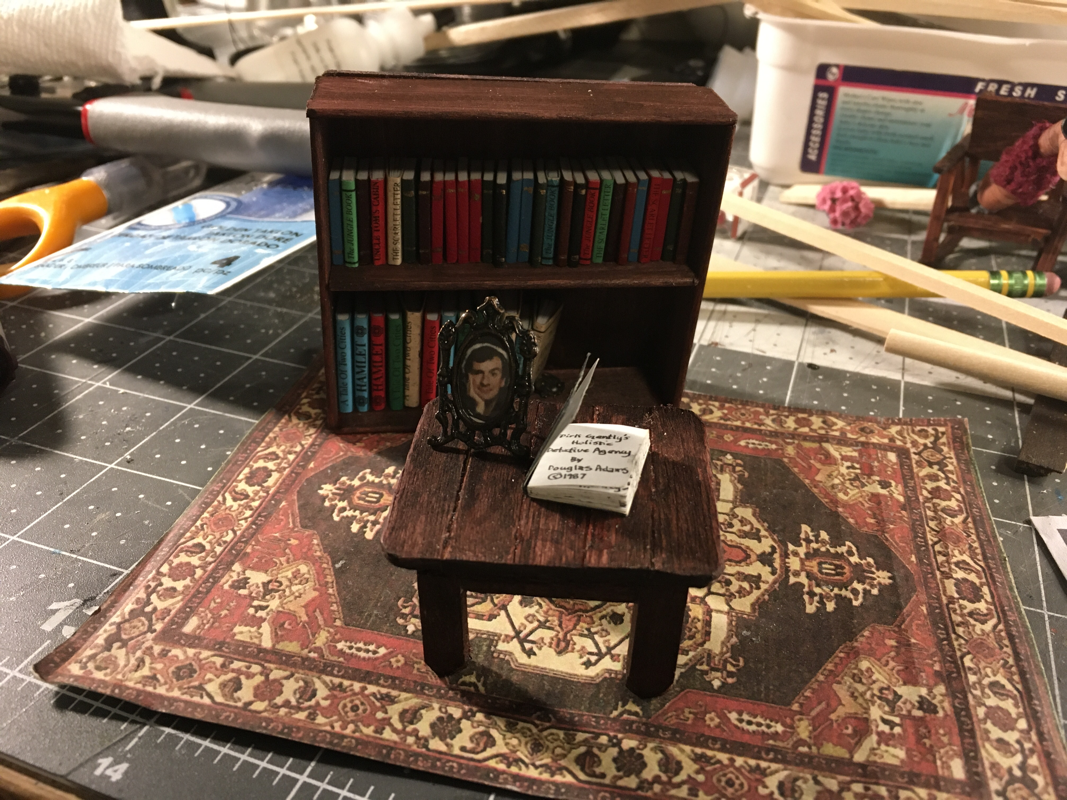
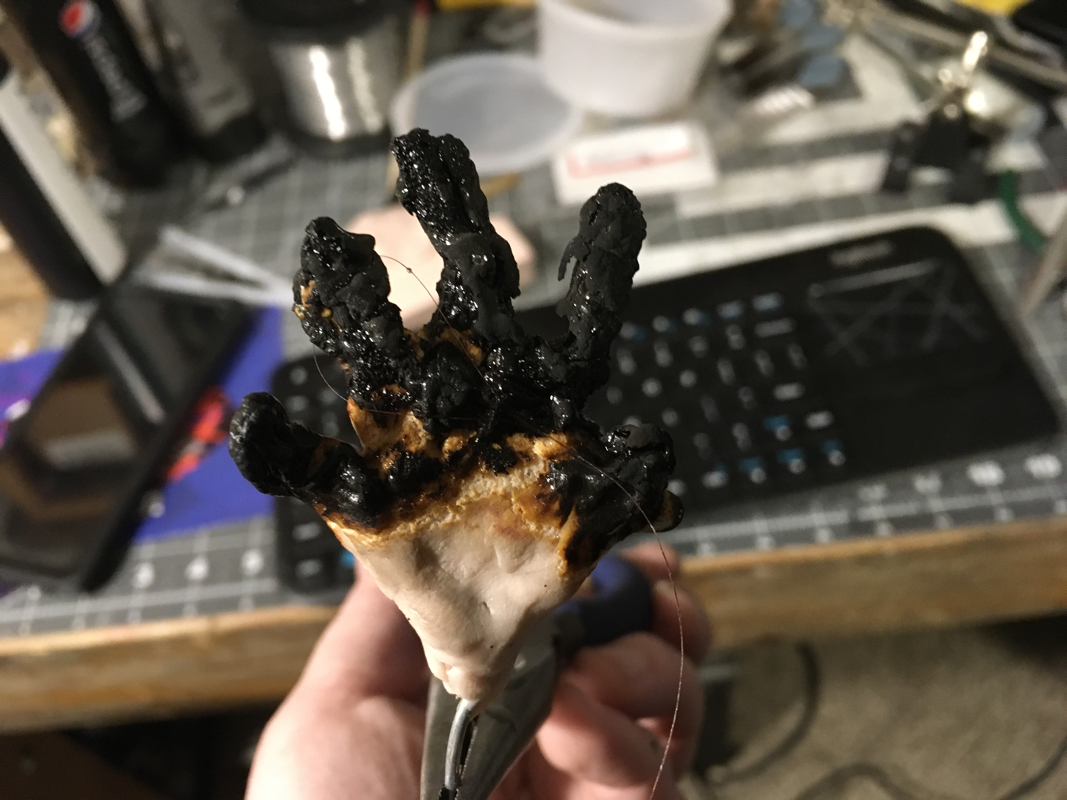
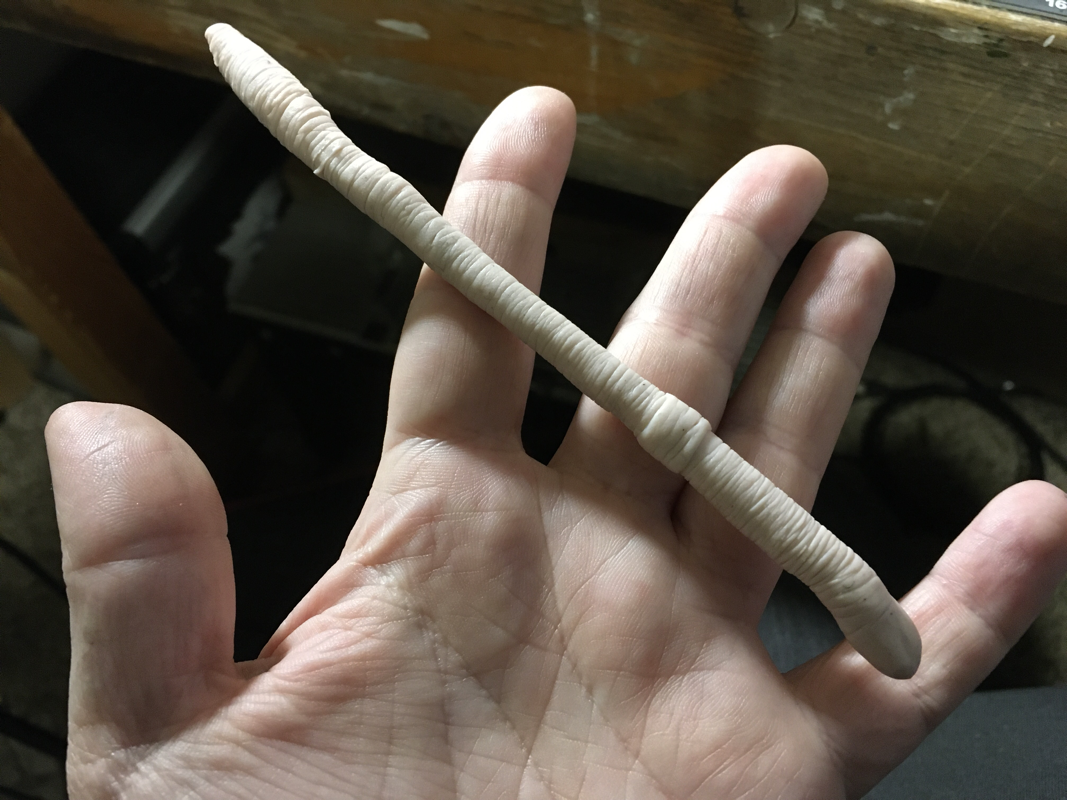
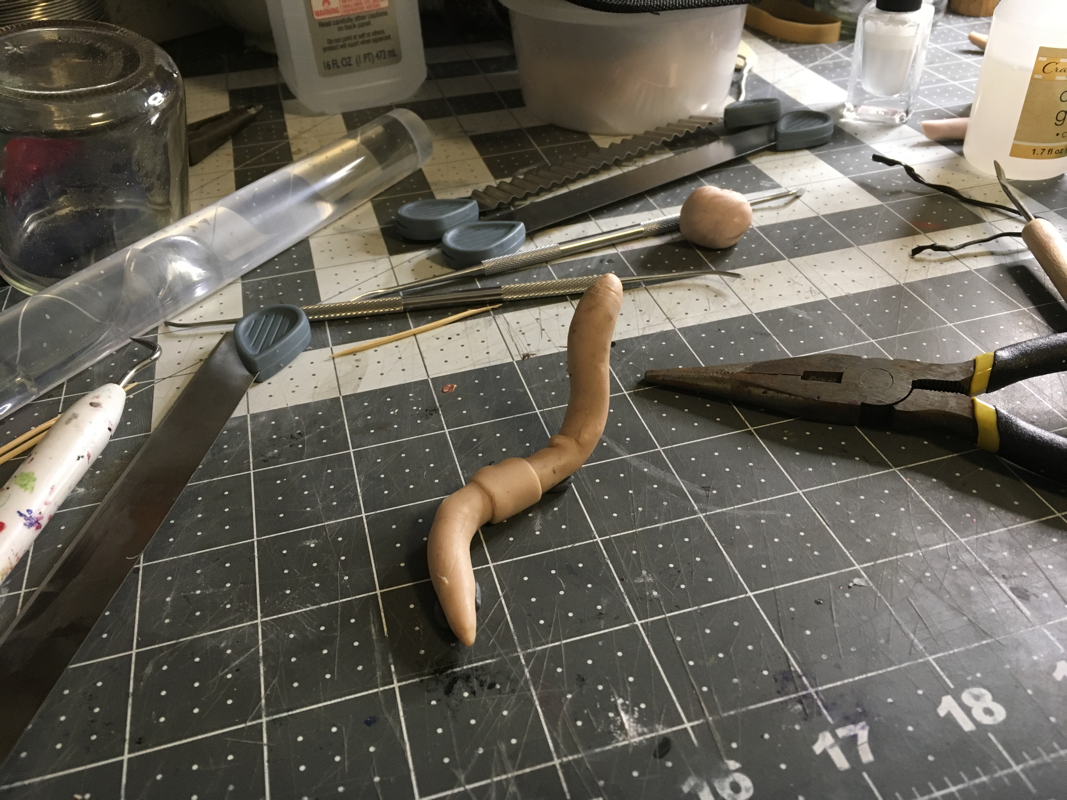
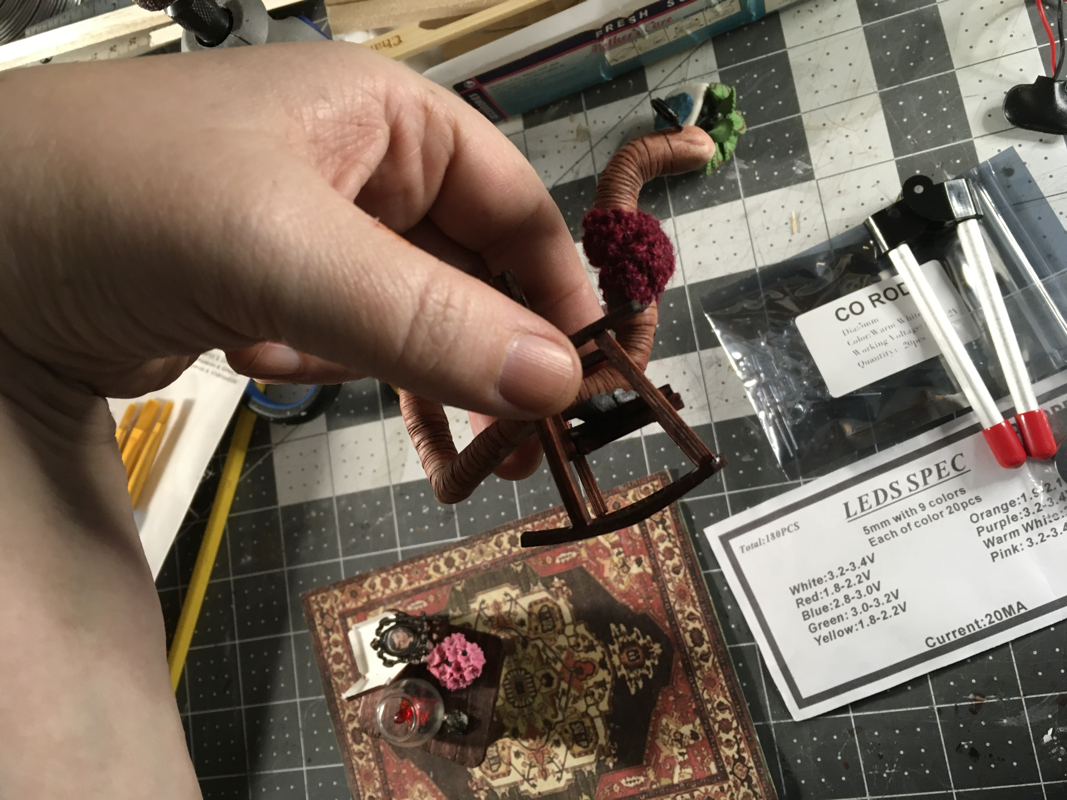
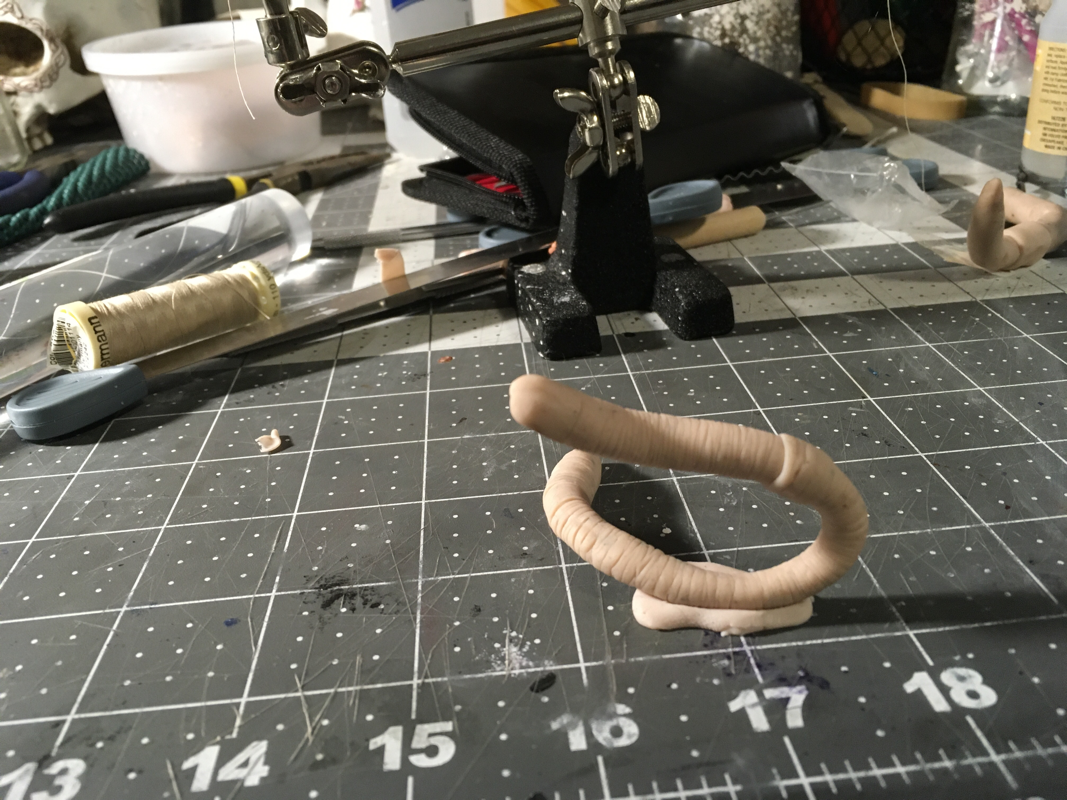
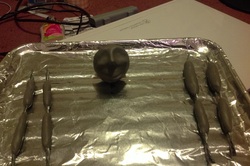
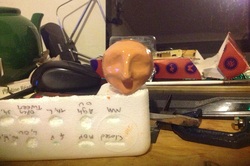
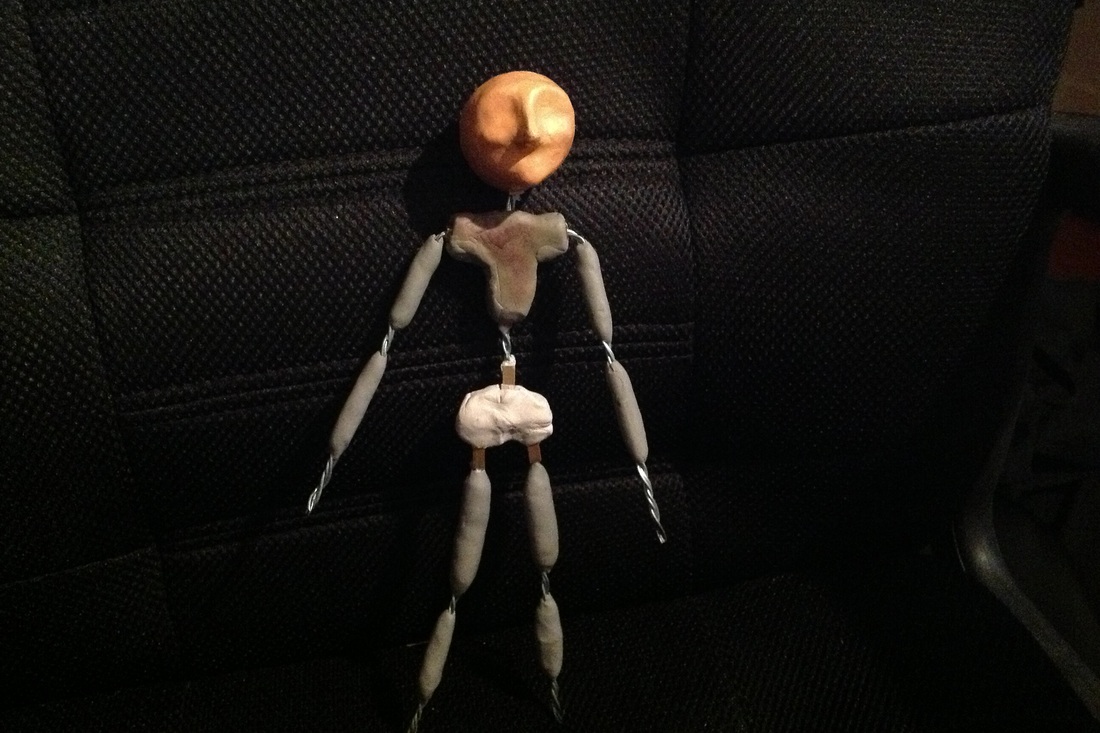
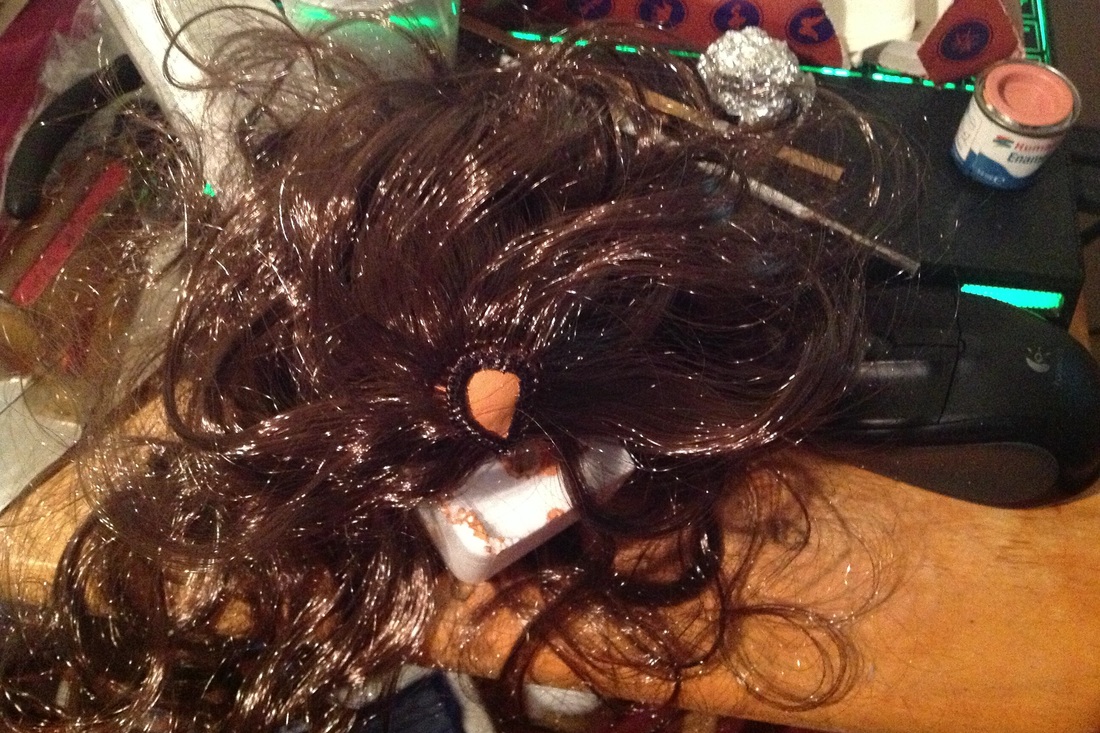
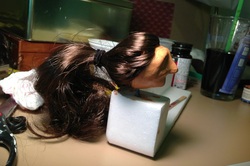
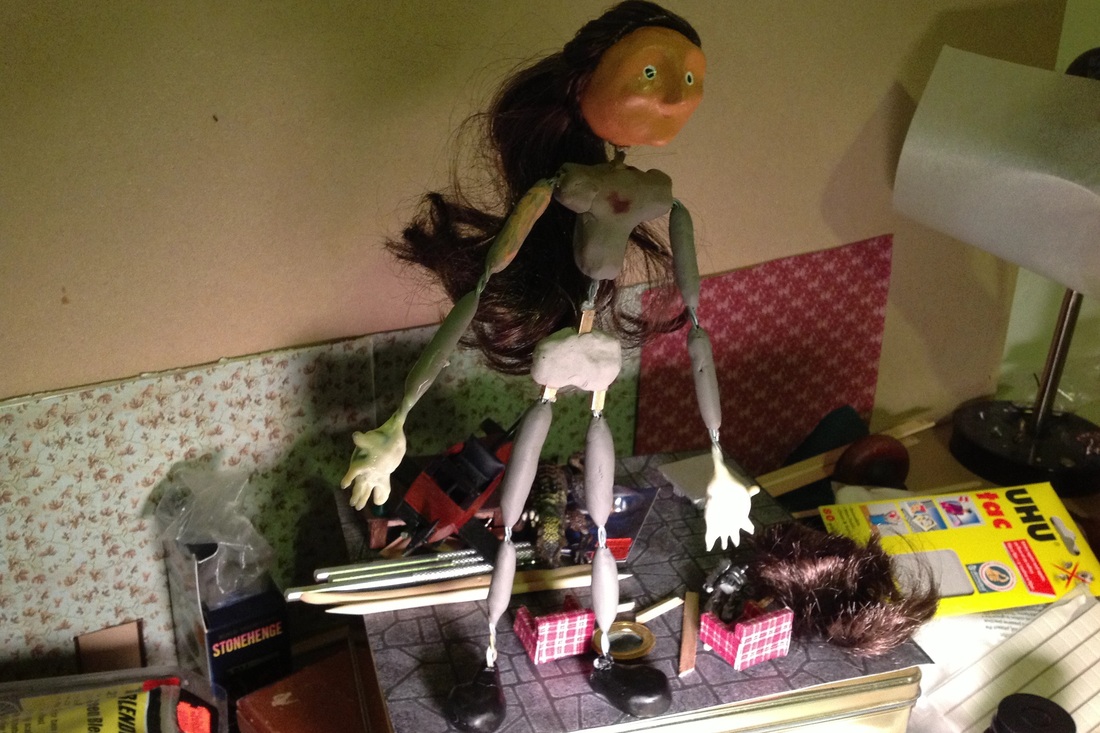
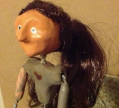
Coscaly is a polymer clay that is a bit rubberized so it is more flexible after baking then say Sculpey. I haven’t seen much about it on line. Many stop mo animators have just dismissed it out of hand. I think they are thinking of it as a whole puppet material, rather than a smaller bits material. It is definitely too stiff for whole puppet animation, but I was able to successfully make and animate a hand and an earthworm. I intend to remake Wade’s hands in Cosclay. I am putting pictures of the worm in the pic dump. Her name is Edna Wormdo. I have started building a subterrainian living room for her too. I am pretty happy with how she turned out. I did a few versions to determine what the best thickness is for animation.
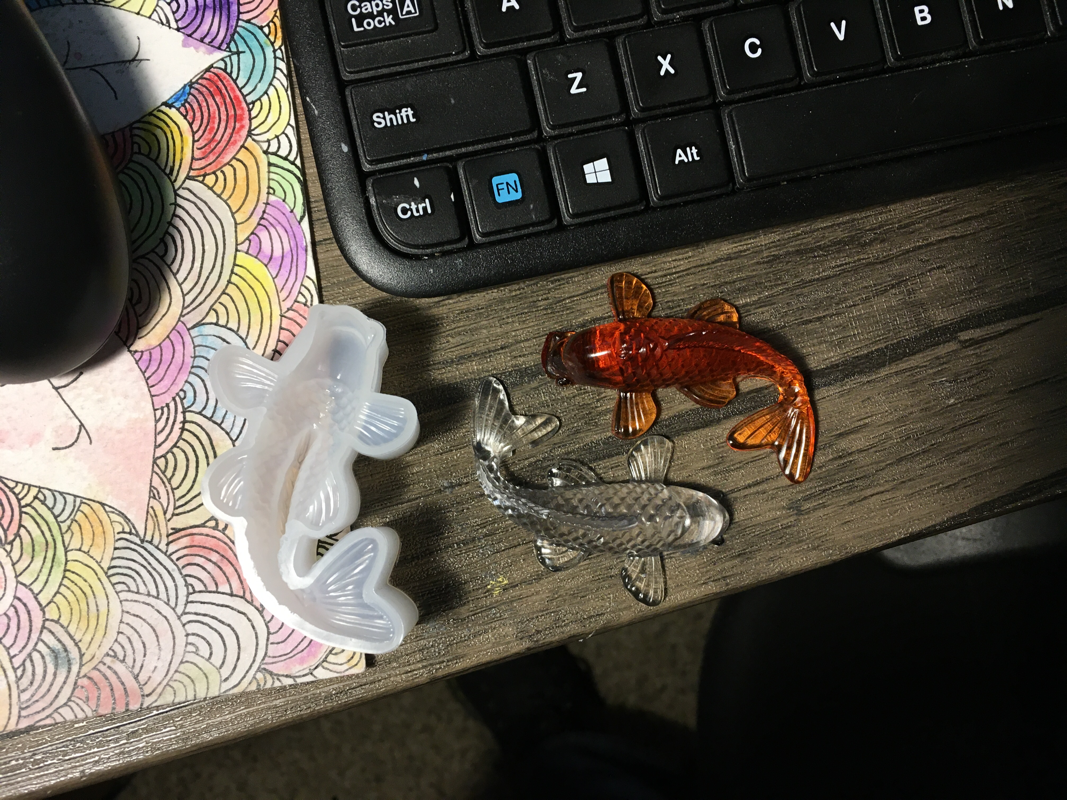
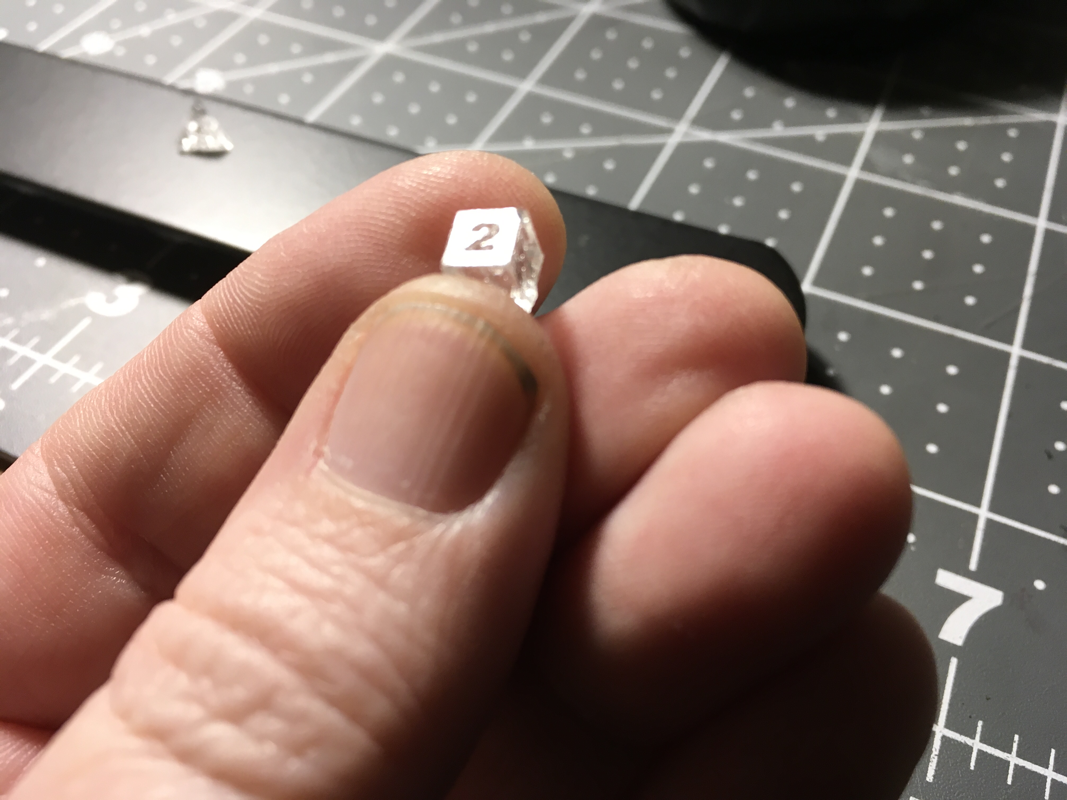
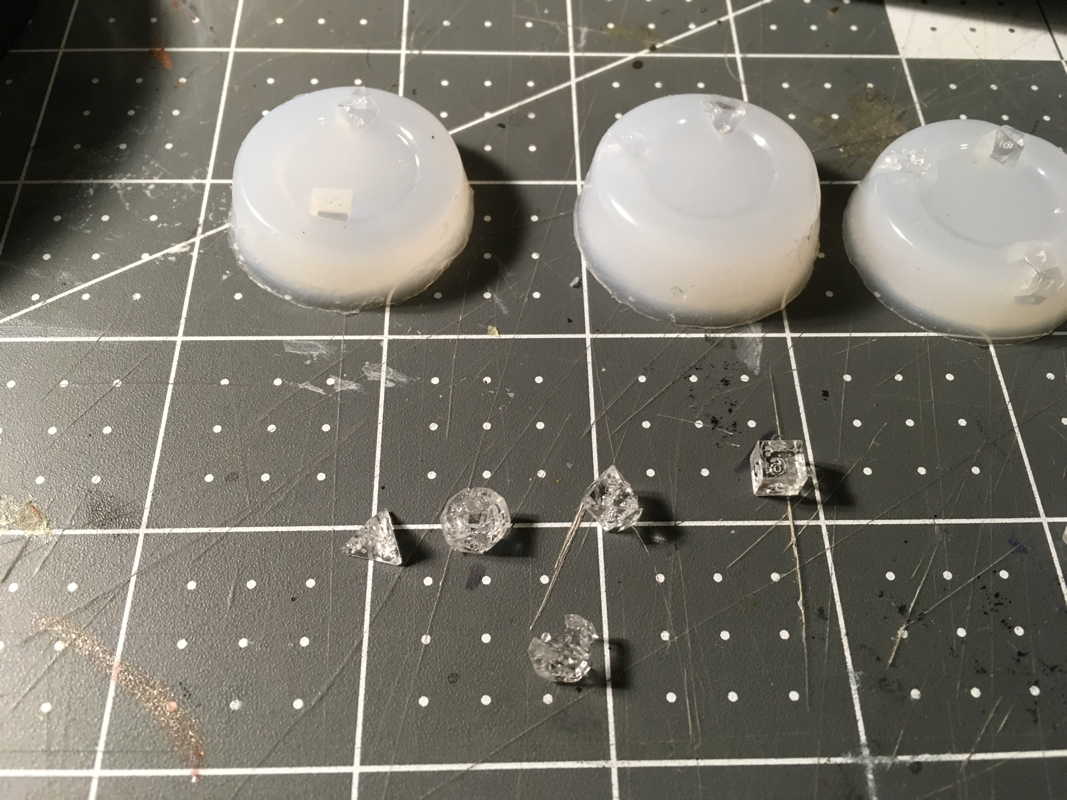
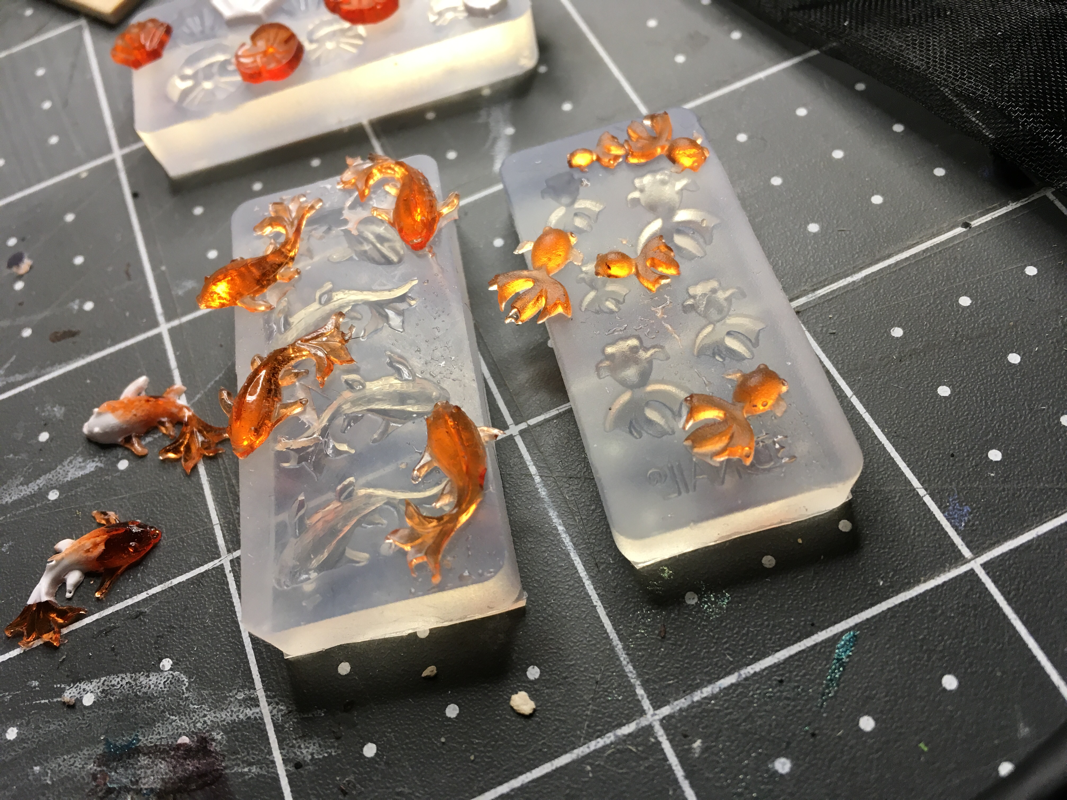
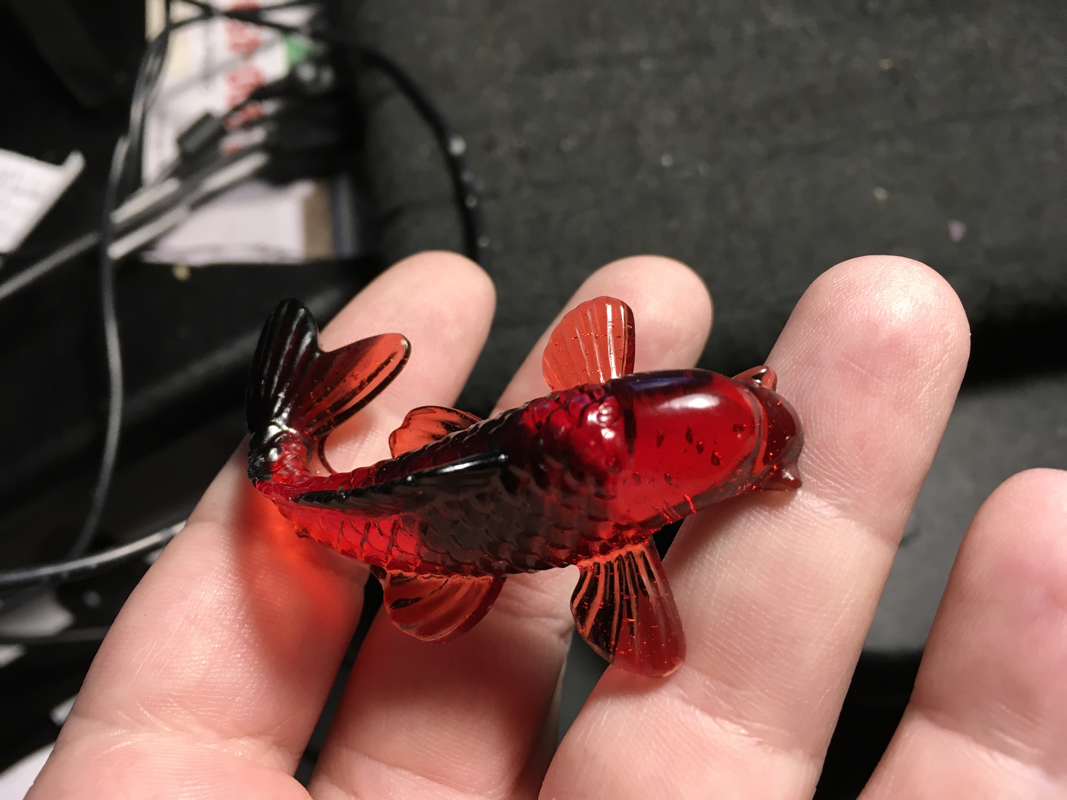
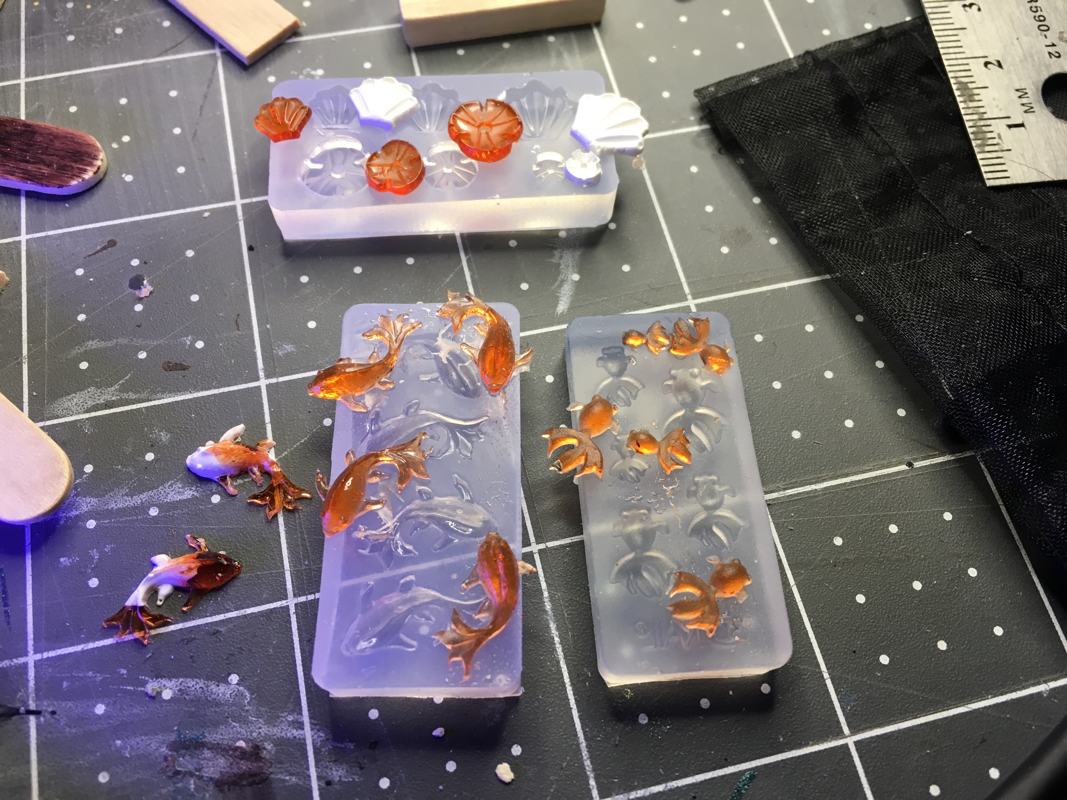
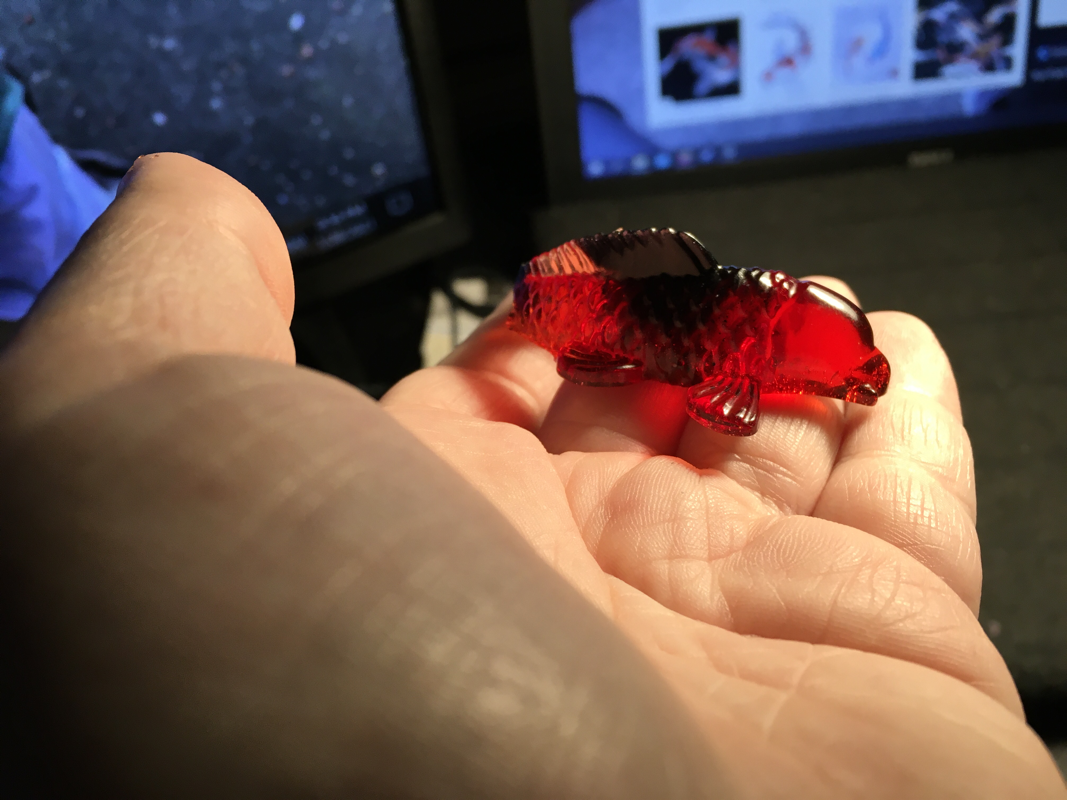
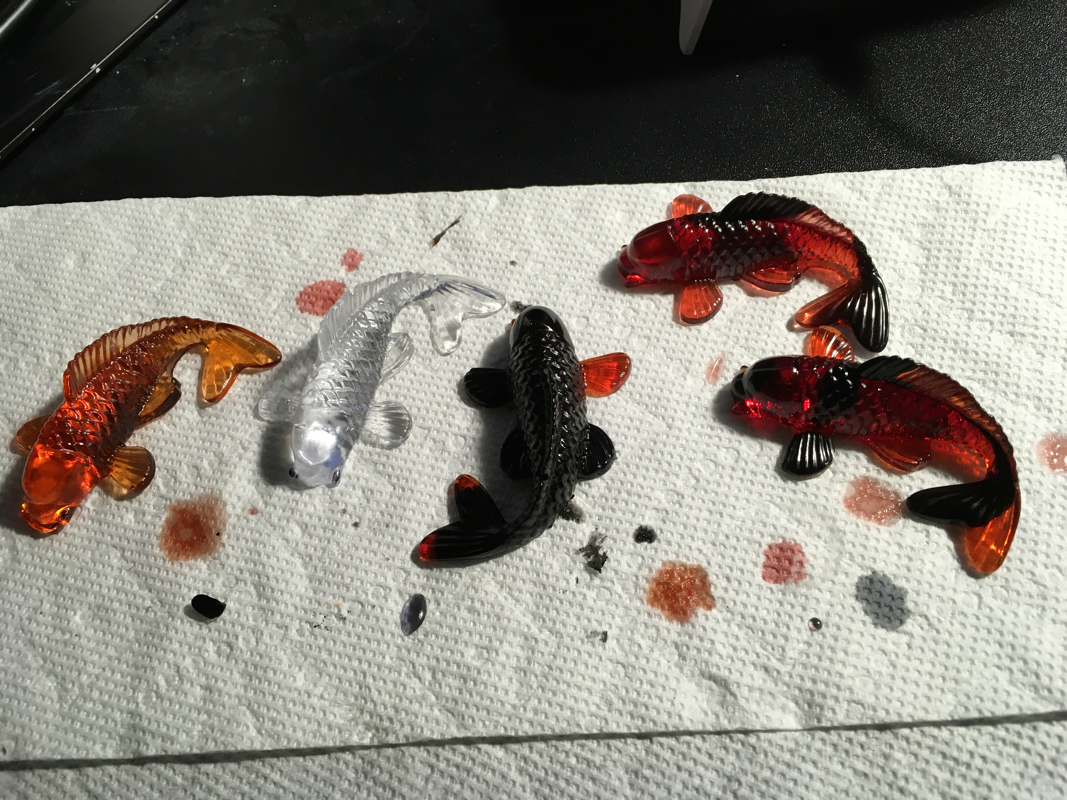
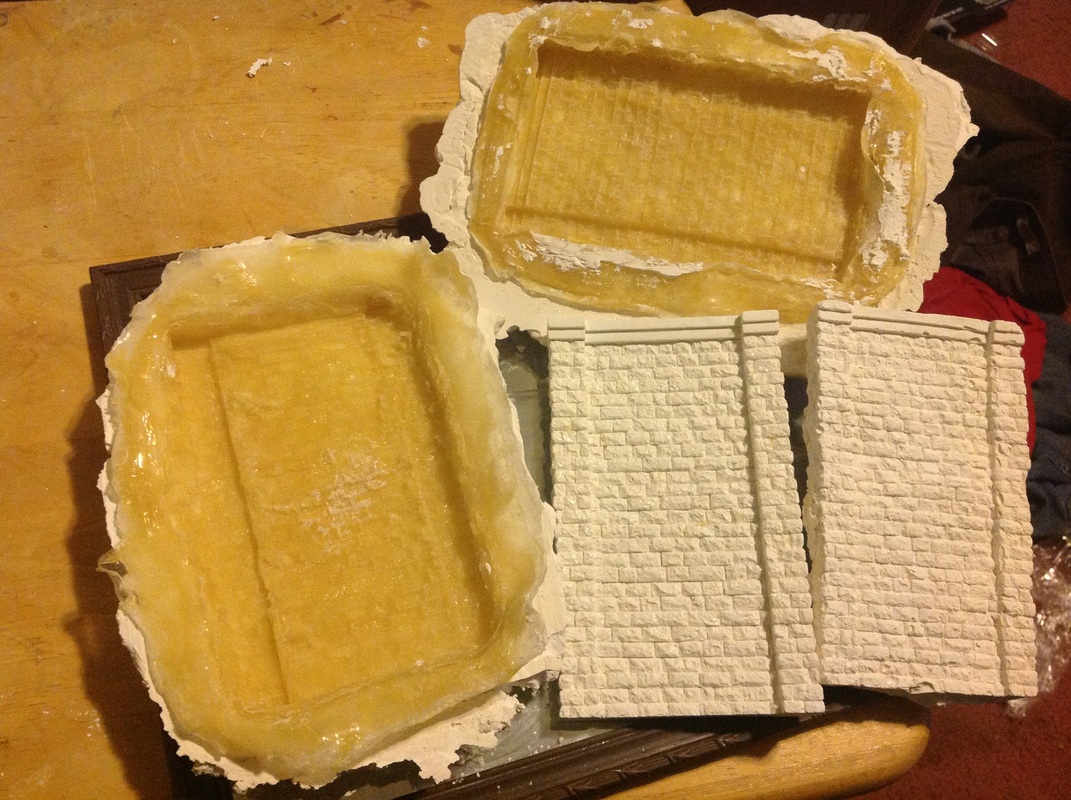
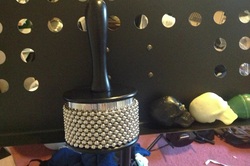
I also got some new resin molds and have been playing with those. I will include some pics in the dump.
Ok, I think that is all I have in me for now. If this does actually post successfully I will udate more later....
So this is the first time it has even let me type anything in here, so I am going to assume this is going to post. Maybe
There would be a lot to say here, so I am just goin to sum up and then pic dump.
I got the Jazza Scultpure box. There are some cool tools I want to play with, as well as Monster Clay and Cosclay. I have had a chance to play with someof the tools and the Cosclay. I must admit the reason I wanted to get this box was to get a sample of the Coscaly to see if I can animate with it.
Coscaly is a polymer clay that is a bit rubberized so it is more flexible after baking then say Sculpey. I haven’t seen much about it on line. Many stop mo animators have just dismissed it out of hand. I think they are thinking of it as a whole puppet material, rather than a smaller bits material. It is definitely too stiff for whole puppet animation, but I was able to successfully make and animate a hand and an earthworm. I intend to remake Wade’s hands in Cosclay. I am putting pictures of the worm in the pic dump. Her name is Edna Wormdo. I have started building a subterrainian living room for her too. I am pretty happy with how she turned out. I did a few versions to determine what the best thickness is for animation.
I also got some new resin molds and have been playing with those. I will include some pics in the dump.
Ok, I think that is all I have in me for now. If this does actually post successfully I will udate more later....


 RSS Feed