Hello again. I am back again with more resolve to post here more often. Life has been kicking my butt. However I have renewed motivation and plan to try to keep this thing going. In order for that to happen, I have made a plan. Bwuahahaha.
So...
Plan 1 - Post here 2x a week, no matter where I am at.
I am hoping by making myself stick to a pre planned schedule, things won’t fall through the cracks. I have several SCA events to get ready for this summer, as well as Norwescon in April (if it isn’t cancelled) and Rose City Comic Con in September. I also have some stop mo’s I want to complete. They are all written, I just have to construct the puppets, sets, props etc and film. Hwat I work on will be dependent on time, energy, joint flare ups and money for the pieces I need.
Plan 2 - Post a vlog on You Tube either once a week or every other week.
I set up a YouTube channel for bloggy things that are not actual stop mo things. I will embed the videos here. We shall see how that goes.
For now, let me get you caught up.
I have so many projects. I think I will just list them here and break them down into the different parts.
1. SCA
I am going to just concentrate on getting a set of camping event garbs to wear to events this summer. This is going to consist of
-Elizabethan peasant garb
-1 or 2 chemises
-2 or 3 kirtles
-an apron
-2 or 3 coifs with forehead kercheifs
-a tie on collared partlet
- Possibly either a flat cap, straw hat or both
Elizabethan peasant garb seems fairly straight forward. I am basing my basic design on this:
So...
Plan 1 - Post here 2x a week, no matter where I am at.
I am hoping by making myself stick to a pre planned schedule, things won’t fall through the cracks. I have several SCA events to get ready for this summer, as well as Norwescon in April (if it isn’t cancelled) and Rose City Comic Con in September. I also have some stop mo’s I want to complete. They are all written, I just have to construct the puppets, sets, props etc and film. Hwat I work on will be dependent on time, energy, joint flare ups and money for the pieces I need.
Plan 2 - Post a vlog on You Tube either once a week or every other week.
I set up a YouTube channel for bloggy things that are not actual stop mo things. I will embed the videos here. We shall see how that goes.
For now, let me get you caught up.
I have so many projects. I think I will just list them here and break them down into the different parts.
1. SCA
I am going to just concentrate on getting a set of camping event garbs to wear to events this summer. This is going to consist of
-Elizabethan peasant garb
-1 or 2 chemises
-2 or 3 kirtles
-an apron
-2 or 3 coifs with forehead kercheifs
-a tie on collared partlet
- Possibly either a flat cap, straw hat or both
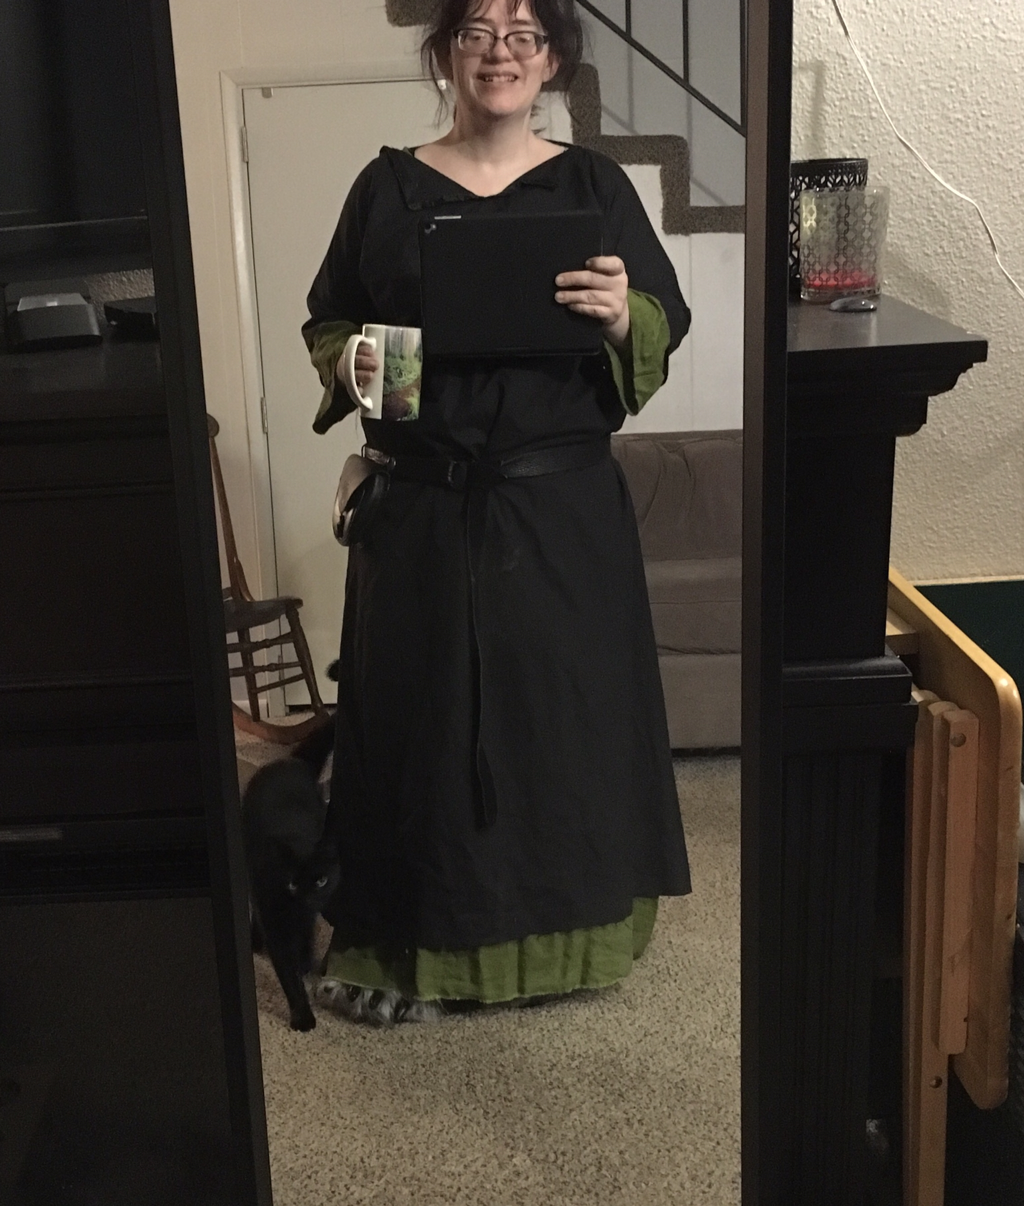
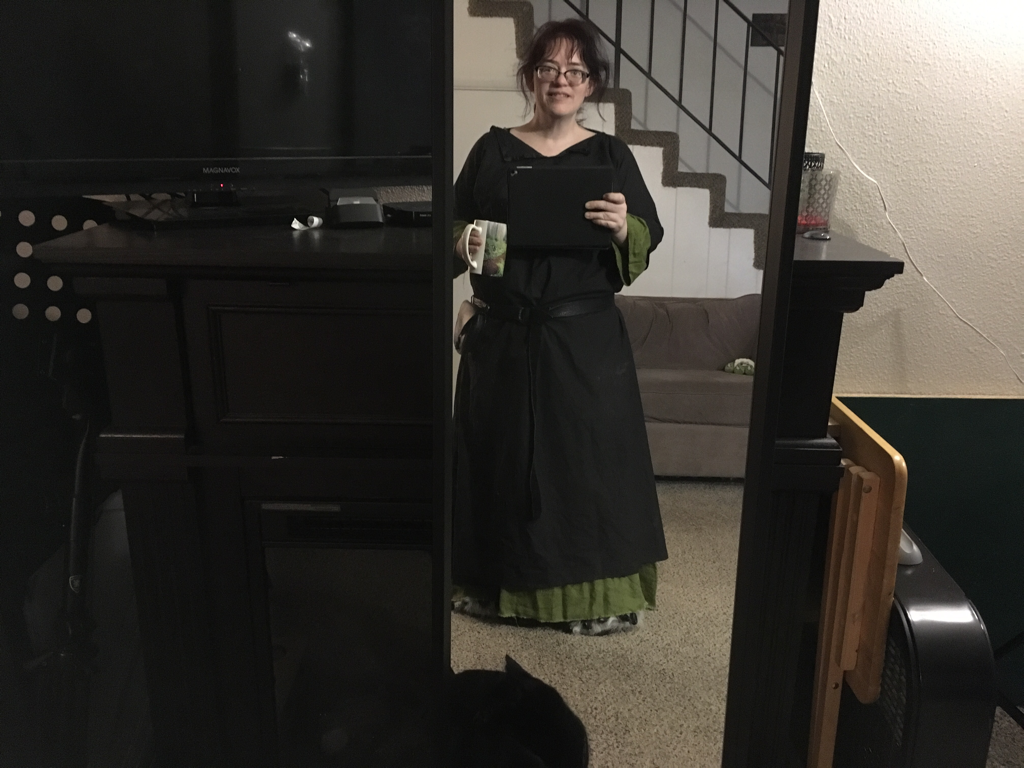
Elizabethan peasant garb seems fairly straight forward. I am basing my basic design on this:
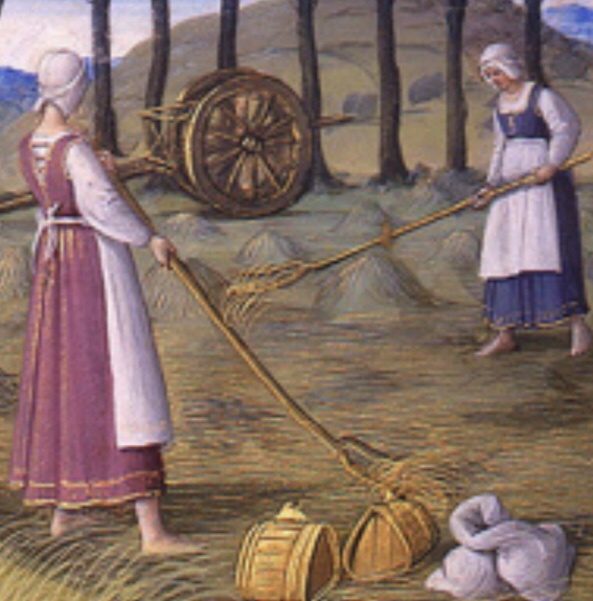
Basically the blue one. I don’t want to mess with back lacing while camping alone. This is also slightly earlier than my period, but it is the basic jist of what I am going for. I also want to make fake padded braids to wear under the coif to make it fit right. Cause my hair is sparce at the moment.
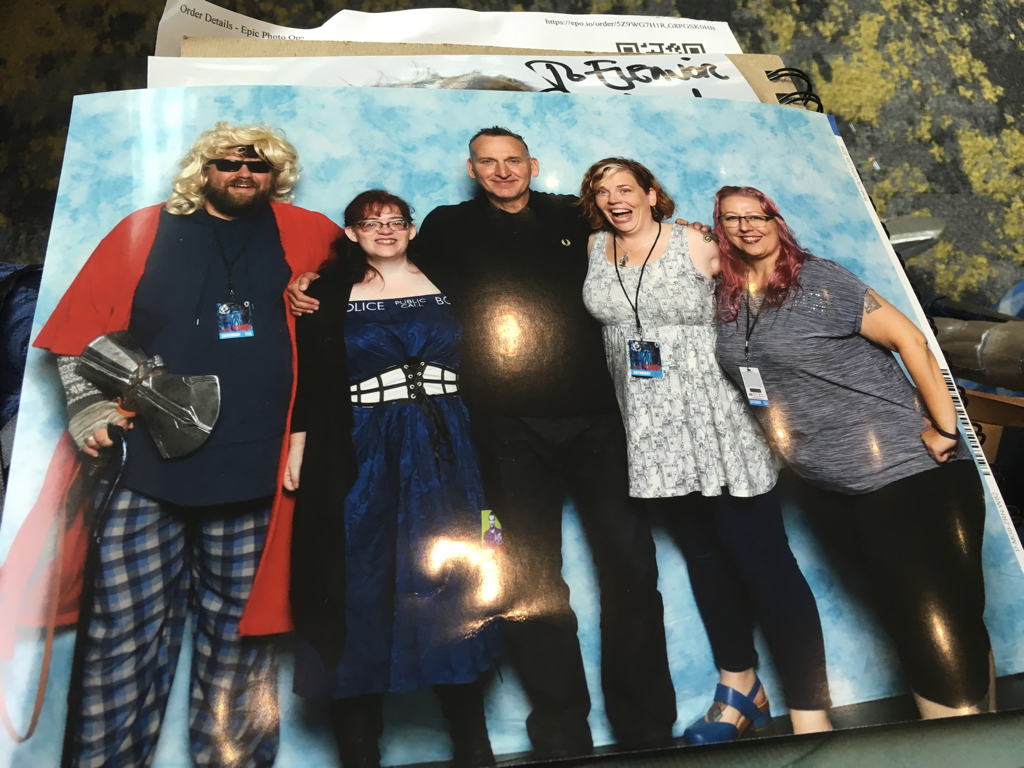
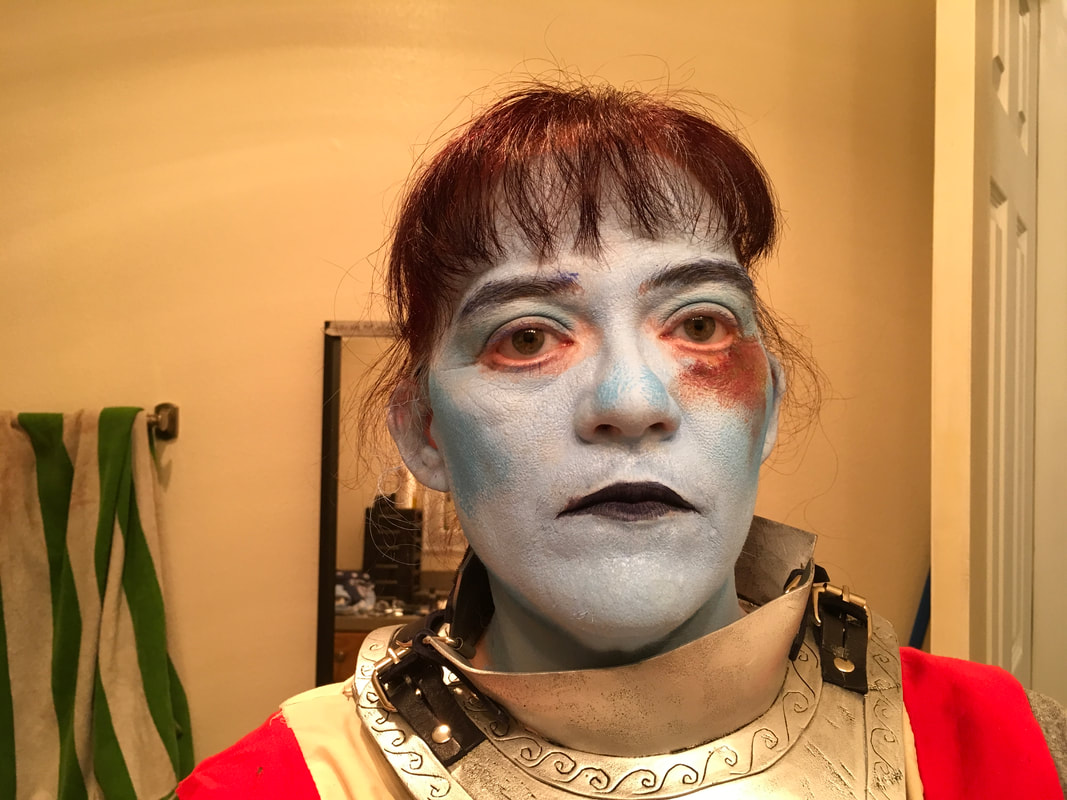
2. Cosplays
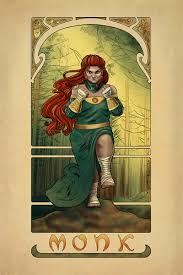
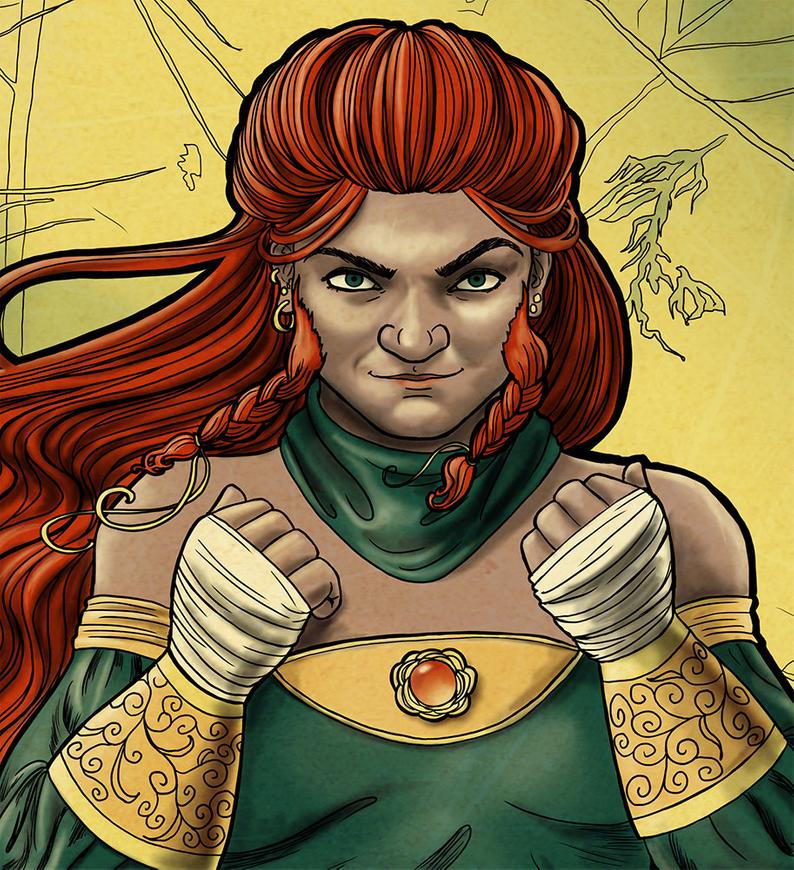
I want to get Talleg done (yes, STILL), and I need to fix Aoifa. I am thinking of just leaving it at those. Because I don’t have a lot of spare money right now, and Norwescon is in a month, I am just going to concentrate and those two for now.
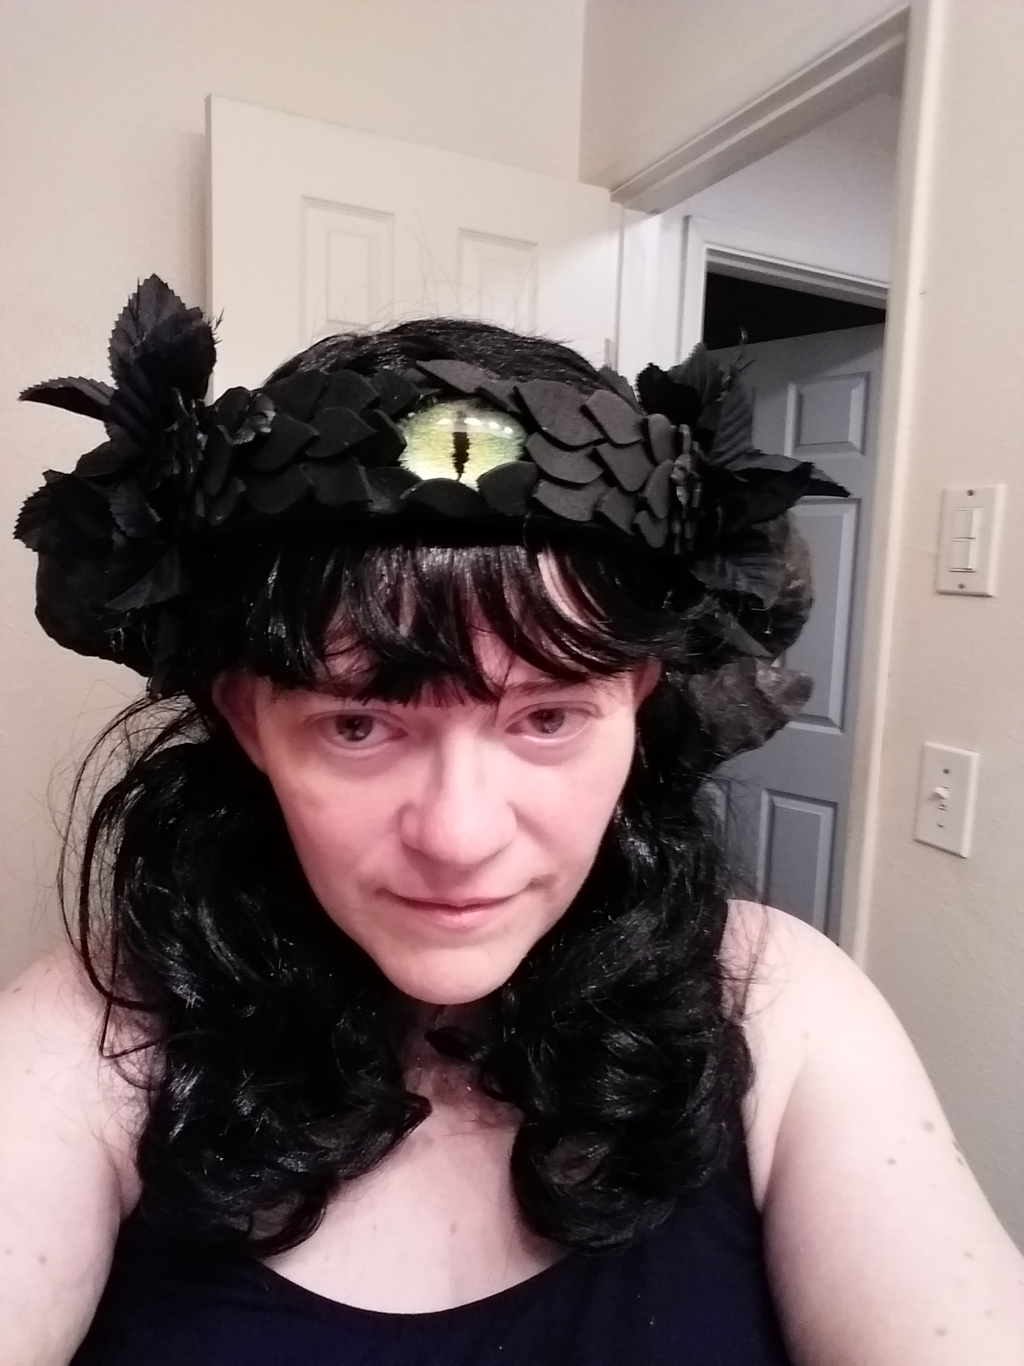
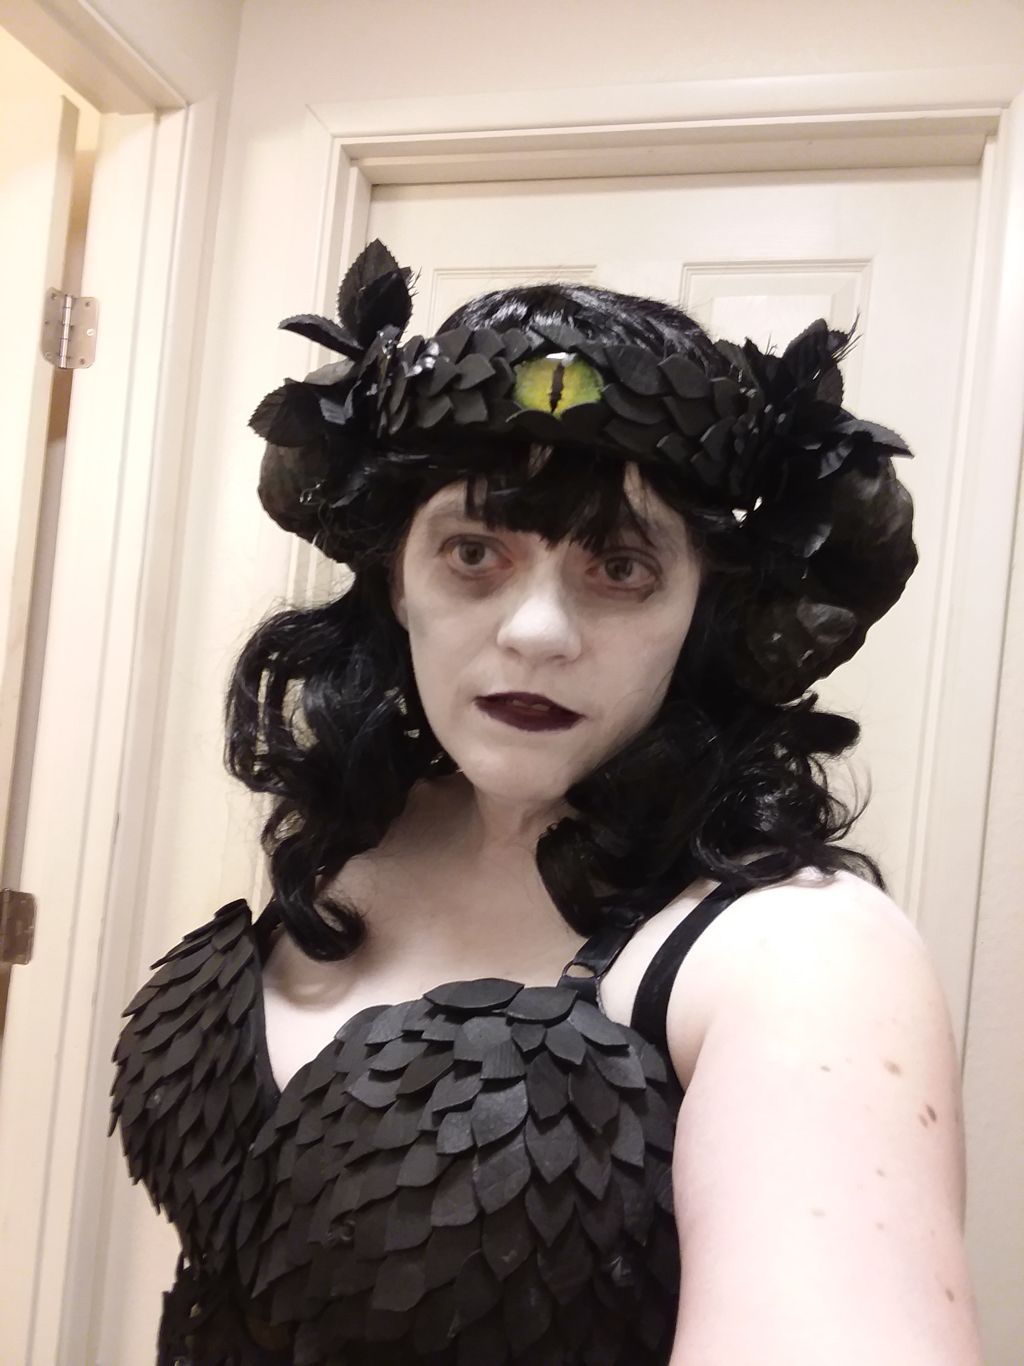
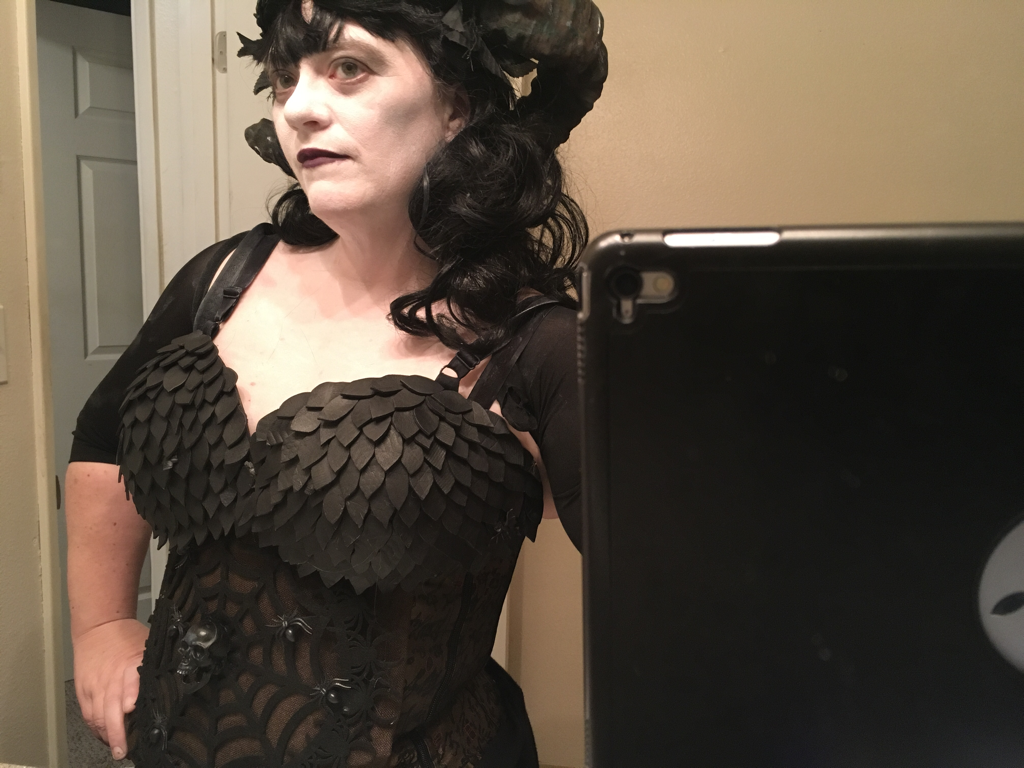
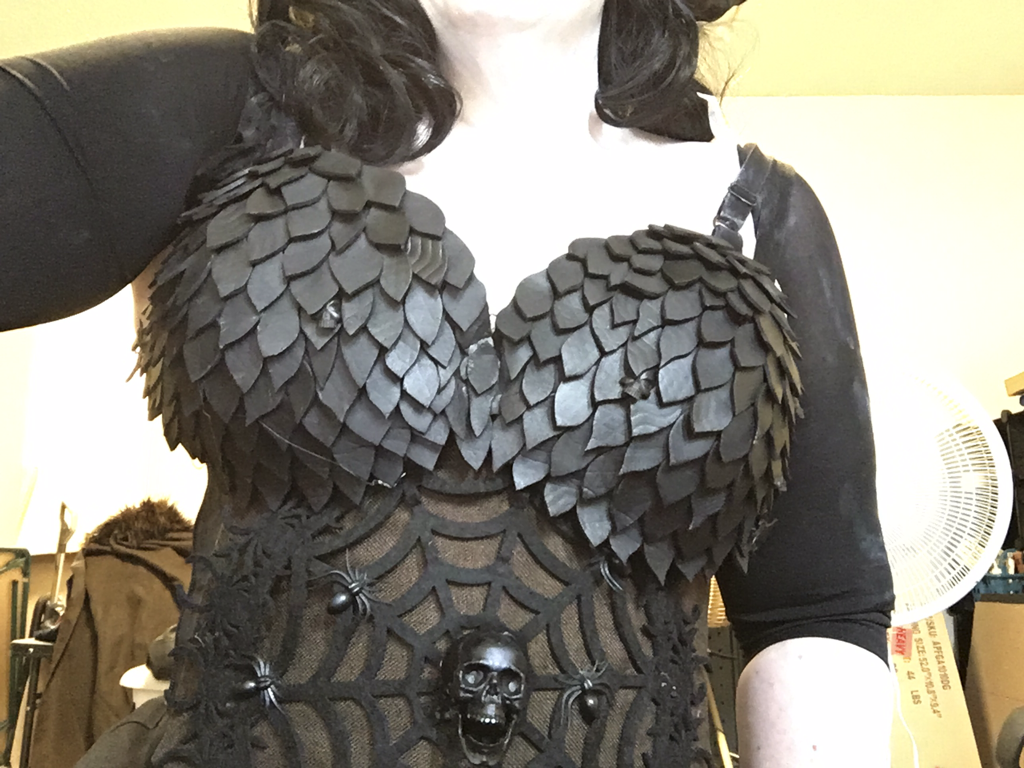
Aoifa
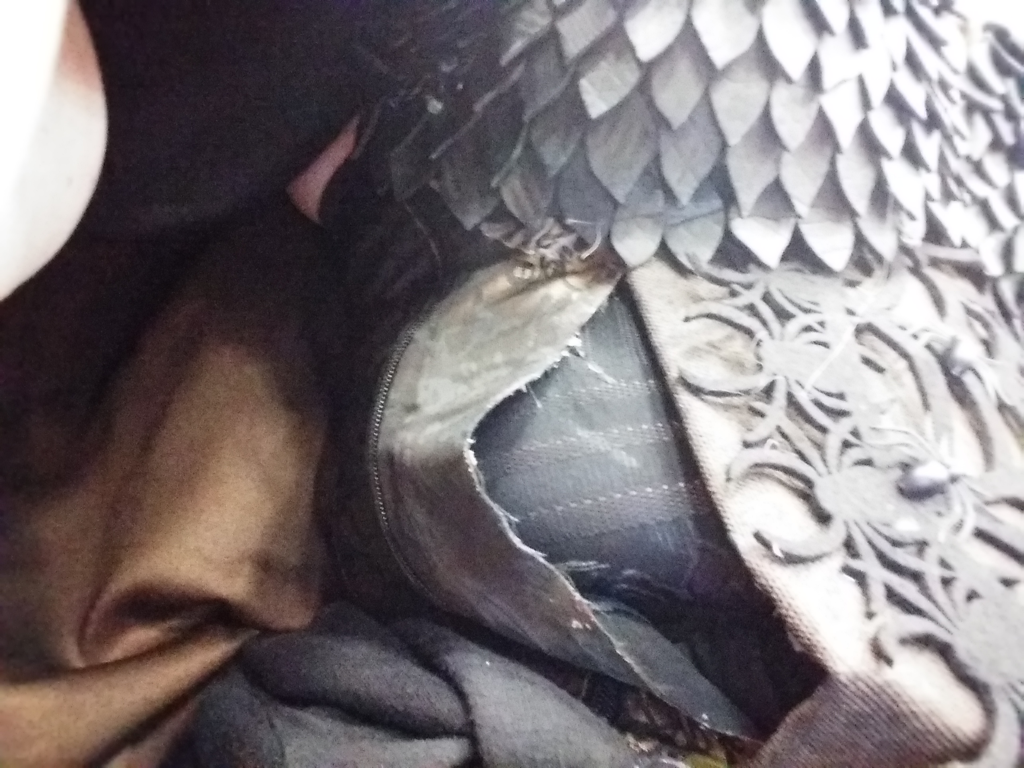
-Fix her corset. Either try to make it a real corset or figure out how to sew the cardboard together so it won’t pop
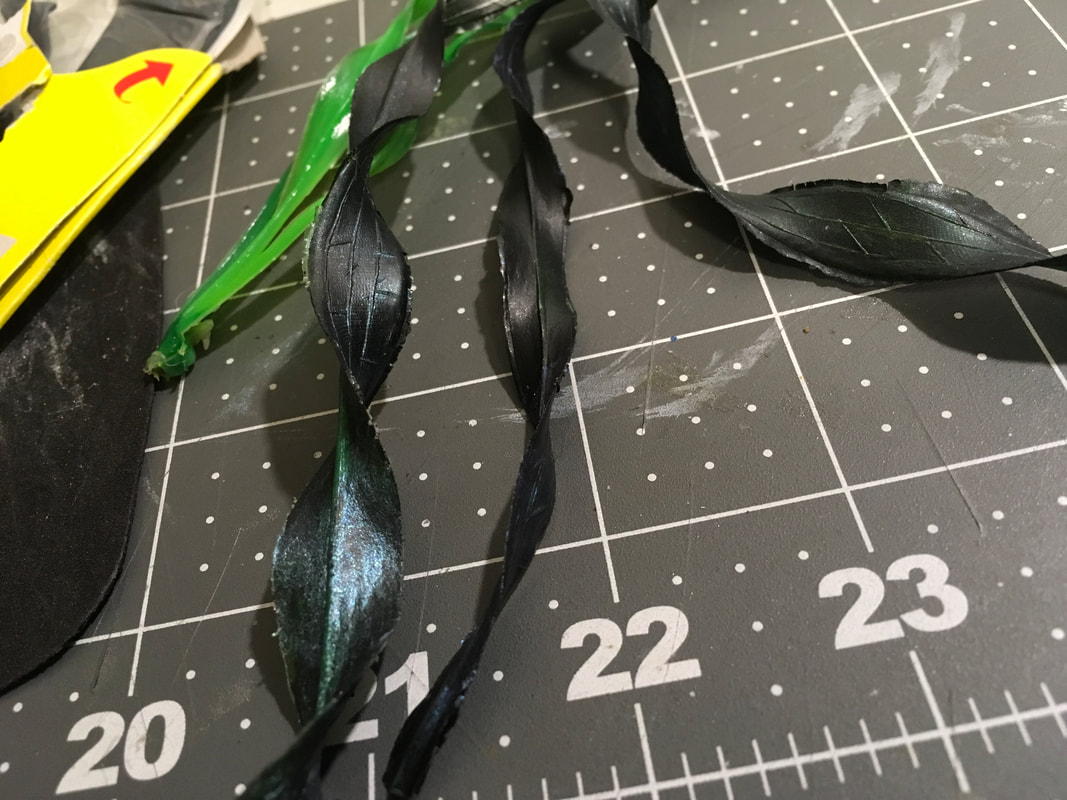
-Remake her horns
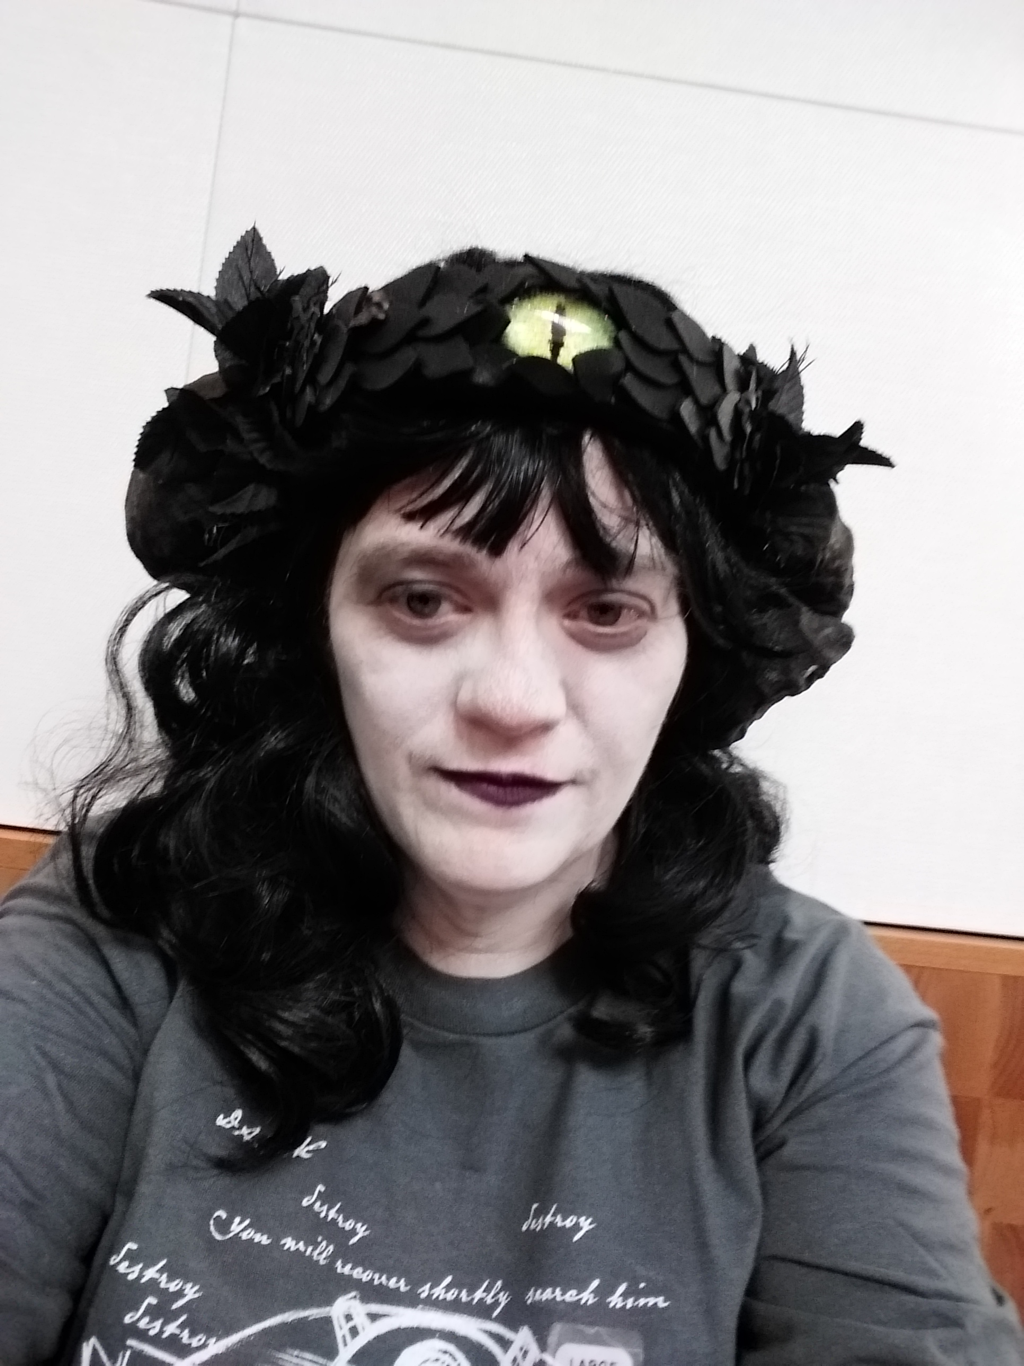
-Make a padded circlet to go under the wig, so the horns look like they are growing kut of her head. Seriously that circlet is a joke.
-Figure out how to incorporate the dragon eye from the current circlet
-Sew the fur collar to the cloak. It is currently hot glued, very badly
-Repaint the spider broaches so the black doesn’t chip off
-Figure out a better sleeve configuration. Or learn how to glue them to my skin so they stay
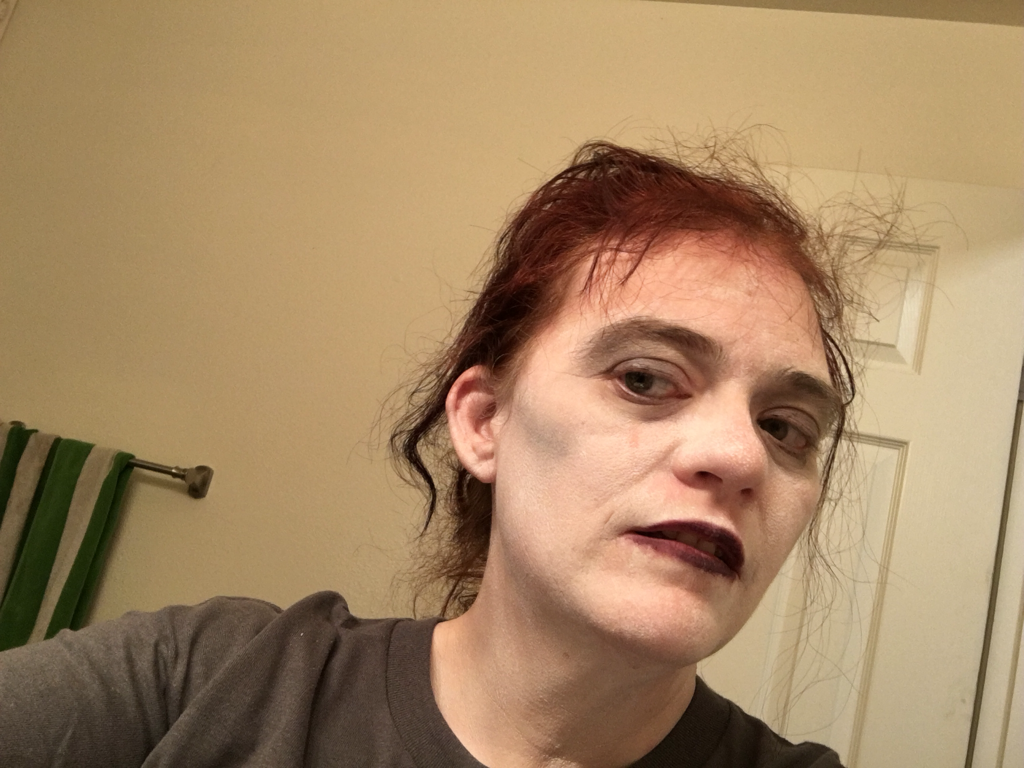
-Figure out how to install the ears, and how to makeup them
Not much. 😒
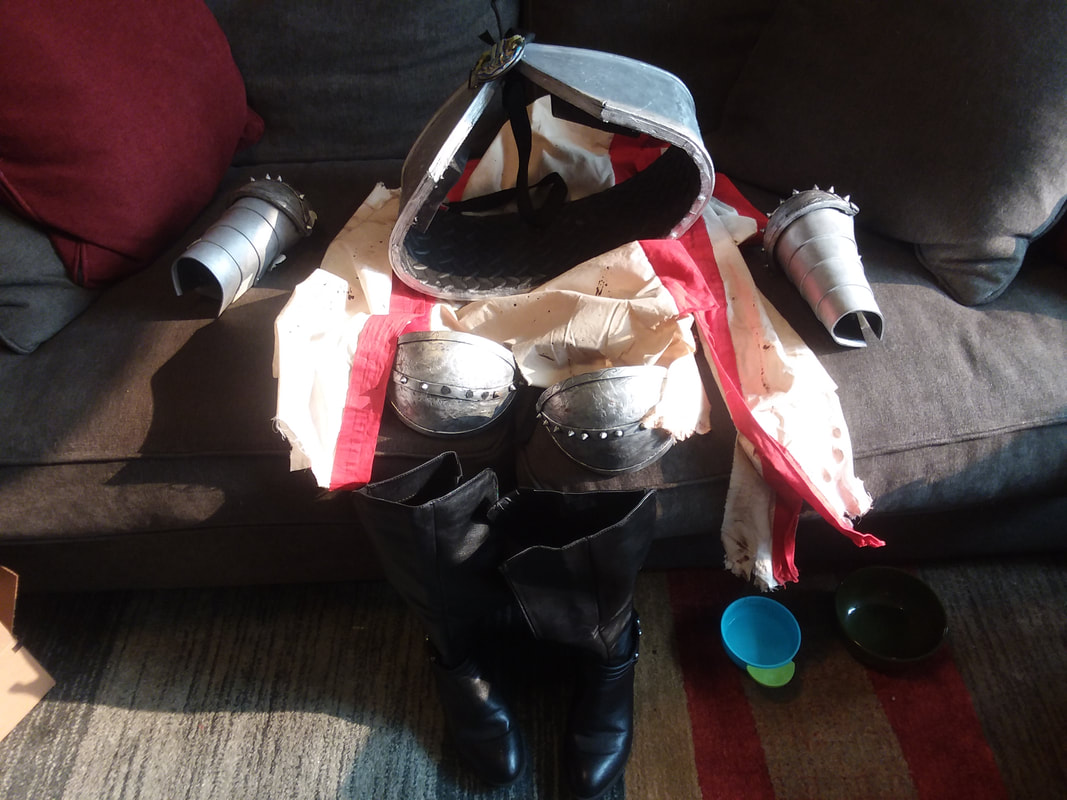
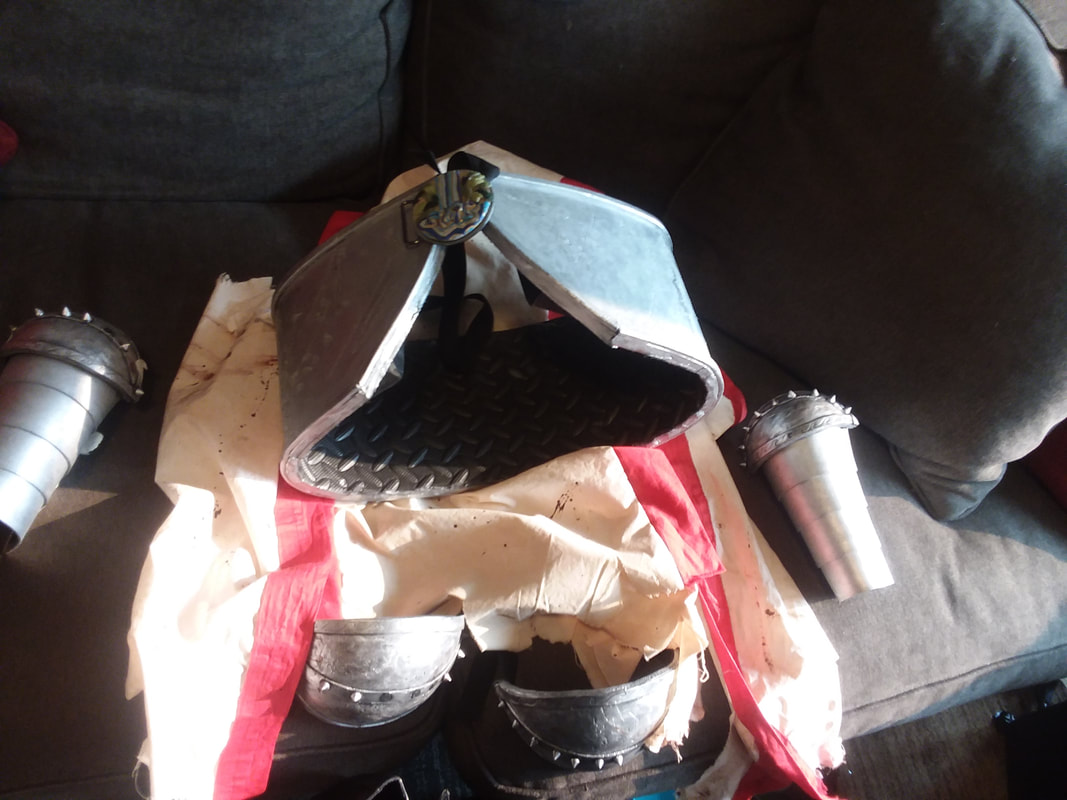
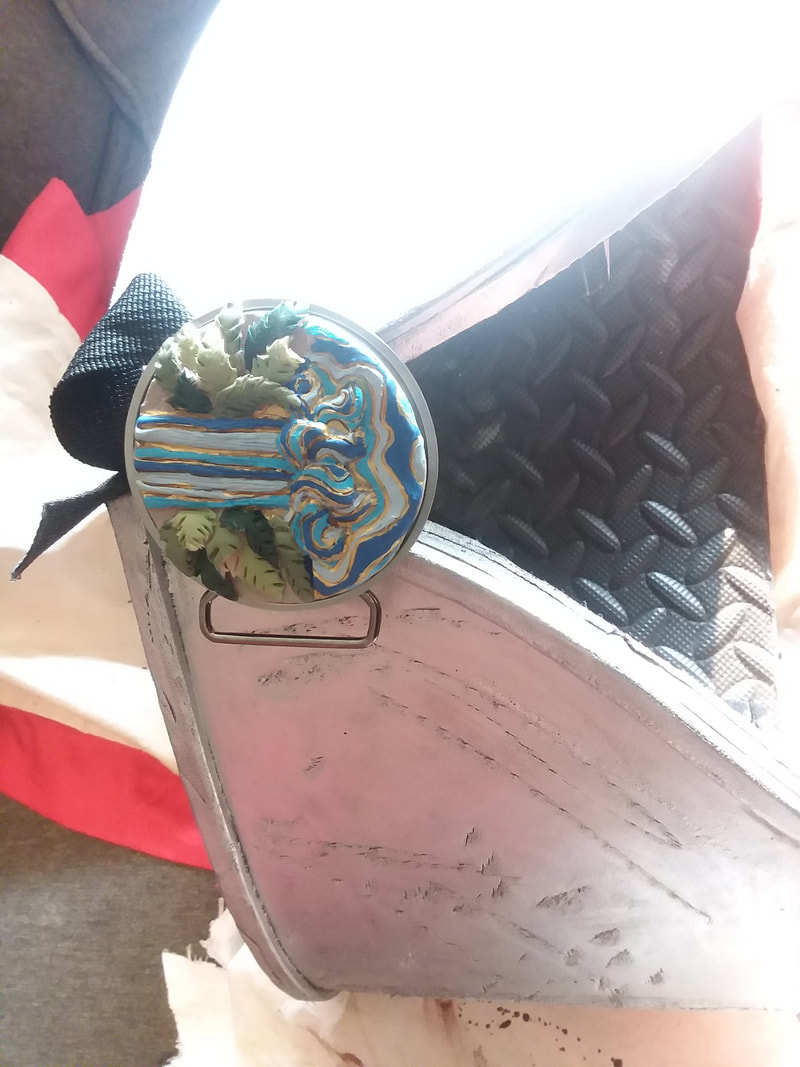
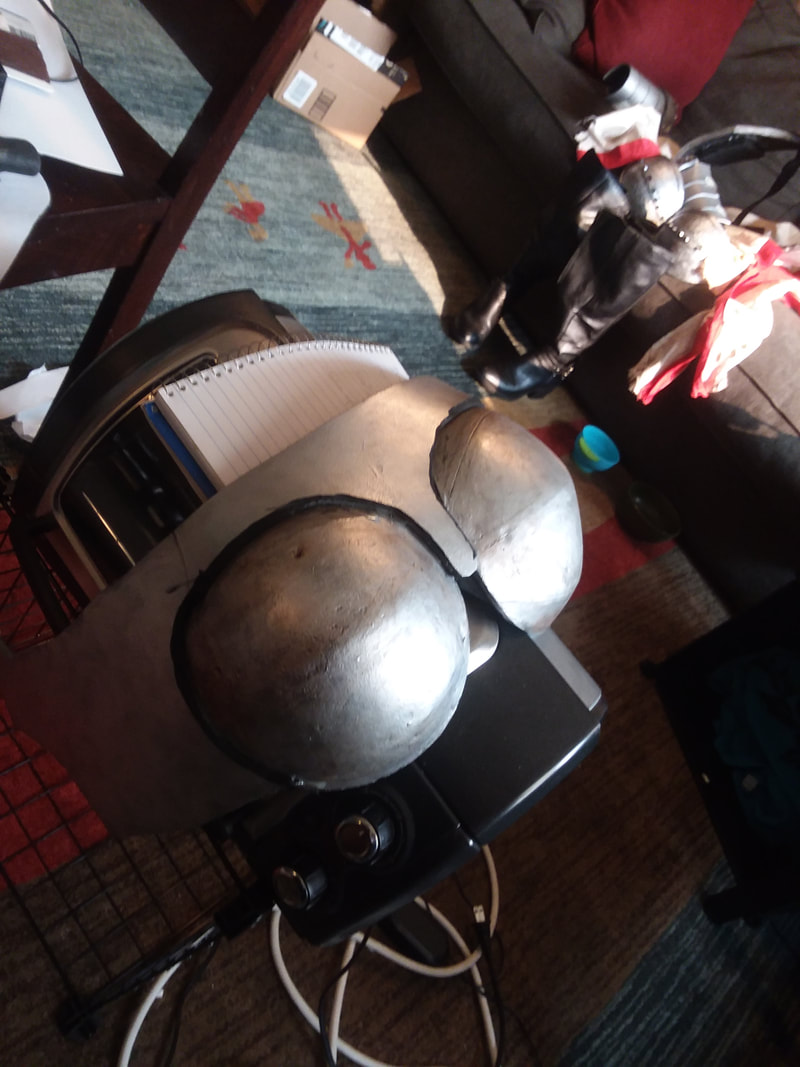
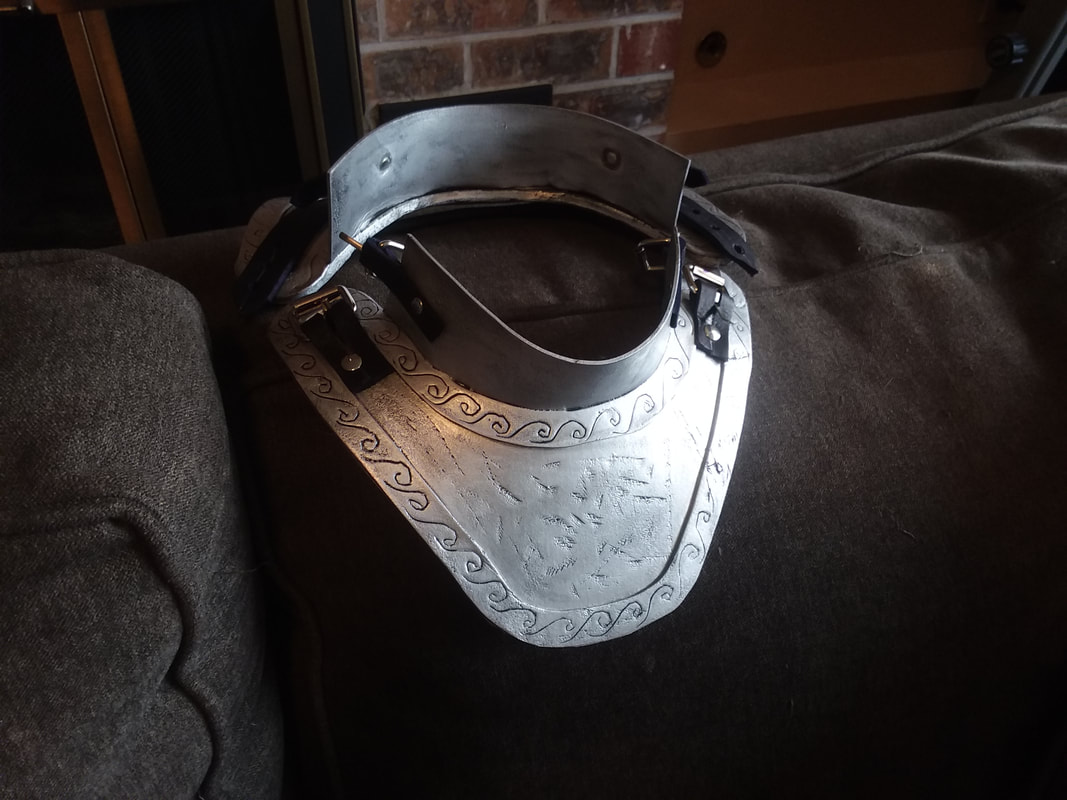
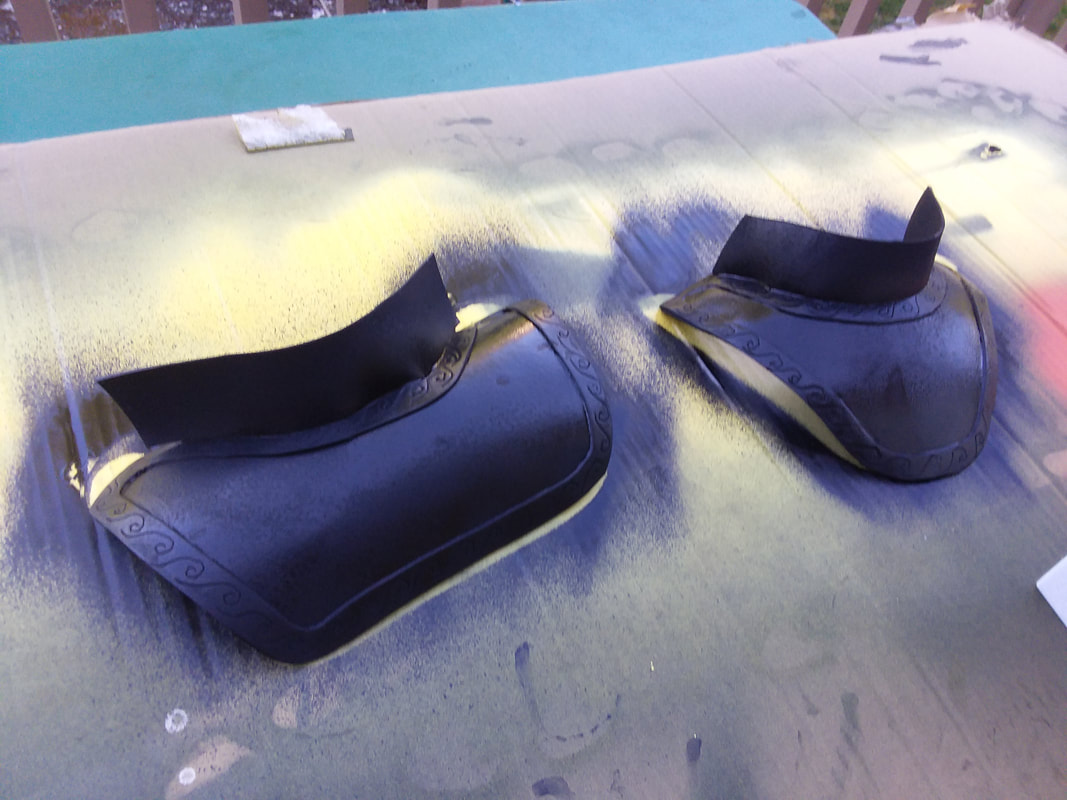
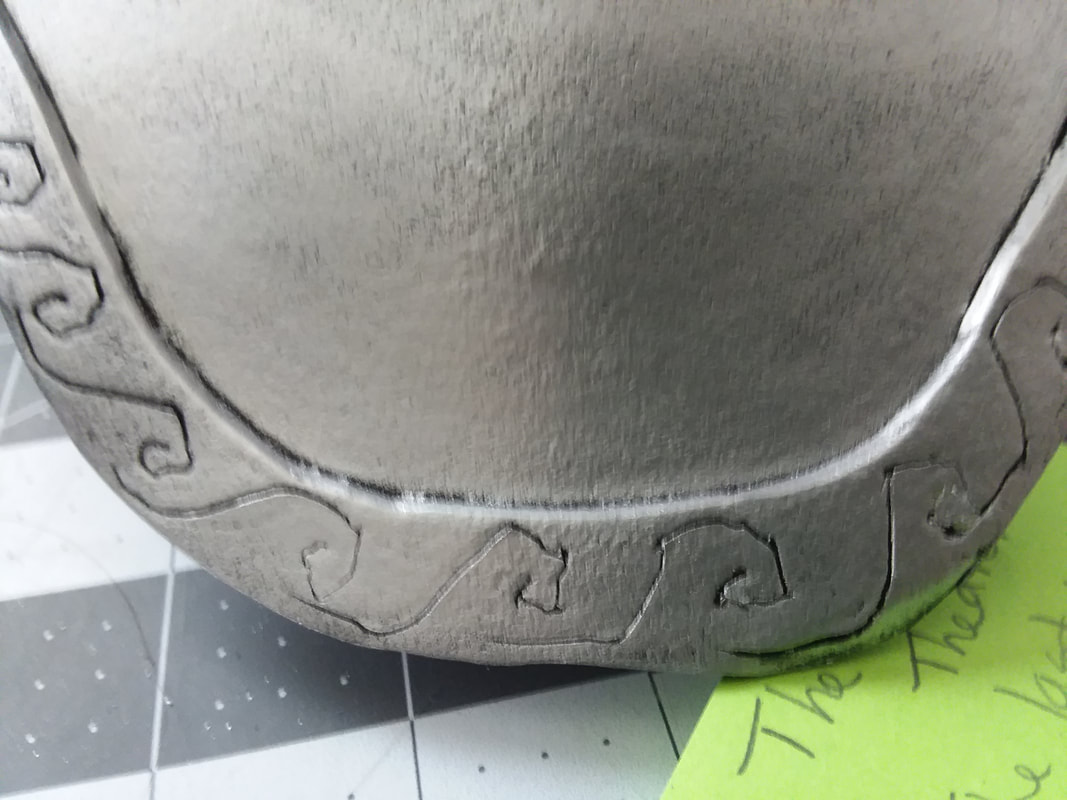
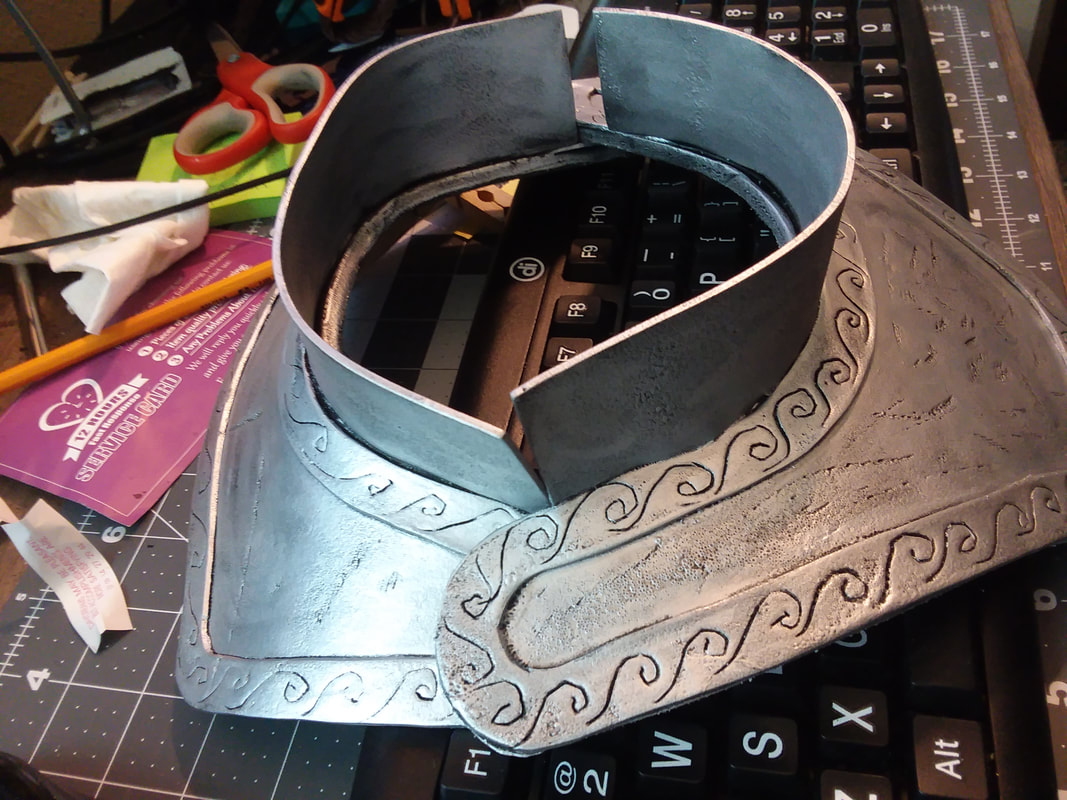
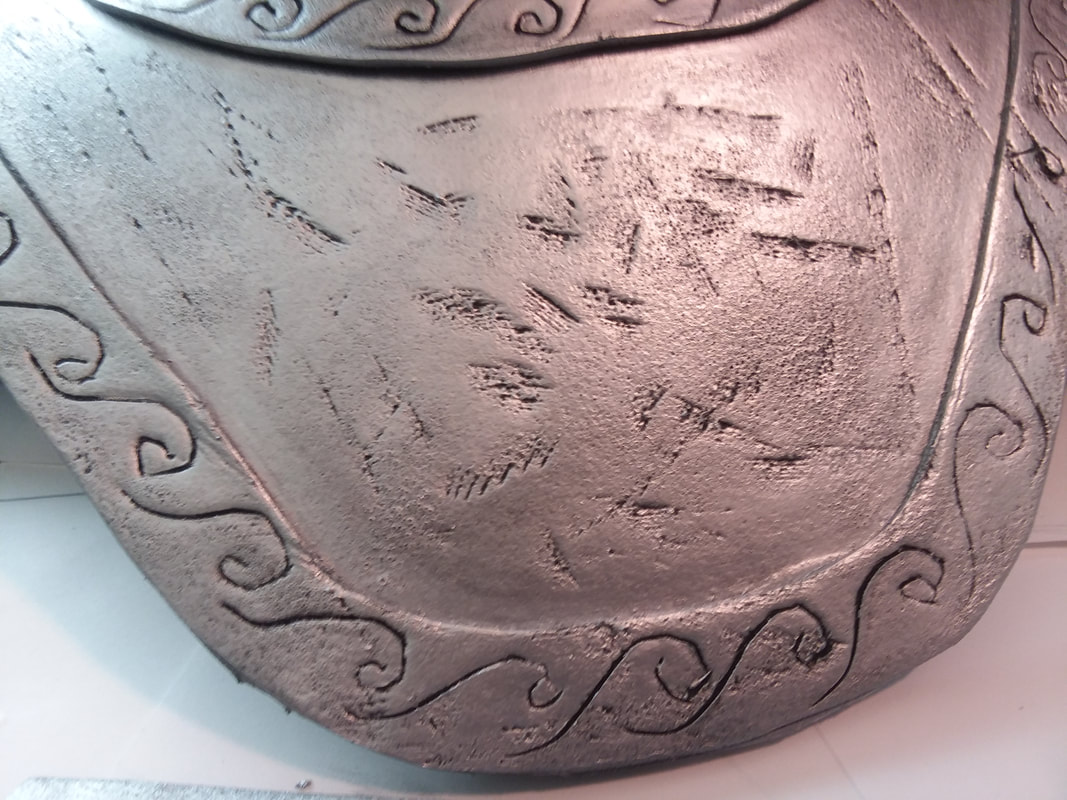
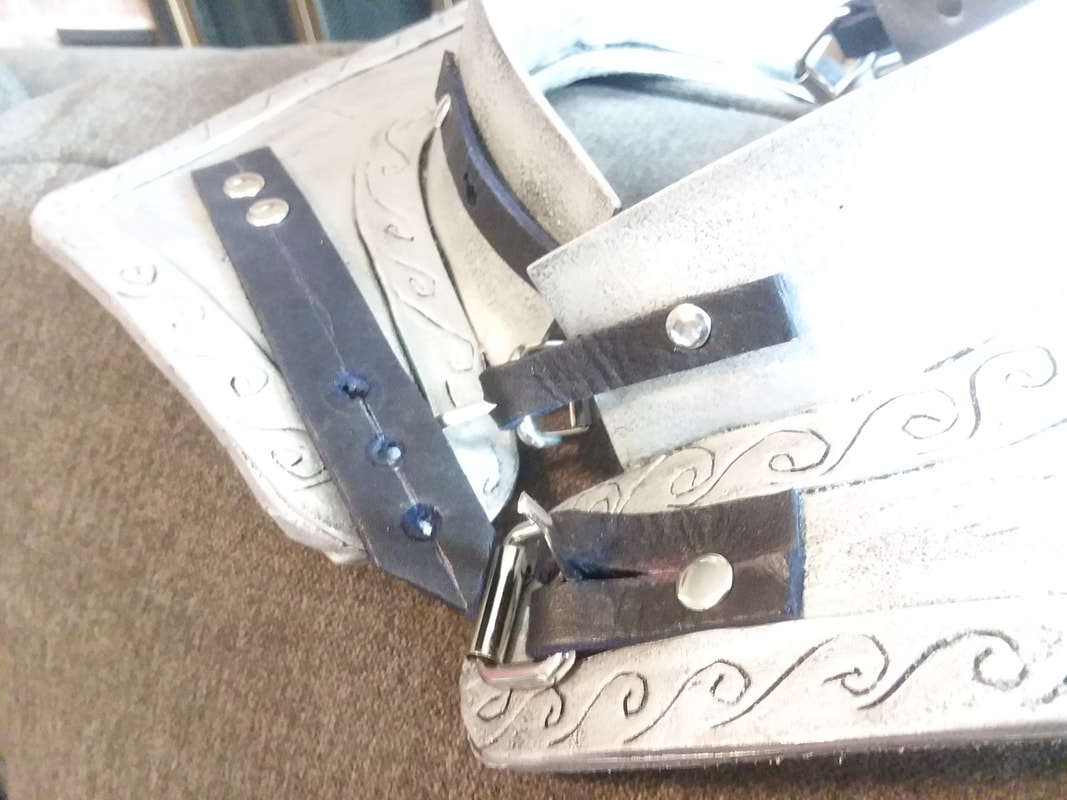
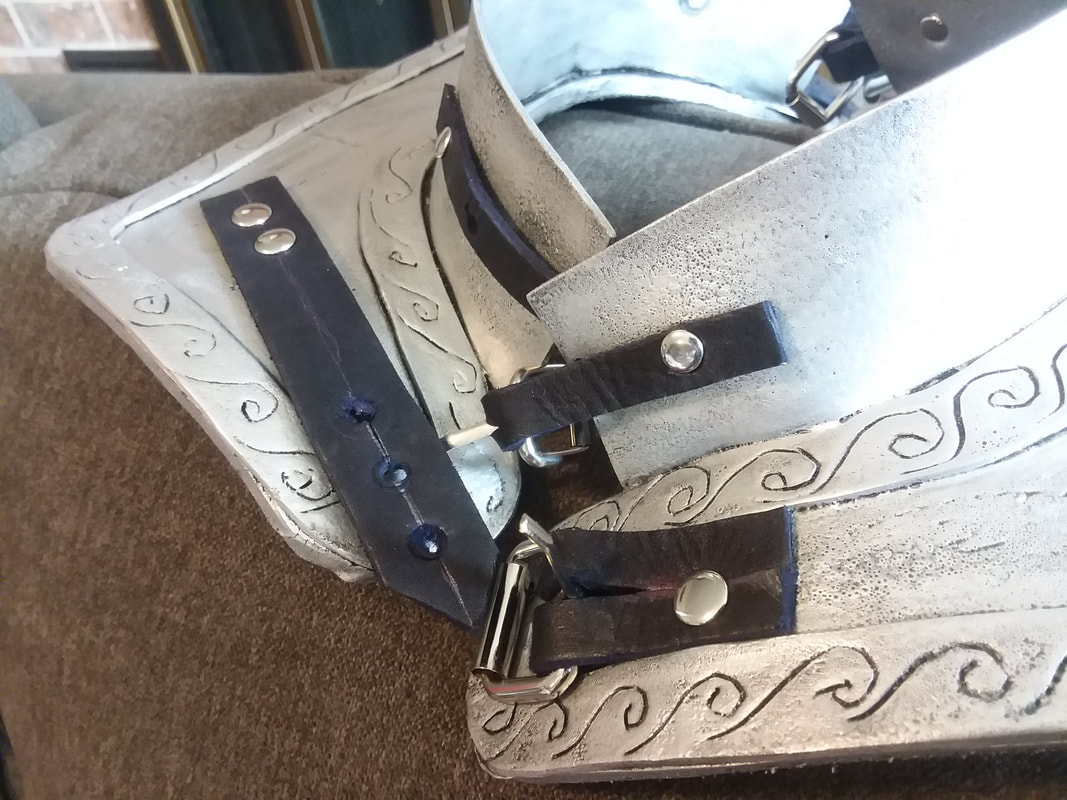
Talleg
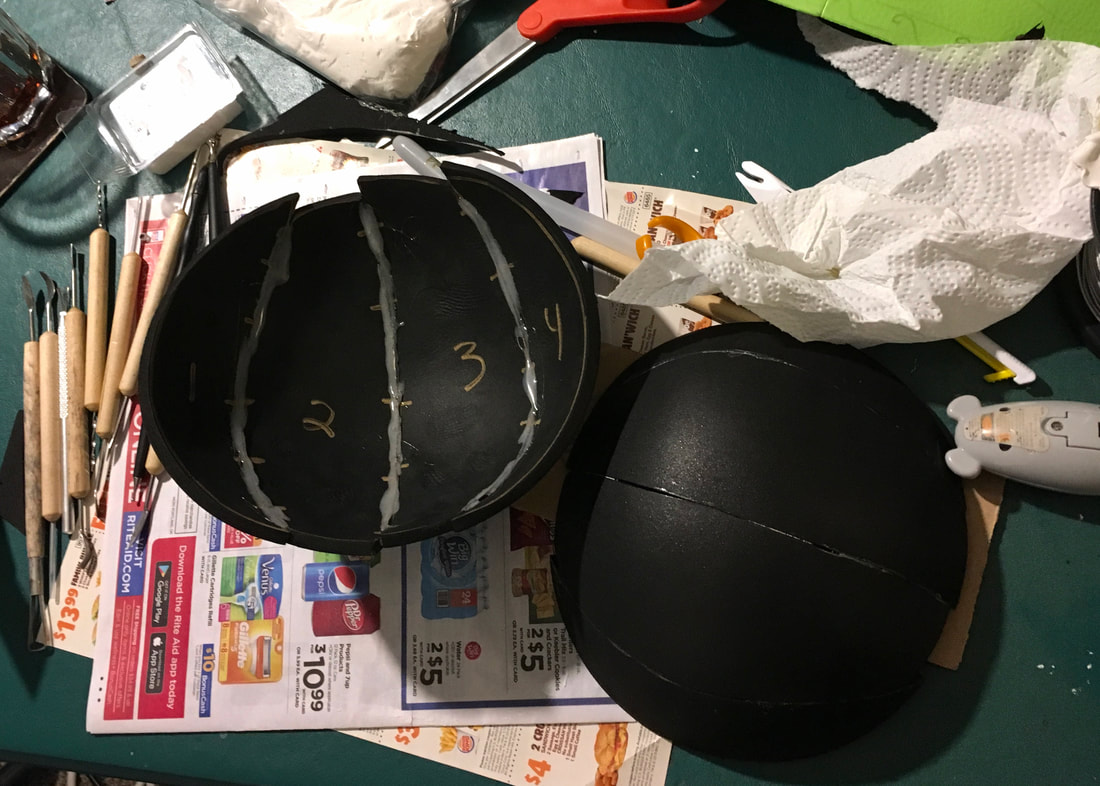
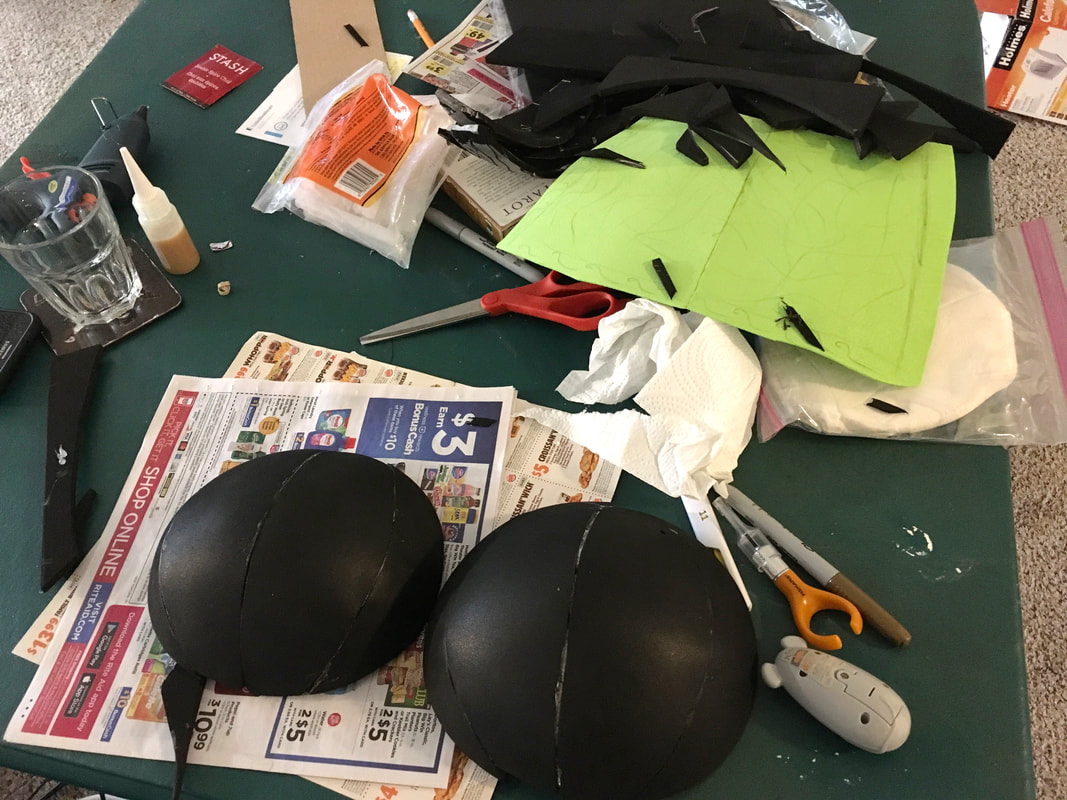
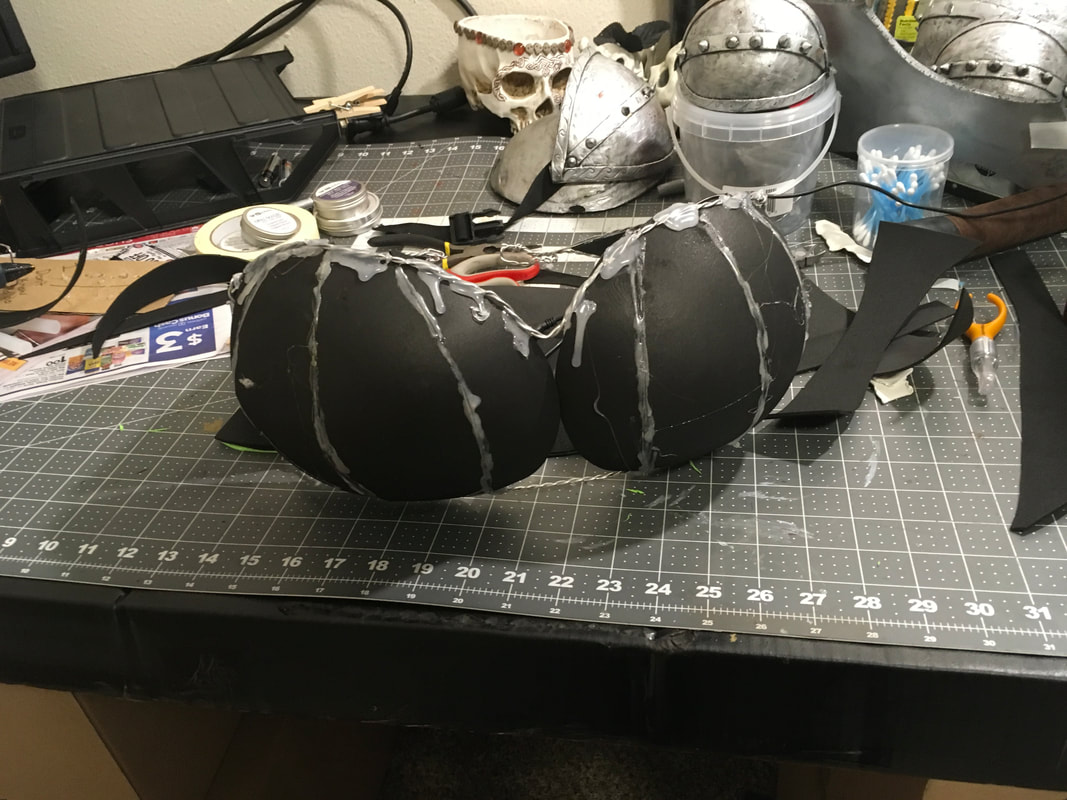
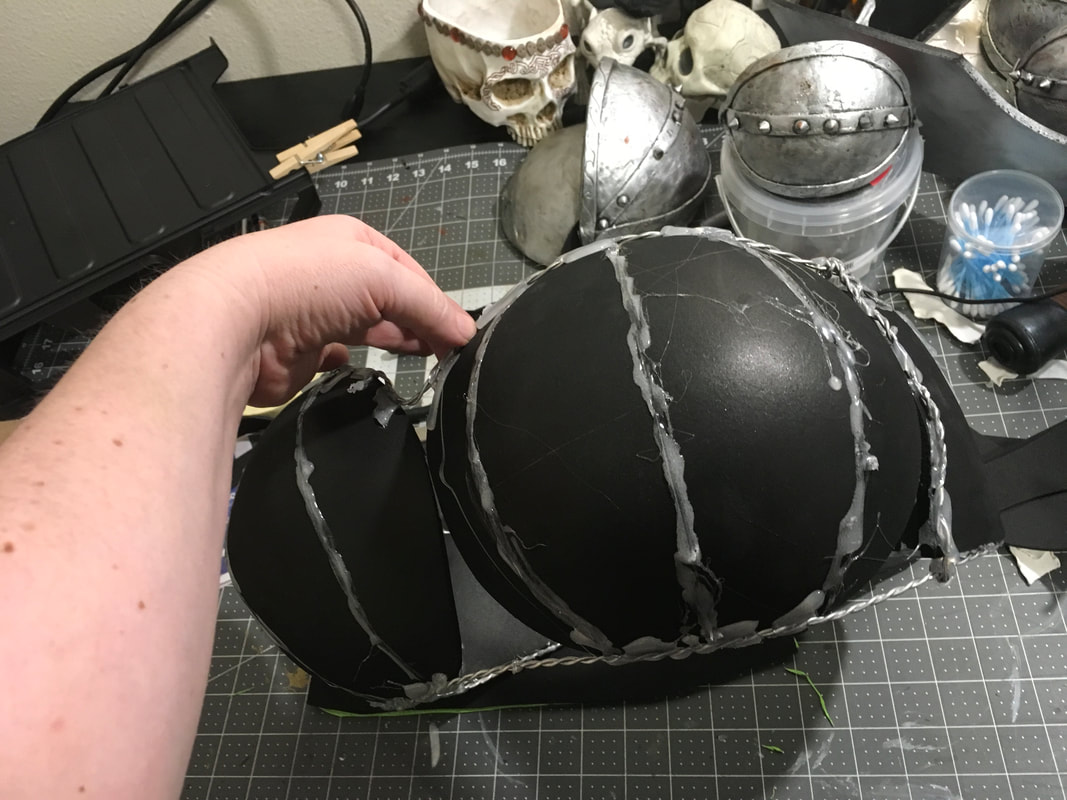
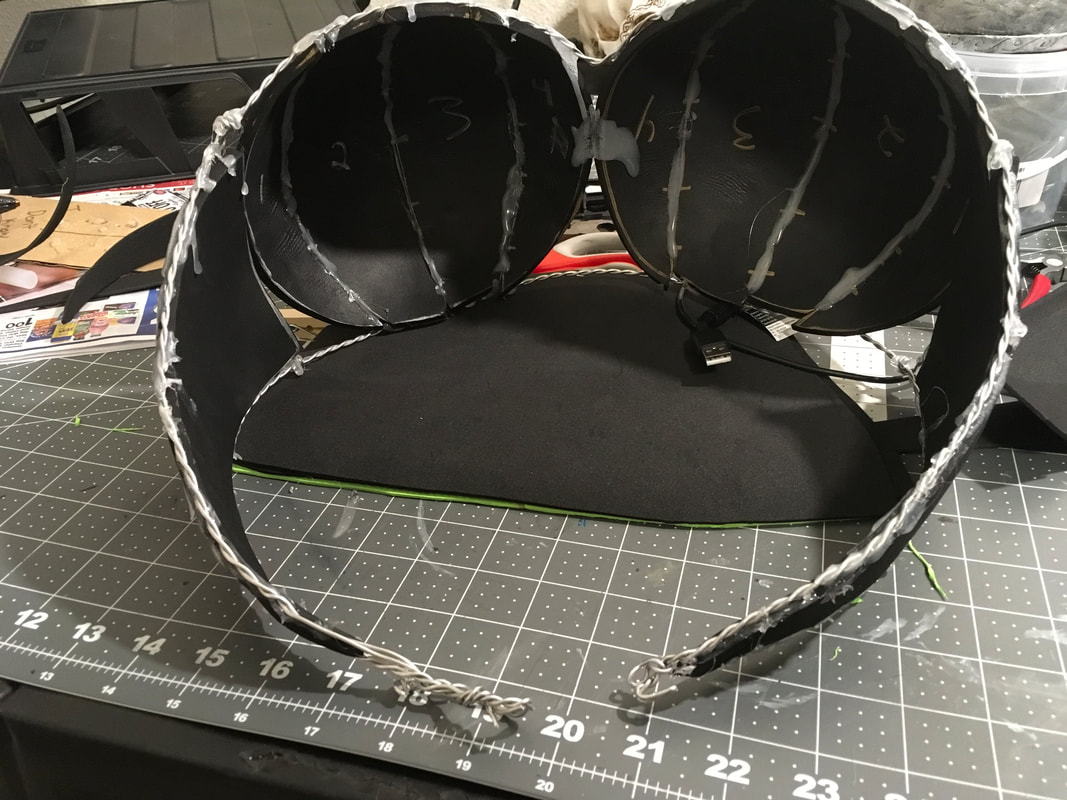
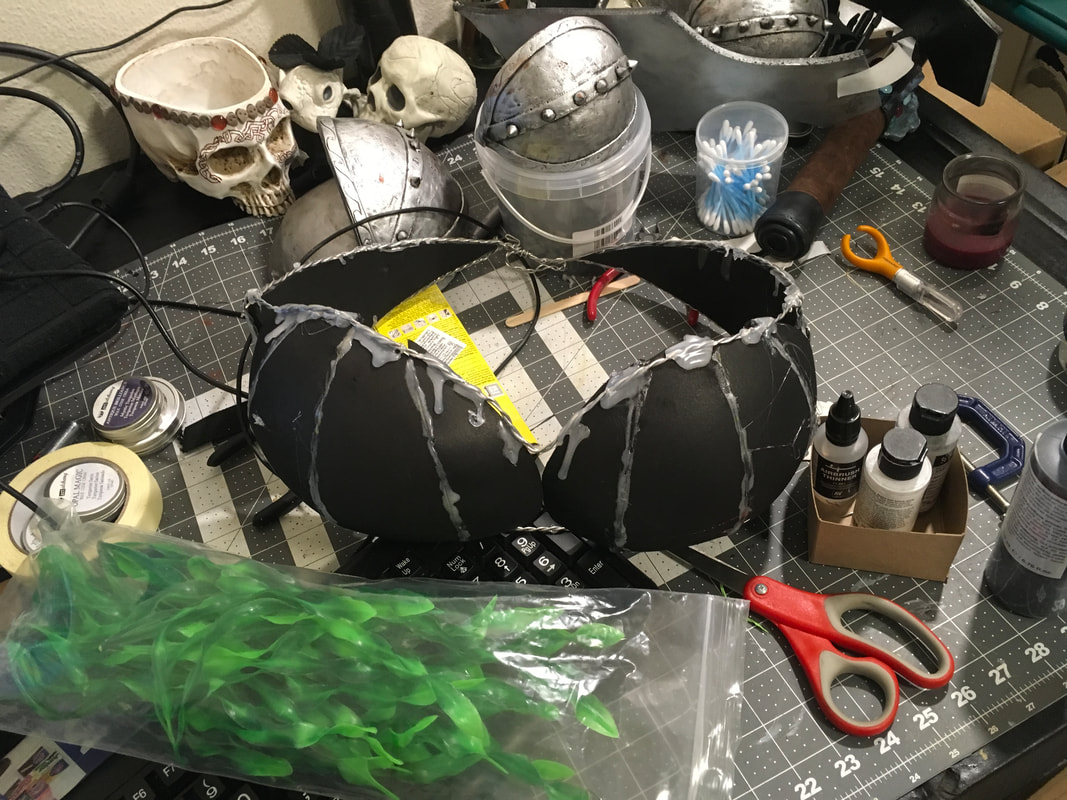
-Finish breastplate
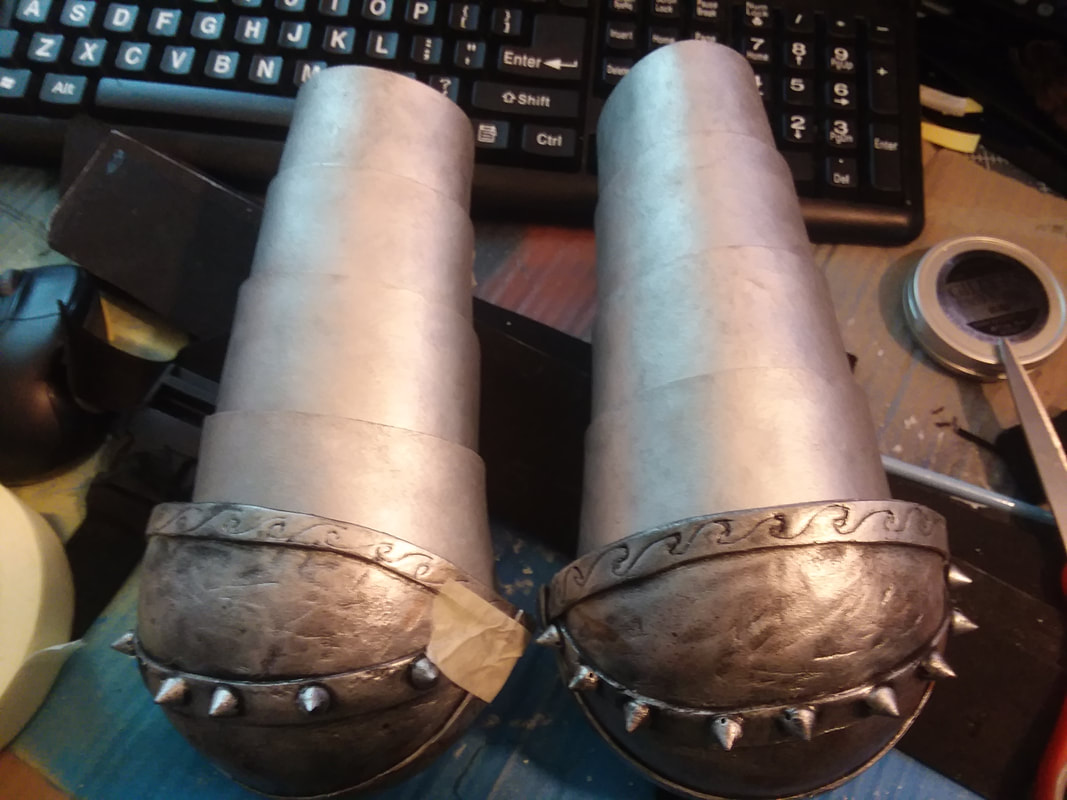
-leg armor and arm armor
-Gauntlets
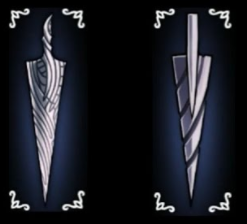
-Finish +1 mace.....MAKE IT LIGHT UP
I think I will break this down futher in my video. When I get that done.
2. Cosplays
I want to get Talleg done (yes, STILL), and I need to fix Aoifa. I am thinking of just leaving it at those. Because I don’t have a lot of spare money right now, and Norwescon is in a month, I am just going to concentrate and those two for now.
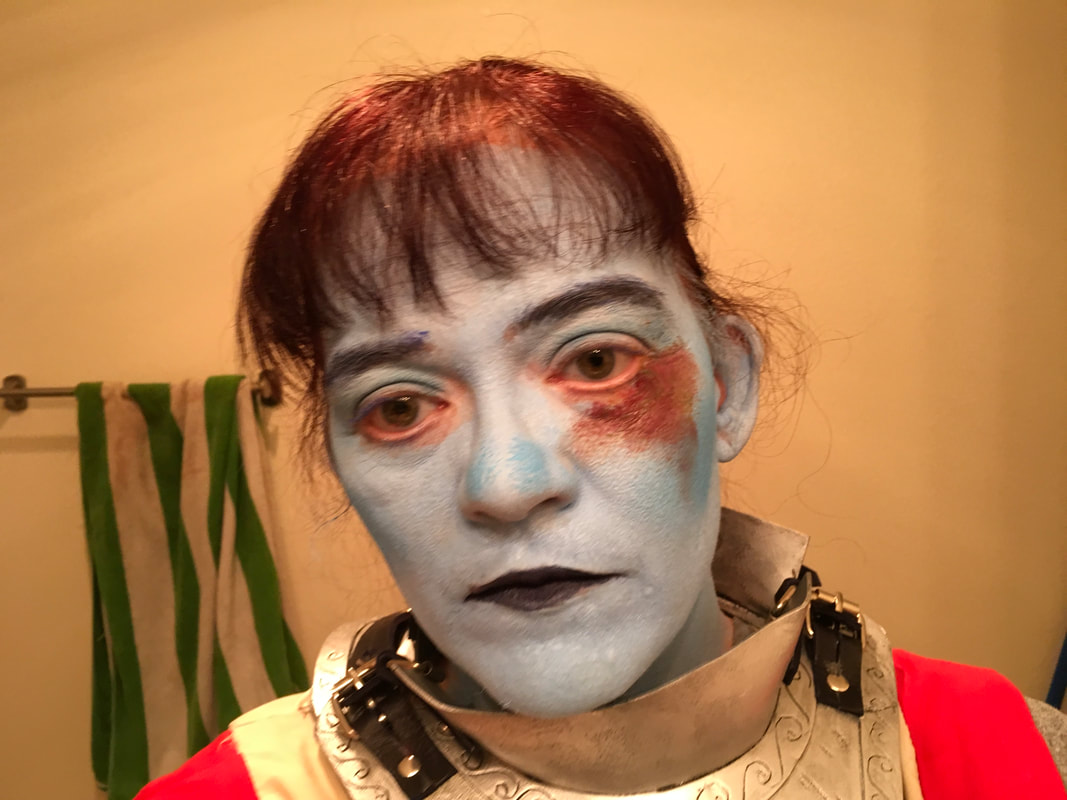
Aoifa
-Fix her corset. Either try to make it a real corset or figure out how to sew the cardboard together so it won’t pop
-Remake her horns
-Make a padded circlet to go under the wig, so the horns look like they are growing kut of her head. Seriously that circlet is a joke.
-Figure out how to incorporate the dragon eye from the current circlet
-Sew the fur collar to the cloak. It is currently hot glued, very badly
-Repaint the spider broaches so the black doesn’t chip off
-Figure out a better sleeve configuration. Or learn how to glue them to my skin so they stay
-Figure out how to install the ears, and how to makeup them
Not much. 😒
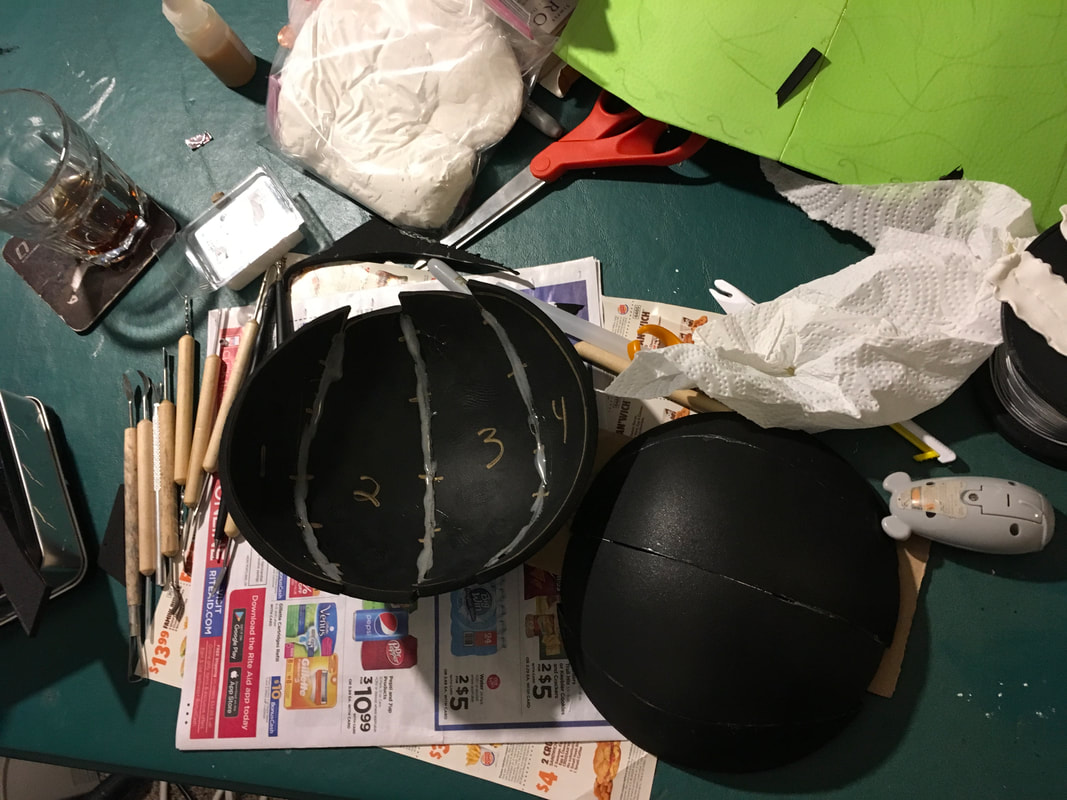
Talleg
-Finish breastplate
-leg armor and arm armor
-Gauntlets
-Finish +1 mace.....MAKE IT LIGHT UP
I think I will break this down futher in my video. When I get that done.


 RSS Feed