It has been a very very busy month. I can't believe I have not posted in so long.
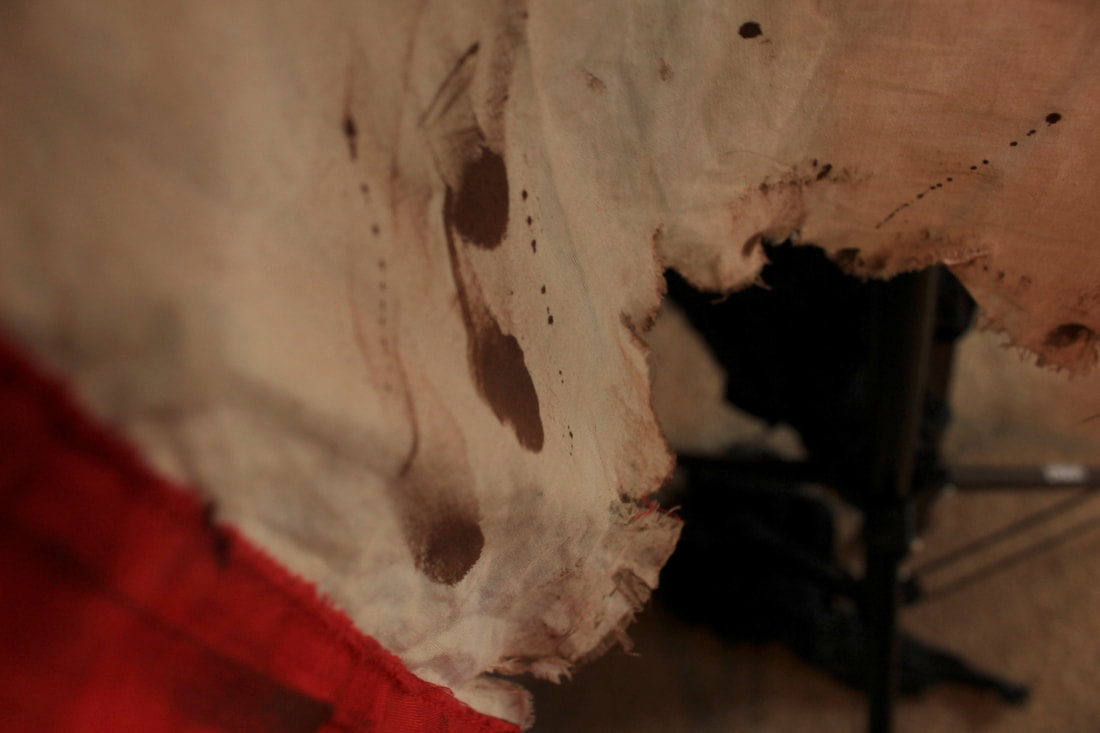
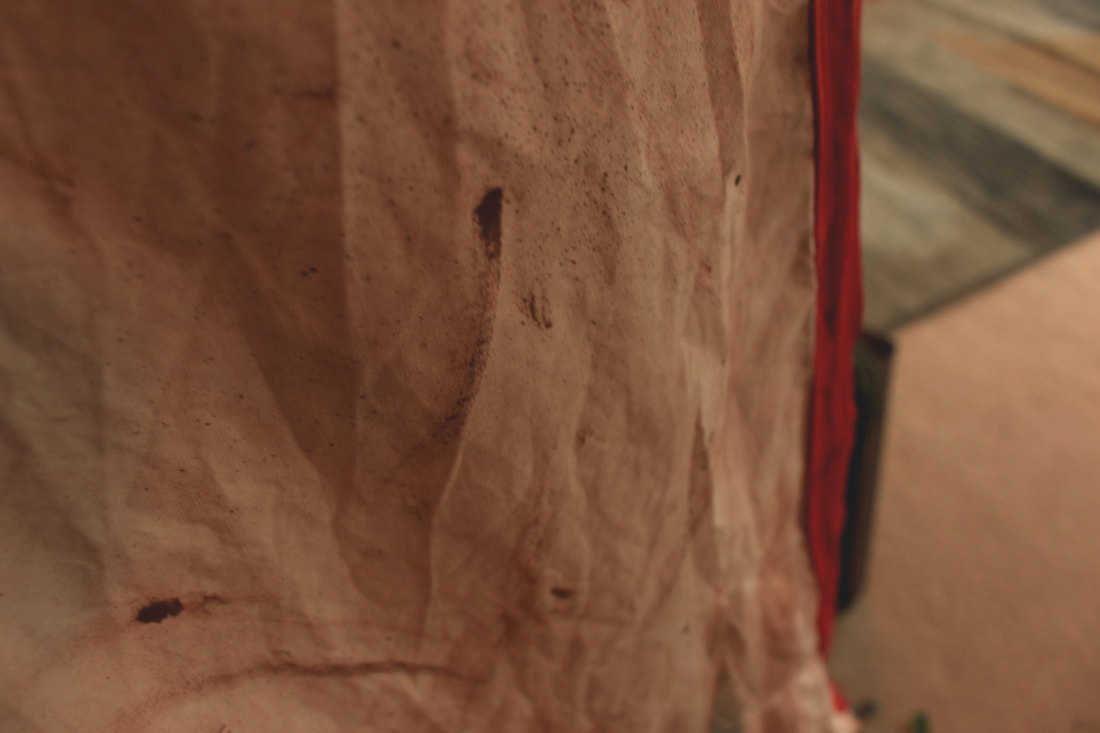
So, today I am going to share pics of my in progress rebuild of my breastplate. I am so tired. I finally got my stuff out of storage. I had to empty the Pod container all by myself, and ever since my joints have been randomly failing. I can't do anything to make it better. Carrying around heavy things is something on the rheumatologists no-no list. But Pods really soaked me on "fees" and I had no money left to hire anyone to help. I don't really know many people here, and didn't feel like guilting my coworkers to help, as I have to work with them in a small room in the middle of a noisy data center. This morning I was going up the stairs to do my hair before work, coffee cup in hand, when my right ankle and left knee gave out and I fell down the stairs and spilled my coffee everywhere. Da kitteh was SOOO excited. She found the biggest spot and hunched over it, growling if I got close.
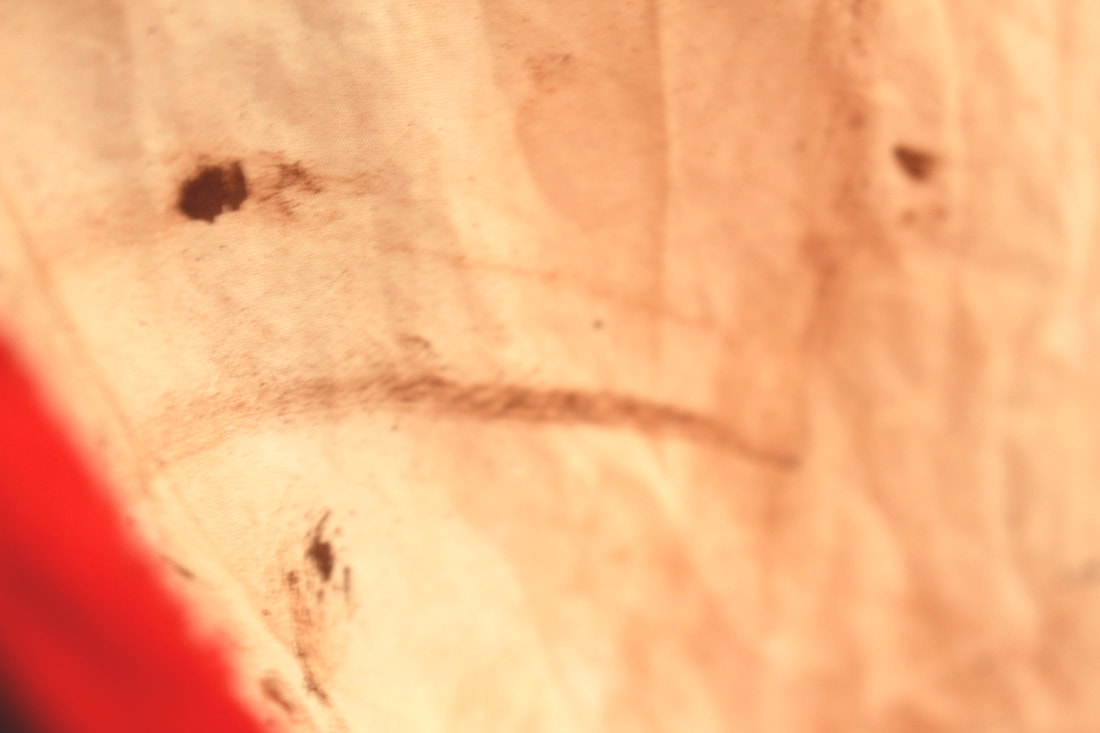
Did I mention my kitty LOOOOVES coffee? She is so funny. The first time I drank coffee when she was living with me, she kept trying to put her head in my coffee cup. I explained to her that coffee is for closers, and she was a kitty so would never be a closer. She looked at me a second, meowed loudly then walked away. Ever since she has been desperate to get coffee. She will sneak over my shoulder and try to drink from my cup. She will sneak in the side and try drink it if I hold it too low. I have to hold on to my cup or put my hand over the top or she is drinking it. :/ I dropped some coffee beans. She found some I missed. She licks them or sucks on them...never chews them. I thought I confiscated all of them, but from time to time she shows up with one and starts tearing around the house.
Anyway....
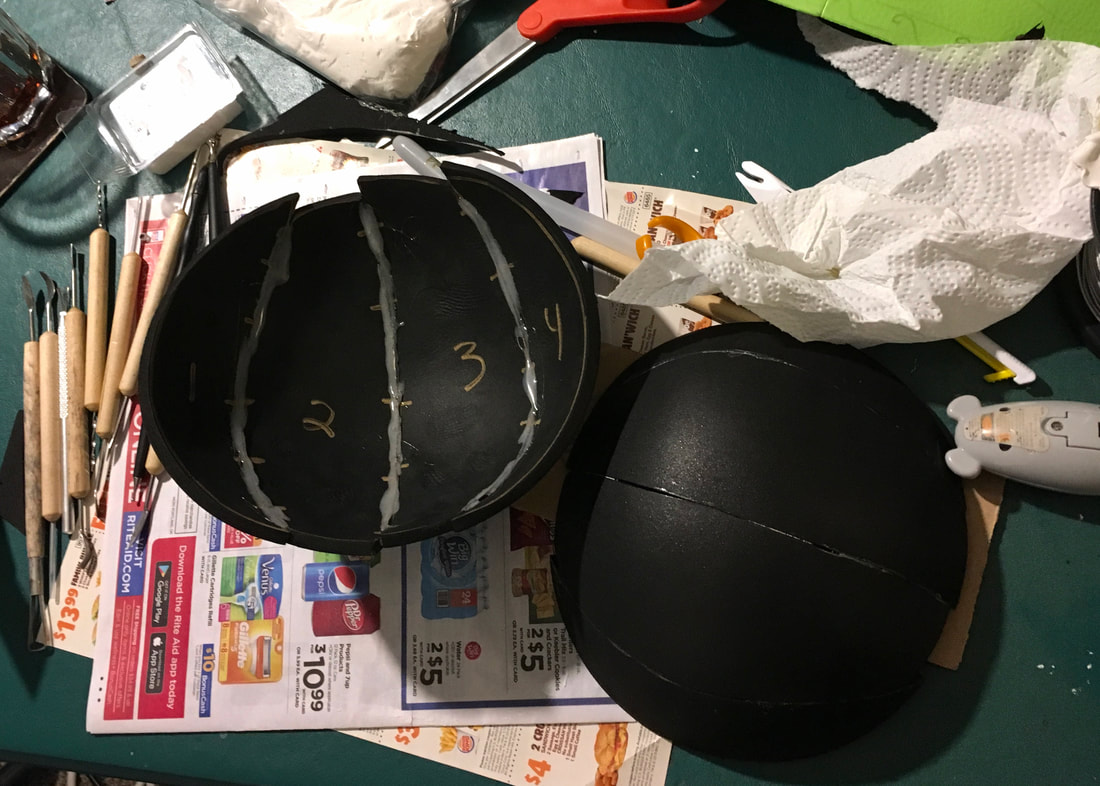
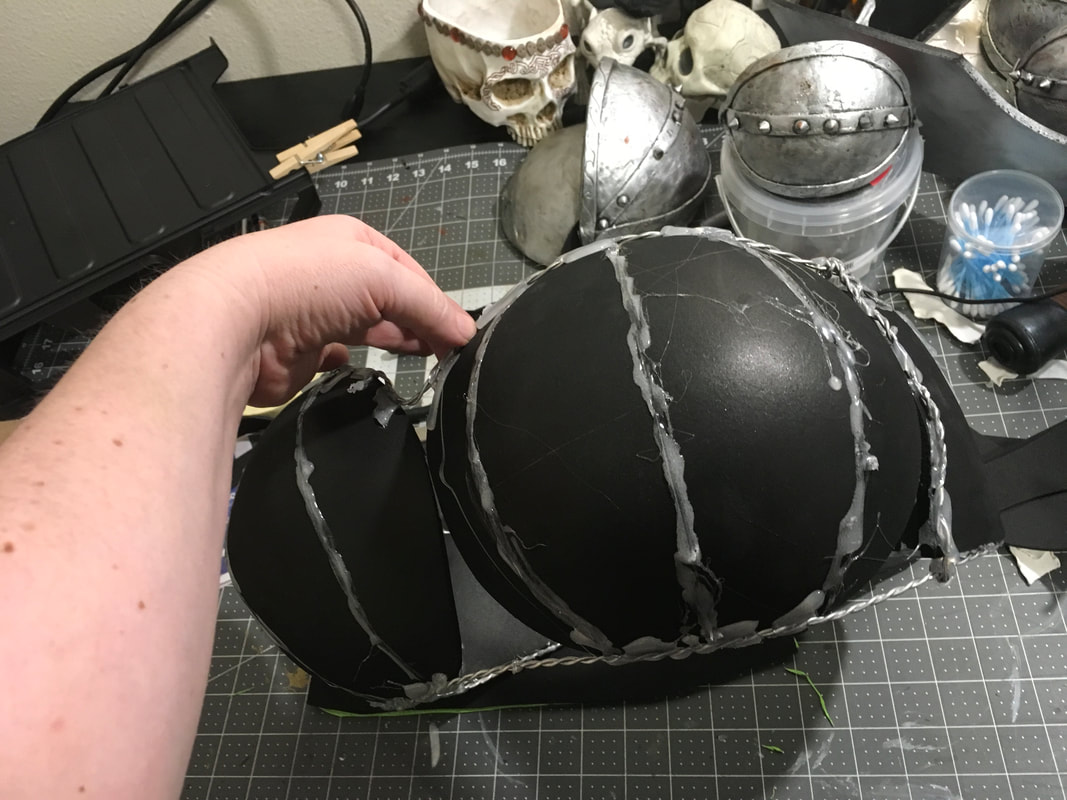
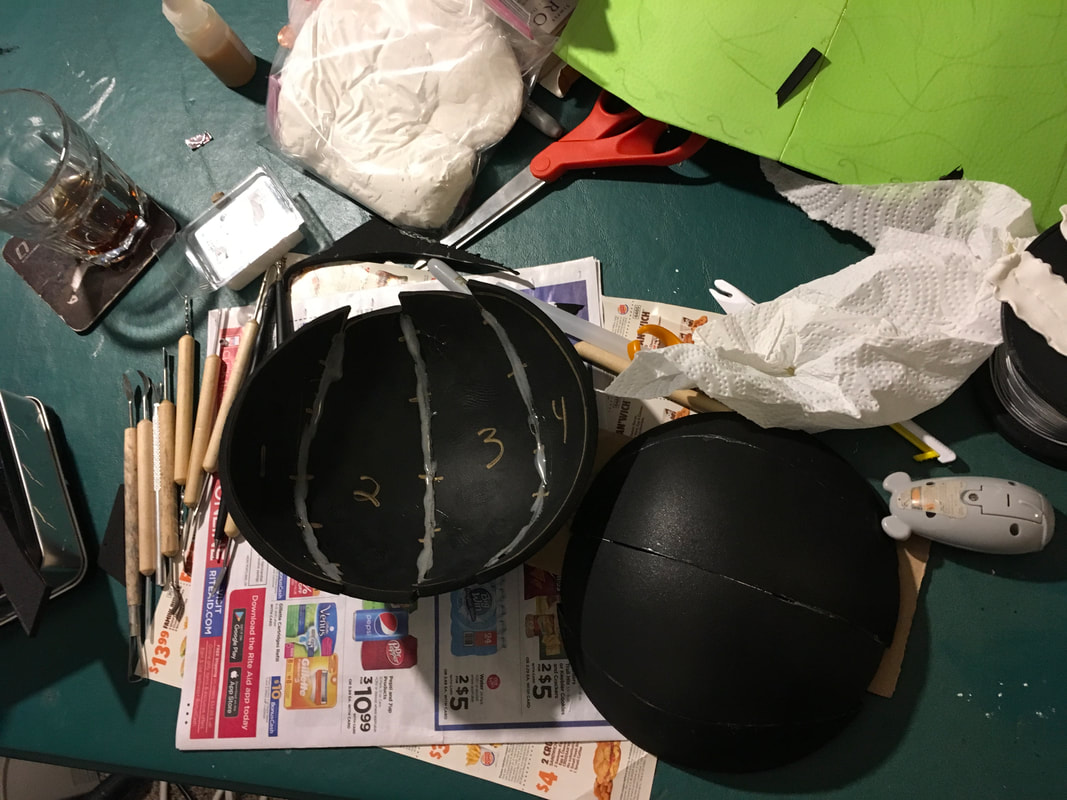
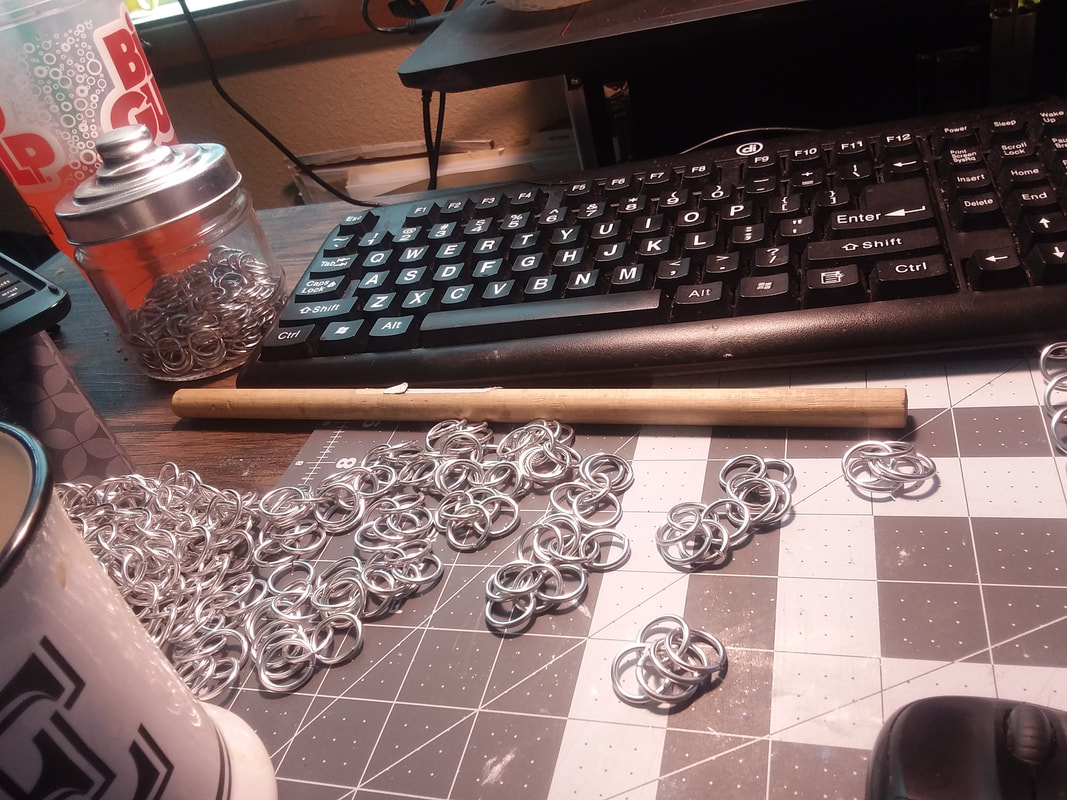
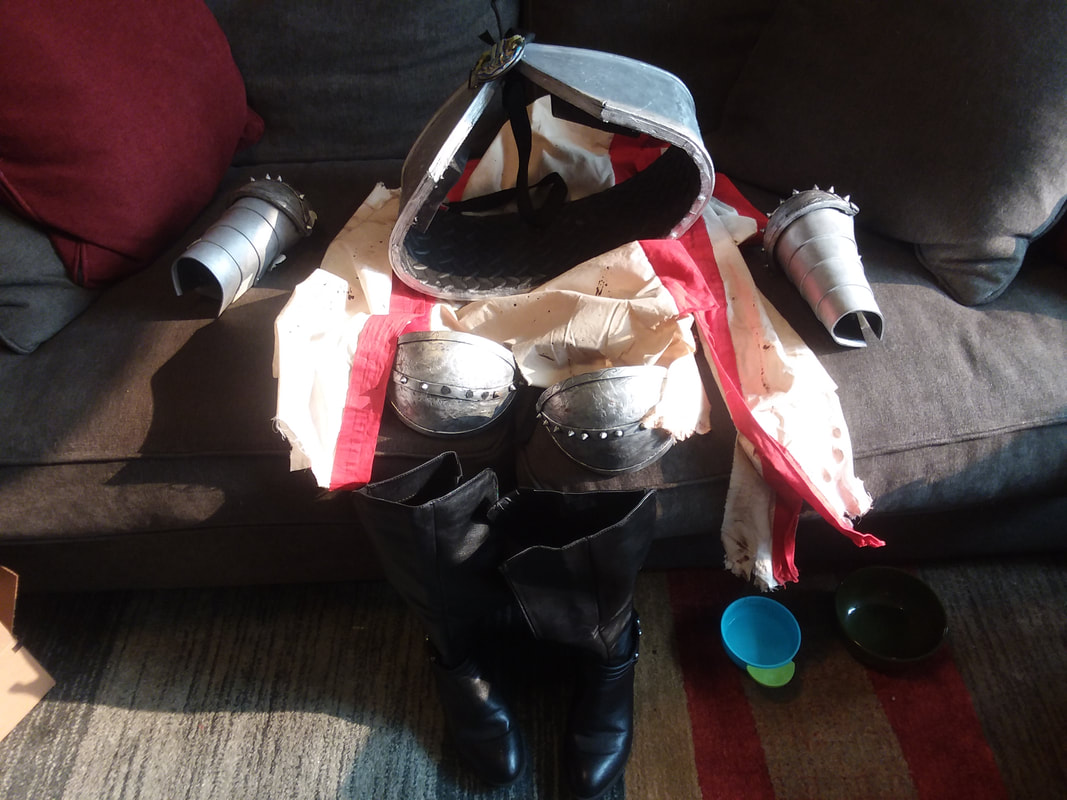
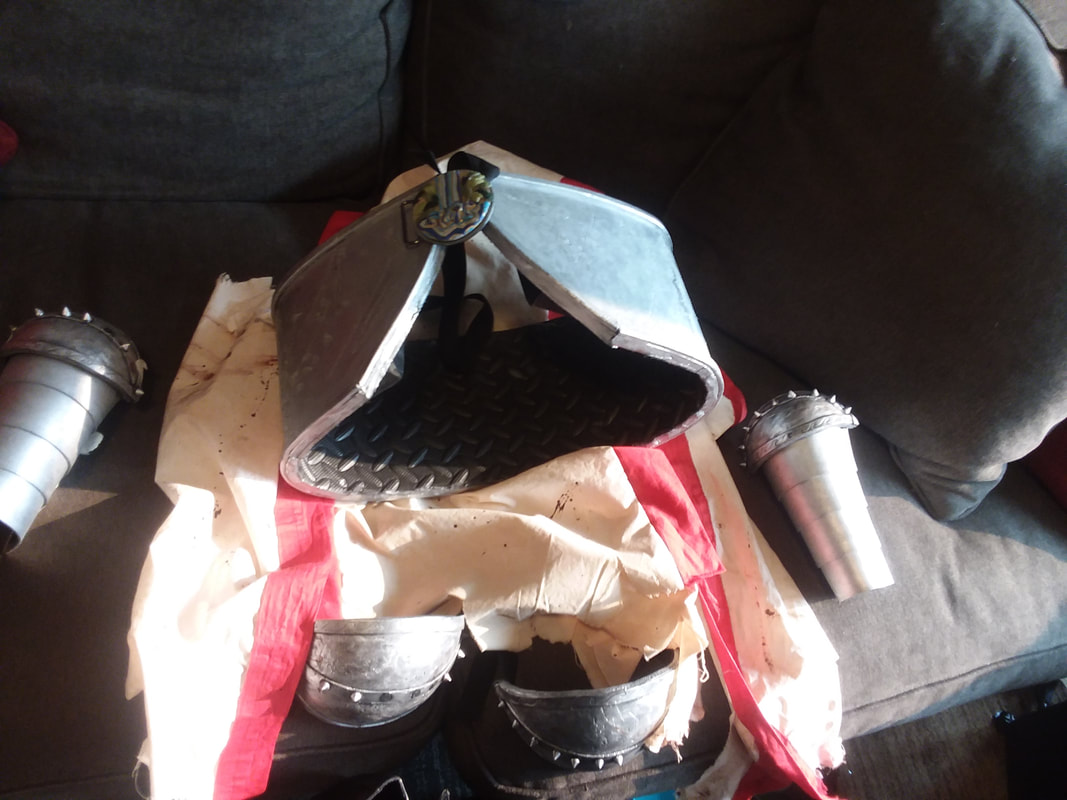
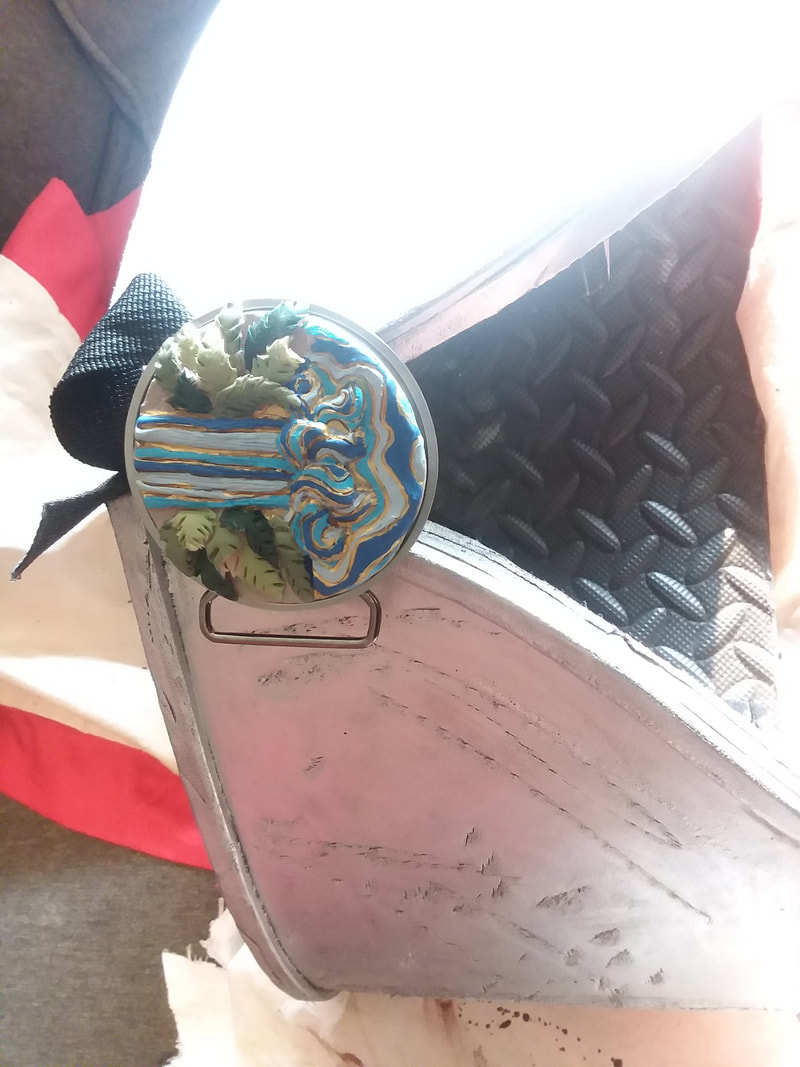
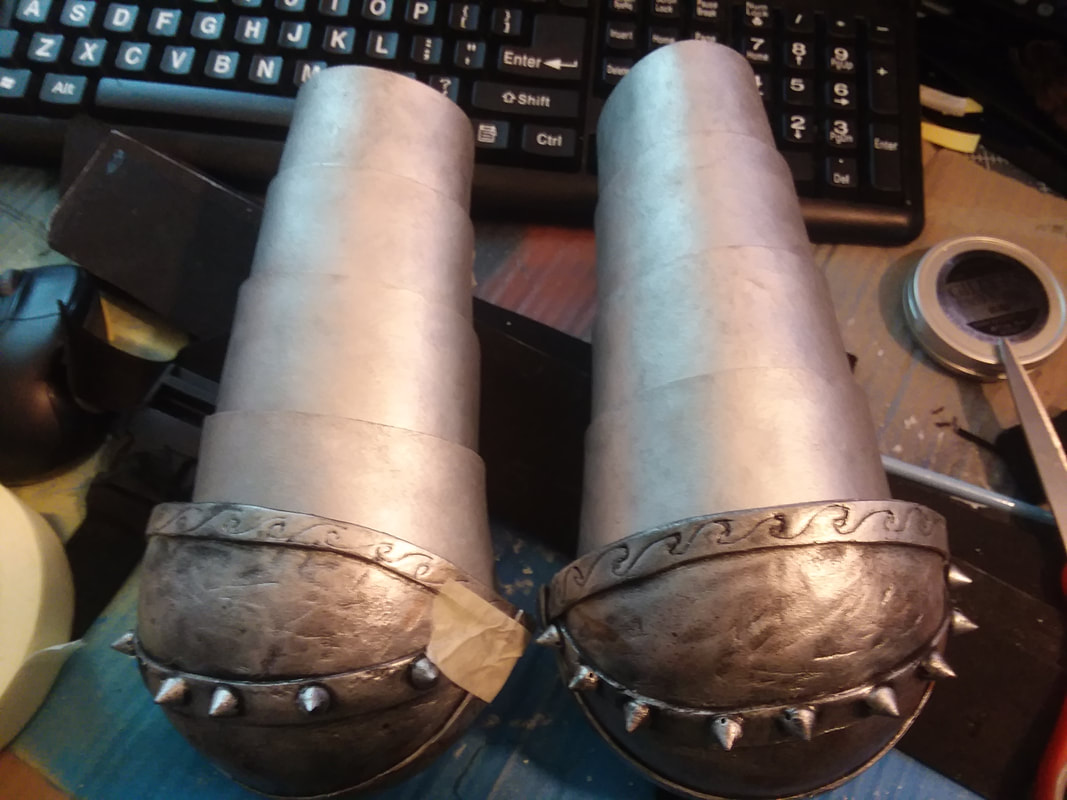
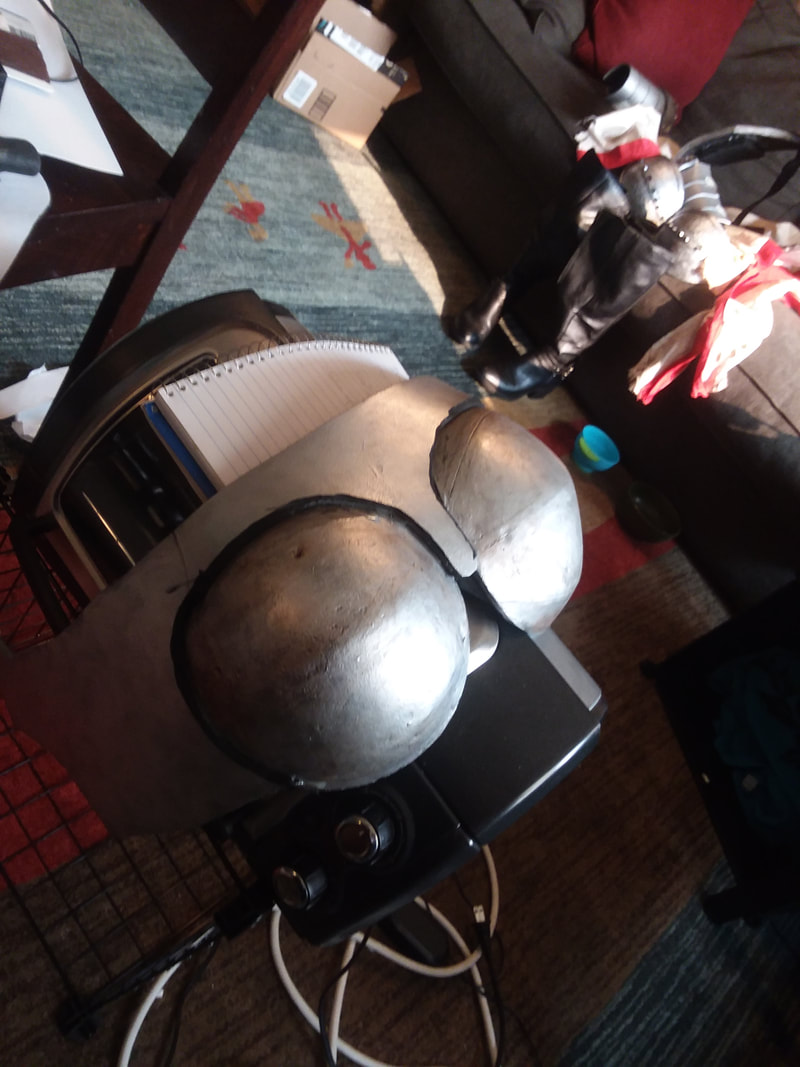
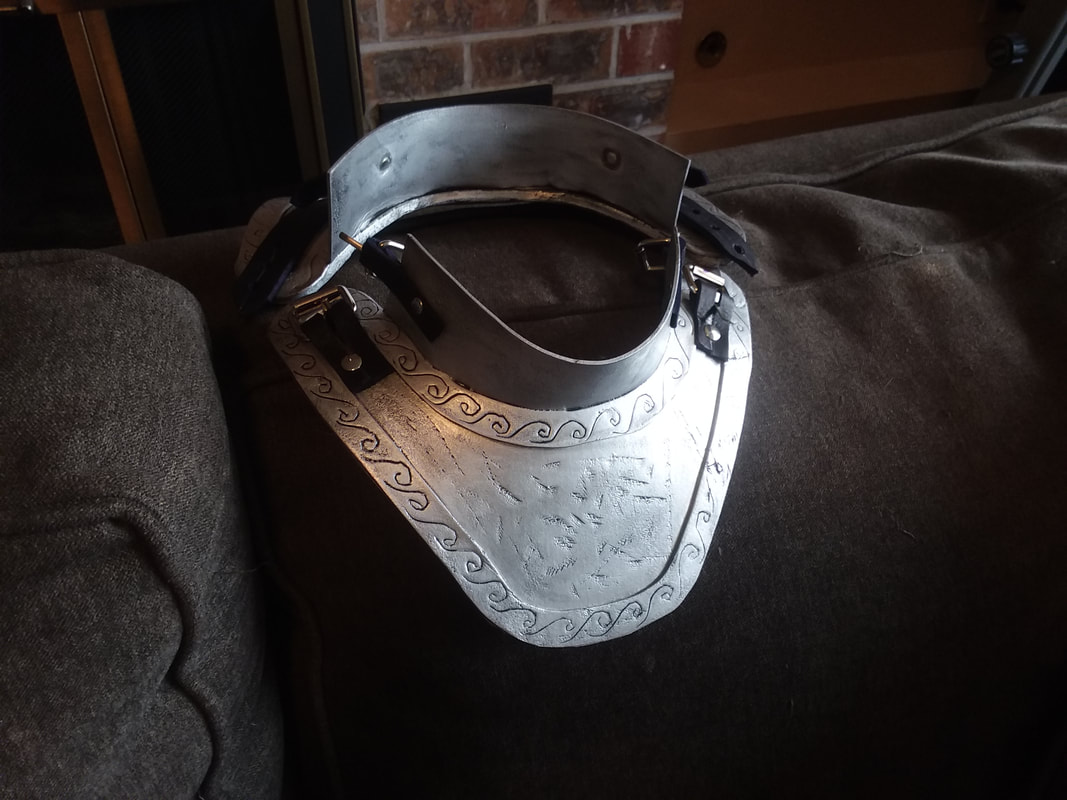
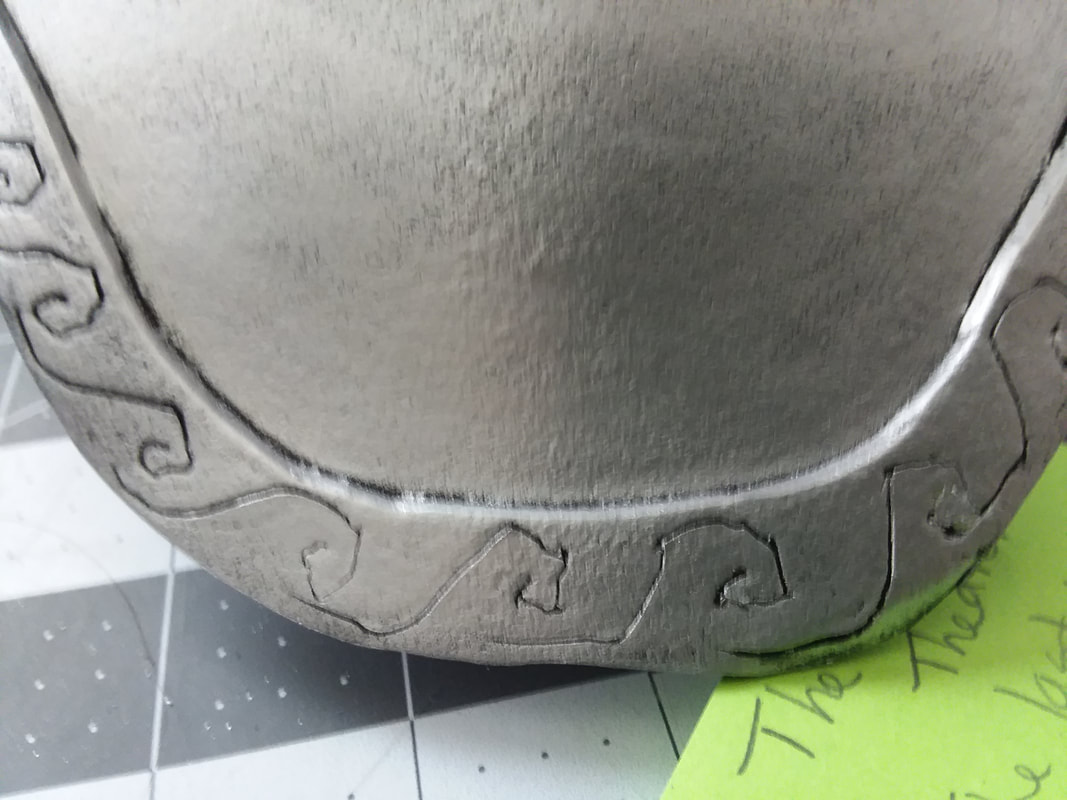
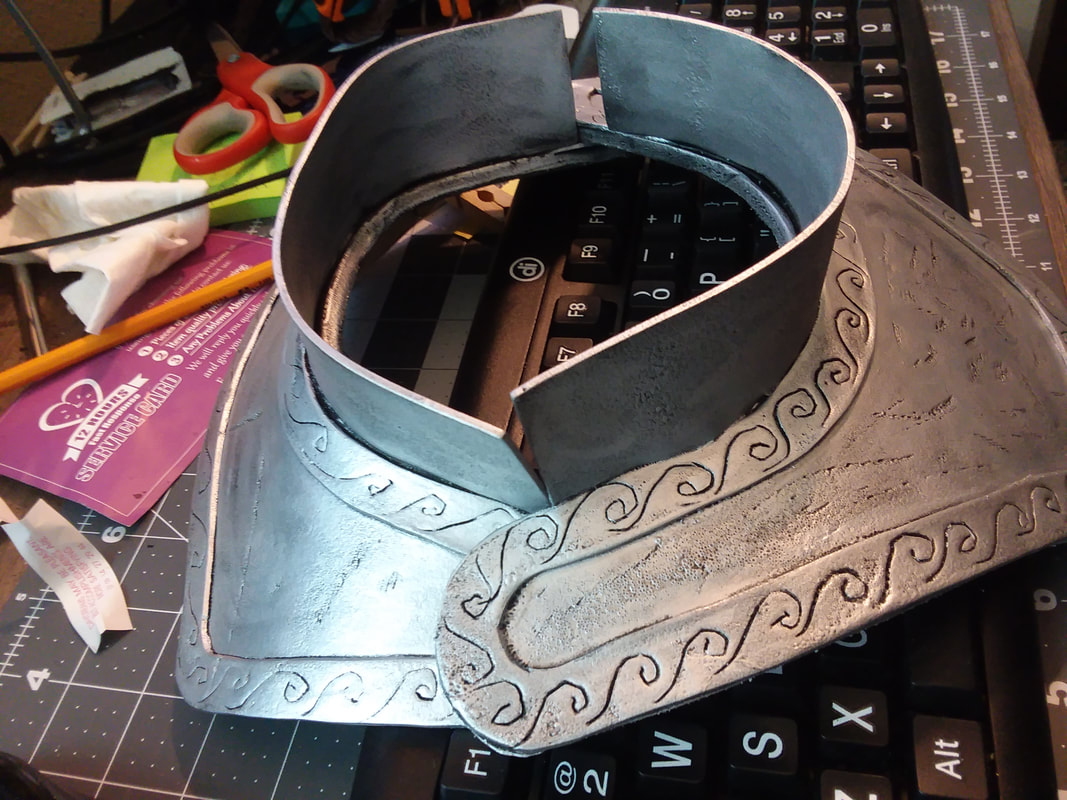
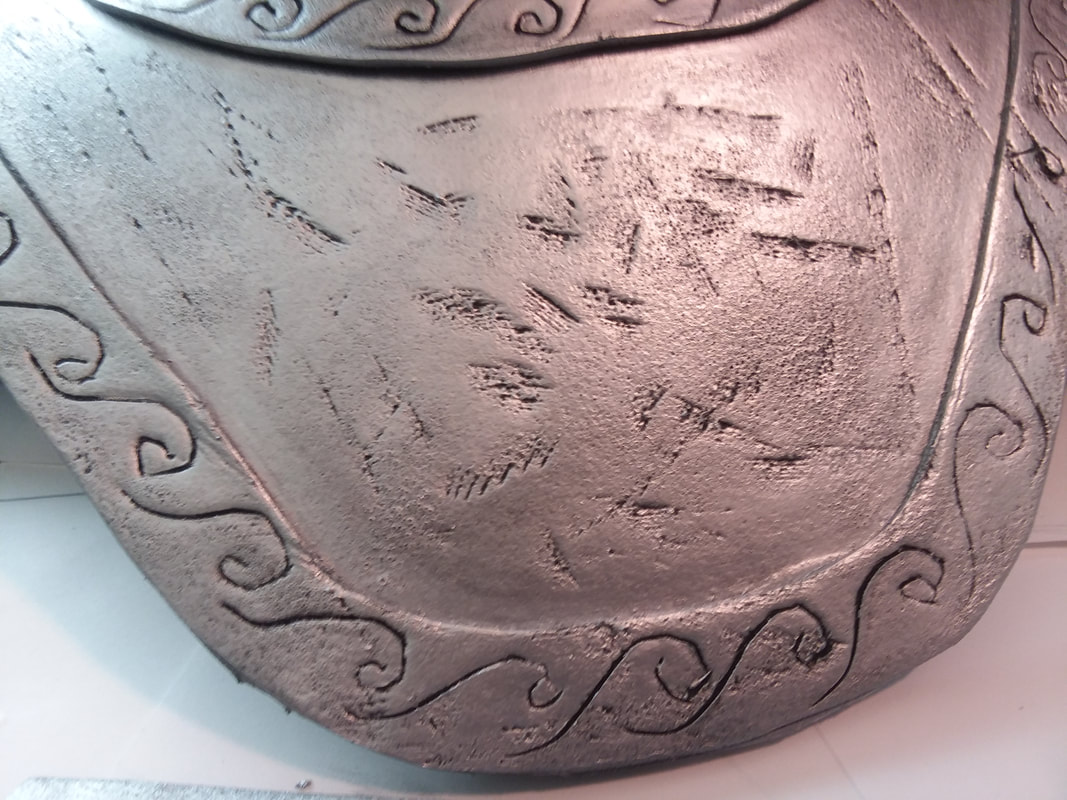
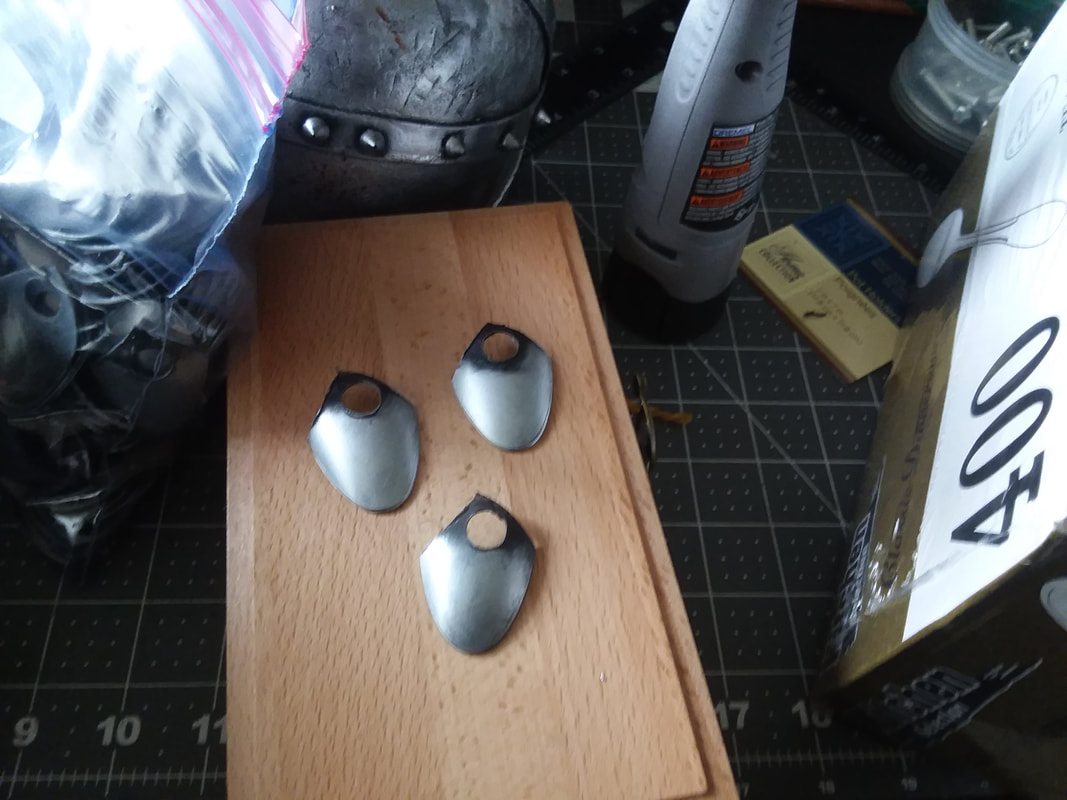
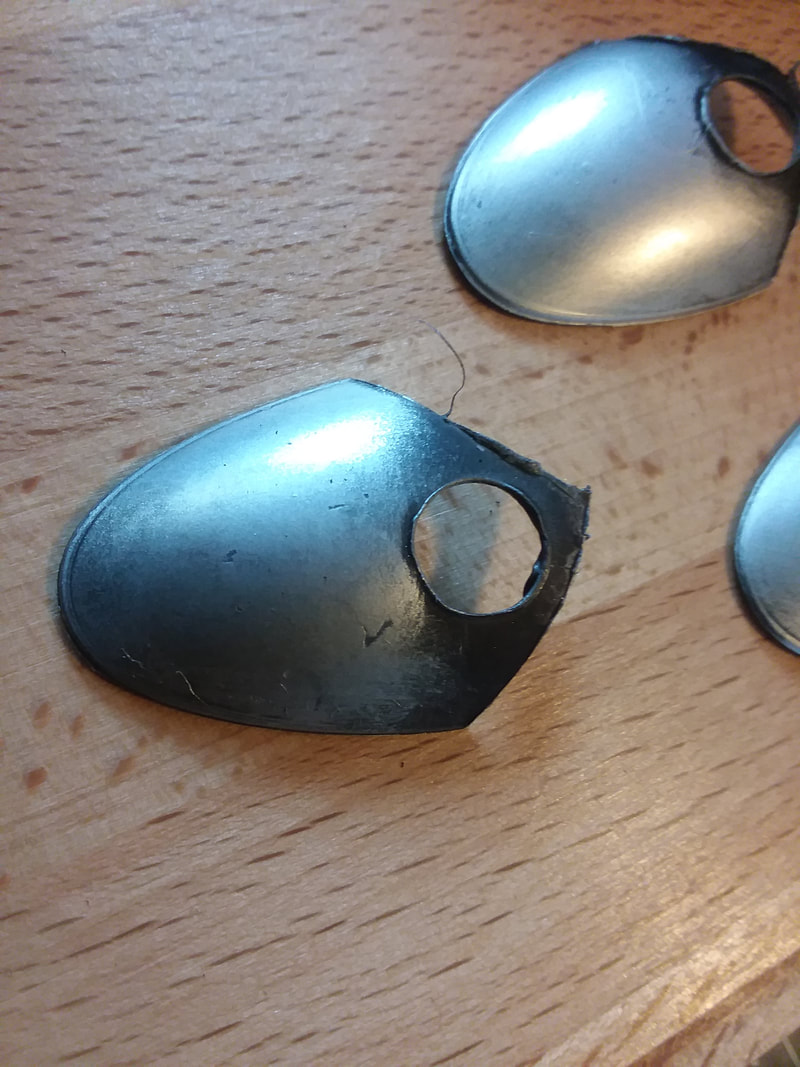
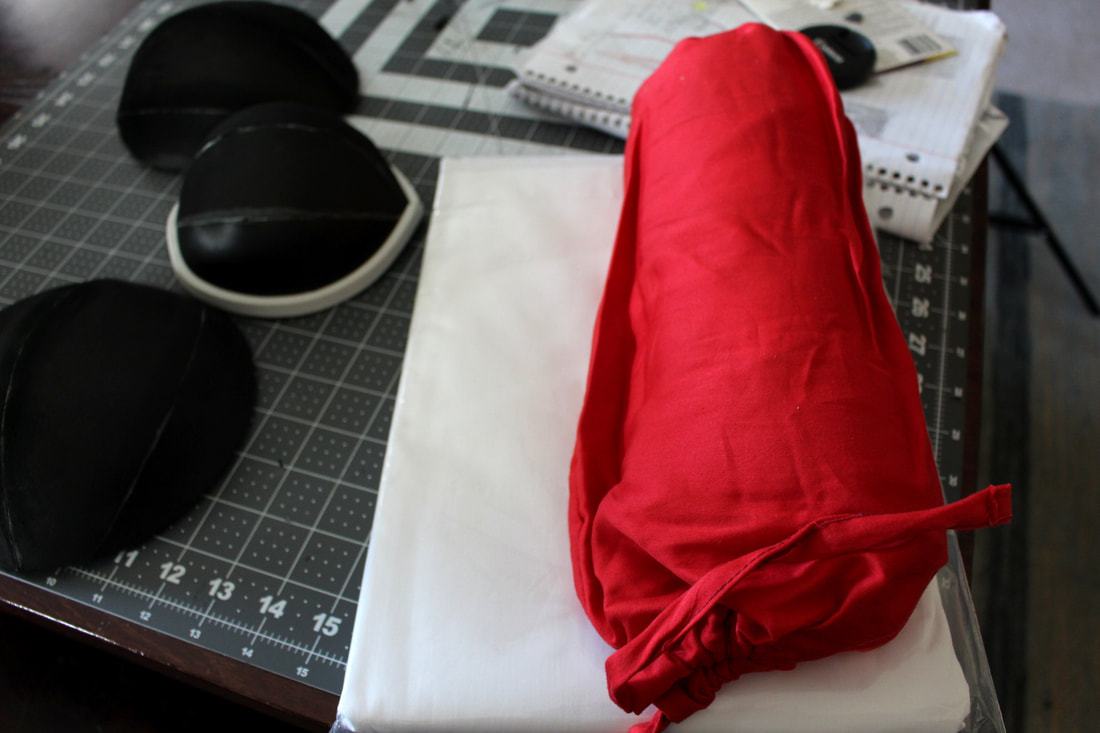
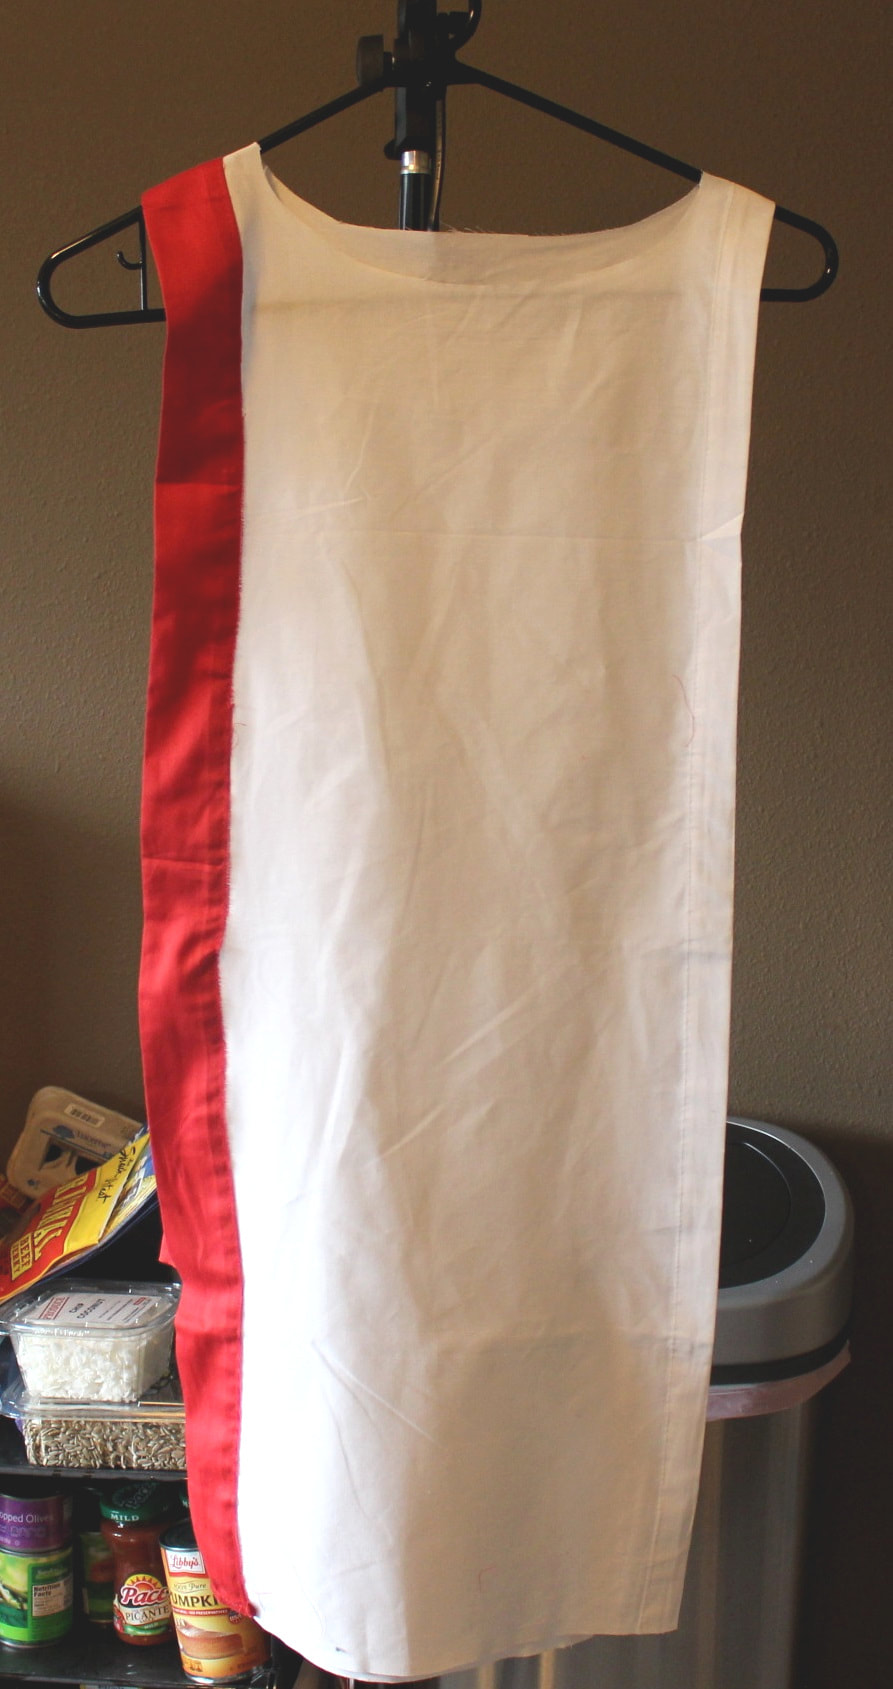
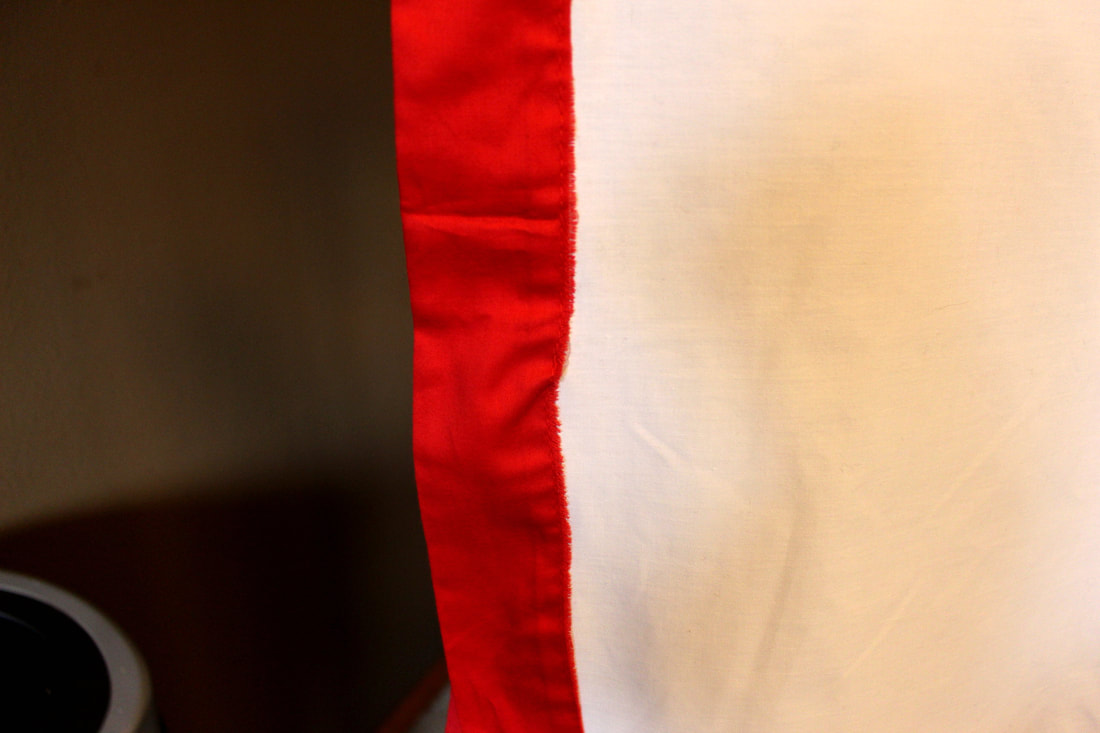
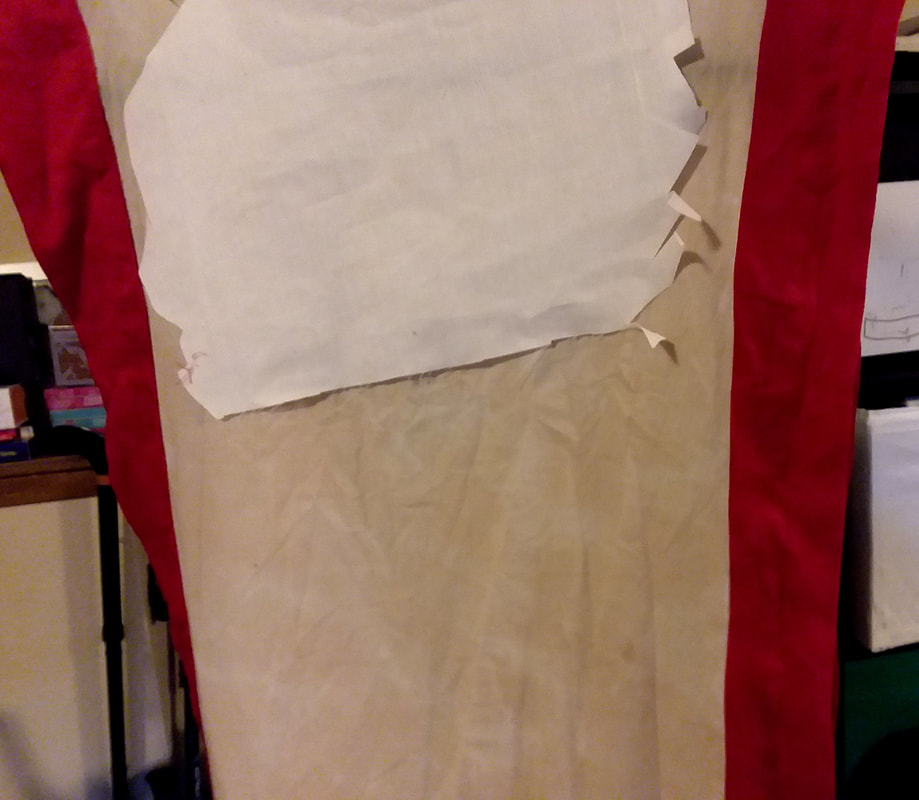
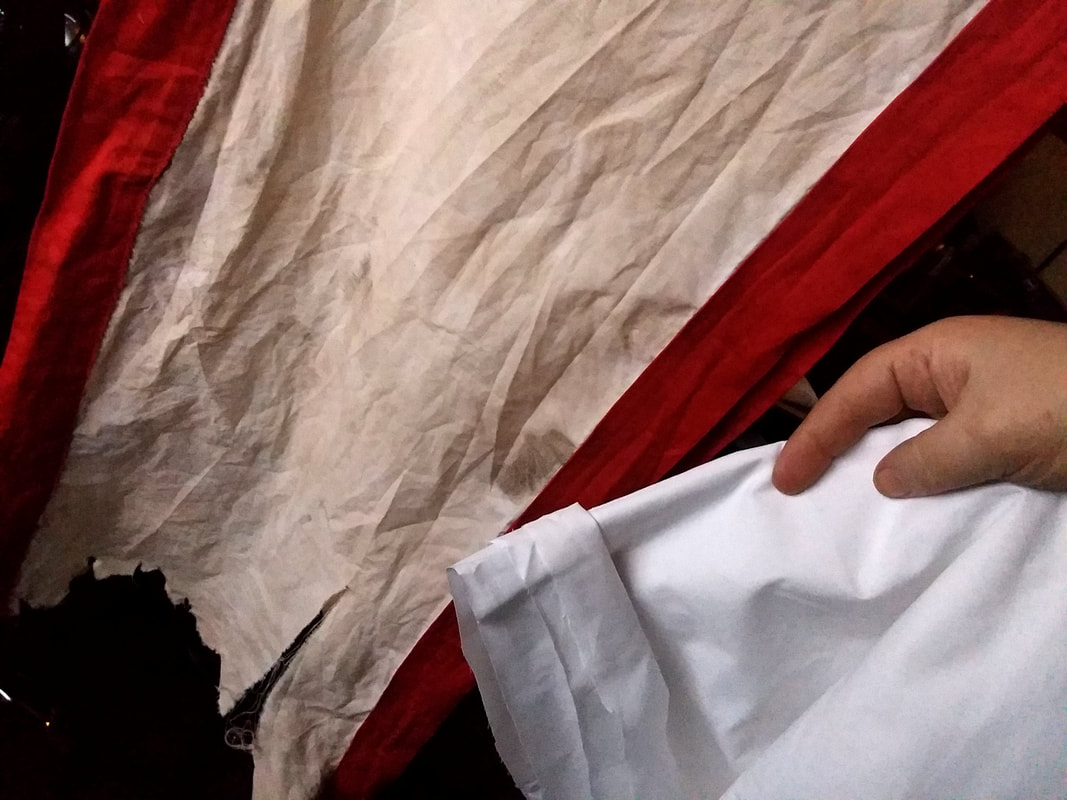
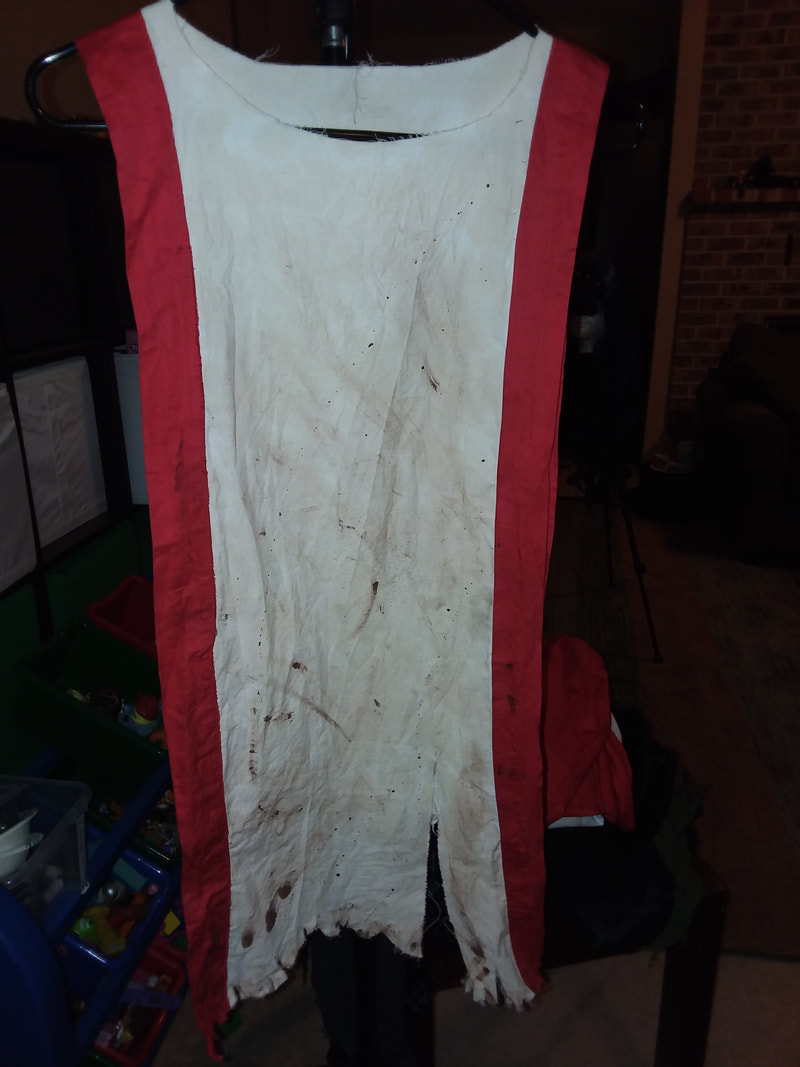
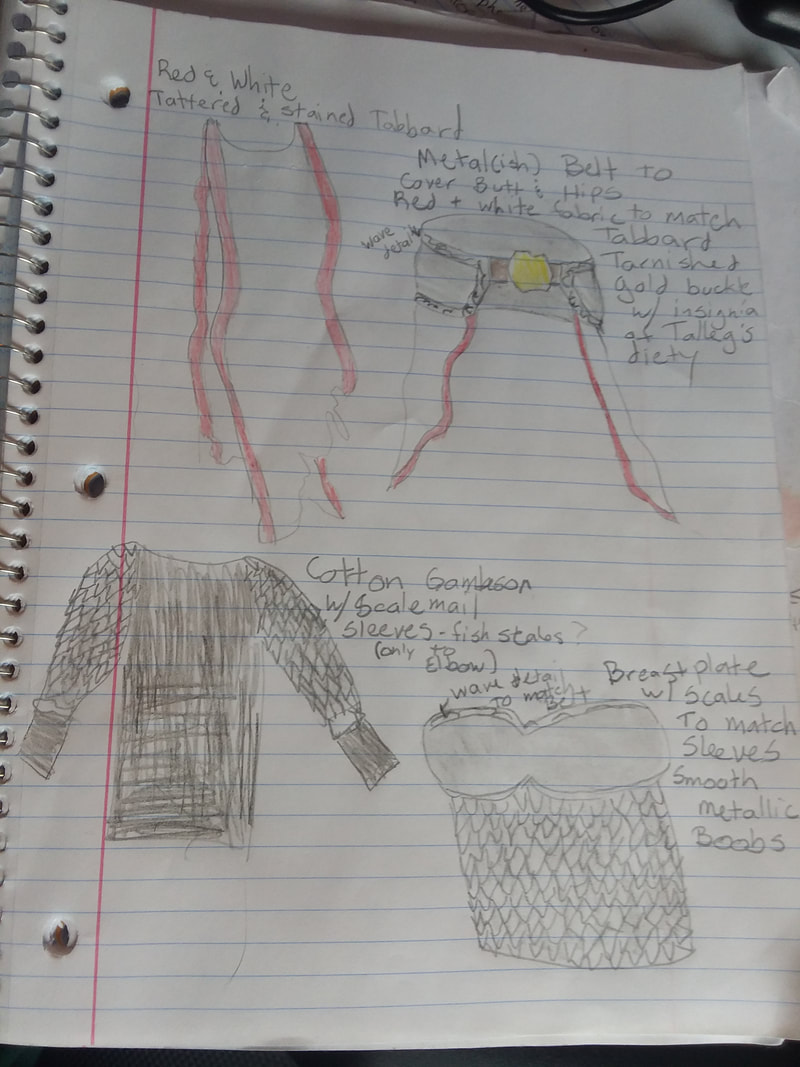
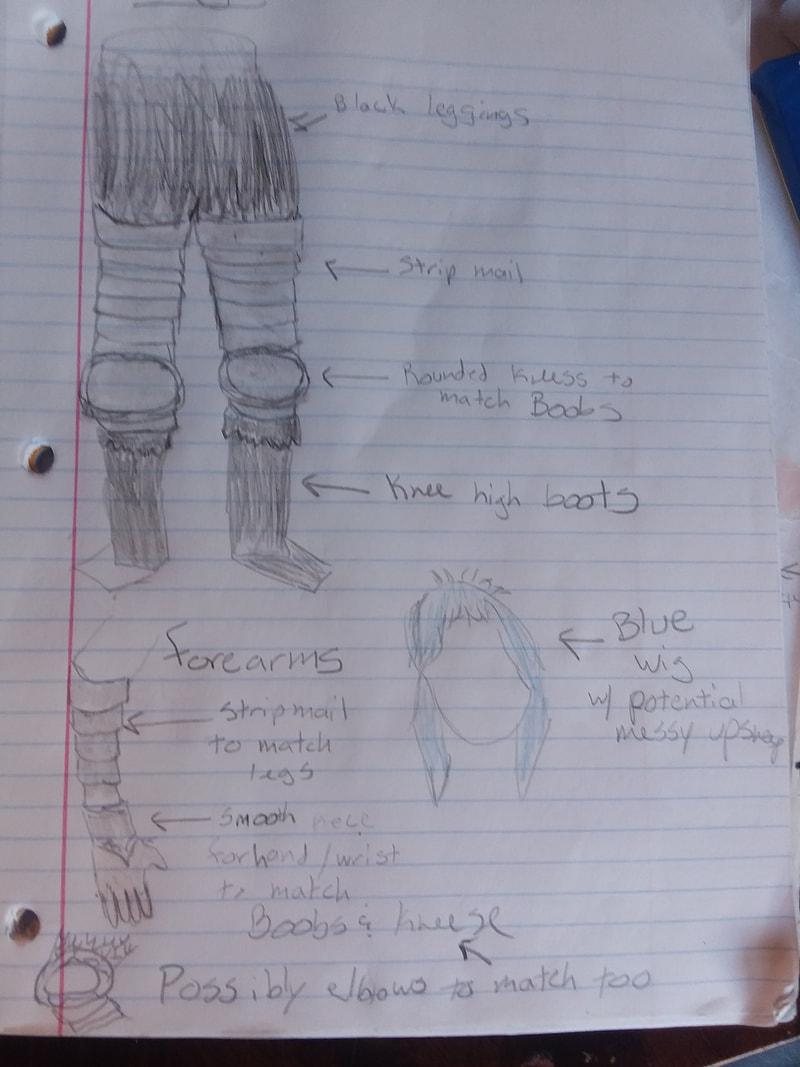
So here ya go. I decided to tear apart my breastplate because it was ugly and not very functional. I couldn't find my dome patterns, so I just cut apart the old ones and used them as a pattern. I think it looked ok.
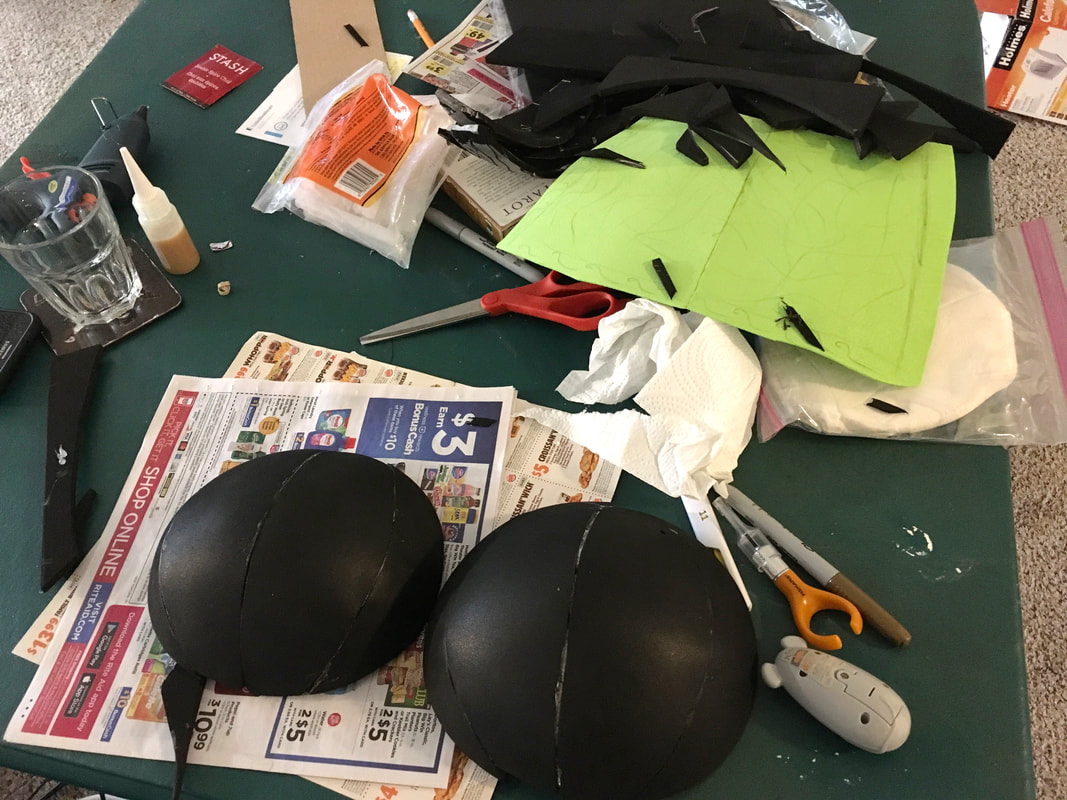
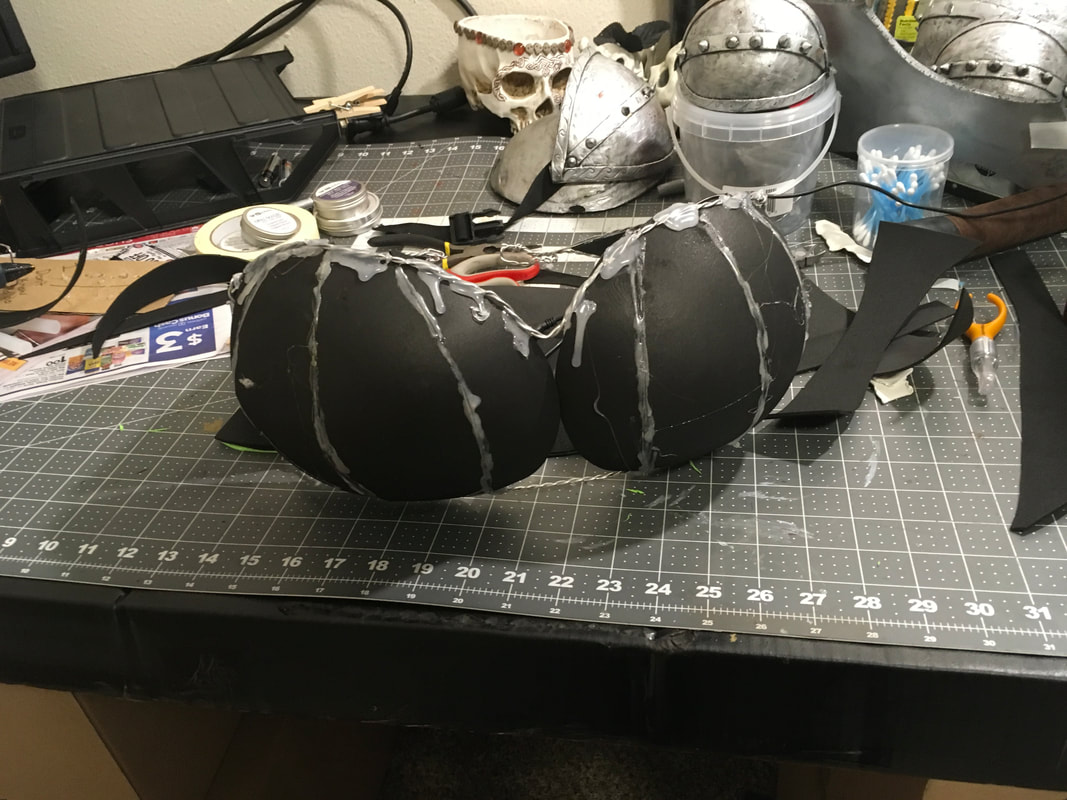
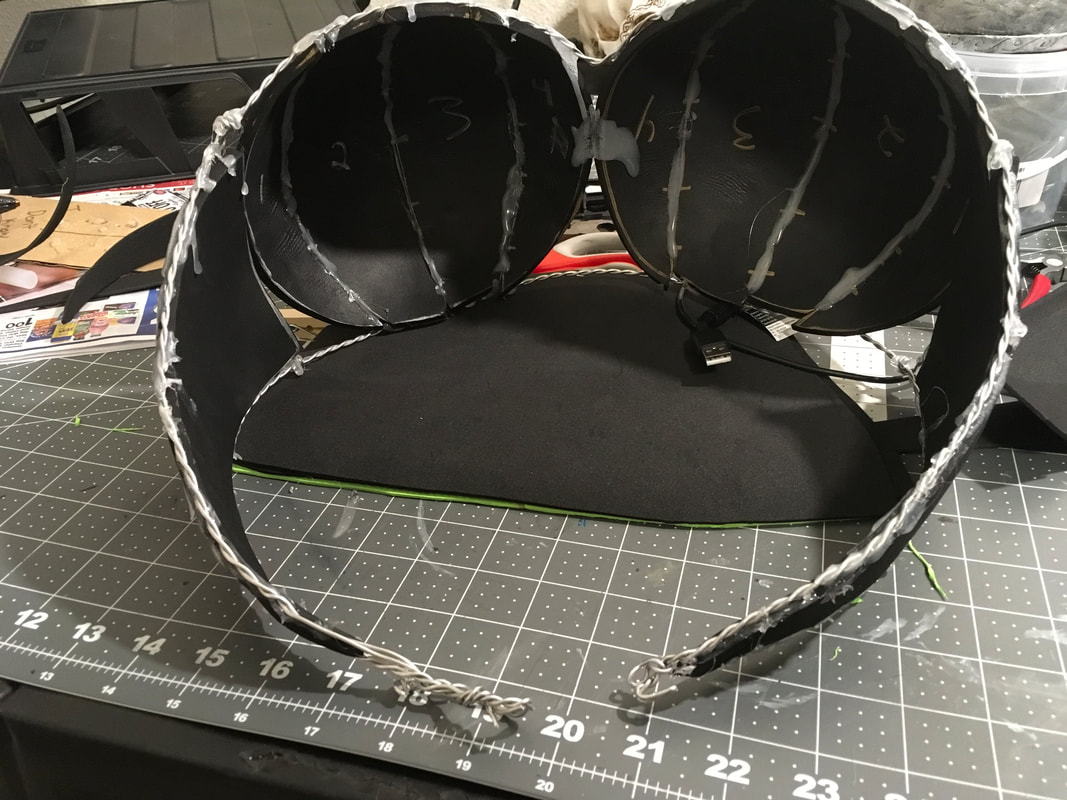
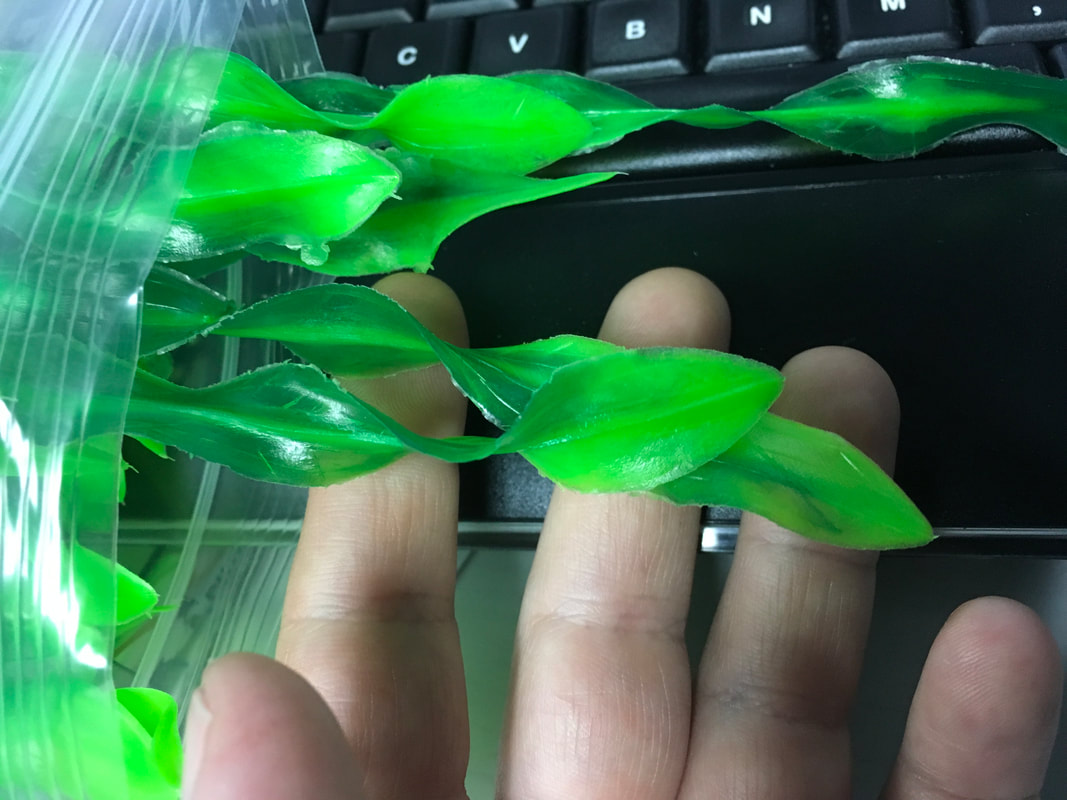
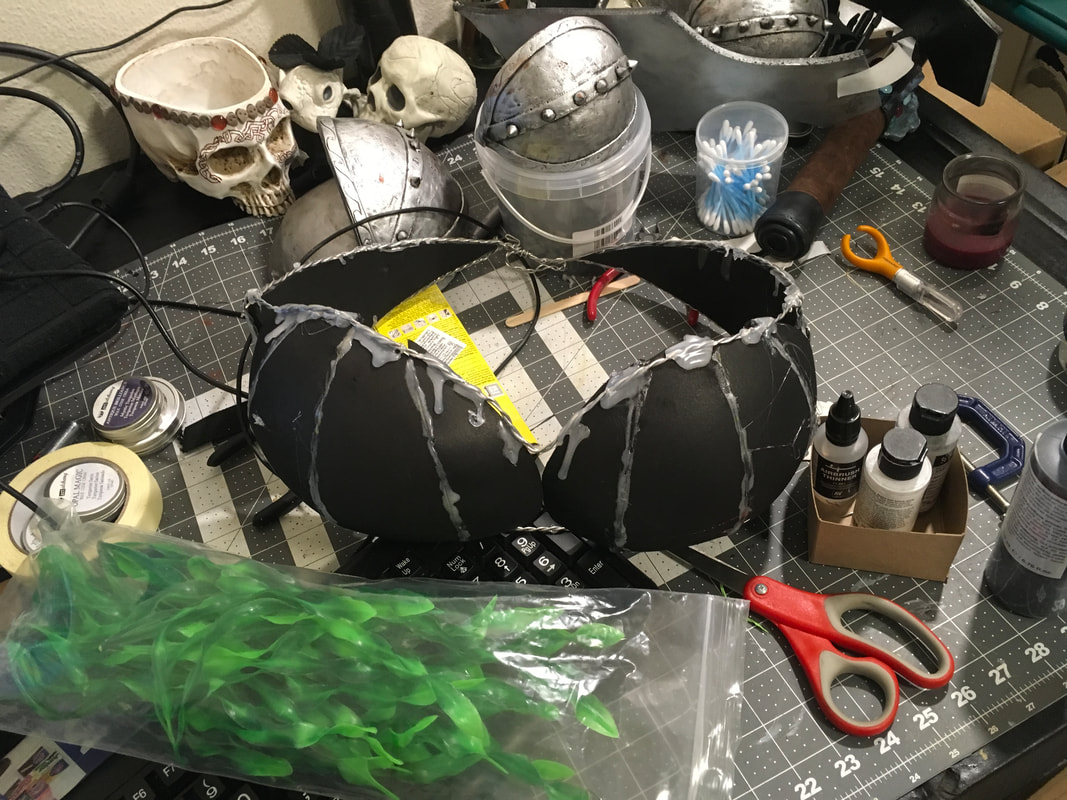
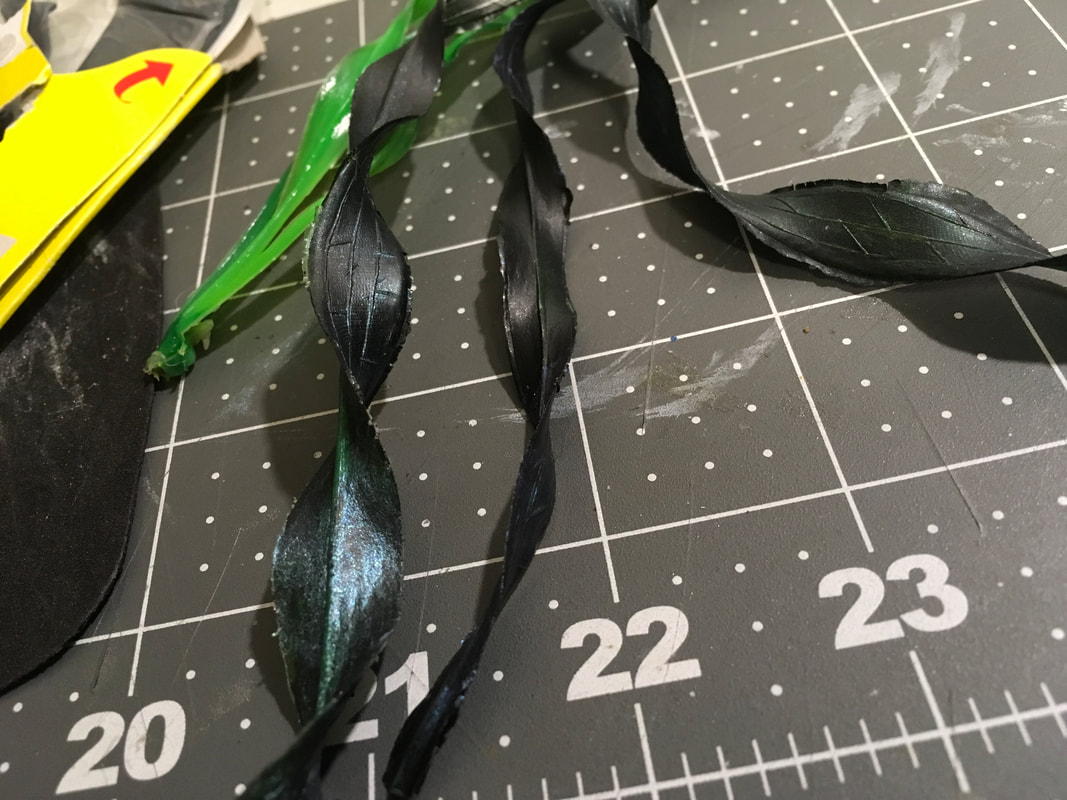
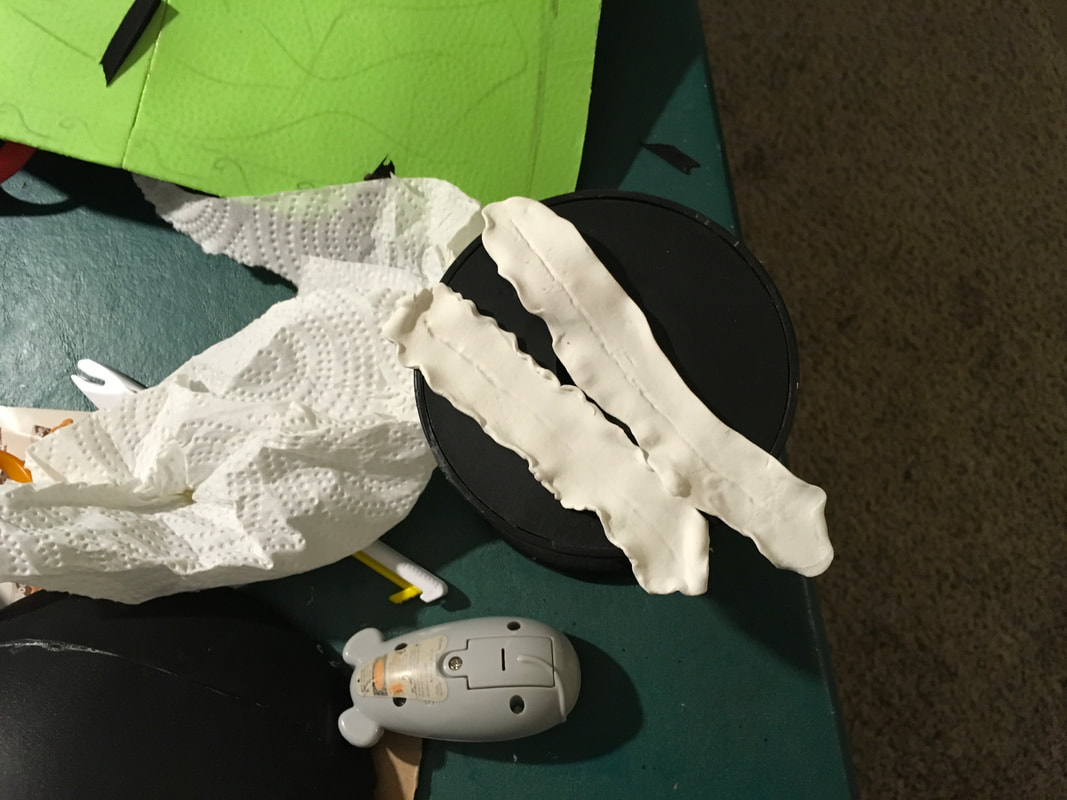
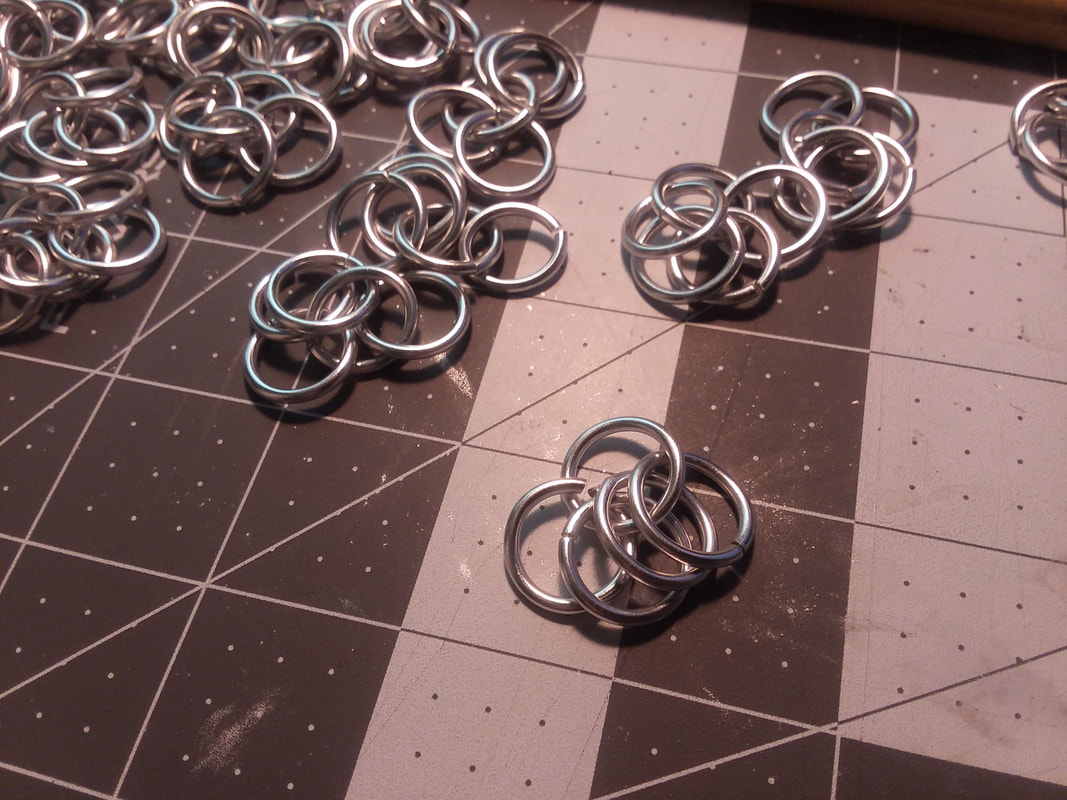
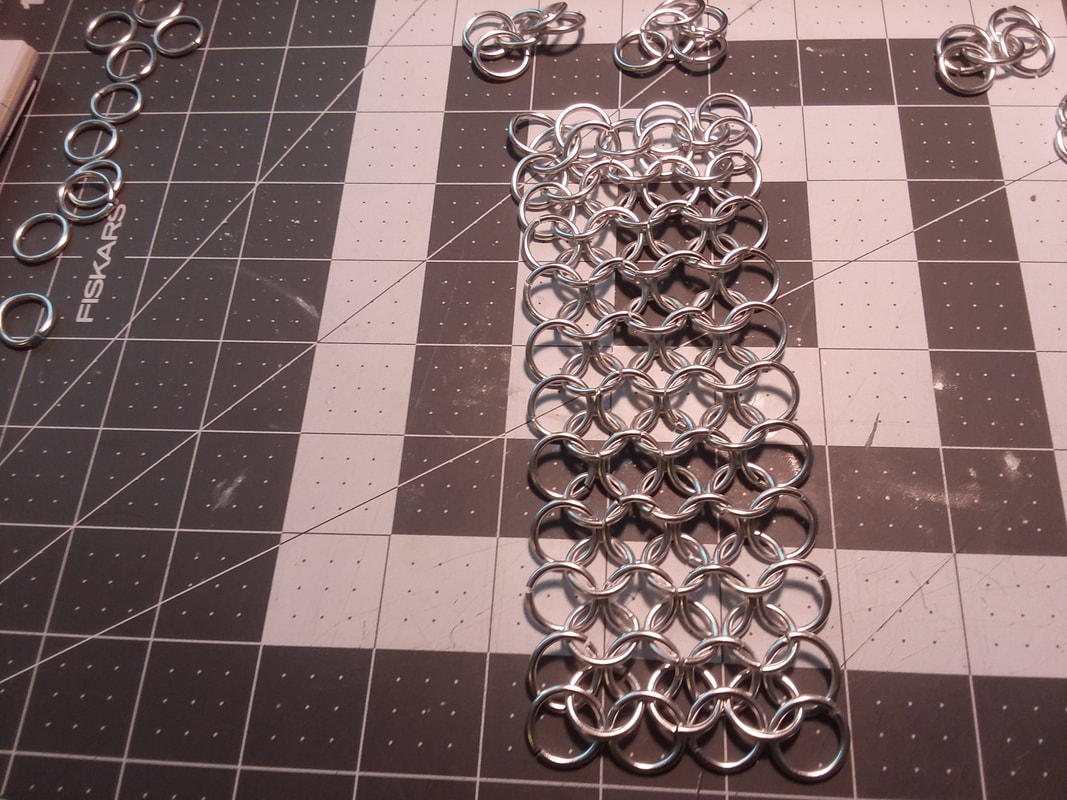
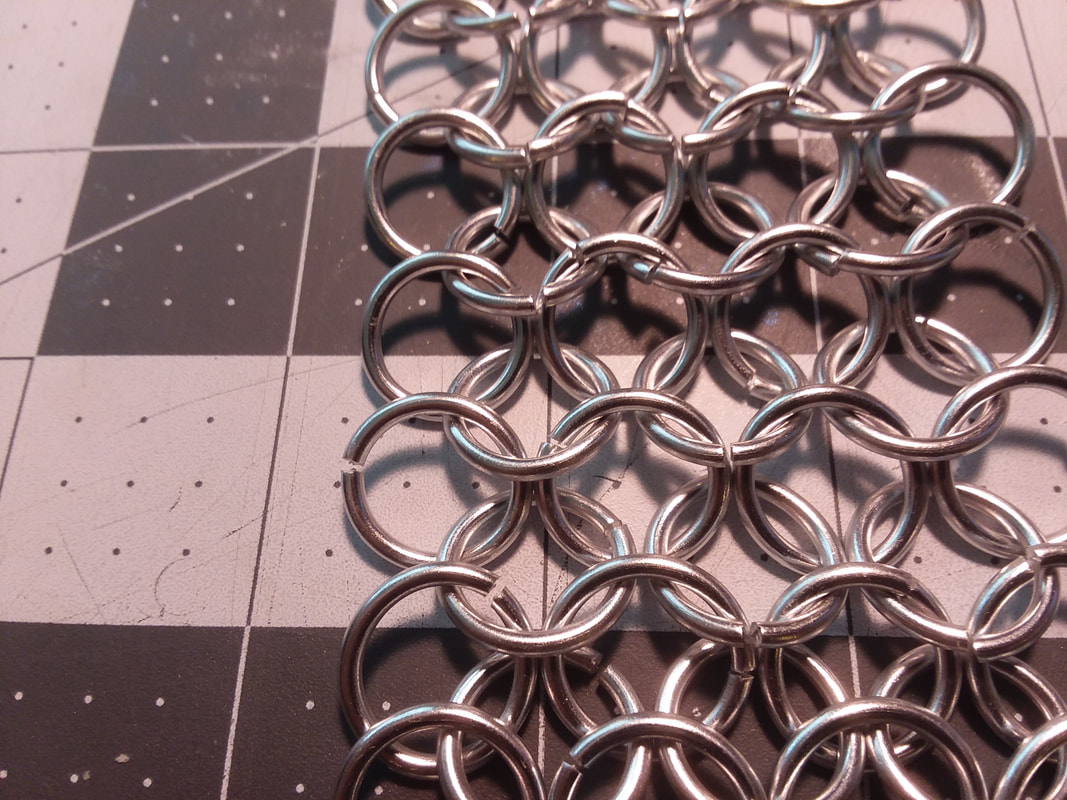
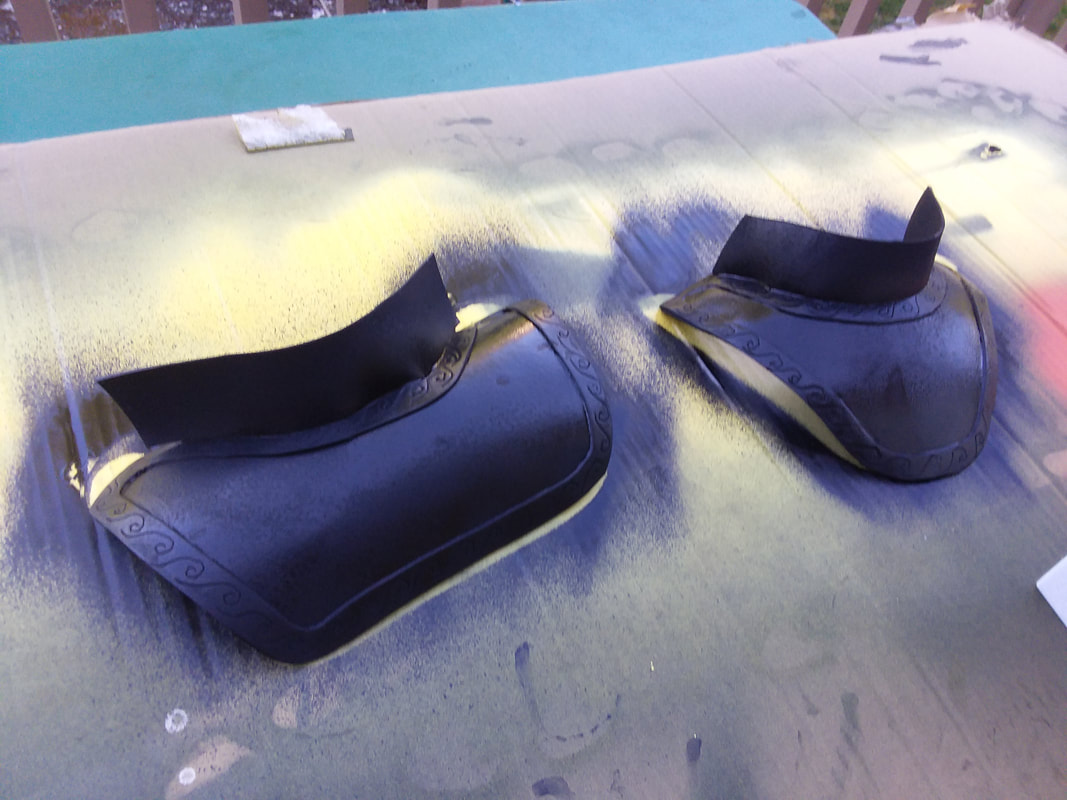
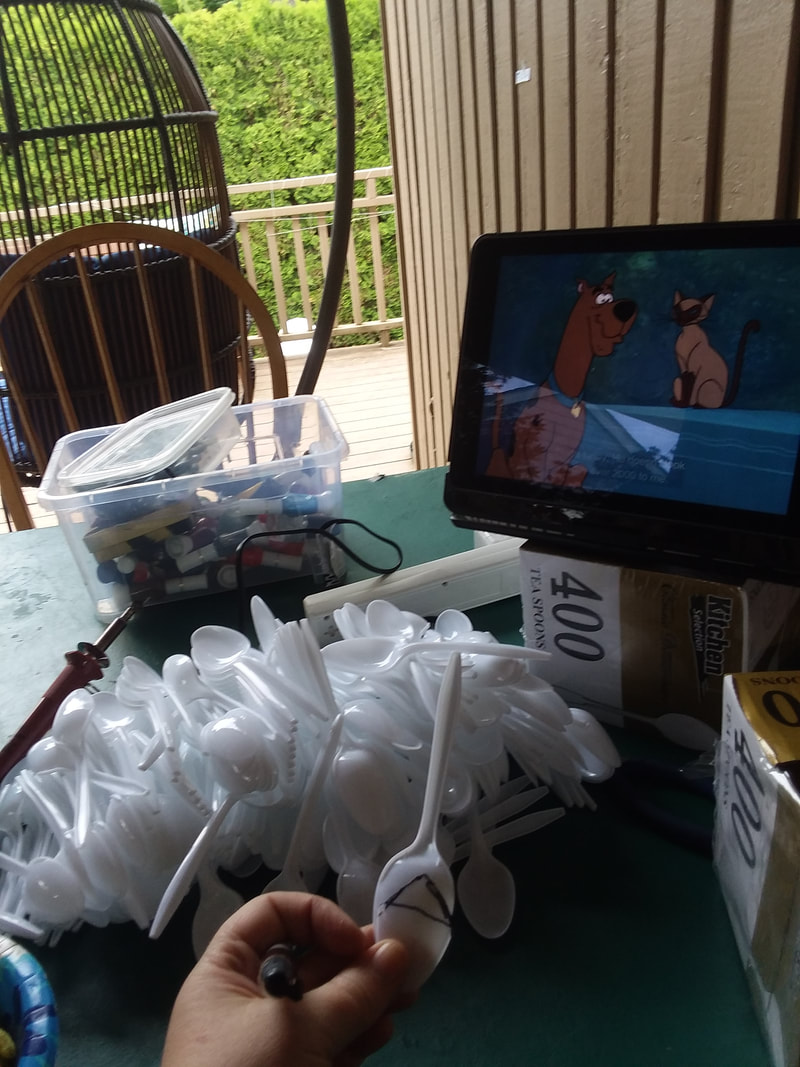
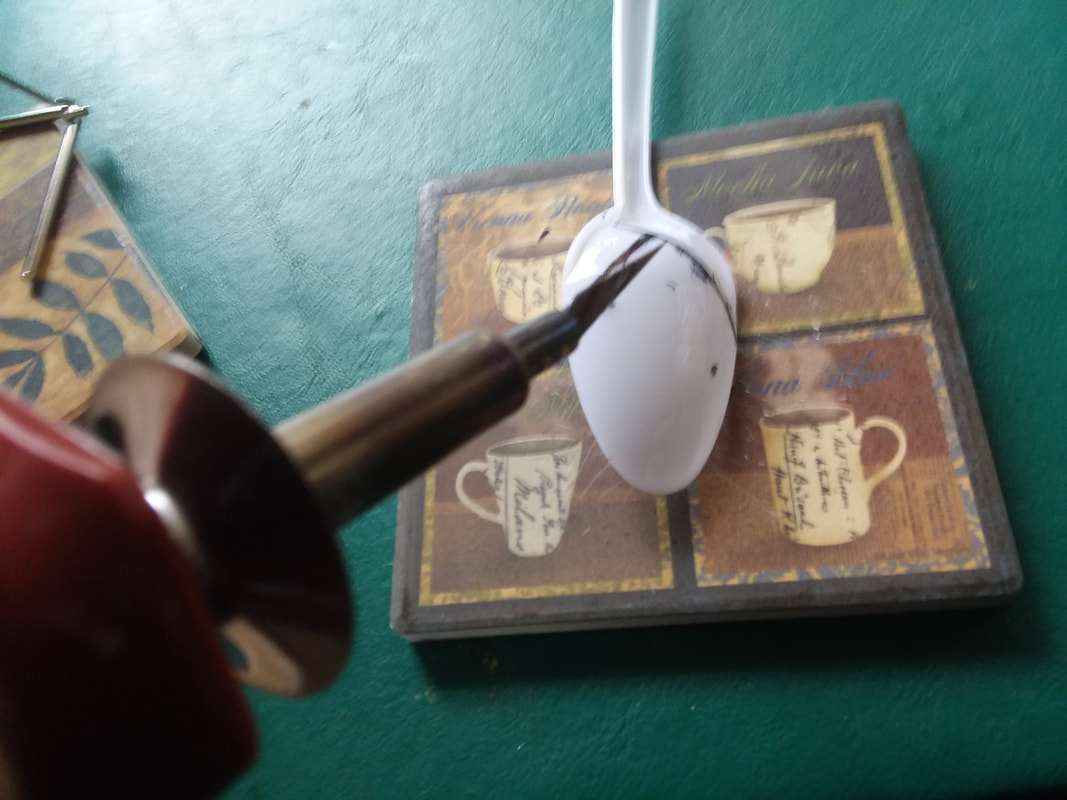
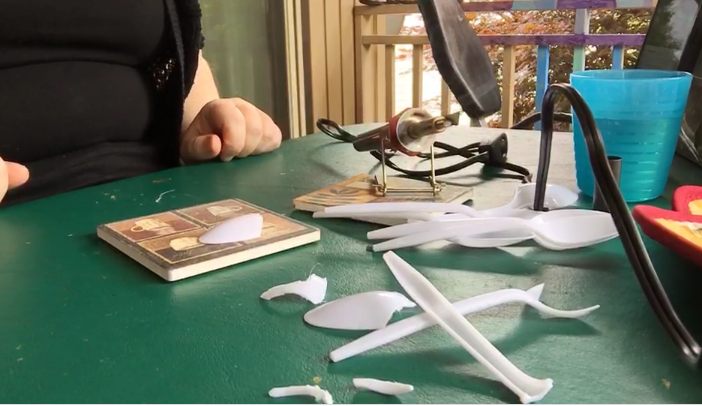
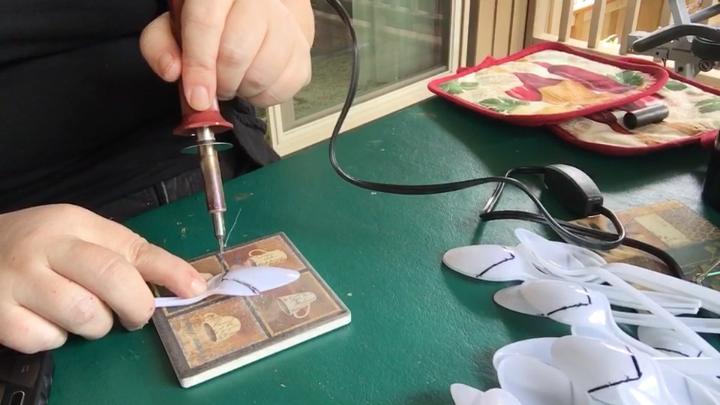
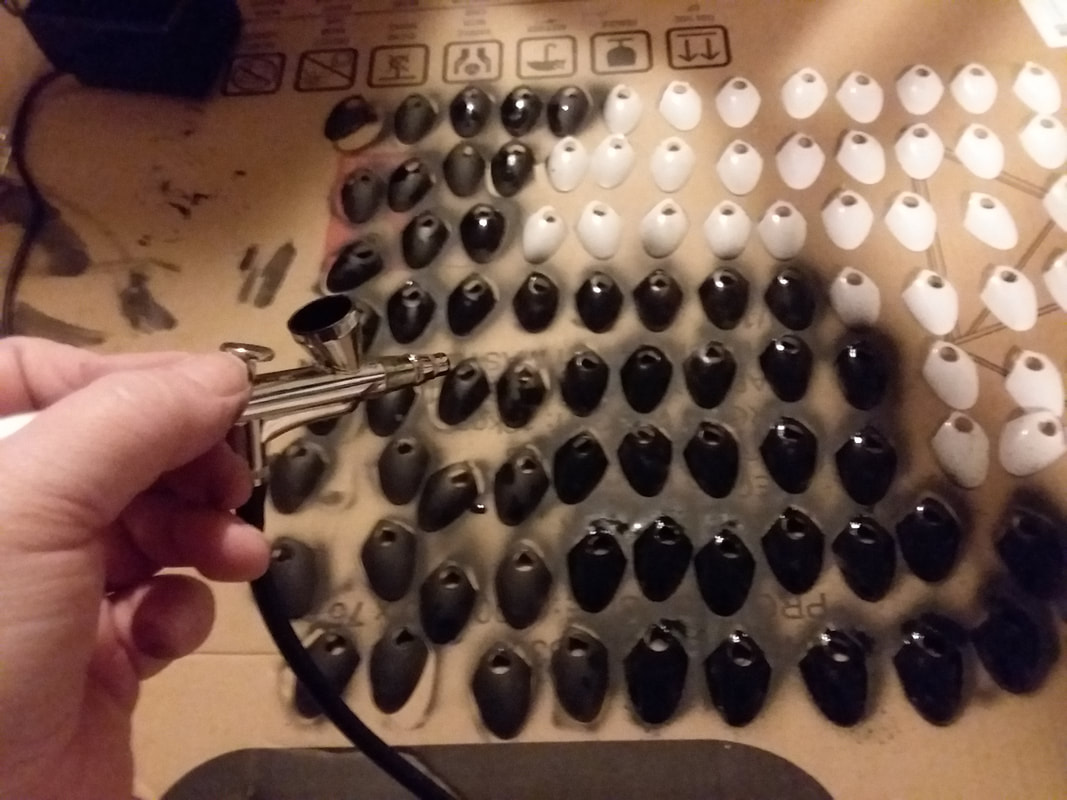
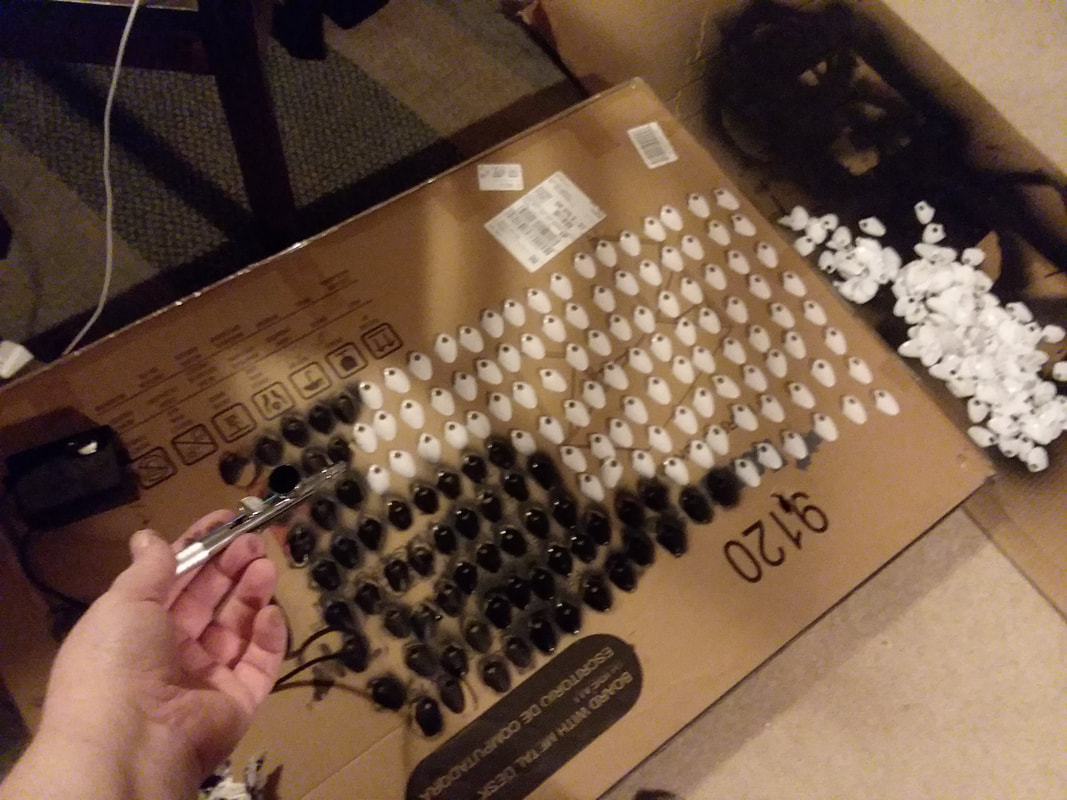
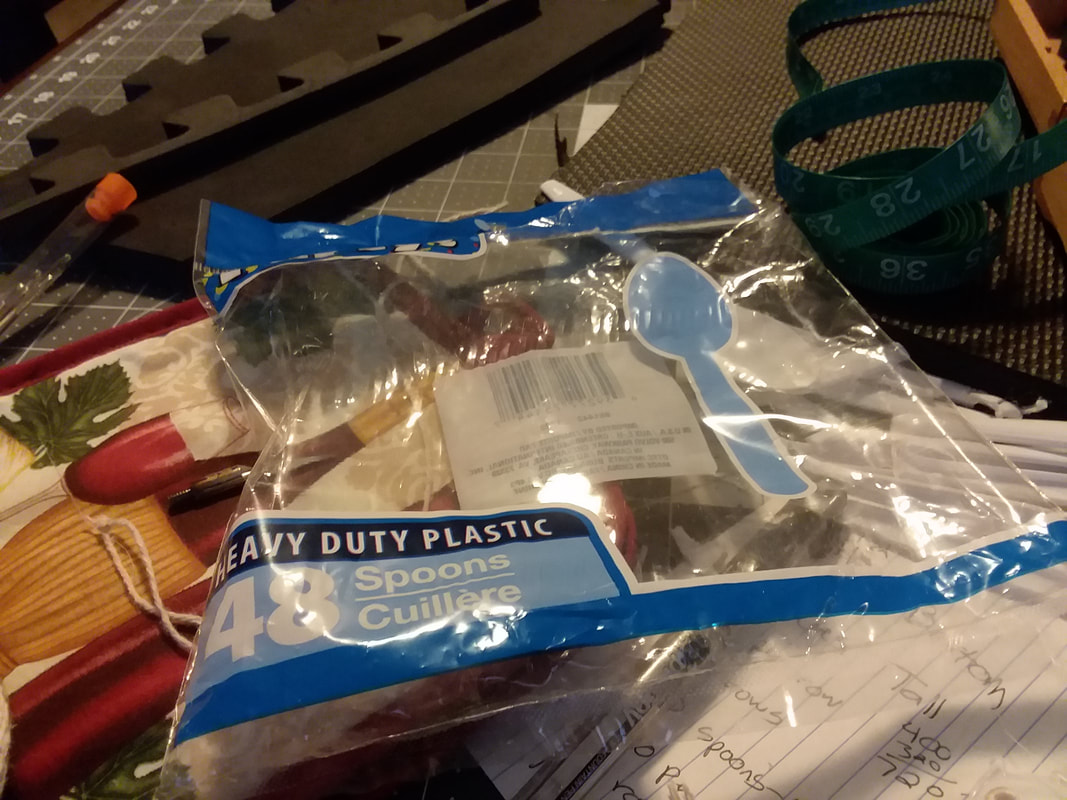
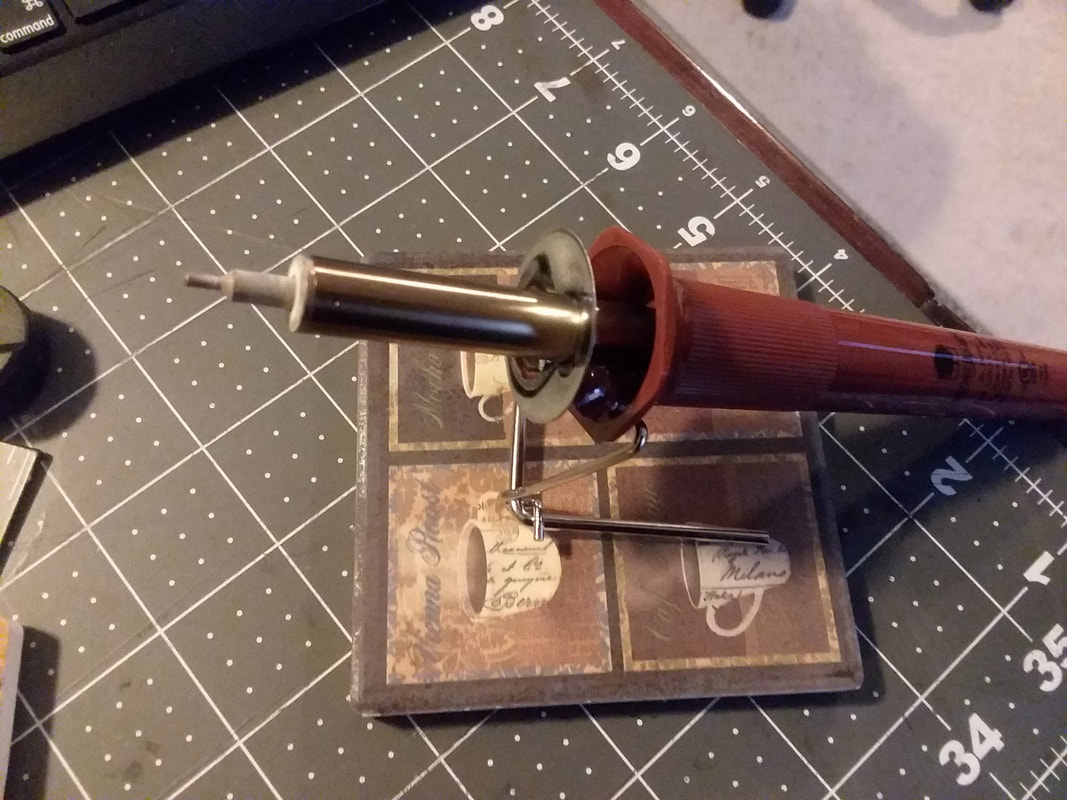
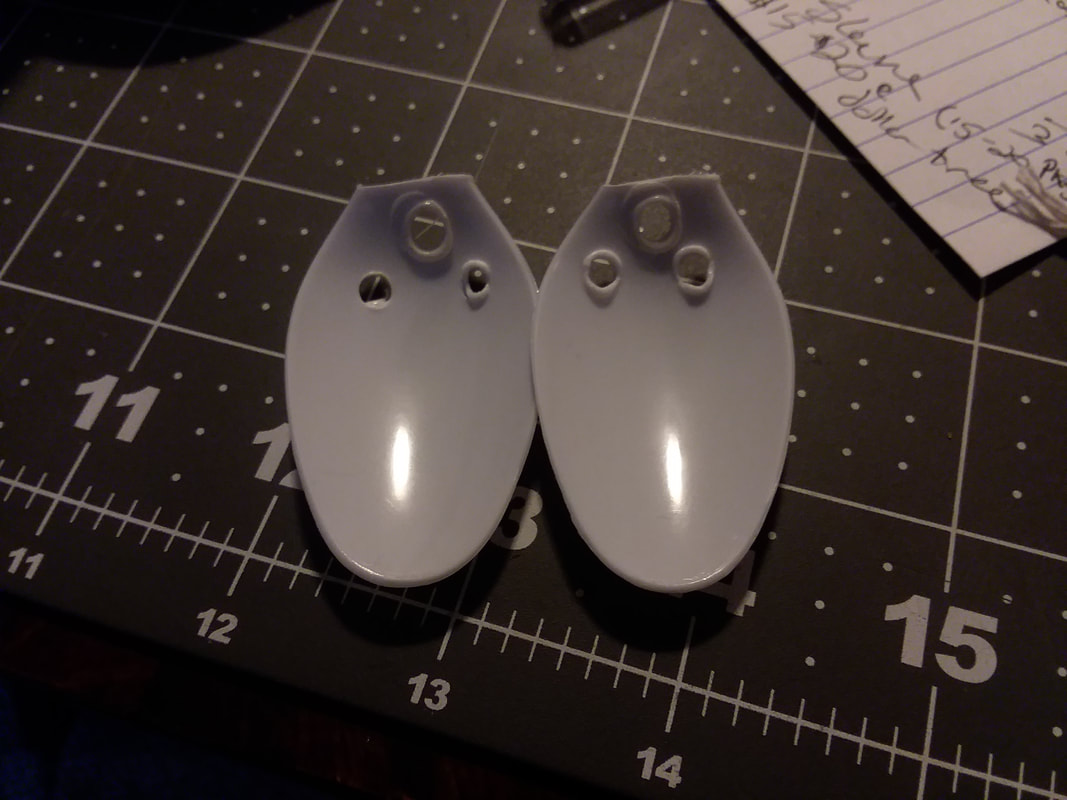
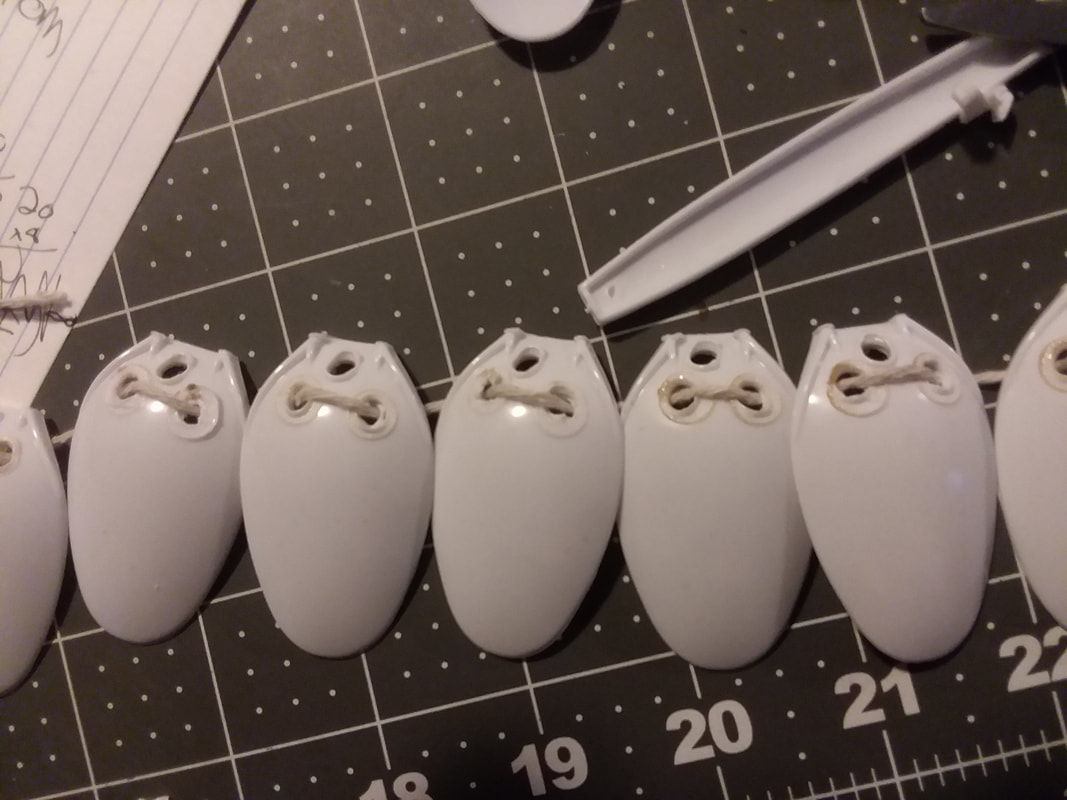
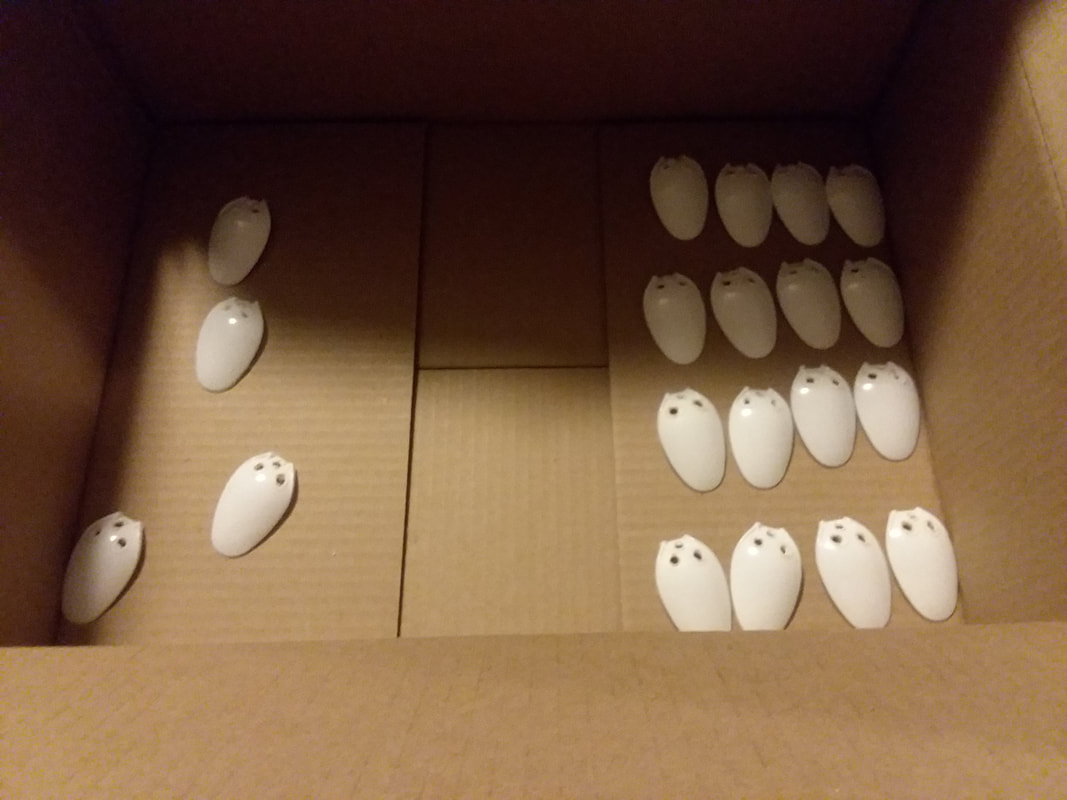
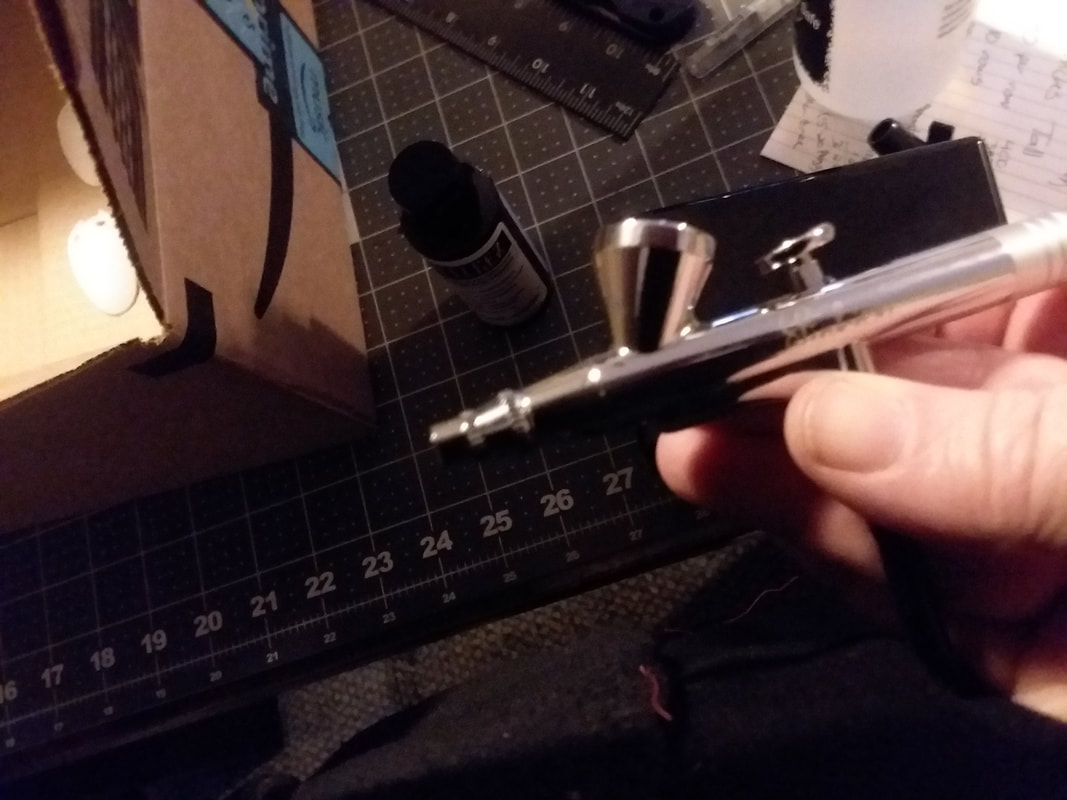
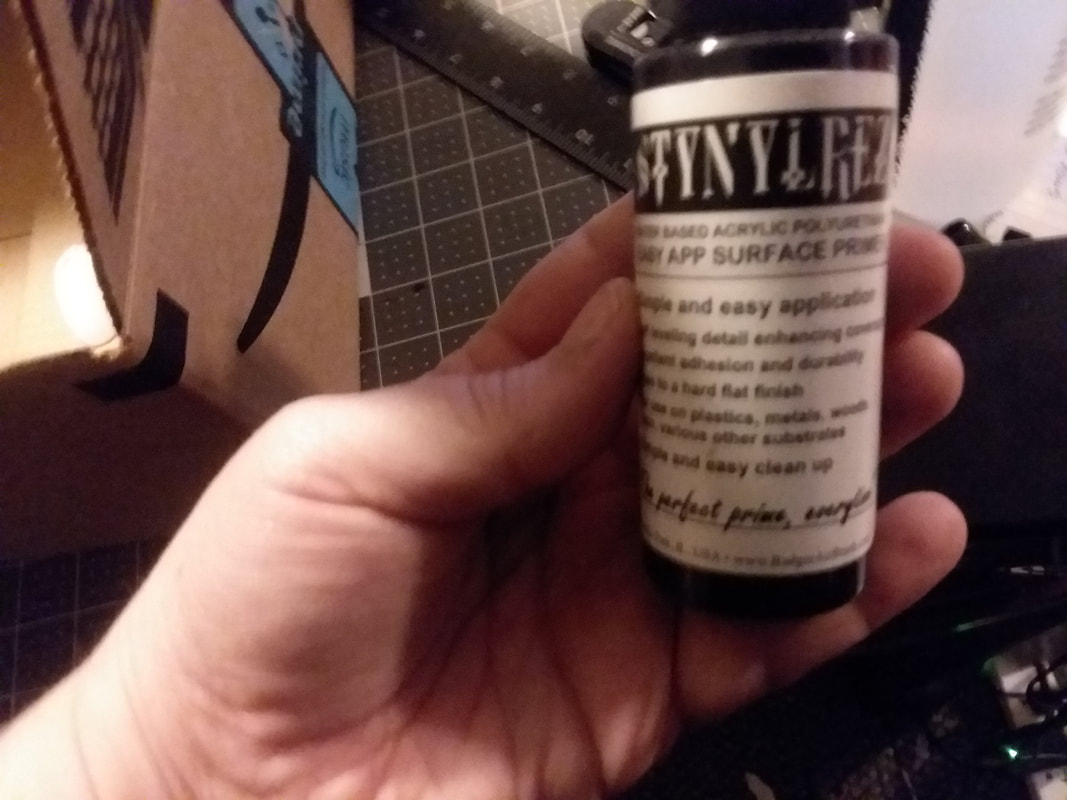
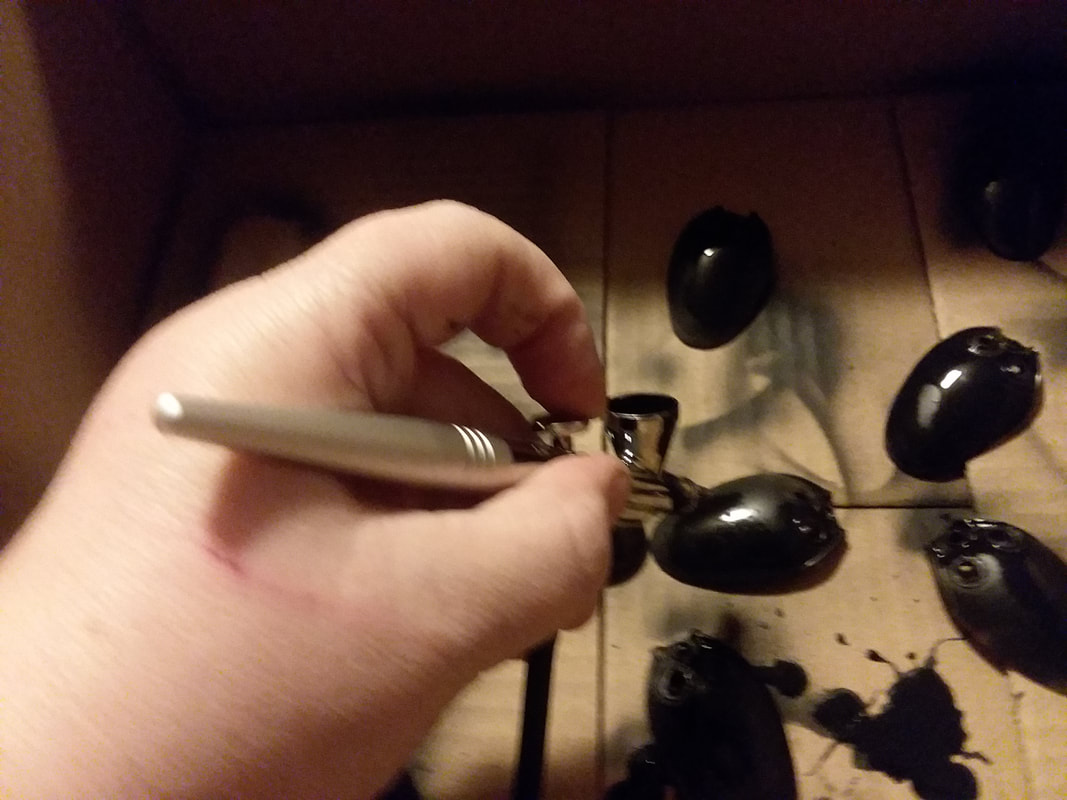
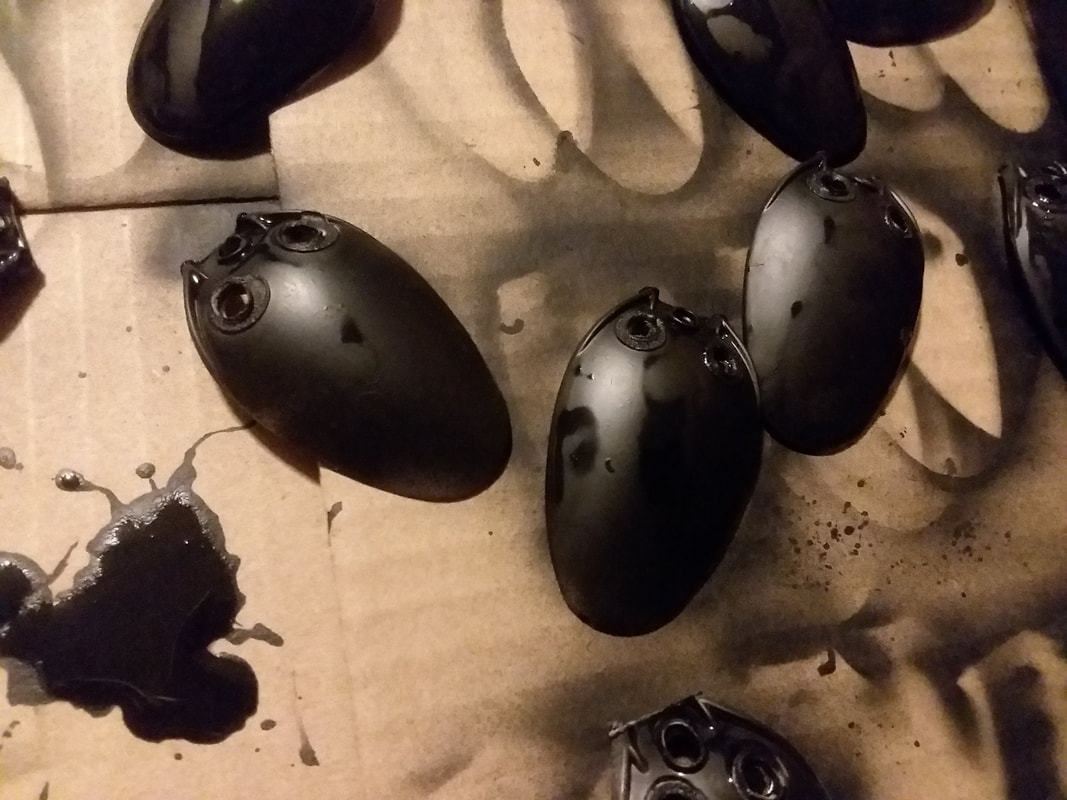
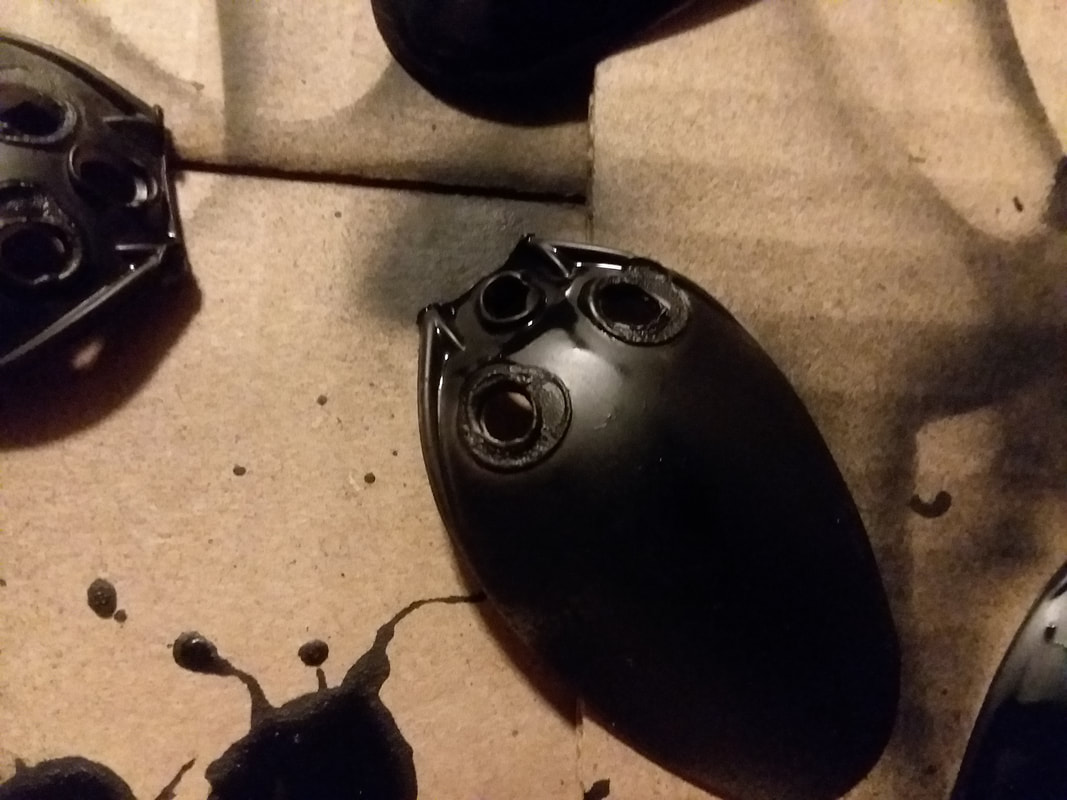
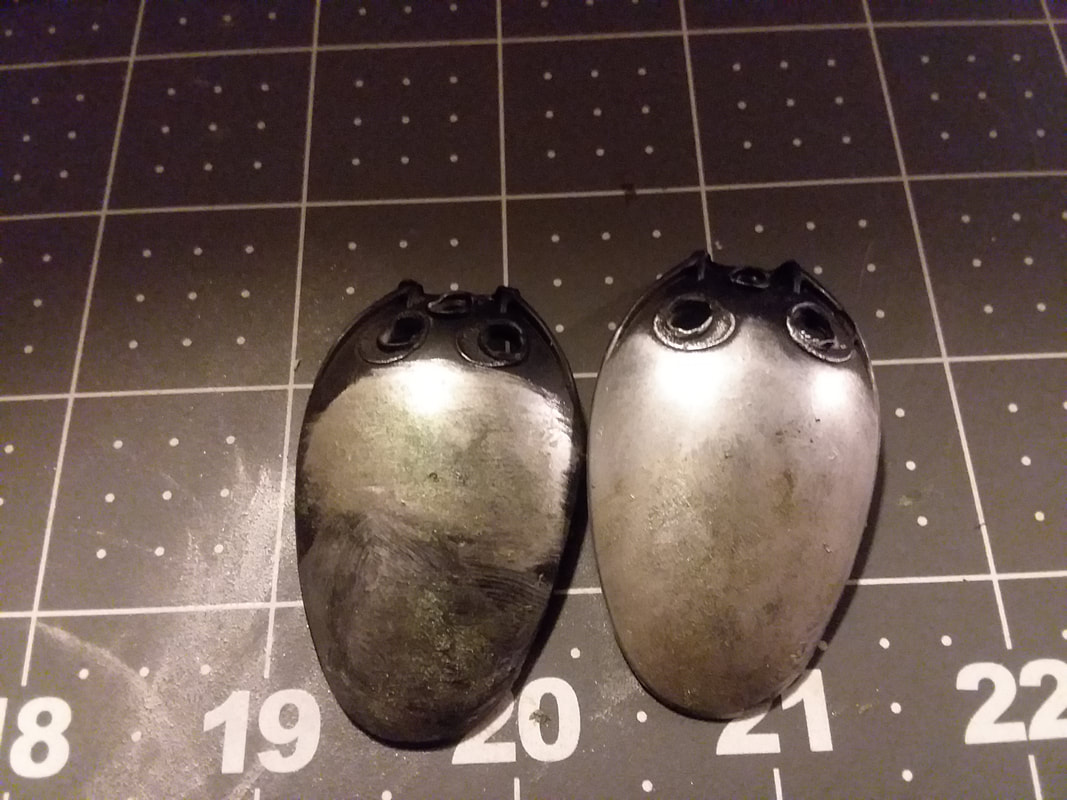
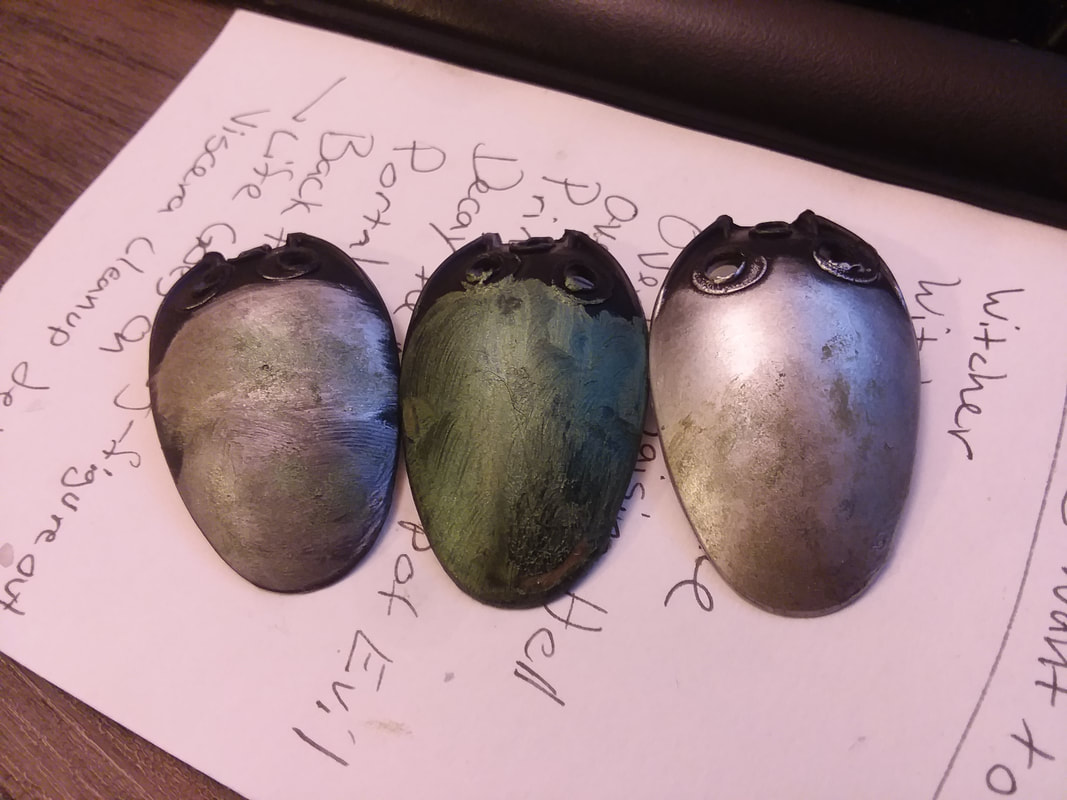
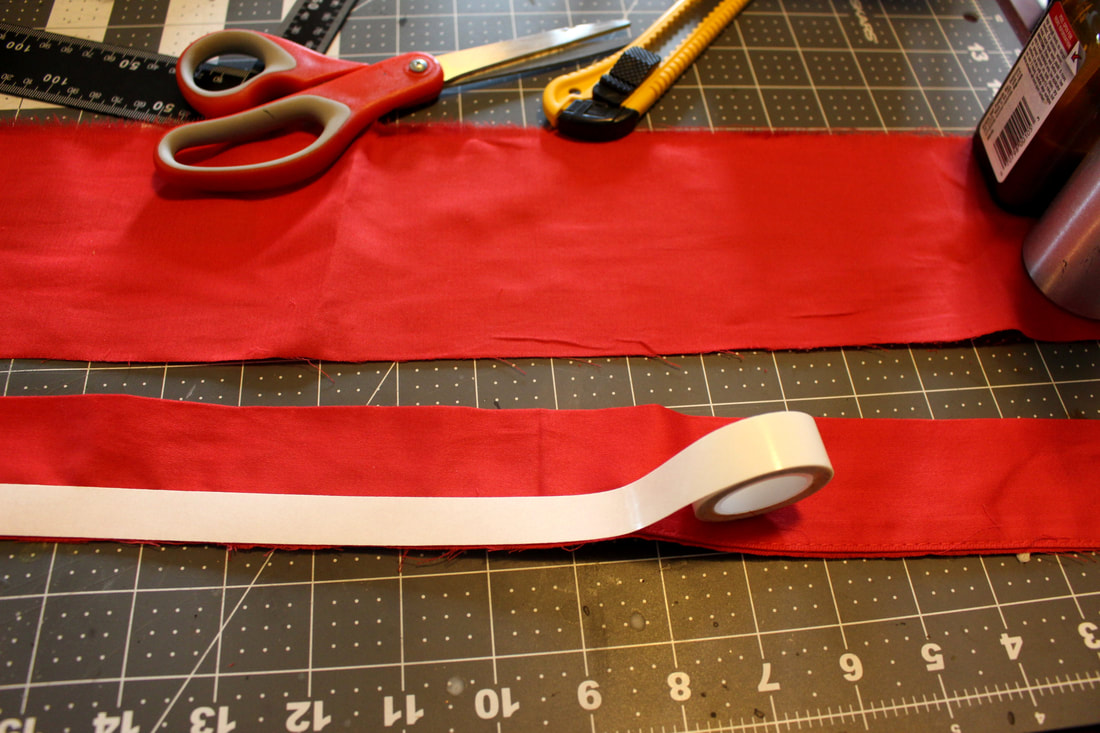
Then I took some armatur wire and plied it and made a frame. I used a glue gun to glue the boob cups in, then started to cover it with 2mm foam. I haven't finished that part yet. My idea for the rest of it is to cover it with kelp leaves. I was originally going to sculpt kelp leaves out of Foam-Mo. However that did not work out so well. So I ordered som plastic ones off Amazon, and I have started spraying them down with black primer.
So, today I am going to share pics of my in progress rebuild of my breastplate. I am so tired. I finally got my stuff out of storage. I had to empty the Pod container all by myself, and ever since my joints have been randomly failing. I can't do anything to make it better. Carrying around heavy things is something on the rheumatologists no-no list. But Pods really soaked me on "fees" and I had no money left to hire anyone to help. I don't really know many people here, and didn't feel like guilting my coworkers to help, as I have to work with them in a small room in the middle of a noisy data center. This morning I was going up the stairs to do my hair before work, coffee cup in hand, when my right ankle and left knee gave out and I fell down the stairs and spilled my coffee everywhere. Da kitteh was SOOO excited. She found the biggest spot and hunched over it, growling if I got close.
Did I mention my kitty LOOOOVES coffee? She is so funny. The first time I drank coffee when she was living with me, she kept trying to put her head in my coffee cup. I explained to her that coffee is for closers, and she was a kitty so would never be a closer. She looked at me a second, meowed loudly then walked away. Ever since she has been desperate to get coffee. She will sneak over my shoulder and try to drink from my cup. She will sneak in the side and try drink it if I hold it too low. I have to hold on to my cup or put my hand over the top or she is drinking it. :/ I dropped some coffee beans. She found some I missed. She licks them or sucks on them...never chews them. I thought I confiscated all of them, but from time to time she shows up with one and starts tearing around the house.
Anyway....
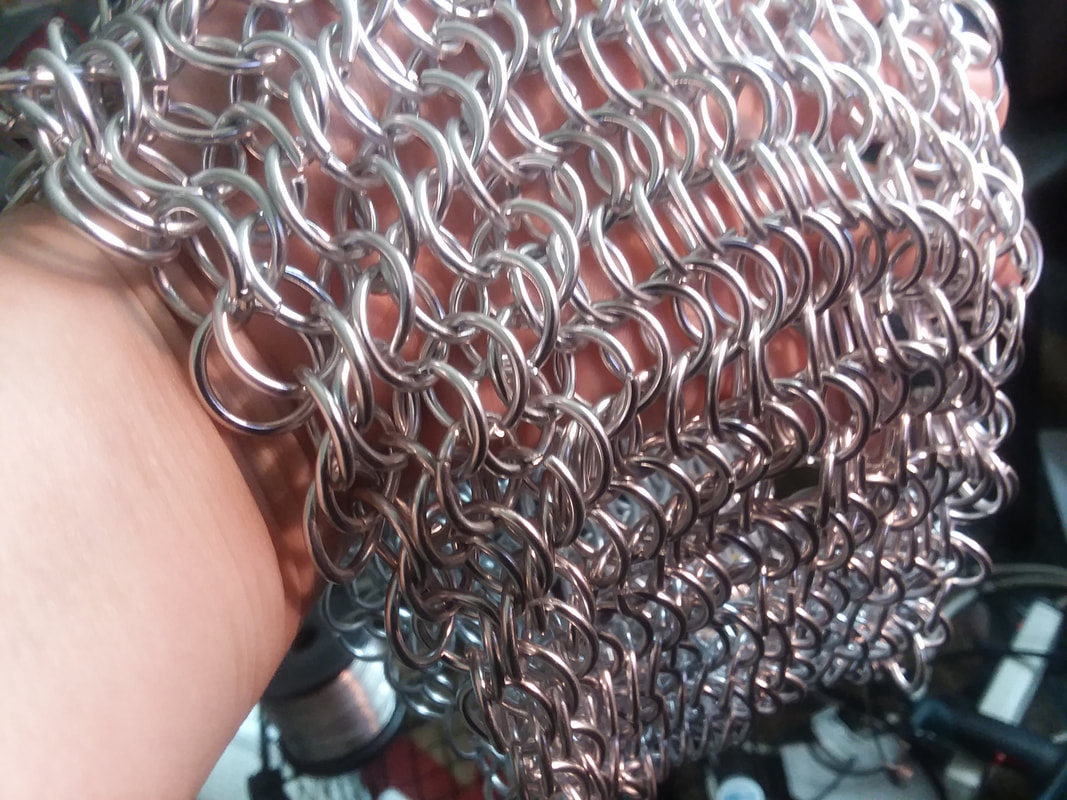
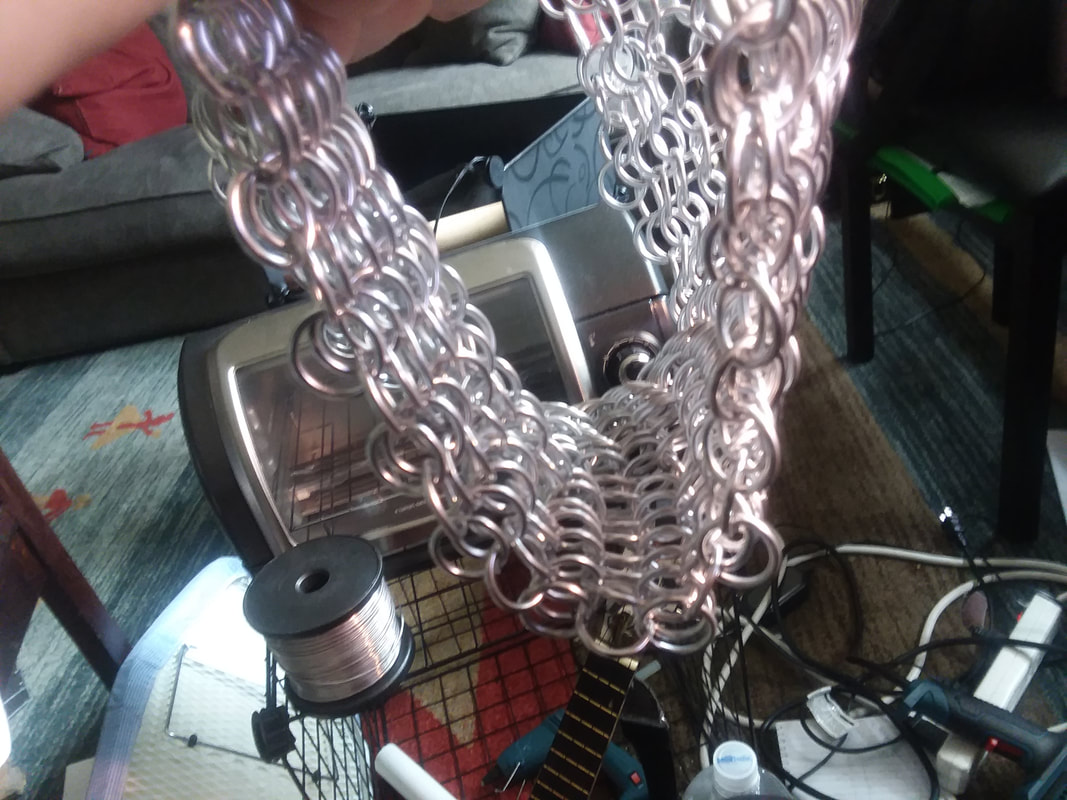
So here ya go. I decided to tear apart my breastplate because it was ugly and not very functional. I couldn't find my dome patterns, so I just cut apart the old ones and used them as a pattern. I think it looked ok.
Then I took some armatur wire and plied it and made a frame. I used a glue gun to glue the boob cups in, then started to cover it with 2mm foam. I haven't finished that part yet. My idea for the rest of it is to cover it with kelp leaves. I was originally going to sculpt kelp leaves out of Foam-Mo. However that did not work out so well. So I ordered som plastic ones off Amazon, and I have started spraying them down with black primer.
 |  |
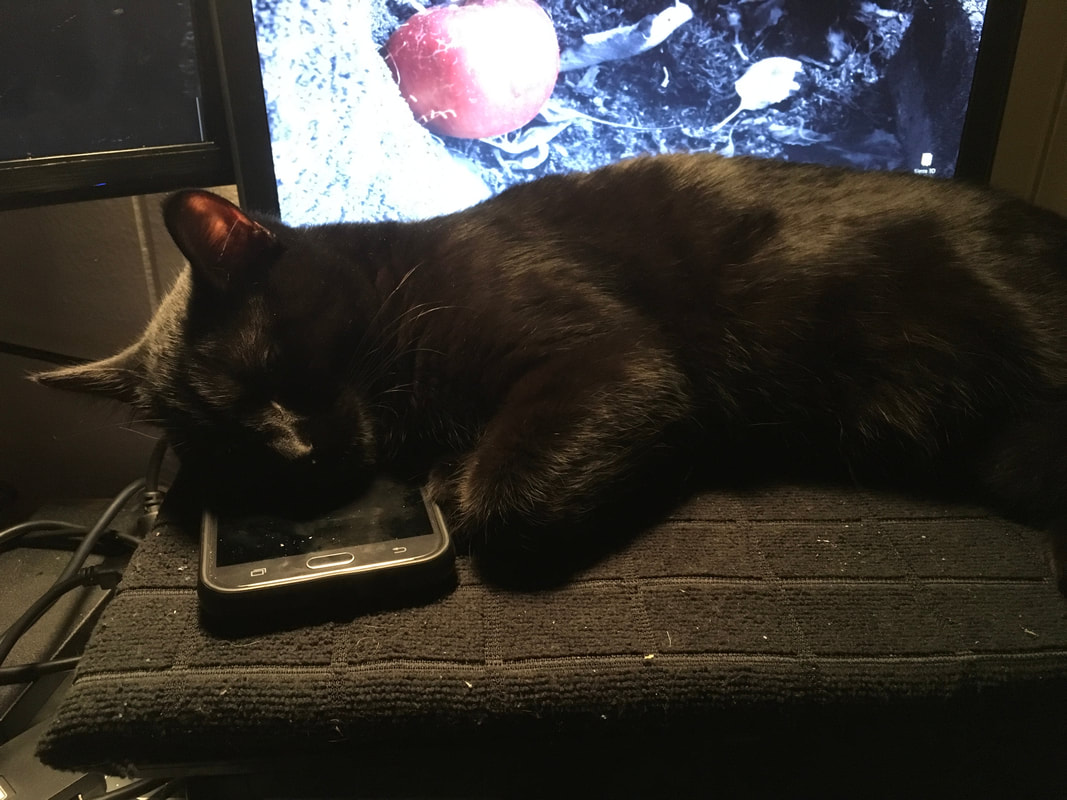
Gratuitous Kitty pic....
 |  |
 |  |
 |  |
 |  |
 |  |


 RSS Feed