Barefoot Hallucination
  • Blog
  • About
  • Photography
  • Video
  • Music
  • Contact
  • Links to Cool Stuff
  • Wade
  • Cabs

Talleg, Makeup and other sh....stuff..

2/5/2019

0 Comments

 
So it has been a few weeks. I have actually been sort of productive. Along with working full time, trying to get my household sort of settled, studying to take the AZ 100 exam, and trying to finish my schoolwork, I have also been inspired to work on my Talleg cosplay.

If you remember, I kind of was at a standstill for a while. I am struggling to make the spoon maille work. I am struggling to make the chaine maille work. The breastplate was a travesty.

So...I was watching a Twitch streamer make some of her EVA foam armor, and I got inspired. I also got inspired to pull out the makeup and play around with it.

I have never been good with makeup. As a teenager it annoyed me, and as an adult I just never got it. This does not help with doing cosplay makeup. At this point all I do IRL is some coverup from time to time and lipstick. To be fair I love dark lipstick. But that is about all I do.

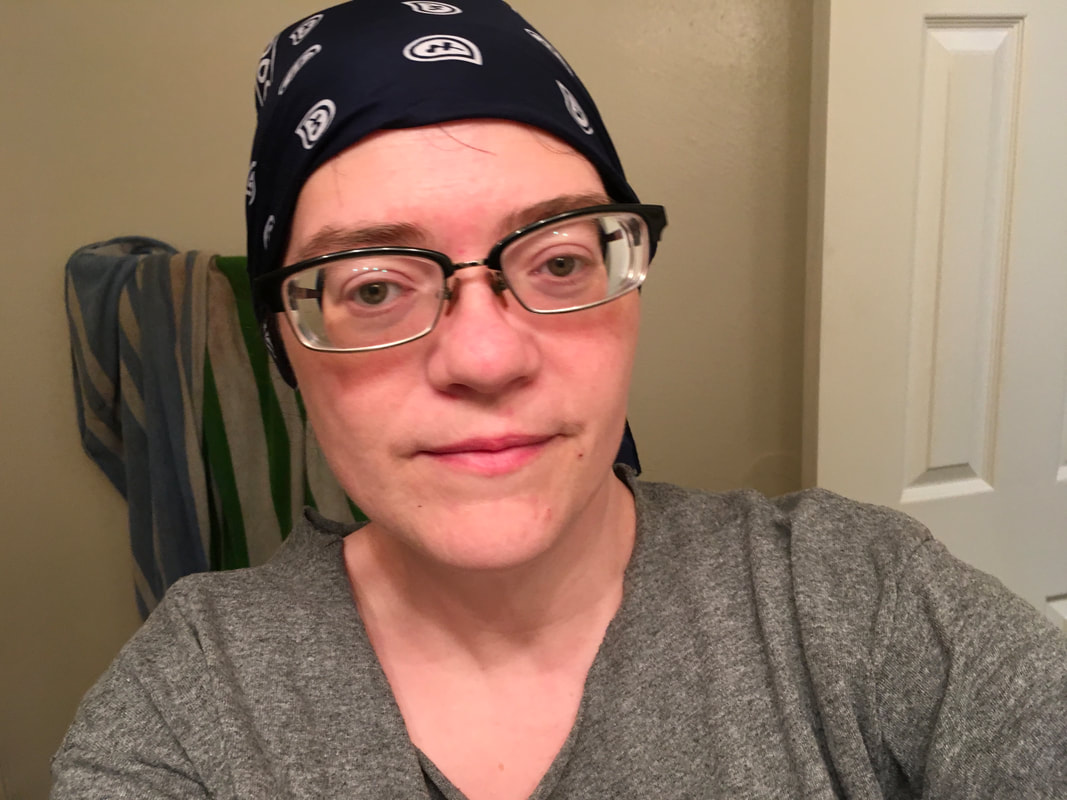
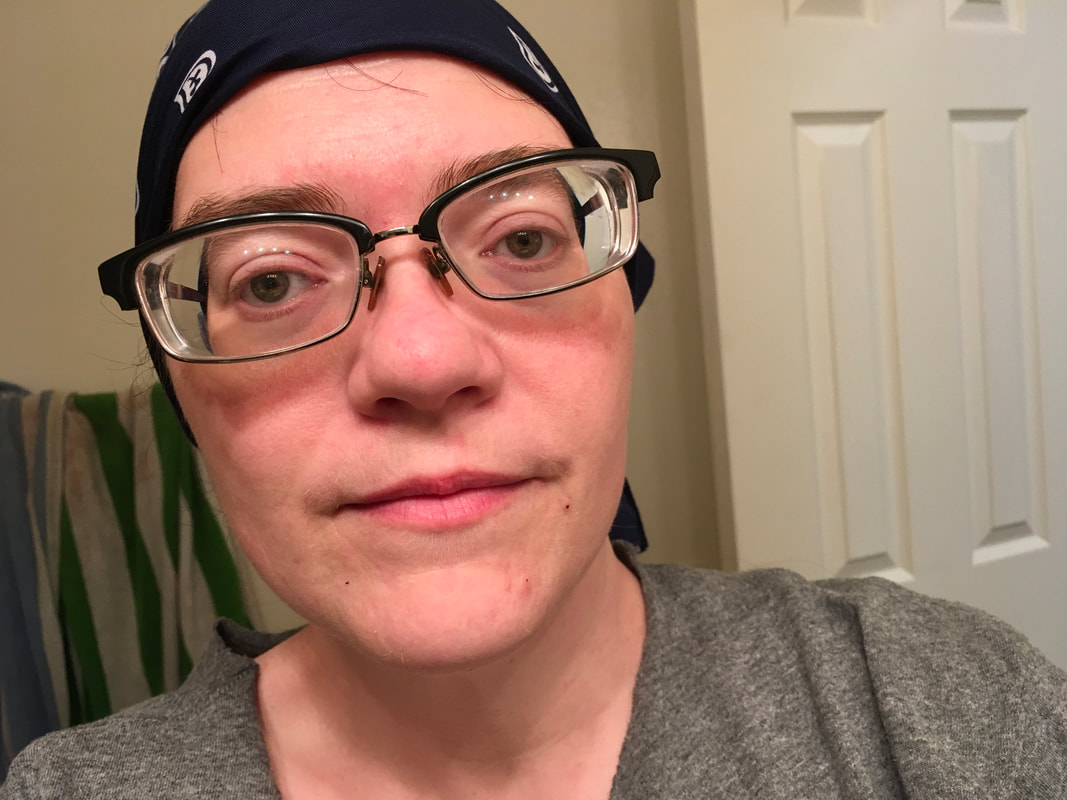
So this is the 3rd time trying to make it work, and I think I am getting a bit closer to ok. Here are some before and after pics of this time.
Picture
Picture
Picture
Picture
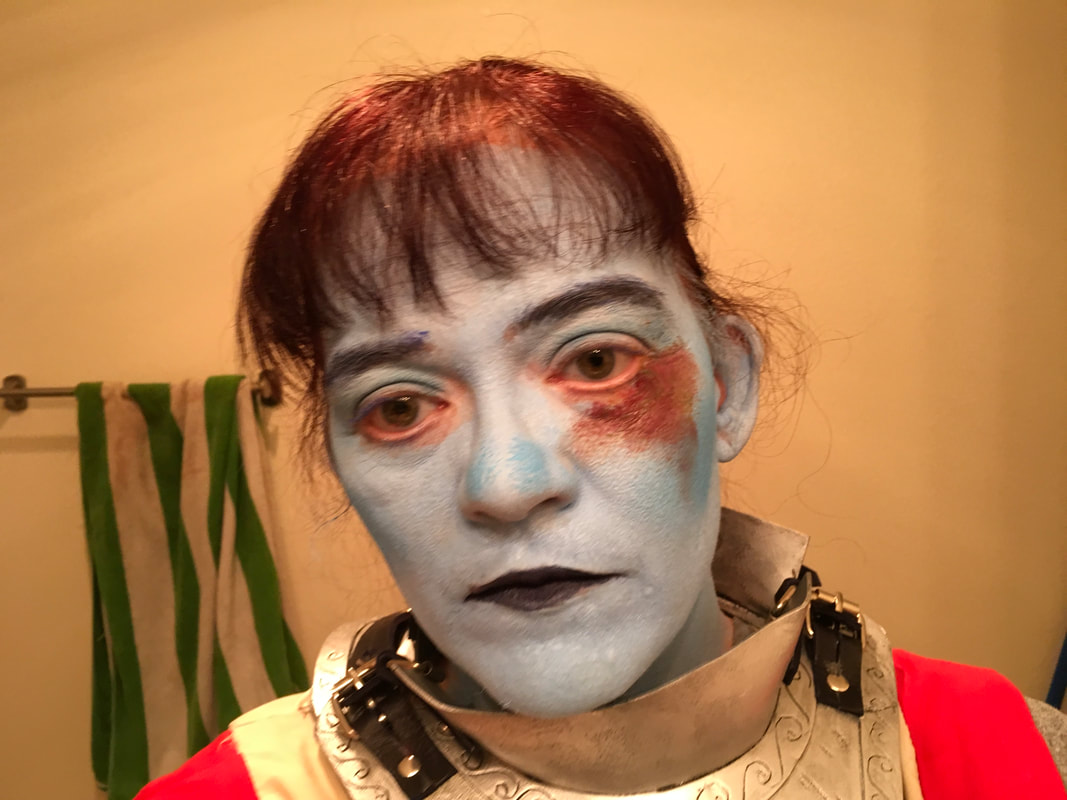
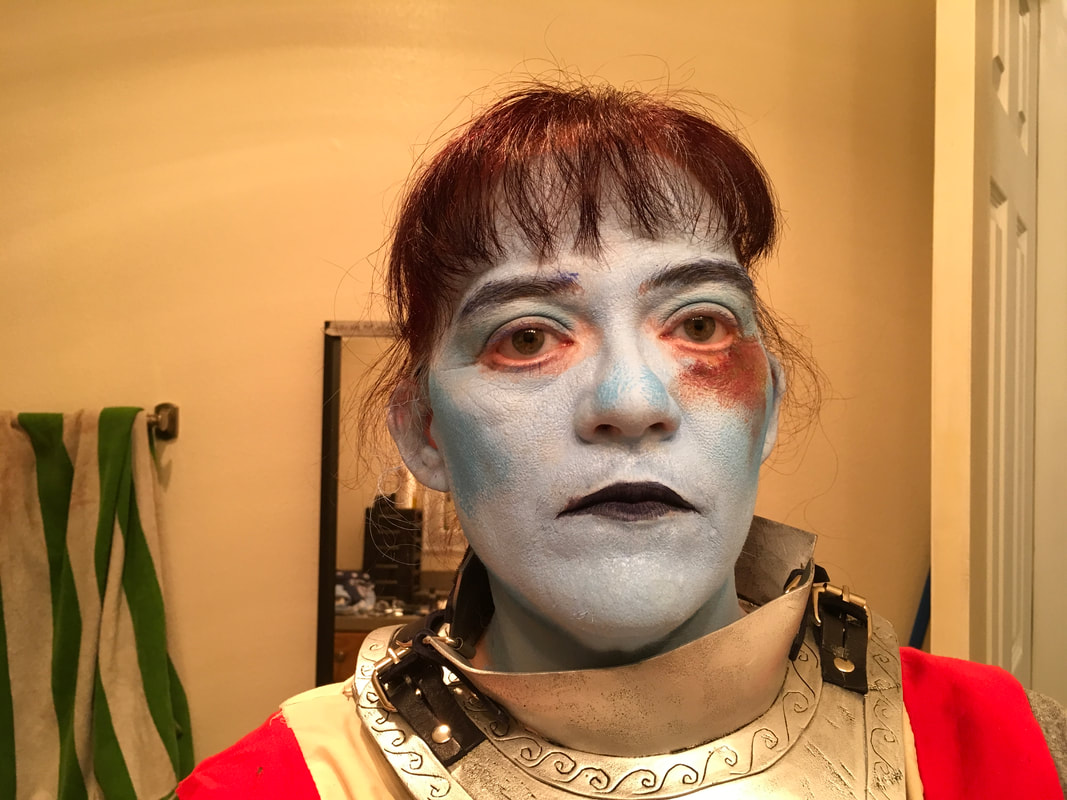
Better. Not great yet though. I went a bit too heavy handed with the dark blue for contouring. Under the eye is supposed to be a bruise. Yeah....noooo. Looks like blood though, so I may use that technique. Just not for a bruise. I think it needs more yellow and purple, maybe. And a little less heavy handed. My lips are also very lopsided. That is because they are. Looks like I have had a stroke or something. It is waaaay more pronounced in the makeup. I need to learn how to make that less obvious.

And the worst thing...the eyes. I have always reacted badly to eye makeup. I finally found stuff that will be ok, and I have no fucking clue how to apply it appropriately. The blue face makeup needs to get closer, and I need to learn how to do eyeliner.

I have a blue wig that goes with this, but I could not find it before I took the pics. I am still unpacking moving boxes and hadn't found that particular box yet. I did last night. I guess I need to try this again so I can see the full effect. I also need to get finishing/fixing spray and face primer. Those are both easily doable though. Just not till the next paycheck, as I am still trying to get my Pod outta hock. Well, not hock technically, just out of storage. They are expecting way more than they quoted when I first started storing it. I am hoping to get it and have all the contents by the end of this month.

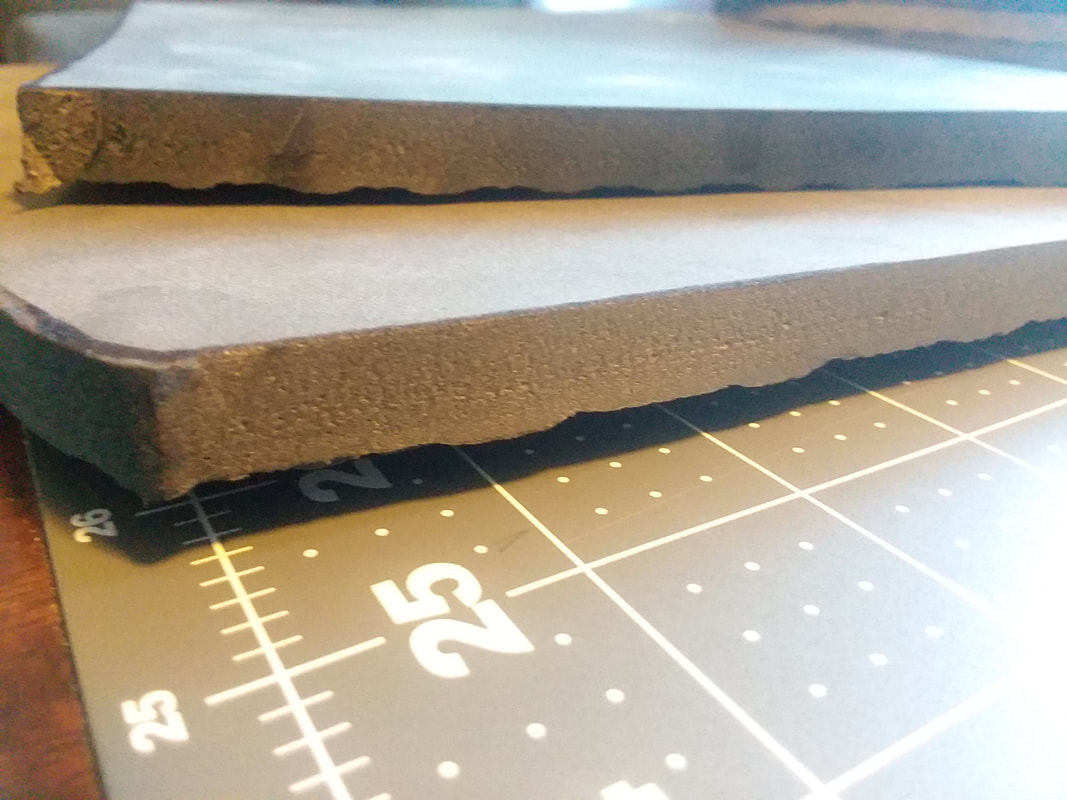
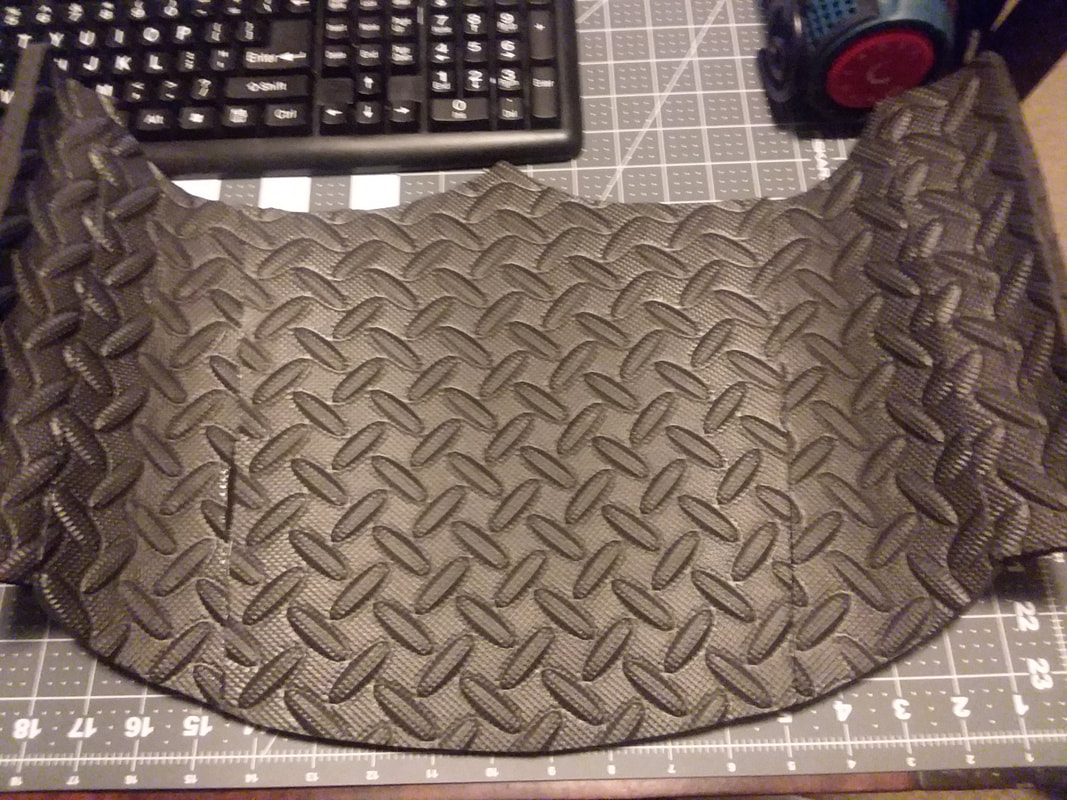
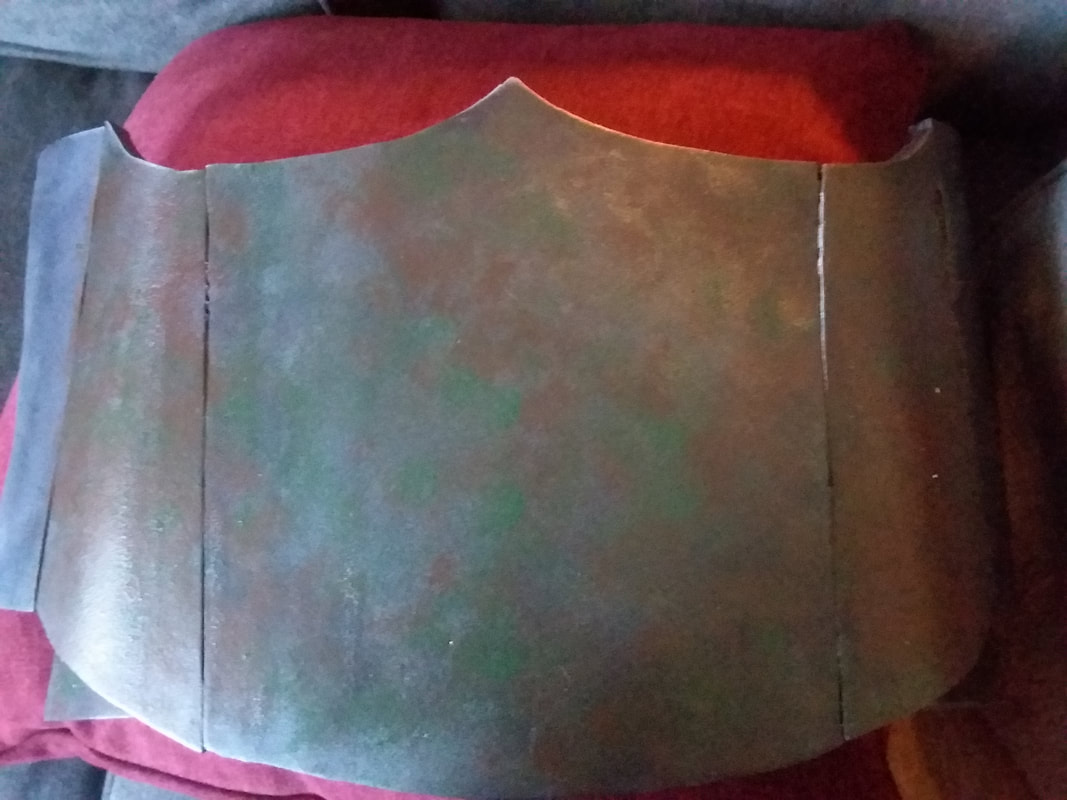
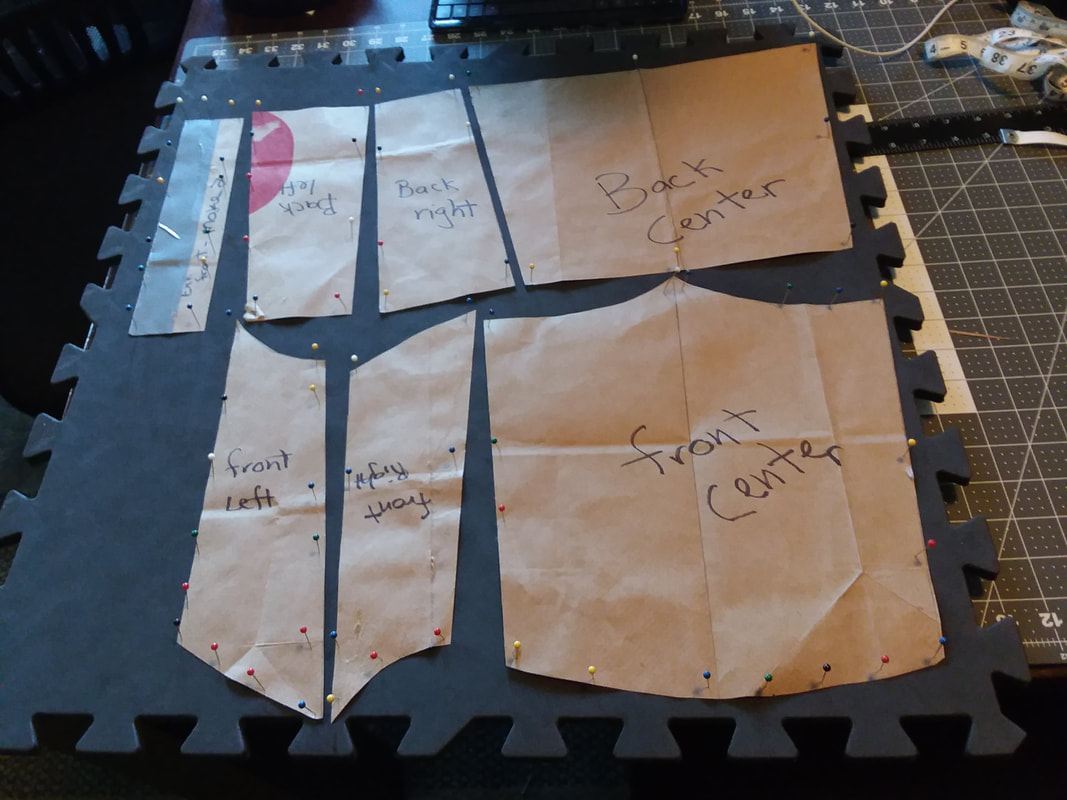
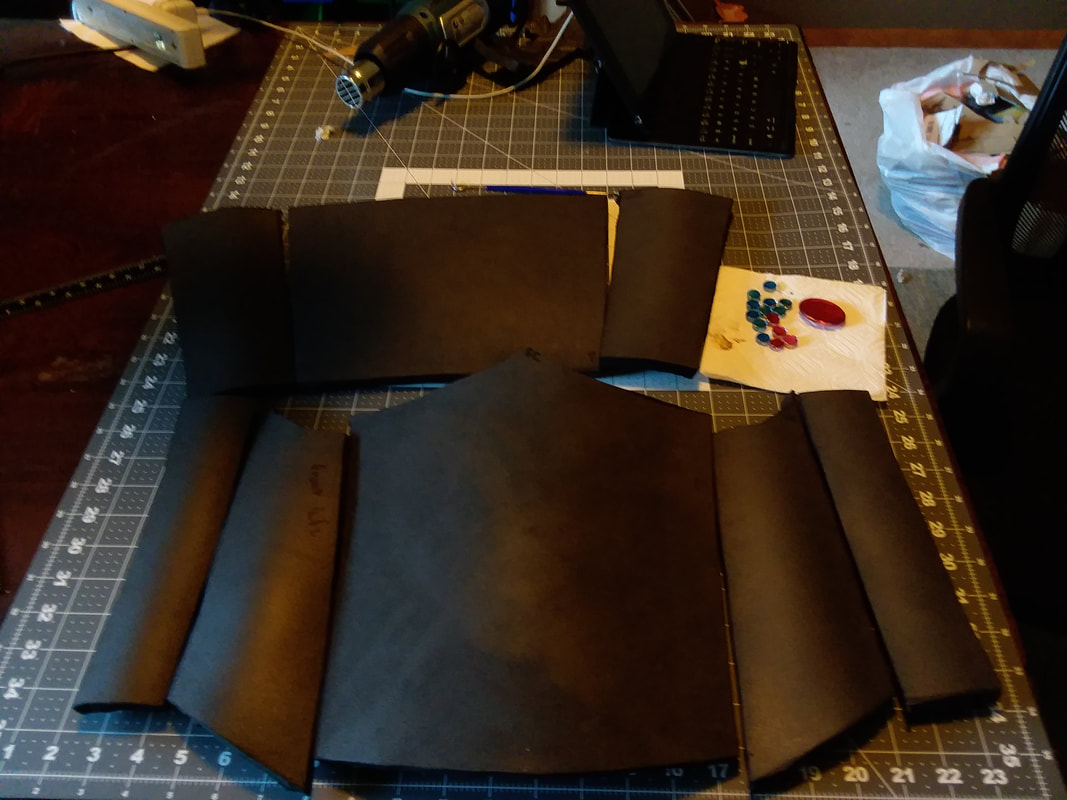
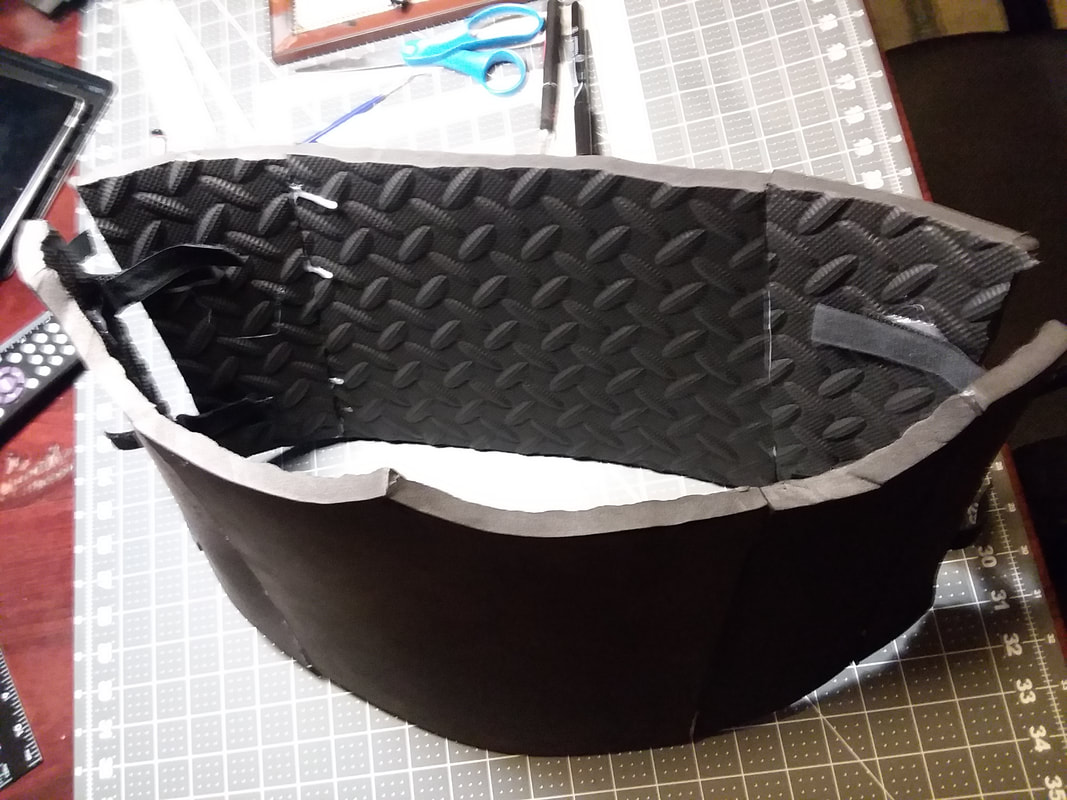
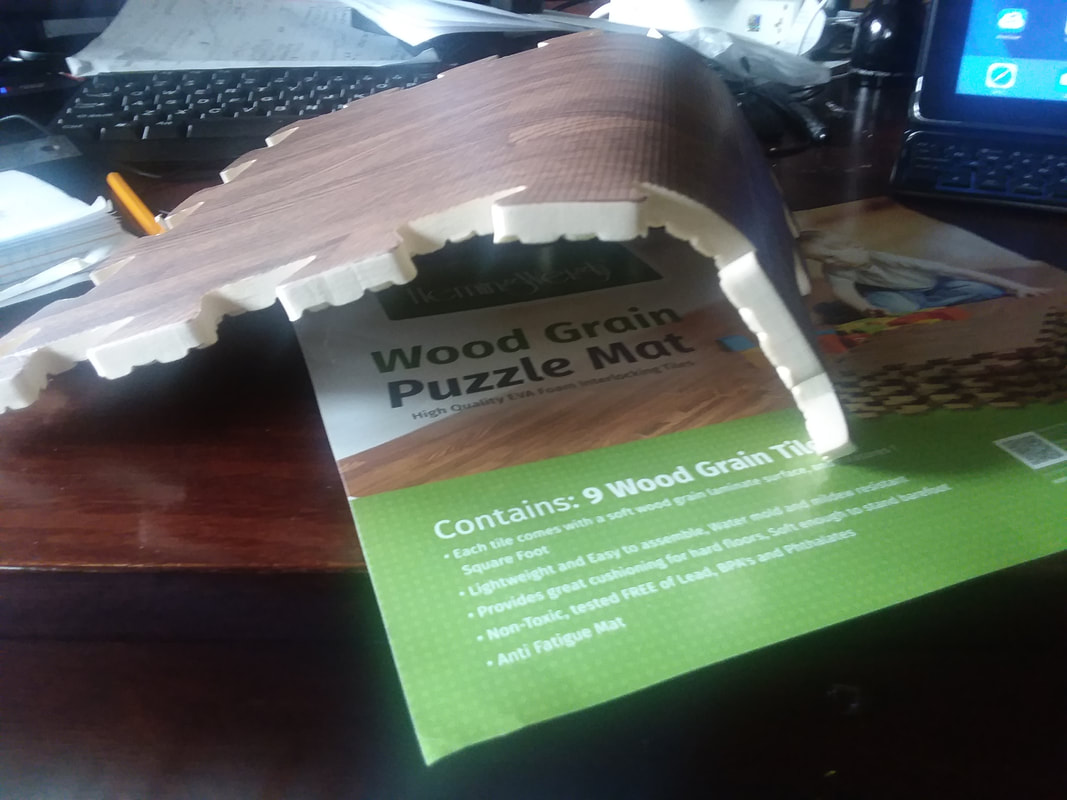
SO the next thing I am working on is redesigning and redoing the breastplate. Because she is water genasi, everything in her armor is nuatical/water themed. I was watching this Twitch person making her breast armor, and got inspired to try something new. I found this stuff :
Picture
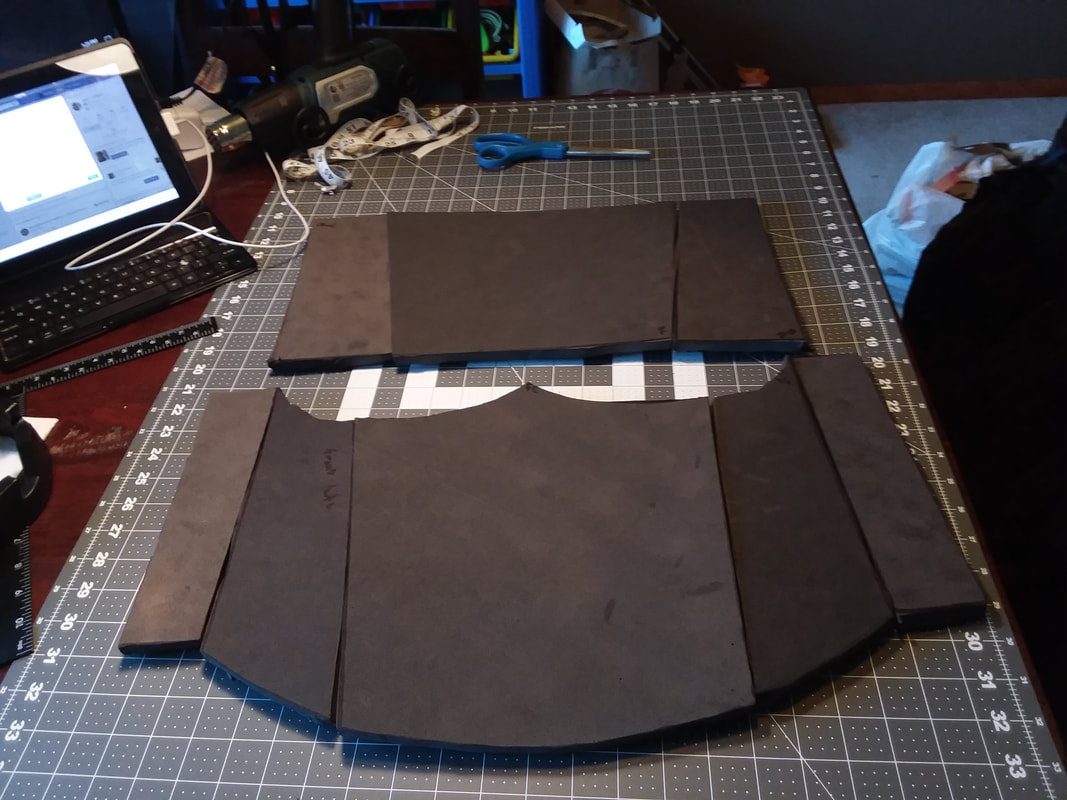
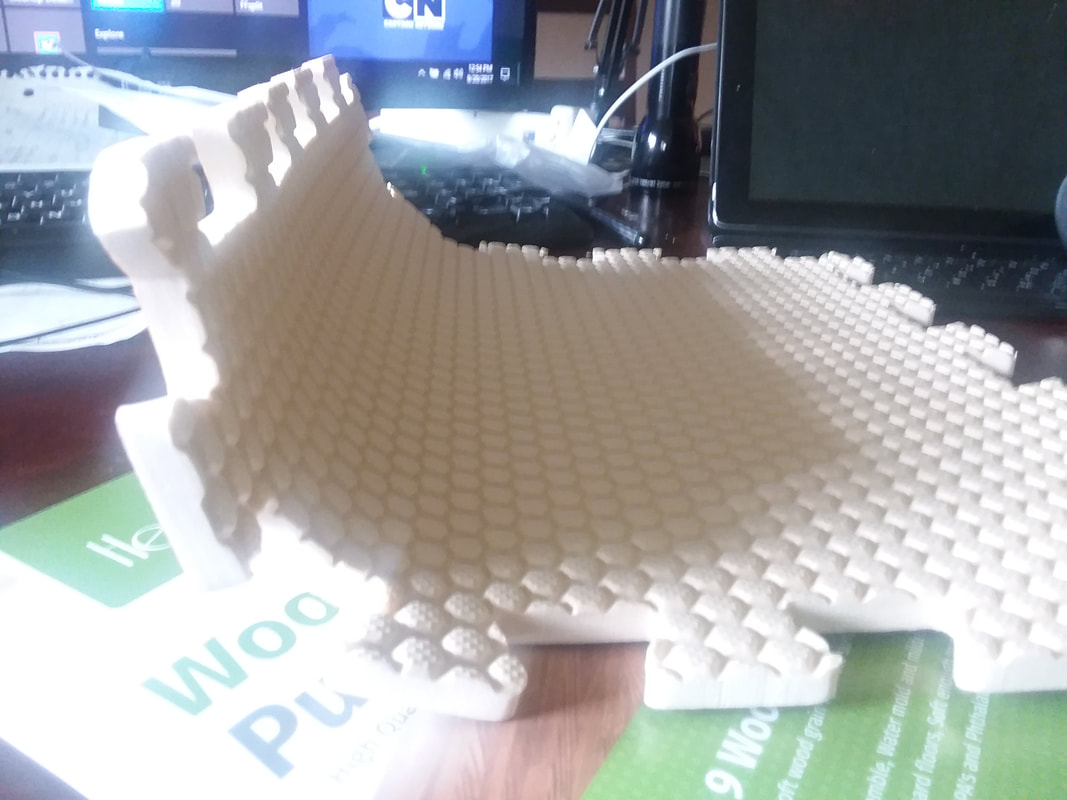
The stuff in the bucket is Foam-Mo, a moldable foam that dries to the same texture and weight as regular EVA foam. So my idea is to remake the boob pieces and sculpt kelp leaves out of Foam-Mo and glue them onto the new boob pieces. Then twist some armature wire and cover it with foam to make a base for the whole breastplate. I only need to cover the top half. From under the boobs to the waist it will be spoon scale malle.
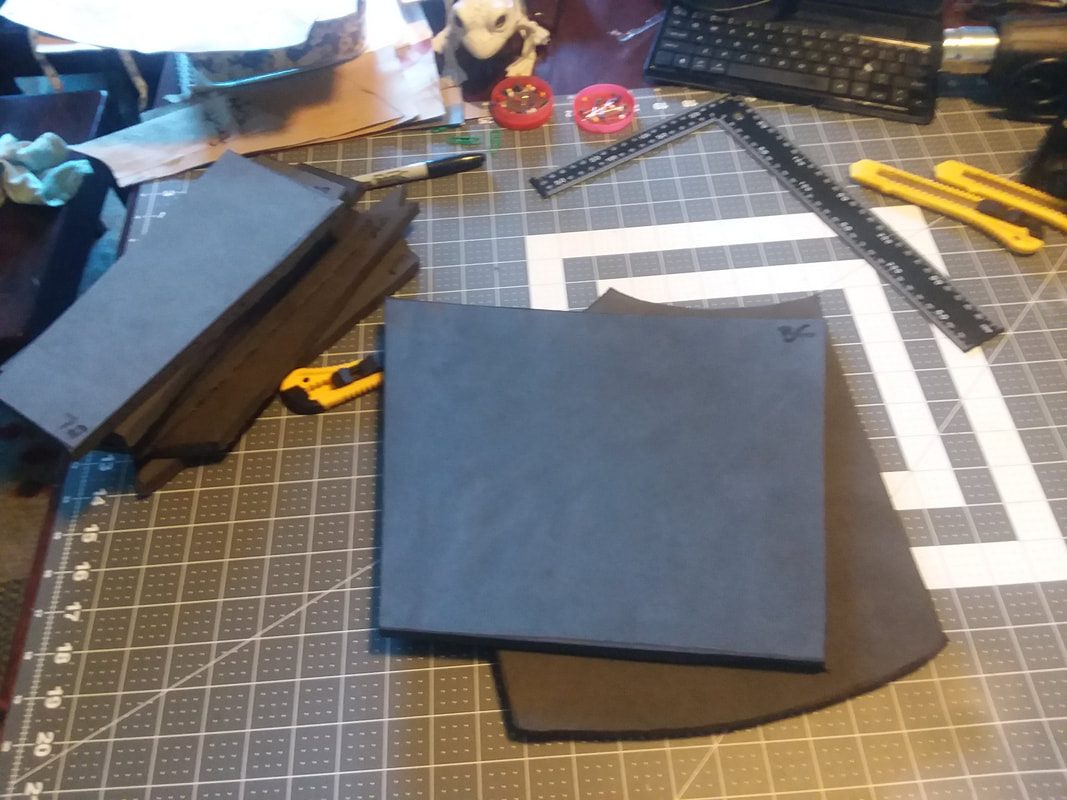
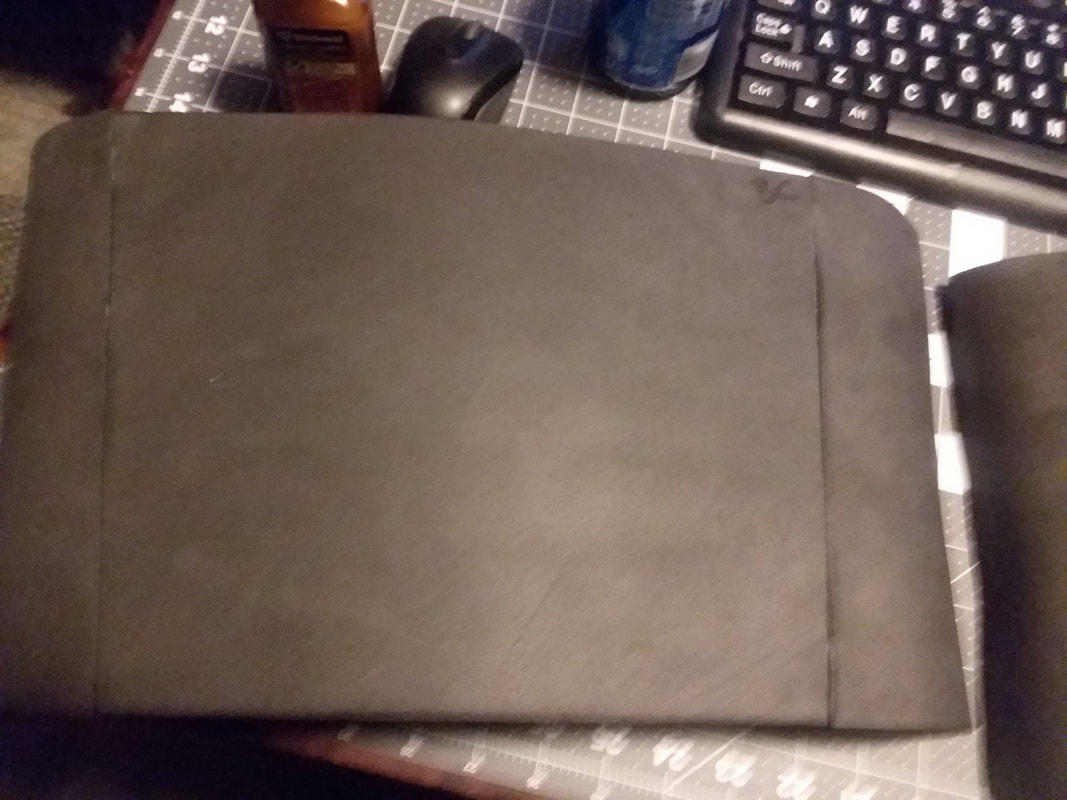
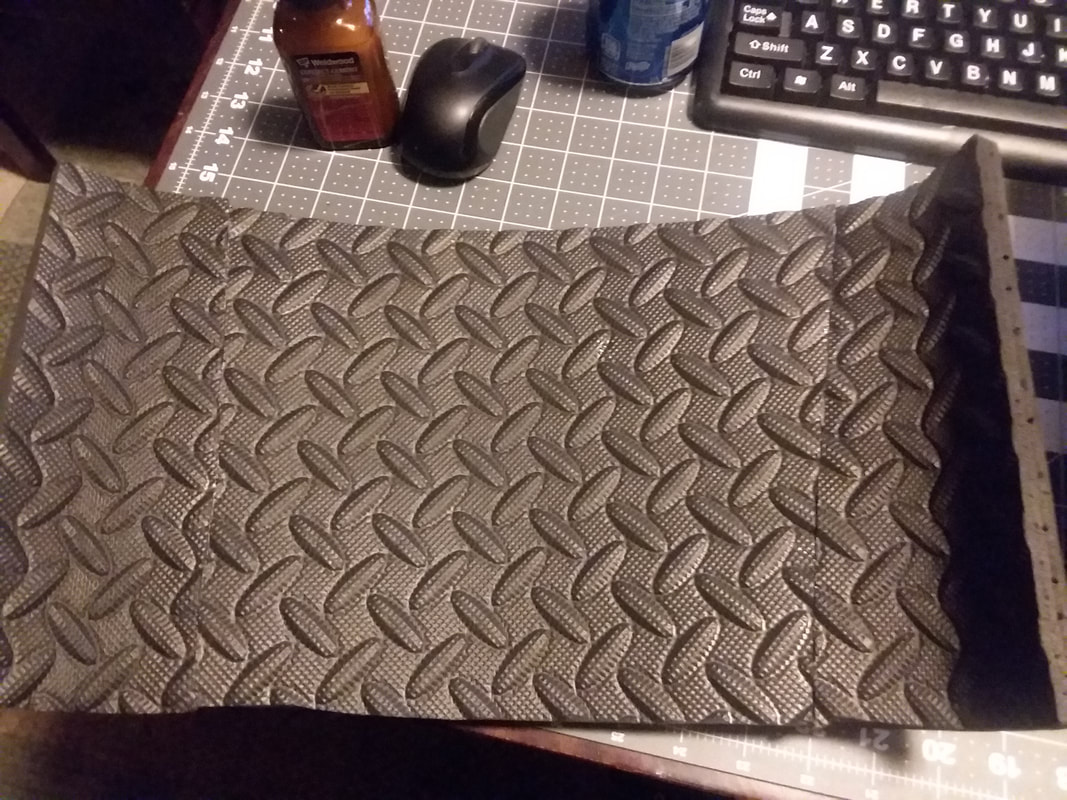
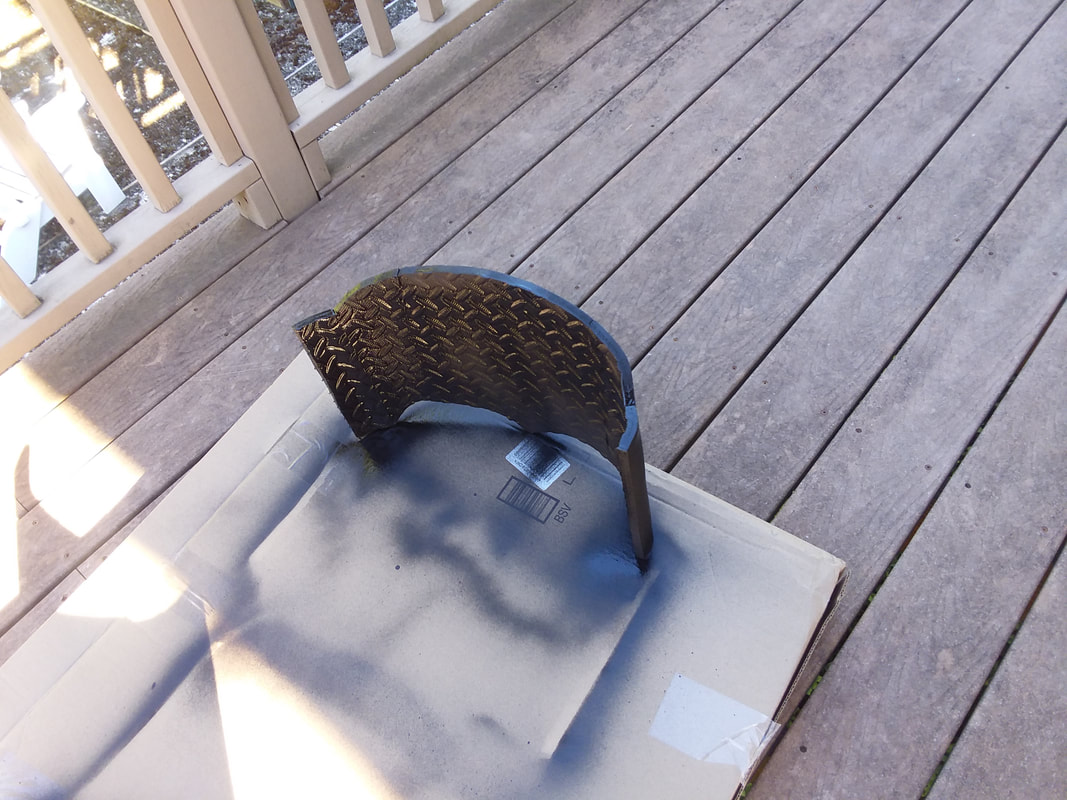
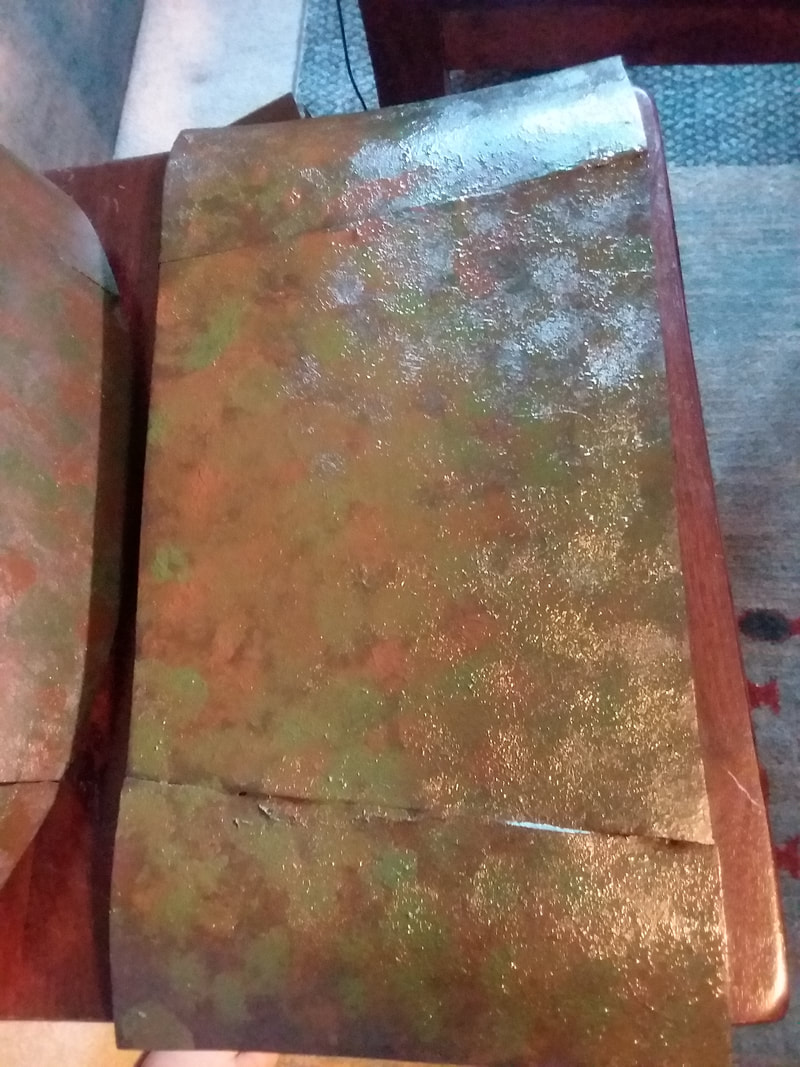
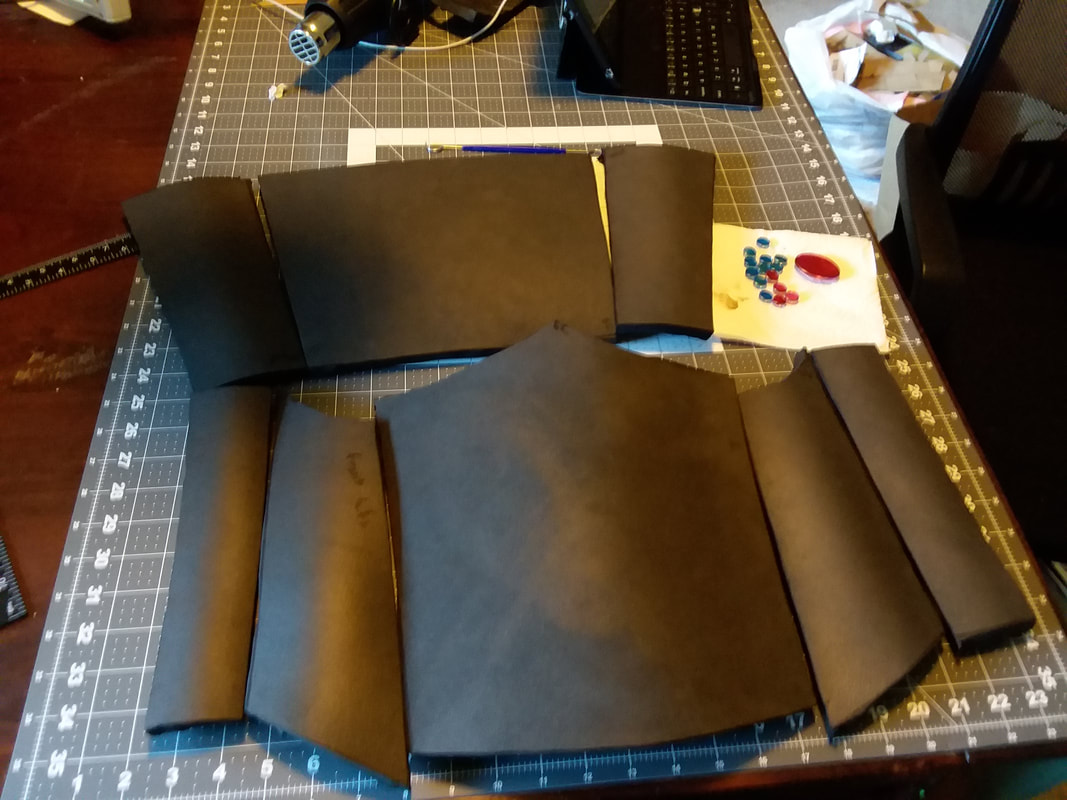
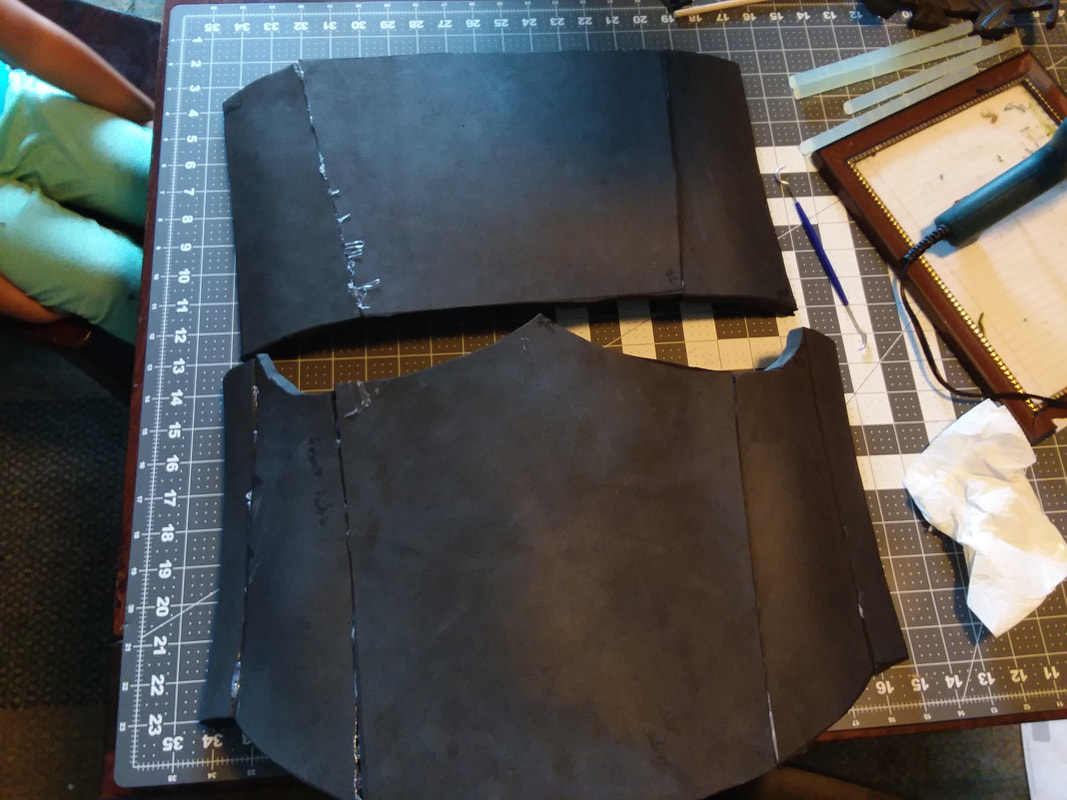
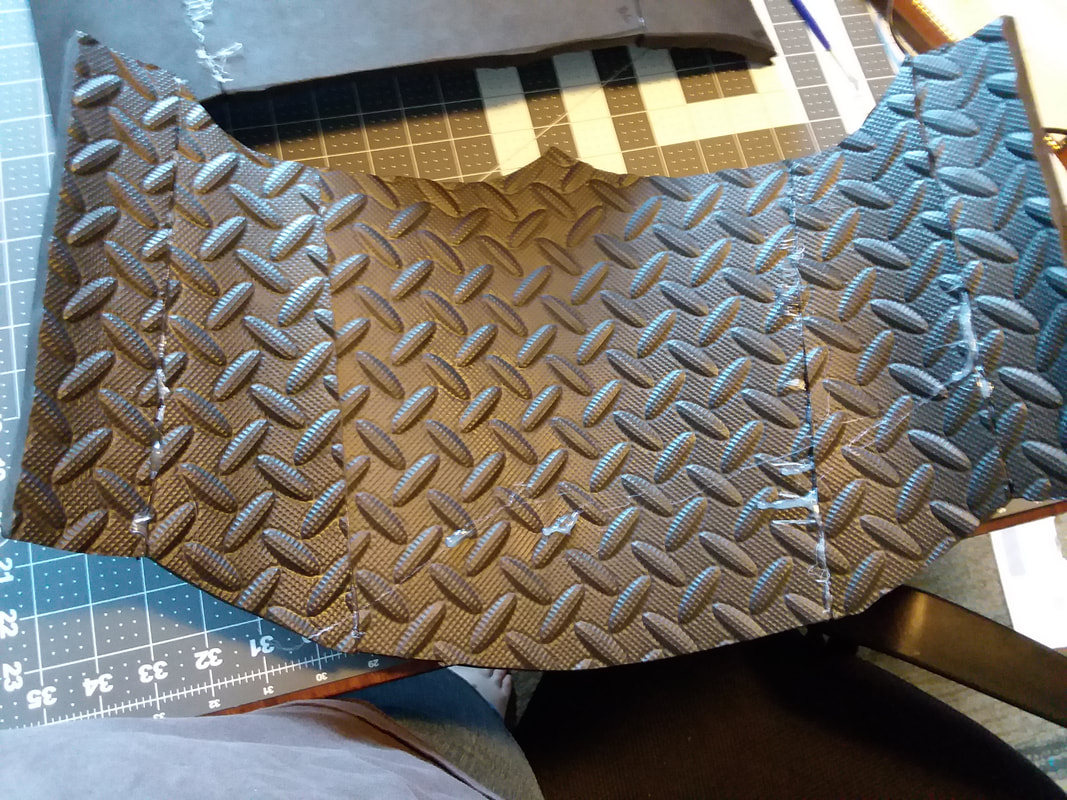
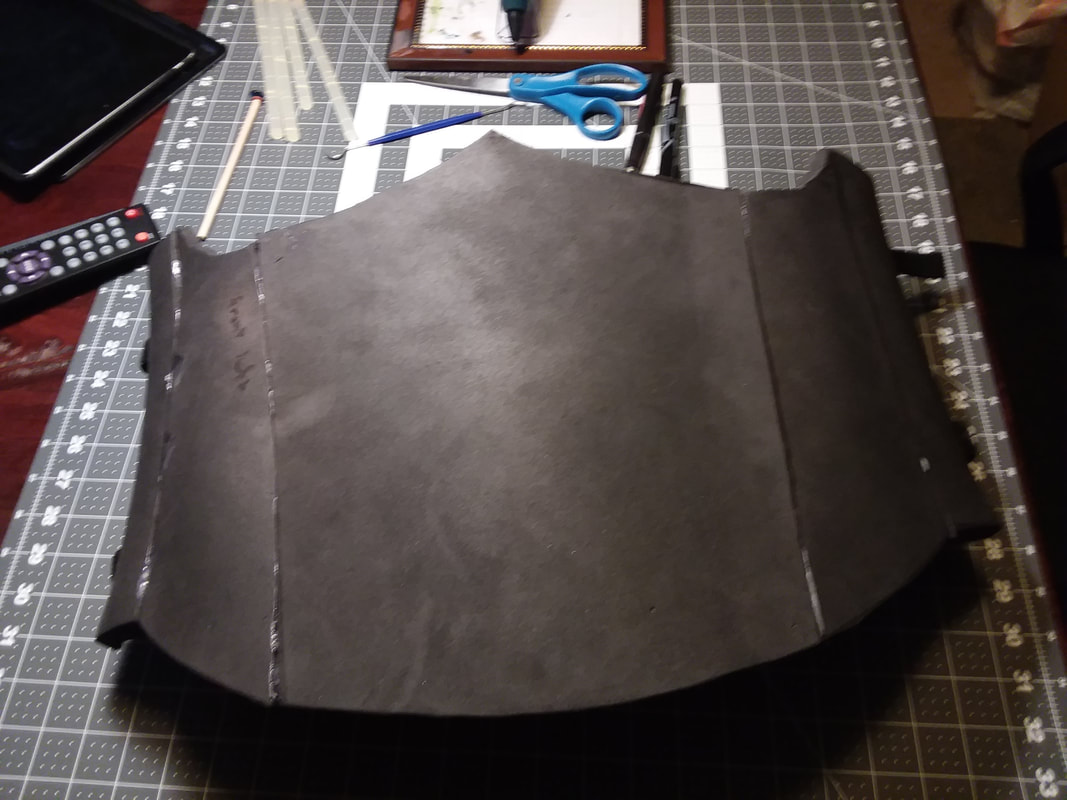
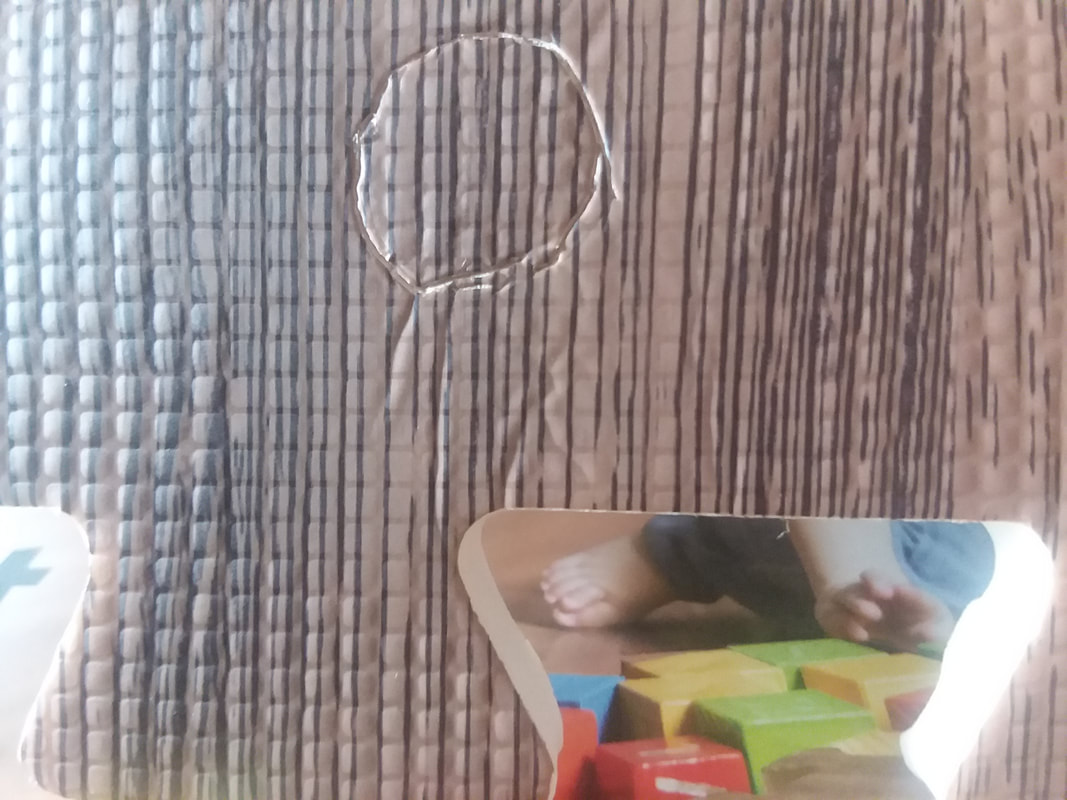
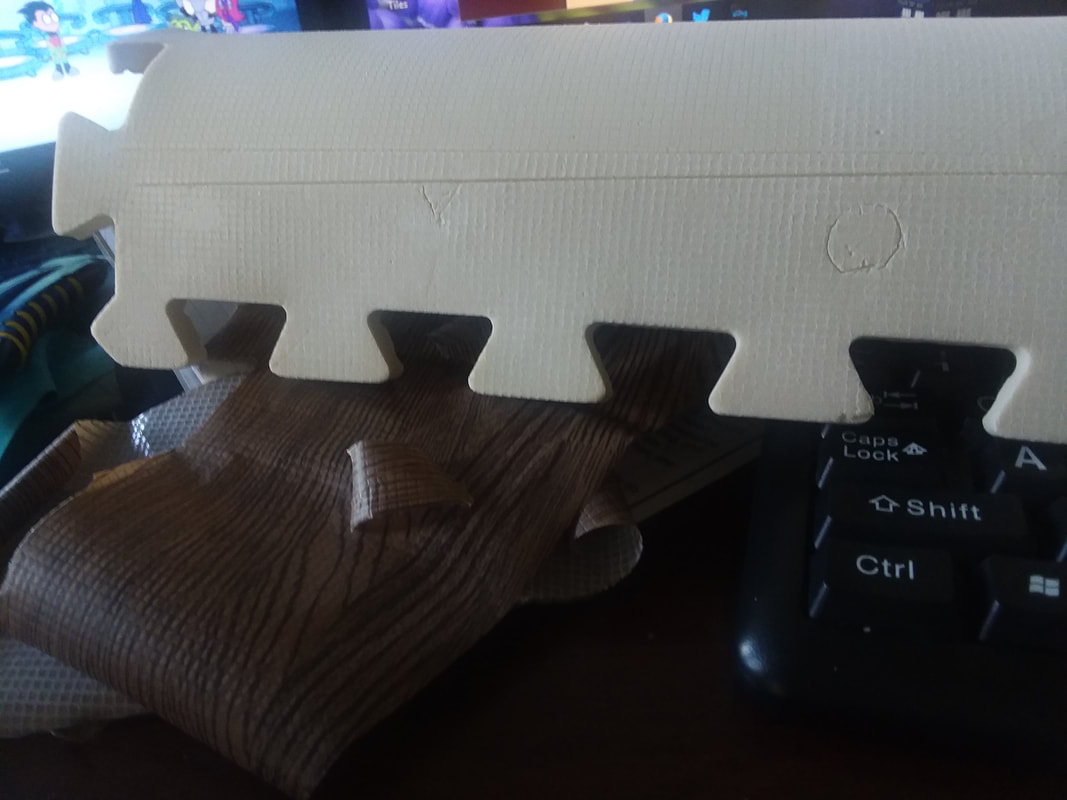
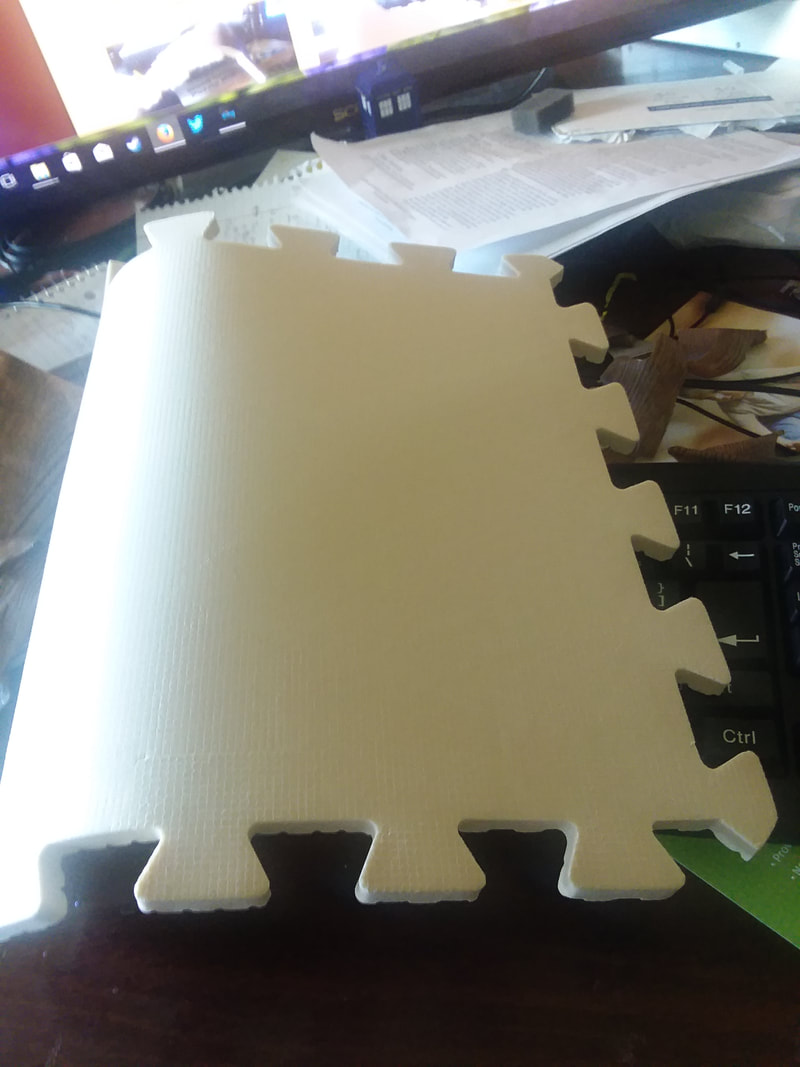
I have already rebuilt the boobs. It isn't as imperitive that the seams be invisible, as I will be covering them with kelp leaves. I also decided to reinforce the inner seems with hot glue. Hopefully this will make them more durable. I haven't decided if I am going to try to add the wave trim. The white blob there on the table in the upper left hand corner is Crayola Model Magic. I am currently using that to experiment with my leaf shapes. I clearly suck and need the practice.
Picture
Picture
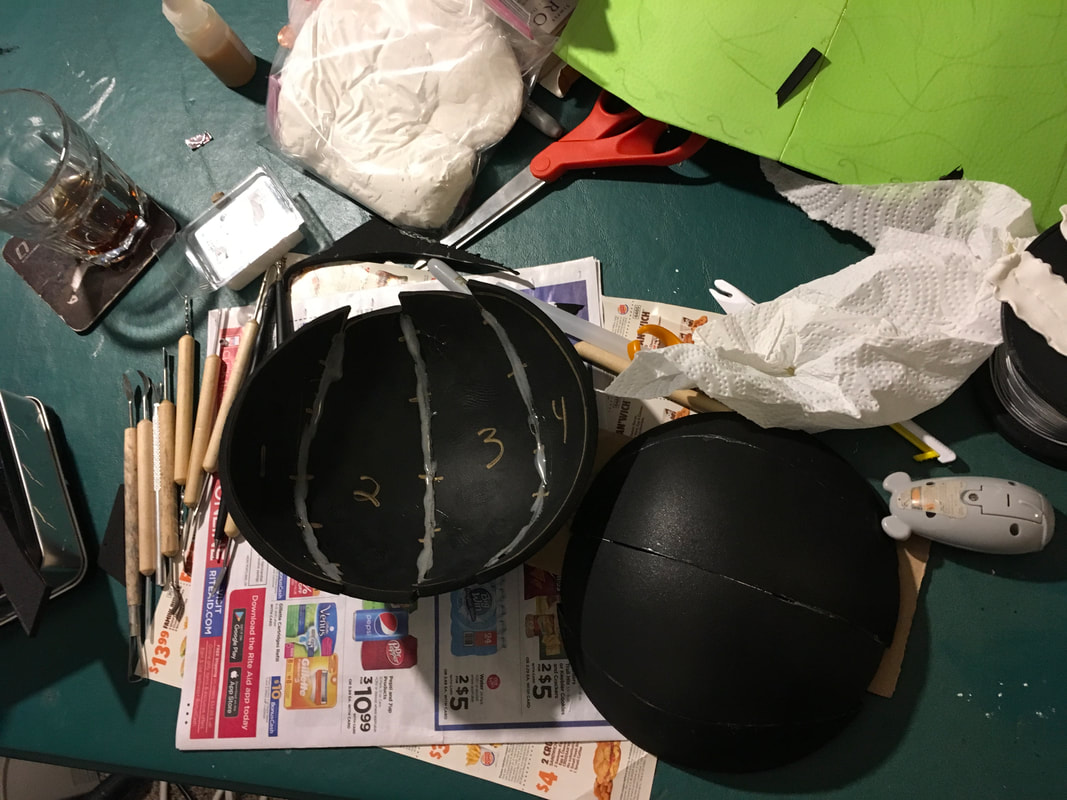
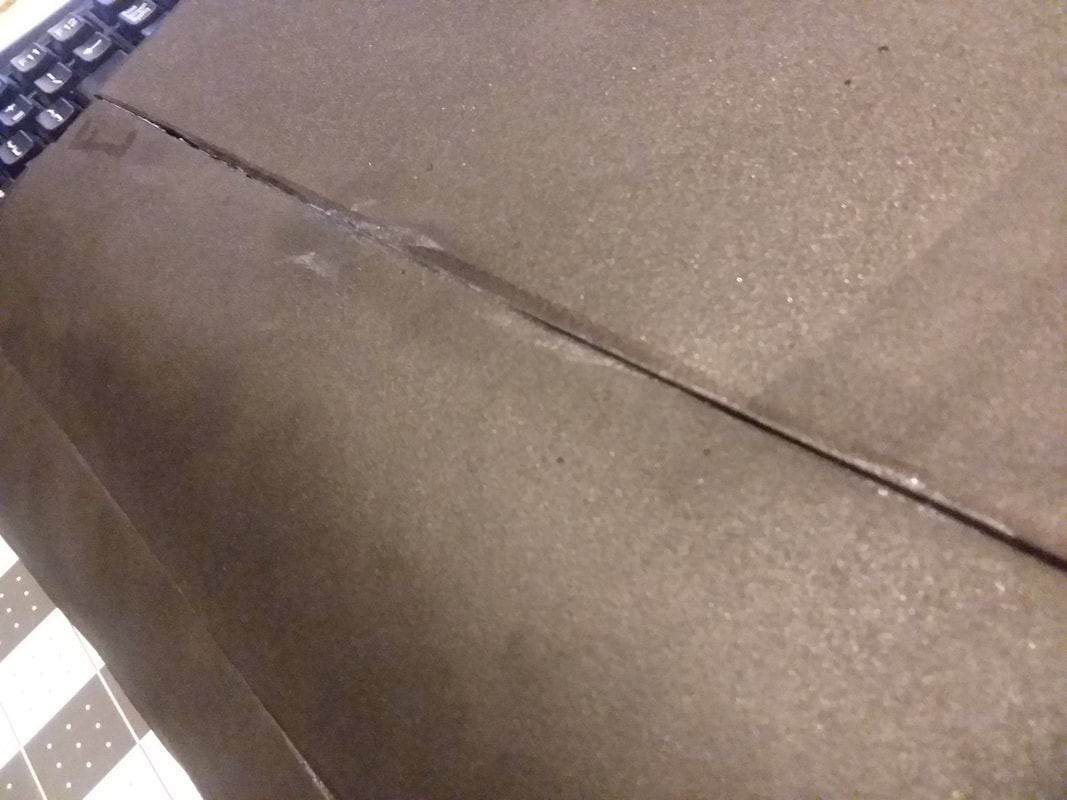
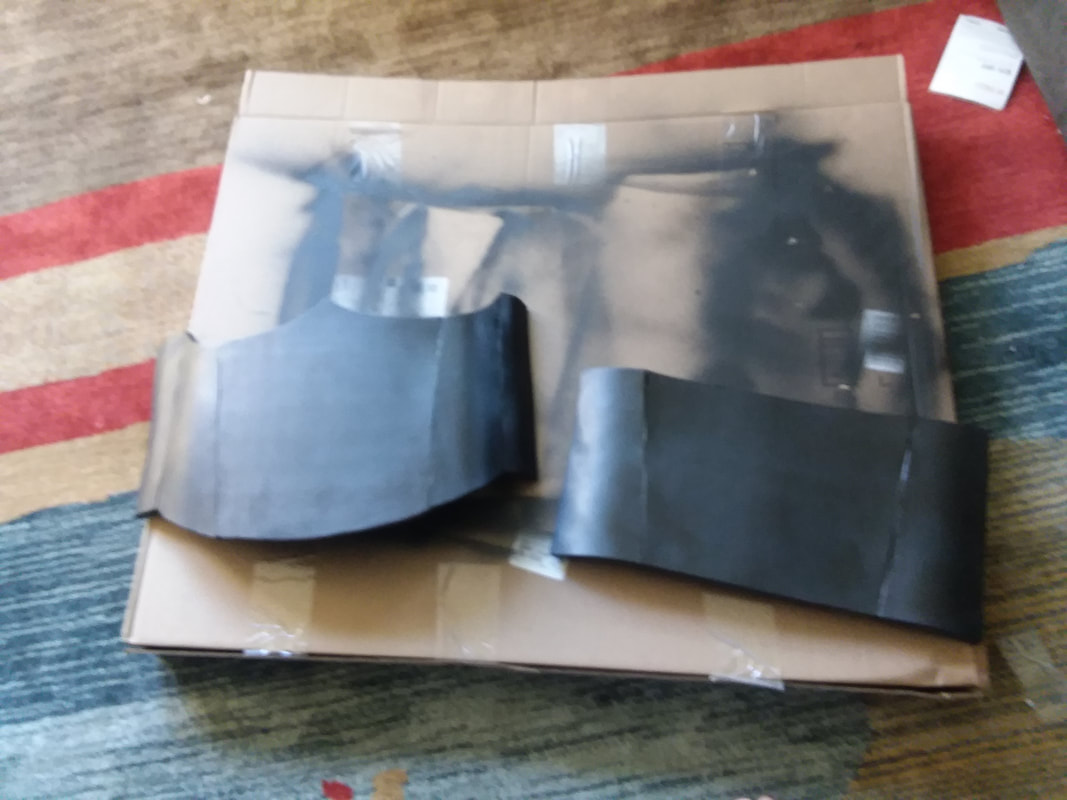
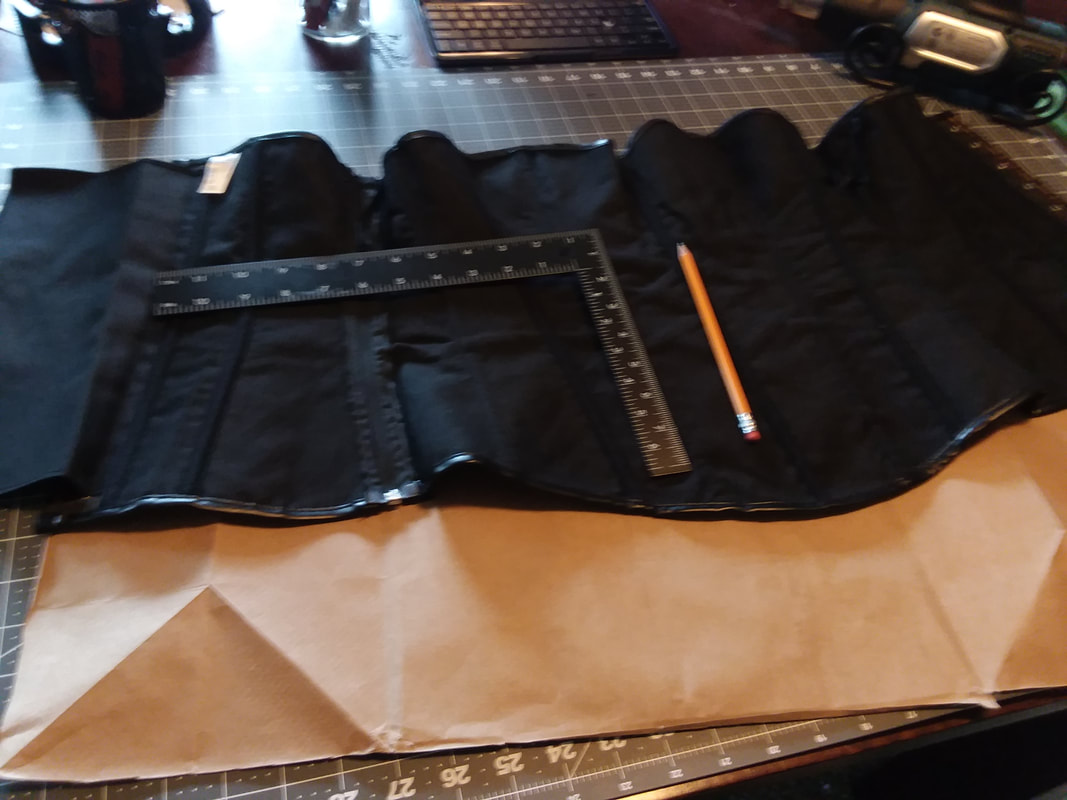
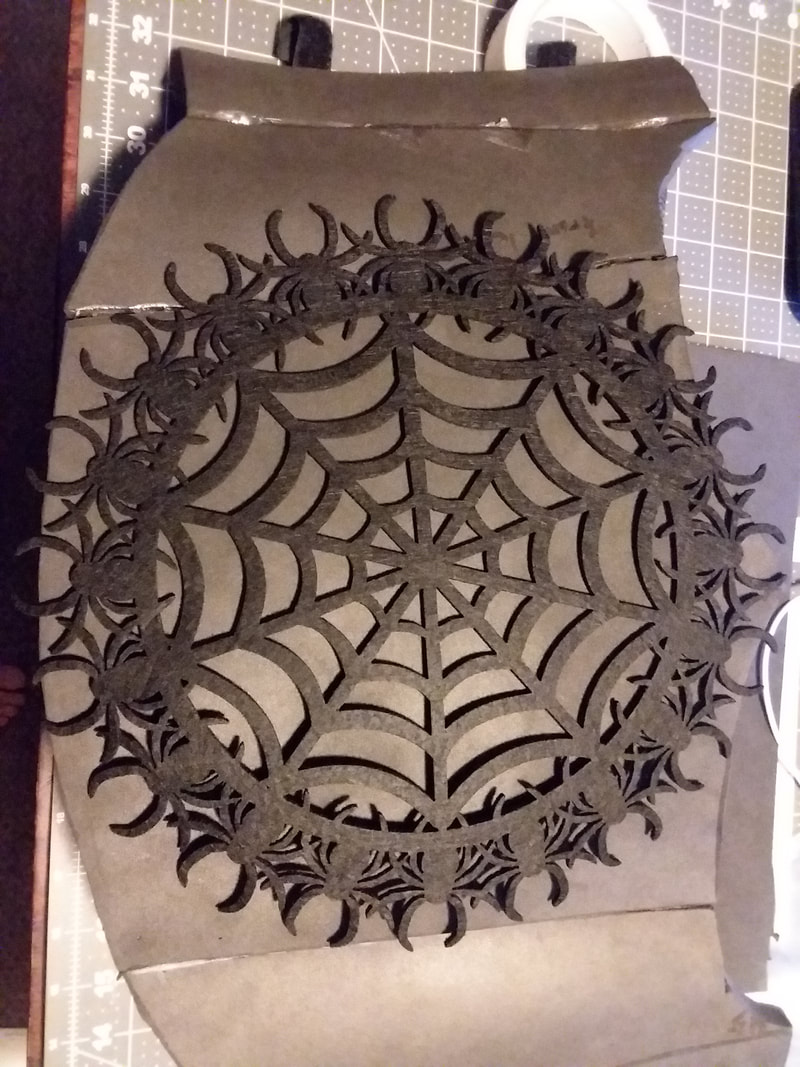
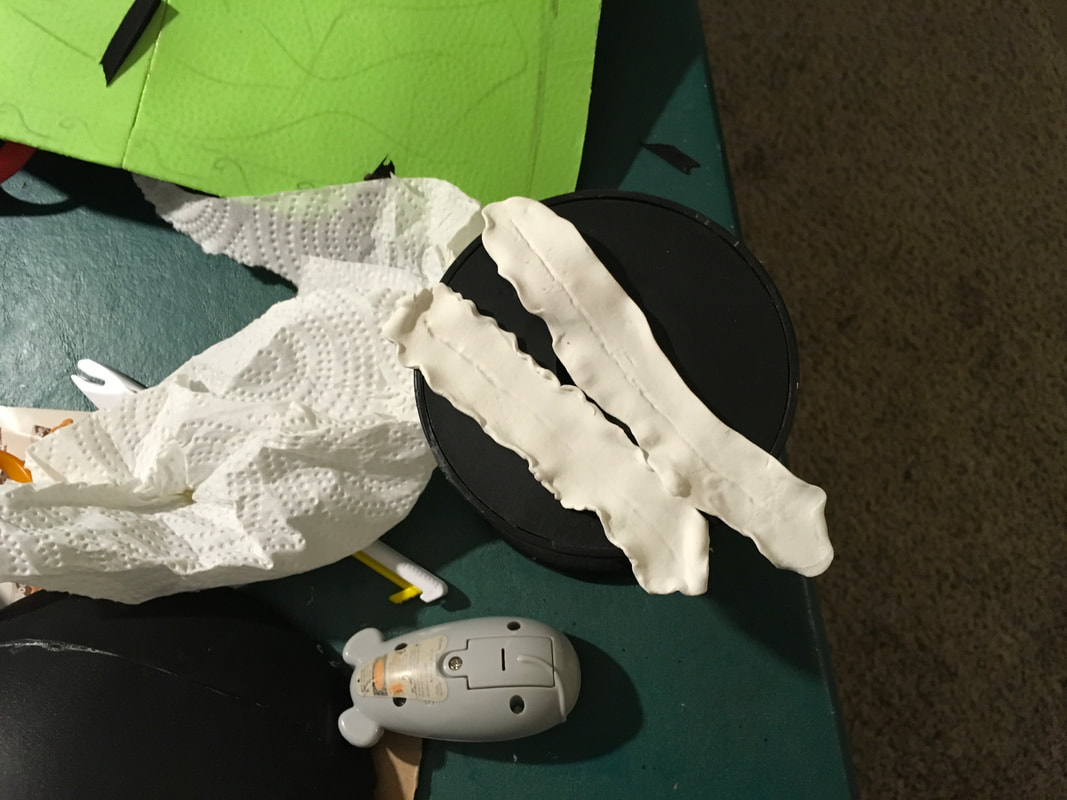
Here are my initial attempts. I haven't figured it out yet. It looks like bacon. :/ The Model Magic is cheap, and it is also less durable than the Foam-Mo. Kitty has already torn one of them apart. I will keep trying until i figure it out. My goal is also to make enough to glue to bracers. The green in the upper left hand corner is my draft of a bracer.
That is all for now. I will update as things progress. Which is slowly right now as I work through a ton of life stuff.
0 Comments

Costume Update....

9/29/2017

0 Comments

 
So the new utility knife arrived, so I took another stab at cutting out my pieces. This time...beautiful. It is amazing the difference it makes. The first one...jagged edges, wavies, etc. Look how smooth and even the new cuts are. I am sooo happy. It is so beautiful.
Picture
Picture
Picture
Picture
It also took way less time to get the better results. This knife has an extra locking mechanism on it, so there is no possibility of retracting while I cut. Yes, I am in love with this knife.

So as predicted, the second run at this turned out way better. I then put it together with DAP contact cement. There were some gaps, but it also worked way better than hot glue, and way faster. Prettier.
Picture
Picture
Picture
Picture
So that part being done, I let it cure overnight. Well, a couple of nights. I had homework to do so I let it go a few days. The next thing is the paint job. I wanted to paint it grreen and brown, dapping so it is remeniscent of leaves. I ended up doing it a couple of times. It is really hard to see. I am unsure how to proceed from here. First I put down 3 layers of Plasti dip, to prime it for paint.
Picture
Picture
Picture
Picture
Picture
Picture
See? Unless it is in a certain light you can hardly tell it is there. I guess it might be fine. I don't know. Depends on how it ends up. Next is to attach the stretchy fabric to both sides, and create the boob parts. That won't happen until after the weekend, though. I have only 4 weeks left to finish a couple of classes, so this weekend is buckle down time. That'll give it time to cure completely, and for me to decide how I am going to finish execution.
0 Comments

More foamy goodness....

9/23/2017

0 Comments

 
 So today I got up the courage to actually work on the project itself. I first took out a couple of old paper grocery bags and created a pattern. I used a corset that doesn't really fit me to get the basic idea of the shape of the pieces. Then I measured down my front from between my boobs to where I want the center of the front to stop. Then I drew curves for boobs from the center line to the outside, and created a curve on the bottom. Then I drafted out the side pieces. Next I measured out a back middle piece. I started with the same measurement for the longest part of the front, then I slowly cut it down until it was the right height. Then I taped all my pieces together and tried em on. I discovered I was about 4 inches short in size, so I made 2- 2 inch rectangle pieces to add to the back. Yeah, I am a big woman. I repeated the taping together, altering and taping again until I got to the size and shape I wanted. Then I pinned it to the foam.....
Picture
Picture
The next part was the hardest for me. Tracing the patterns on the foam and cutting out the pieces. I suck at tracing, and I doubly suck at cutting out. I can't cut a straight edge with a thick metal ruler. I tried. I tried hard. I broke a retractable knife, an exacto knife and a pair of scissors trying to get good cuts. Did not succeed. I ended up having to use my flimsy exacto knife, which bent and sagged as I cut, making funny curves and/or 45 ish degree angles, instead of 90. Note to self: get a better retractable knife than just a dollar tree one. That broke quickly. As the lines were so unclean, I could not use anything but hot glue to put the pieces together.
Picture
Picture
Slightly daunted, but determined to continue, I then pulled out my heat gun and warped the foam pieces. That was kind of fun. My gun works best on level 1, setting the dial to 7. I am unsure what tempurature that is, but it works.
Picture
Picture
As I mentioned earlier, my pieces did not lay flush when places edge to edge. SO I pulled out my hot glue gun and put the pieces together. That is something I apparently suck at as well. I am still getting used to useing a hot glue gun. When I was a teenage crafter, all you could find int he craft stores was low temp glue guns, so nothing held together very well. Anything like body tempurature, leaving it in the sun for a minute, would make your project come completely undone. As such I completely rejected it as a good mode of glueing. Now there are higher temp guns, with stronger glues. I have been impressed with what I found. However, I still need to refine my technique. Heavy drips, uneven edges, burned fingers are just a few of the issues I had. But, nonetheless, I got it basically together. Yeah, this will not be my final product. Once I figure out where I am going wrong throughout, I will start over again. That seems to be my M.O. anyway. I generally totally suck the first time round, get it right the second. To see how well it fit me and to see if I needed to make any design changes, I hot glued velcro straps in. That is the worst way to put together your corset. Just saying. I have some black stretchy fabric I am planning on attaching to each side, so I can just slip it on over my head. The sleeves will be made of drapy halloween fabric in green and black and grey, and sewn to a piece of cotton. I can't wear this stuff against my skin, so I figured it would probably simplify things if I didn't attach the sleeves directly to the EVA foam lower part.
Picture
Picture
Picture
Picture
Next step is to make the boobs. I have ordered some 6mm foam for those pieces. I plan to either try to use a heat tool to carve leaves so it looks like layered leaves, or scaled elaves, or cut and paste individual leaves out of foam on them. Then they will be painted green and brown. Then I will glue them to the curves at the top of the..um..corset seems the wrong word to use here. There is also a skirt. Am considering greaves as well. I also want to make bracers. I am thinking of using the 6mm foam to make a base, then I have this 2mm stuff that if heated I can make look like wrinkly leather fabric. I also found a round spider felt piece that I plan to use on the front of this thing. Put a skull in the middle of it. I will integrate spiders and leaves and stuff all through out. It will look awesome.
Picture
Now I just gotta finnish up her backstory. I am totally unsure at the moment who she is completely. I keep thinking Warrior Augra. I will have to sit down and flesh it out soon. And figure out how to do the headress. I was going to use my rams horns with it too. I am unsure now. We'll see. Depends on how it all turns out. To practice my painting techniques and to test whether or not I can glue stuff to it once it is painted I made a crown out of a piece of edging. But I am too tired to show that tonight. I think I will head to bed and save that for another post.
0 Comments

Cosplay and EVA foam...

9/20/2017

0 Comments

 
So today I got some of the EVA foam tiles. The ones with woodgrain on them. I thought they were dark brown with woodgrain painted on them. Nope. They are tan with a plastic woodgrain laminate on them. Look at the label picture...it even has the tiles as dark brown. Sigh.
Picture
Picture
Whatever...they were cheap and I can paint them. So I set out to play with them and see what I can do. First I tried cutting them to see if putting a heat gun on them would pull out the detail like in the regular tiles, or if it would turn out horribly bad. Well, turns out it turned out horribly bad. What I thought was a paint job is actually woodgrain laminate, so it melted and bubbled really bad.
Picture
Picture
So next I decided to try making a bend in it. I have never played with EVA foam, and I am curious how to get it to do what I want. The black tiles won't get here till tomorrow, so I set my heat gun to 7 and turned it on to level 1. Then I bent it on the carpet and hit it at a side angle with the heat gun for like 10 seconds or so. To tell you the truth, I was scared to try any longer than that, for fear of melting carpet or killing the tile. It worked really well. I mean really, really well. It is a great angle, tighter than I expect to ever use, and it is still there an hour later.
Picture
Picture
I probably will use this for accents. I am hoping I can use the woodgrain and don't have to paint over it to use it. I just thought it would be nice to not have to learn how to paint good woodgrain. Cause I suck at painting. Or I may use it as the under layer for my chest piece. Put black and copper accents on top. Or I may just to the bottom black. I don't know. Ooo...or maybe I will use this stuff for the greaves.

So...last test...how hard is it to remove the laminate? Turns out really easy. Too easy. I wouldn't use these tiles around kids, as is shown in the pic. They would destroy them so fast. I just got a nick in one edge, then pulled and it all came off. But you can easily remove the laminate, prime it and use it as per usual. I didn't get what I expected, but I didn't get something unusable. That I think is the important part.
Picture
Picture
0 Comments

    Author

    Eleanor...nerd, musician, stop motion animator, techy, crafty. But not in the crafty crafty way...I just like making things. You can find me on Twitch & Twitter @TeaWeaselStopMO & Tiktok.

    RSS Feed

    Picture
    Tips/ Supply Fund
    If you feel like contributing to help me upgrade equipment or pay for building supplies, feel free to click this button. Anything you contribute is appreciated muchly.

    Archives

    August 2021
    May 2021
    March 2021
    February 2021
    November 2020
    October 2020
    July 2020
    March 2020
    January 2020
    December 2019
    November 2019
    October 2019
    August 2019
    July 2019
    June 2019
    May 2019
    March 2019
    February 2019
    January 2019
    December 2018
    October 2018
    September 2018
    August 2018
    July 2018
    June 2018
    May 2018
    April 2018
    March 2018
    February 2018
    January 2018
    December 2017
    November 2017
    October 2017
    September 2017
    August 2017
    July 2017
    June 2017
    May 2017
    April 2017
    March 2017
    February 2017
    January 2017
    December 2016
    November 2016
    October 2016
    September 2016
    August 2016
    July 2016
    June 2016
    May 2016
    February 2016
    January 2016
    November 2015
    October 2015
    September 2015
    August 2015
    February 2015
    September 2014
    April 2014
    March 2014
    January 2014
    December 2013
    November 2013
    October 2013
    September 2013
    August 2013
    July 2013
    May 2013
    April 2013
    March 2013
    February 2013
    January 2013
    December 2012
    November 2012
    October 2012
    September 2012
    August 2012
    July 2012
    June 2012
    May 2012
    April 2012
    March 2012
    February 2012
    January 2012
    December 2011
    November 2011
    July 2011
    June 2011

    Categories

    All
    3d Printing
    4th Of July
    Aardman
    Ae
    After Effects
    Allergies
    And
    And...
    Animation
    Animation Rendering
    Aoifa
    Apothecary Cabinet
    Argh Sigh
    Armatures
    Attack Of The Killer Crows
    Audio Recording
    Babel Fish
    Background Music
    Bad Allergies
    Balsa Wood
    Being A Nerdist
    Birthdays
    Birthdays Suck
    Bob
    Bookcases
    Break Dancing
    Bunny Suicides
    Cake
    Chairs
    Chris Hardiwck
    Chris Hardwick
    Chuffiness
    Clay Building
    Cleaning
    Comical Movement
    Compositing
    Computer Fix
    Conventions
    Copping Out For Tonight
    Cosplay
    Craft Doo Dads
    Craft Doo-dads
    Craft Hoarders
    Crafting
    Creative Commons Copyright
    Creative Constipation
    Creativity
    Crocheting
    Cushions
    Dalek
    Damien Kulash Is Awesome
    David Tennant
    Dialog Matching
    Dice
    Digital Photography
    DnD
    Doctor Who
    Donation
    Douglas Adams
    Doulgas Adams
    Dragon Stop Motion
    Eddie Izzard
    Eddie Izzard Contest
    Eddie Izzard Is A Saint
    Eddie Izzard Sucks
    Epoxy Putty
    EVA Foam
    Excuses
    Failure Leading To Success?
    Fail Whale Video Style
    FAWM
    Fear
    Finally Done
    First Blog Post
    Fixing Things
    Flowers
    Foam-Mo
    Frustrations
    Geek Culture
    Glue Crazy
    Glue Dots
    Humor
    Ineptitude
    Insomnia
    Ipad
    Irish Music
    Jenny Lawson
    Job Hunting
    Job Interview
    Job Search
    Joco Optimism
    Kitten
    Kitty
    Lebowskifest Solo
    Macro Photography
    Magnets
    Mcgyver As A Verb
    Miniatures
    Mini Furniture
    Mini Pottery Wheel
    Minis
    Monkeyjam
    Motivation Constipation
    Movement Test
    Mushy Fish
    Music
    Names
    Neglect
    Neil Gaiman
    Nerdist Way
    New Sets
    New Year
    No Sleep
    Nostalgia
    Nothing Has Made Me Happier
    One Tiny Thing
    Photography
    Pinnacle
    Pinnacle 20
    Podcasting
    Pottery
    Procrastination
    Progress
    Really Small Furniture
    Rip Anatrax
    RL RPG
    RL-RPG
    Rocks
    Sales
    Scene 2
    Scripts
    Sets
    Skills Sets
    Snow
    Somedays You Just Want To Take The Rifle
    Sonic Screwdriver
    Spiders
    Spoon Maille
    Stephen Fry
    Stop Motion
    Stop Motion Animation
    Stop Motion Animation.
    Storytelling
    St Patrick's Day
    Streaming
    Stuck
    Talleg
    Tardis
    Testing
    The Bloggess
    Things I
    Twitter
    Ukulele
    Update
    Venting
    Video Contest
    Video Contests
    Video Cotnest
    Video Delay
    Video Games
    Viscera Cleanup Detail
    Vogon Poetry
    Volunteering
    Wee Furniture
    What The Hell Am I Doing
    Who Needs Sleep?
    Who Needs Sleep?
    Wierd Obsession
    Wigs
    Wil Wheaton Collating Paper
    Write Or Die
    Writing
    Yes
    Yes And
    Yes And. Writing

    RSS Feed

Powered by Create your own unique website with customizable templates.