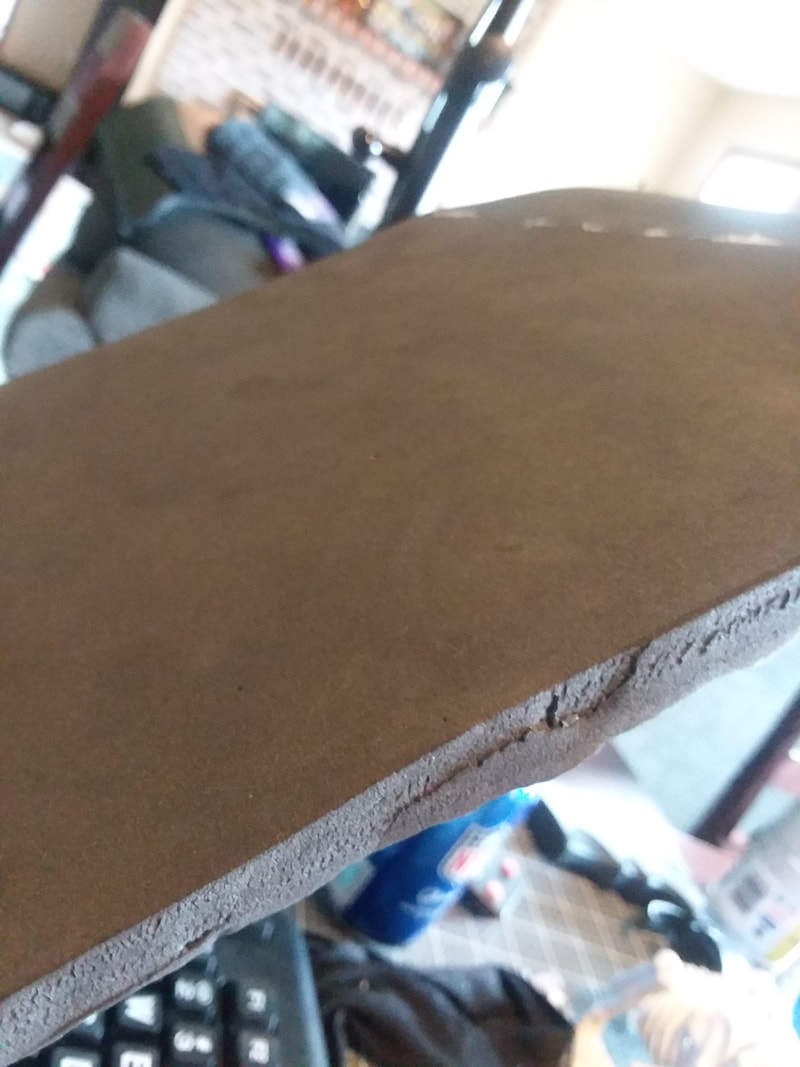
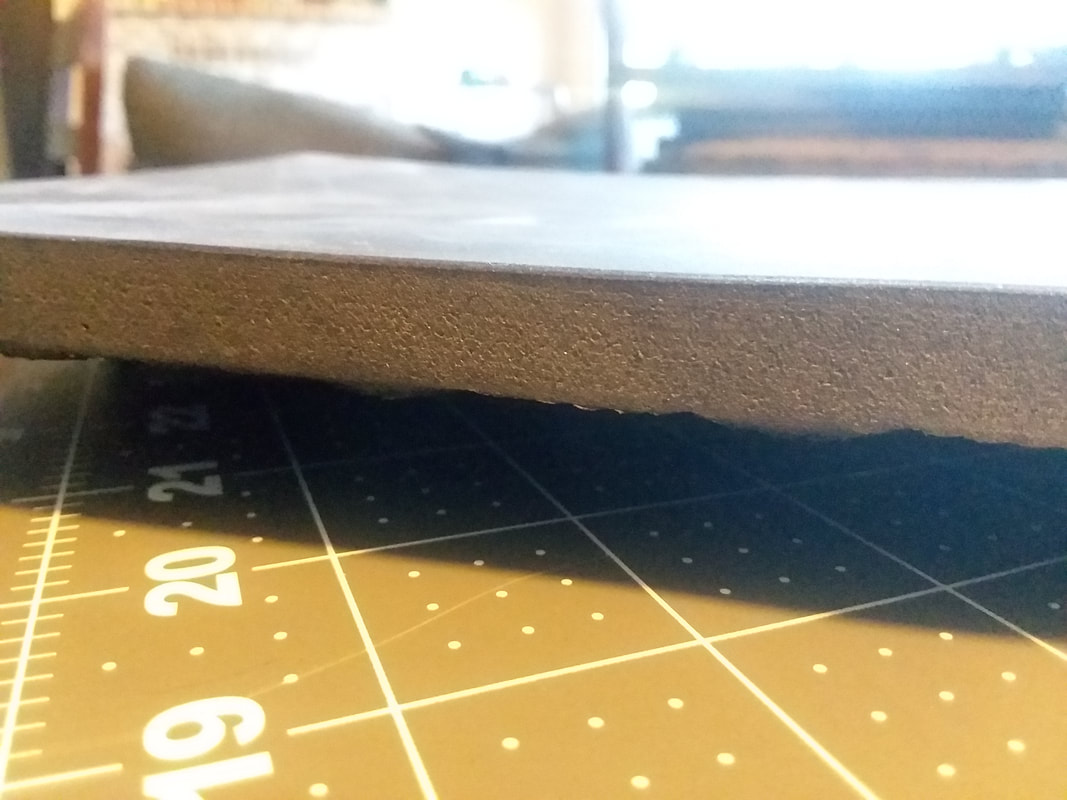
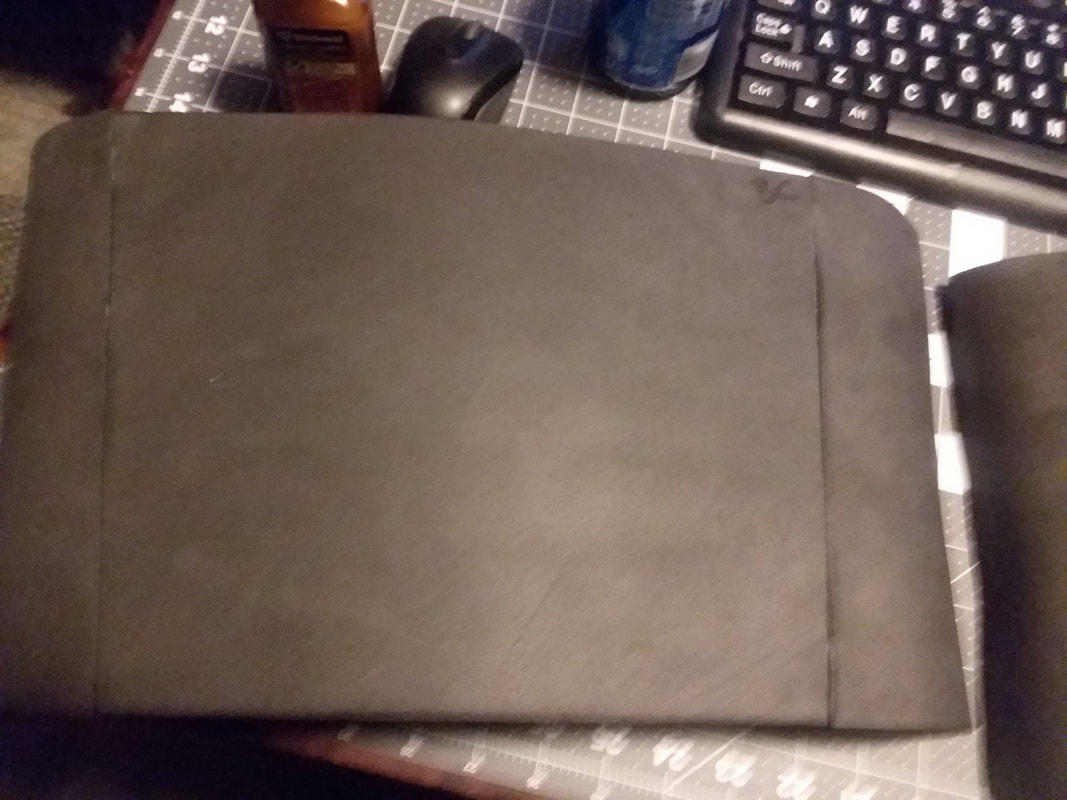
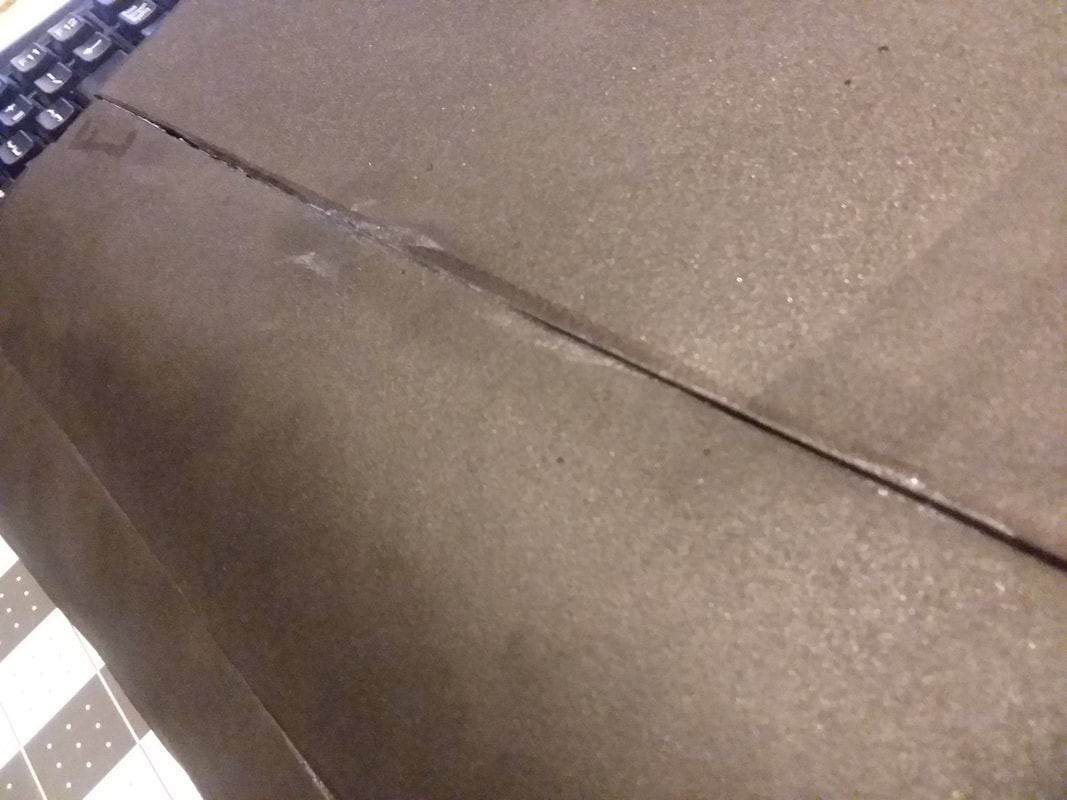
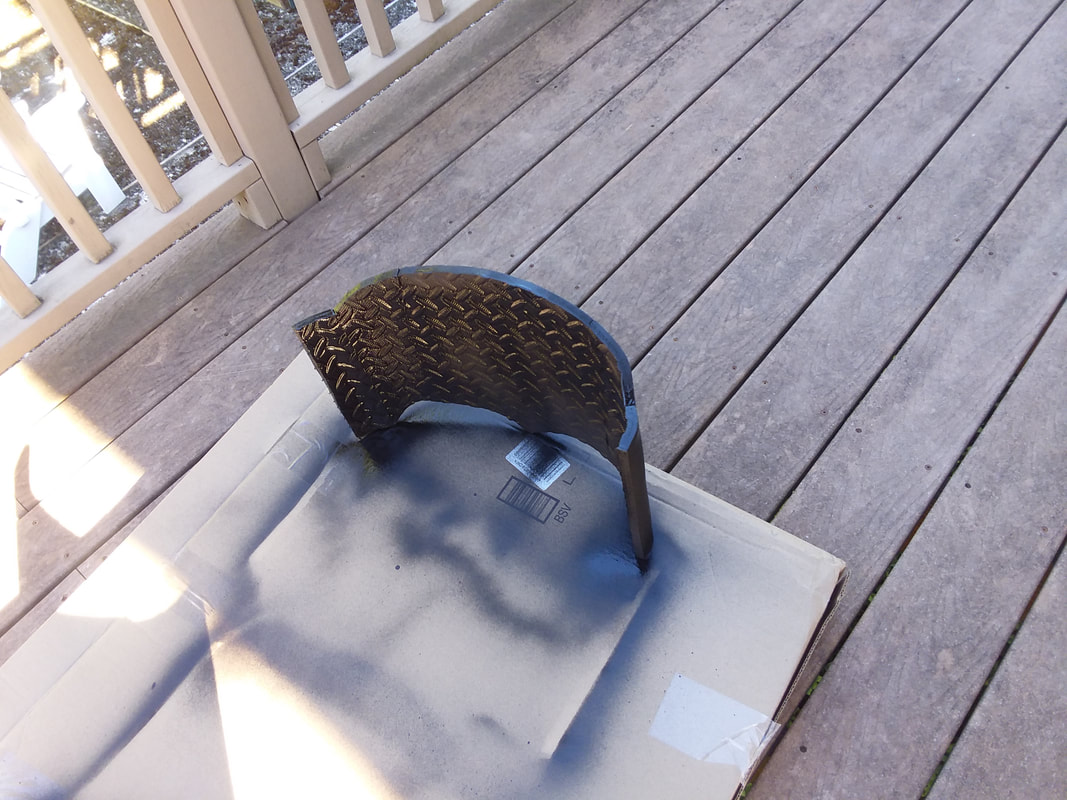
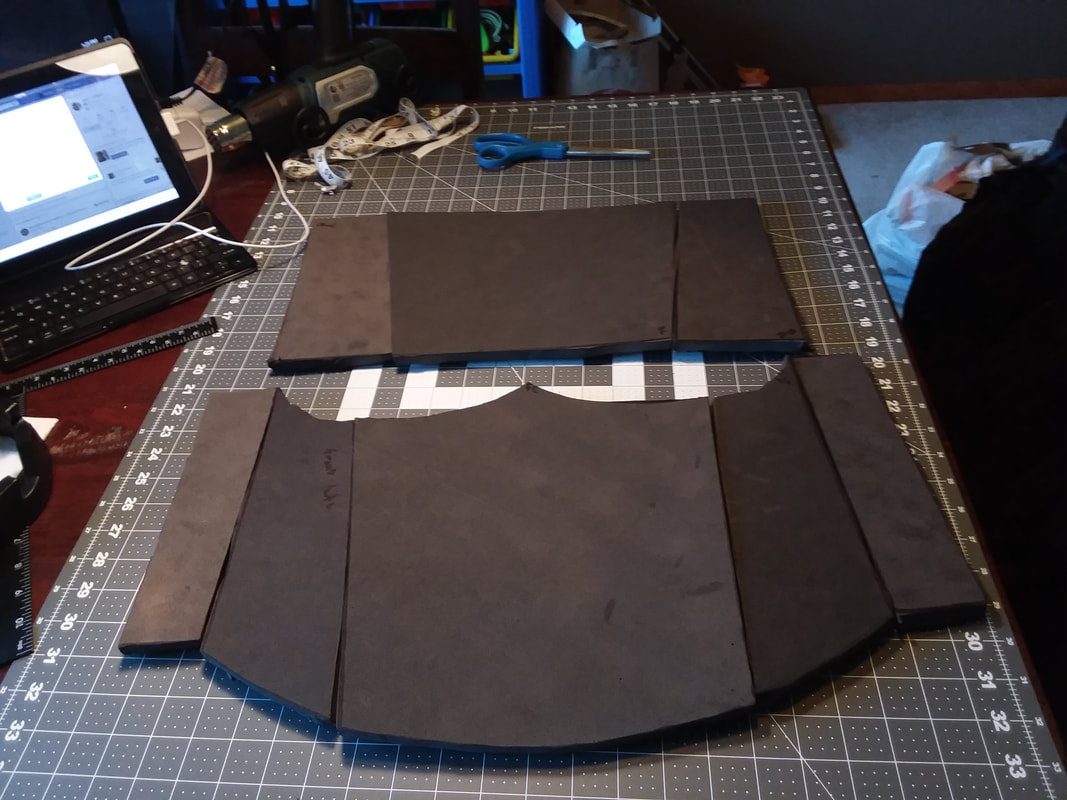
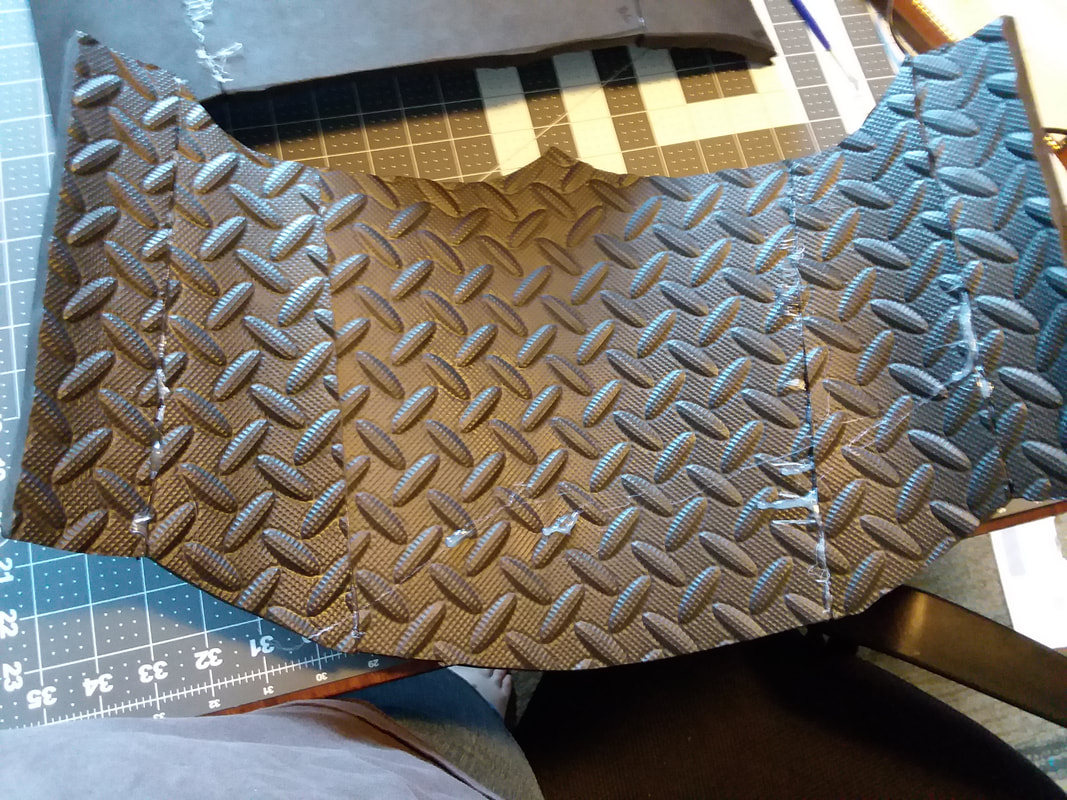
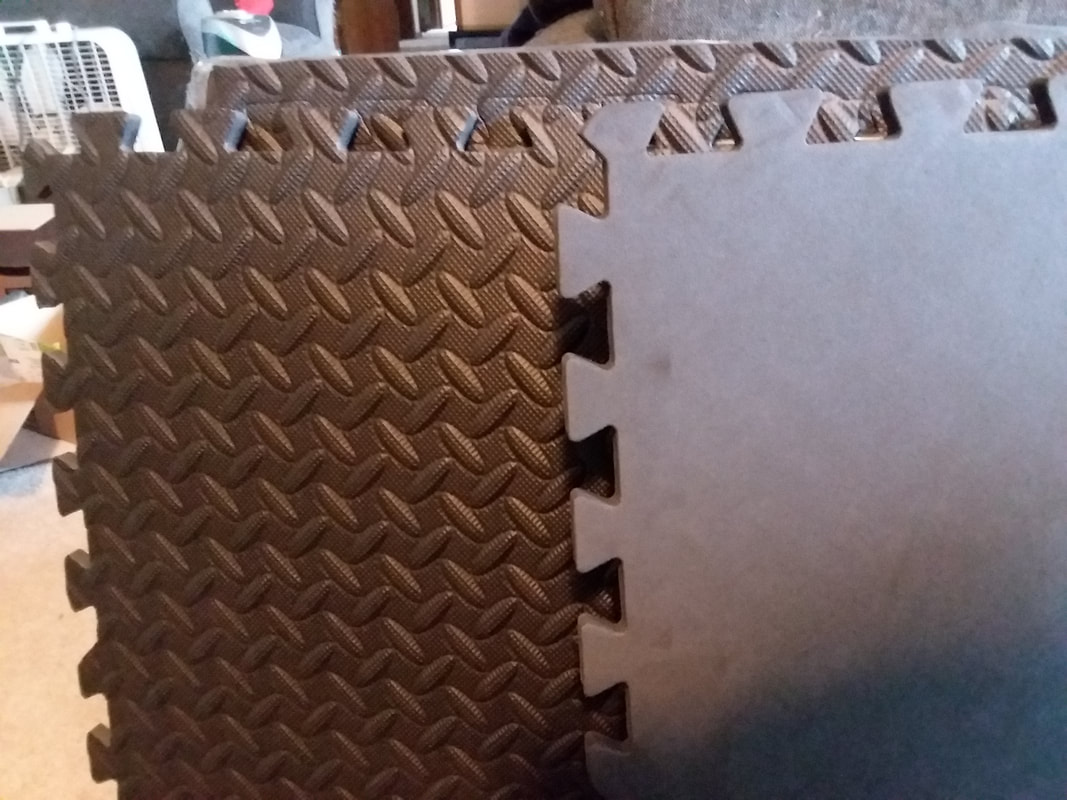
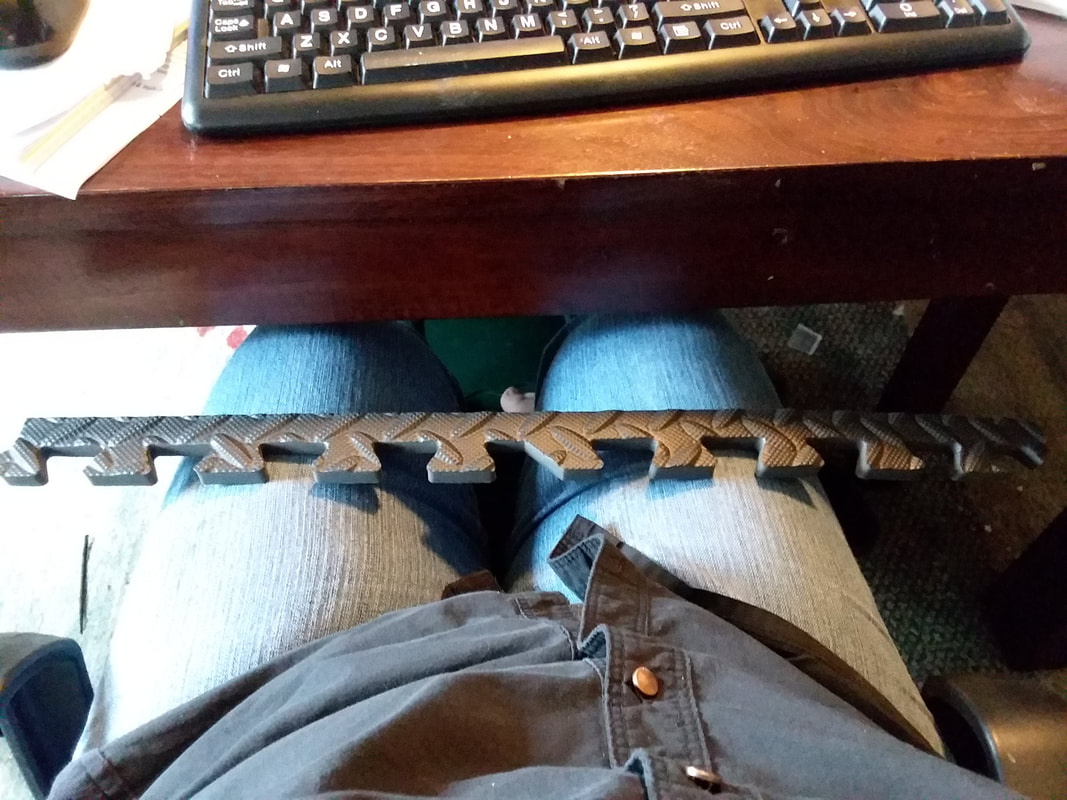
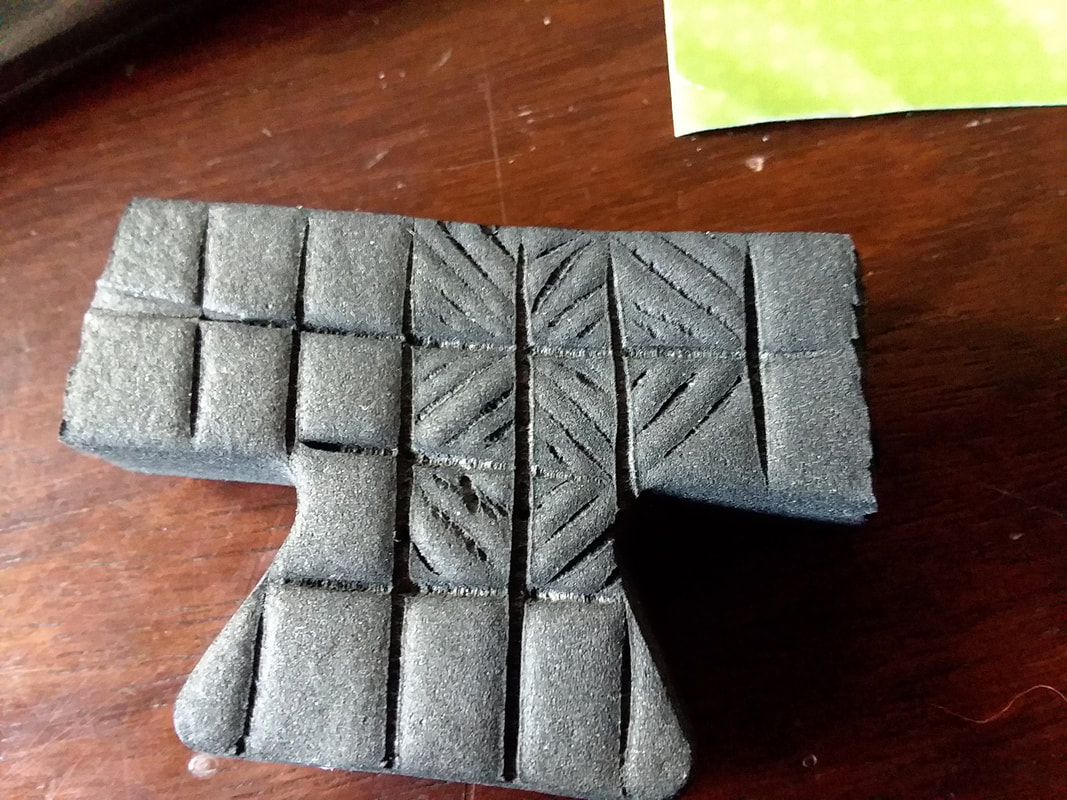
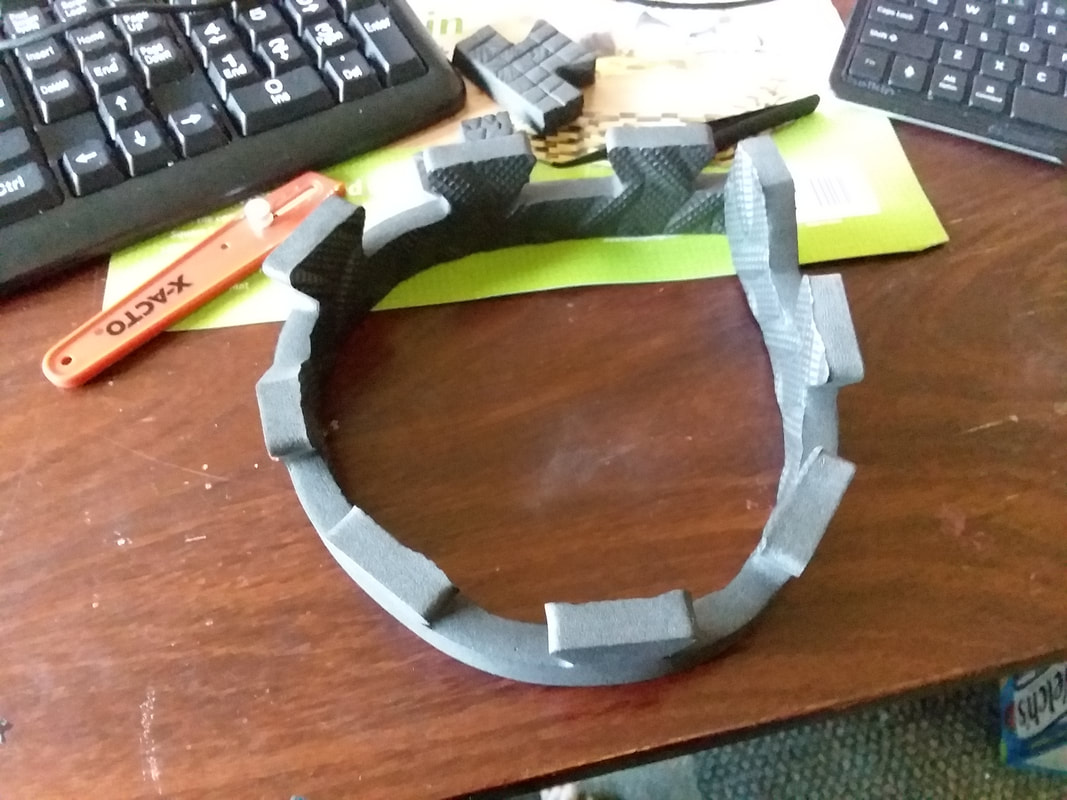
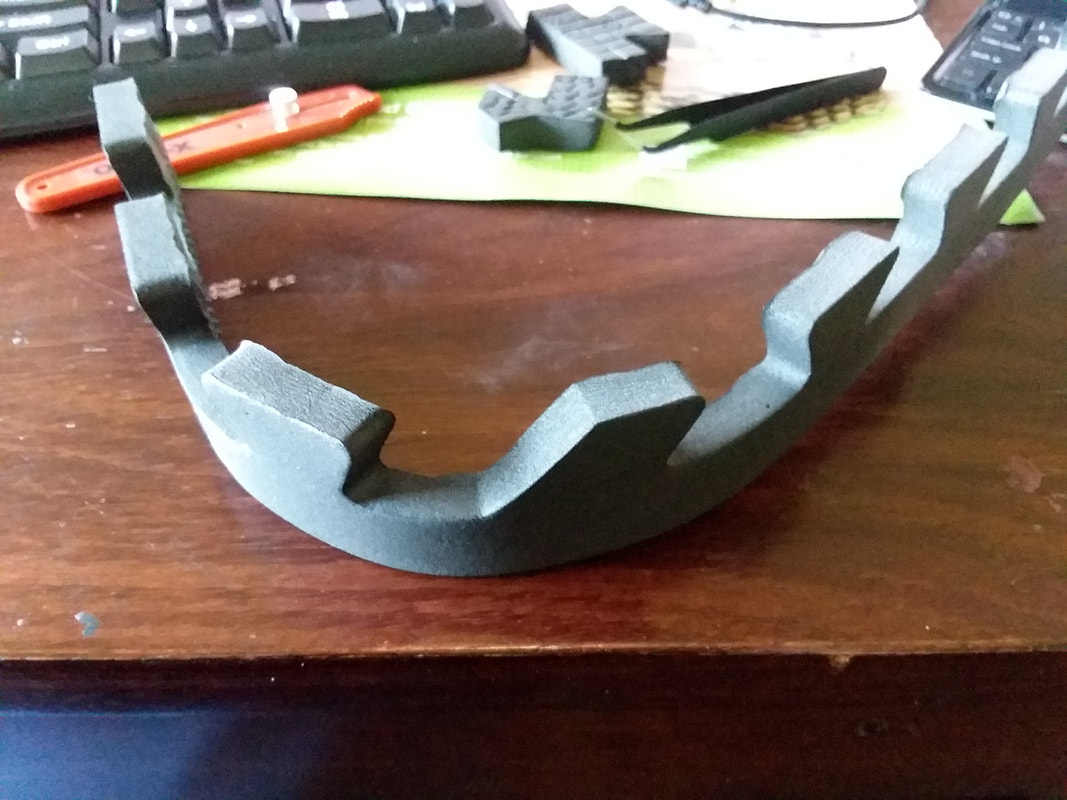
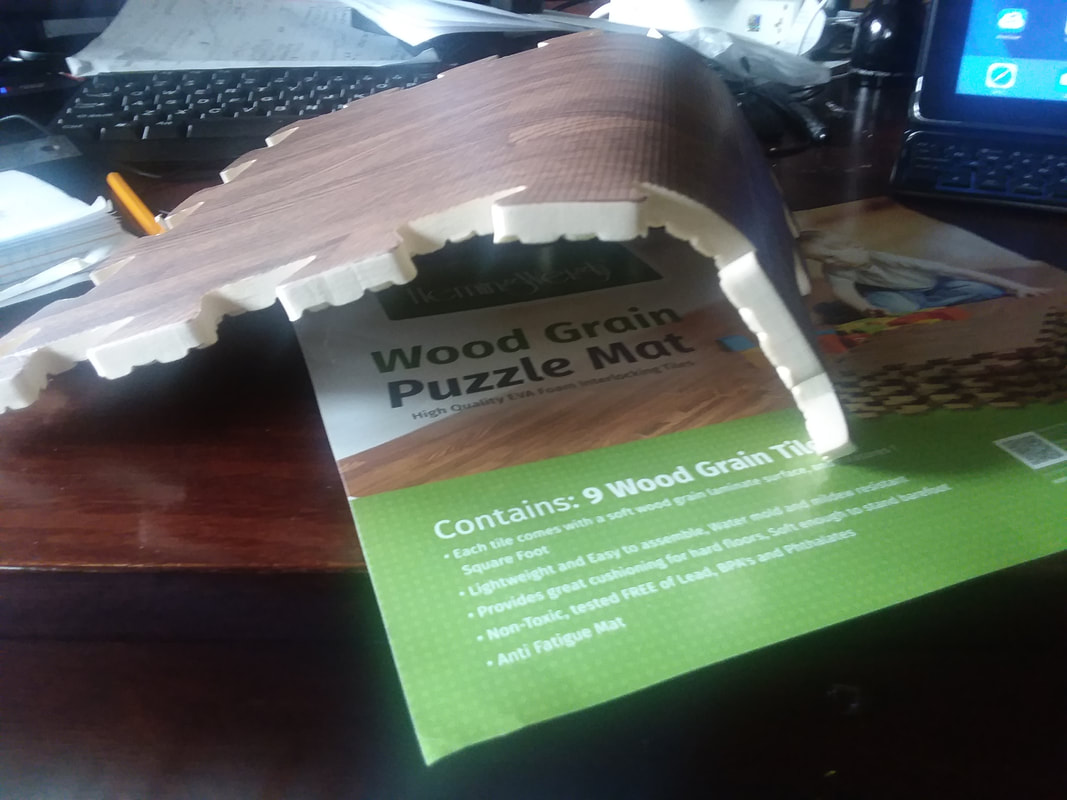
So the new utility knife arrived, so I took another stab at cutting out my pieces. This time...beautiful. It is amazing the difference it makes. The first one...jagged edges, wavies, etc. Look how smooth and even the new cuts are. I am sooo happy. It is so beautiful.
 |  |
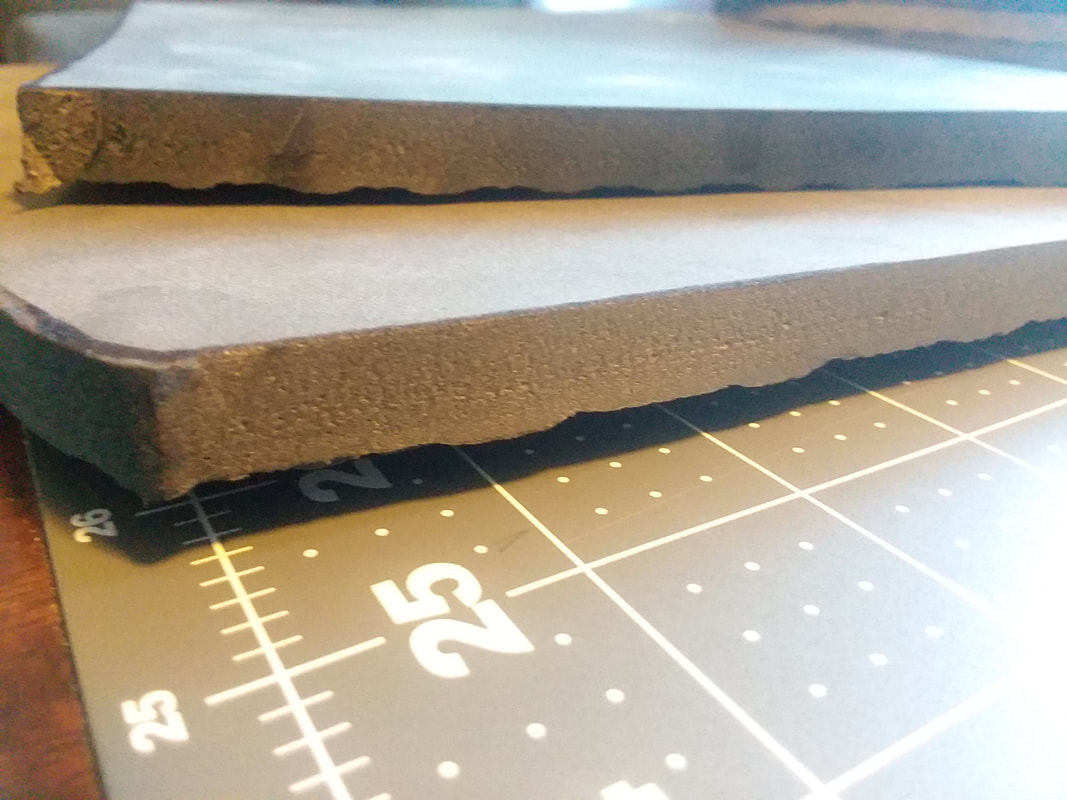 |  |
It also took way less time to get the better results. This knife has an extra locking mechanism on it, so there is no possibility of retracting while I cut. Yes, I am in love with this knife.
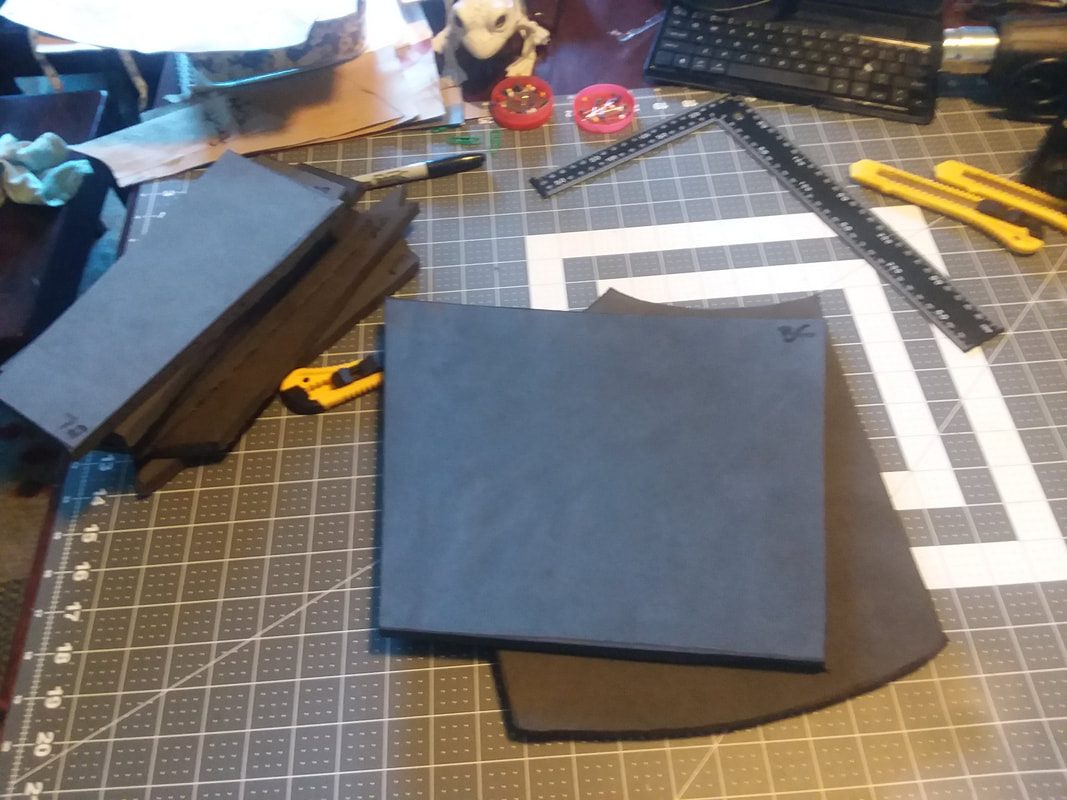
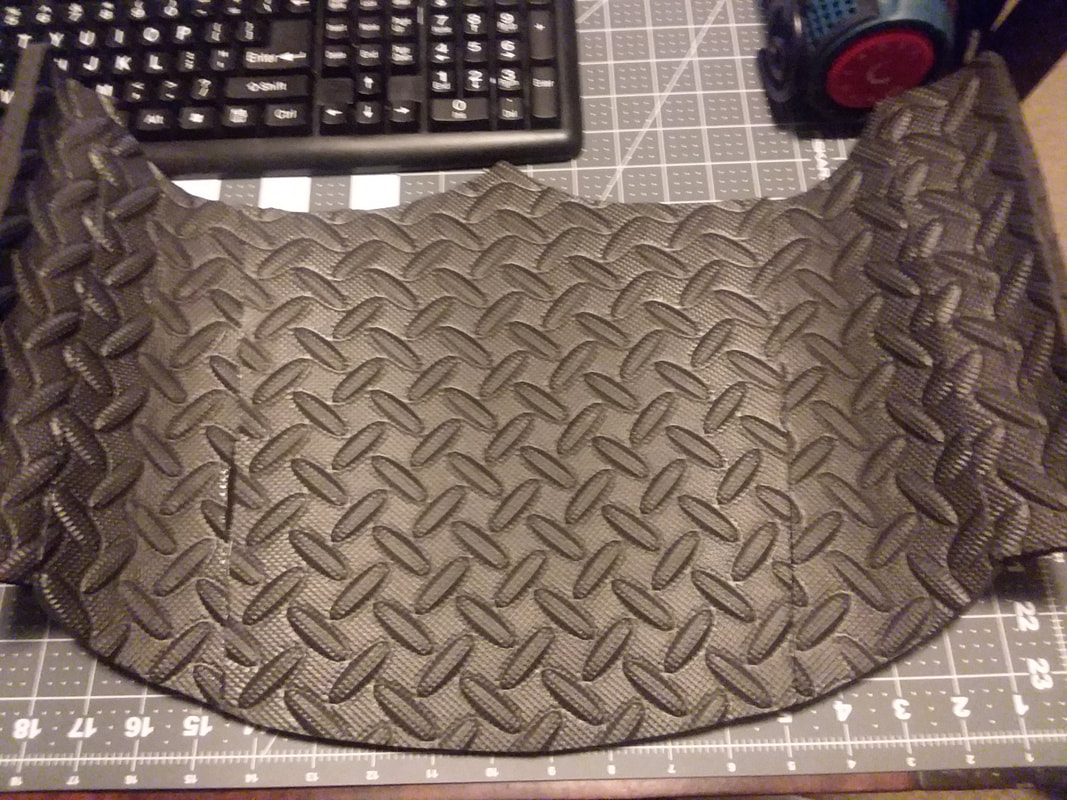
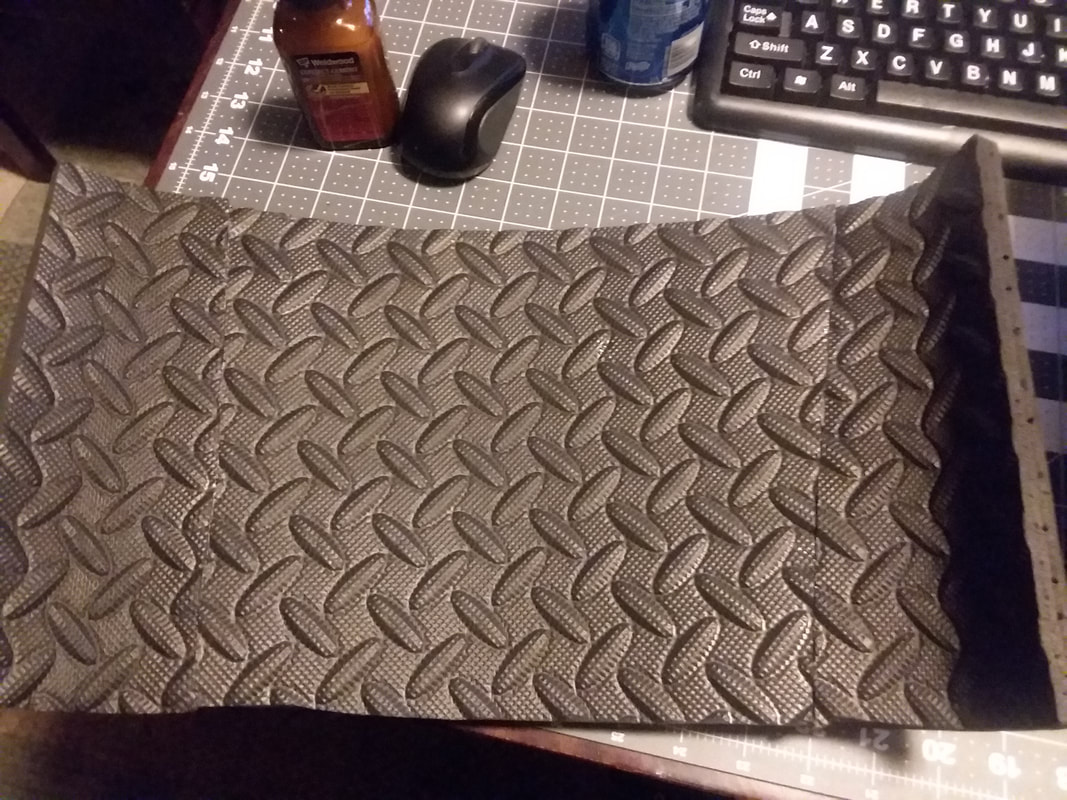
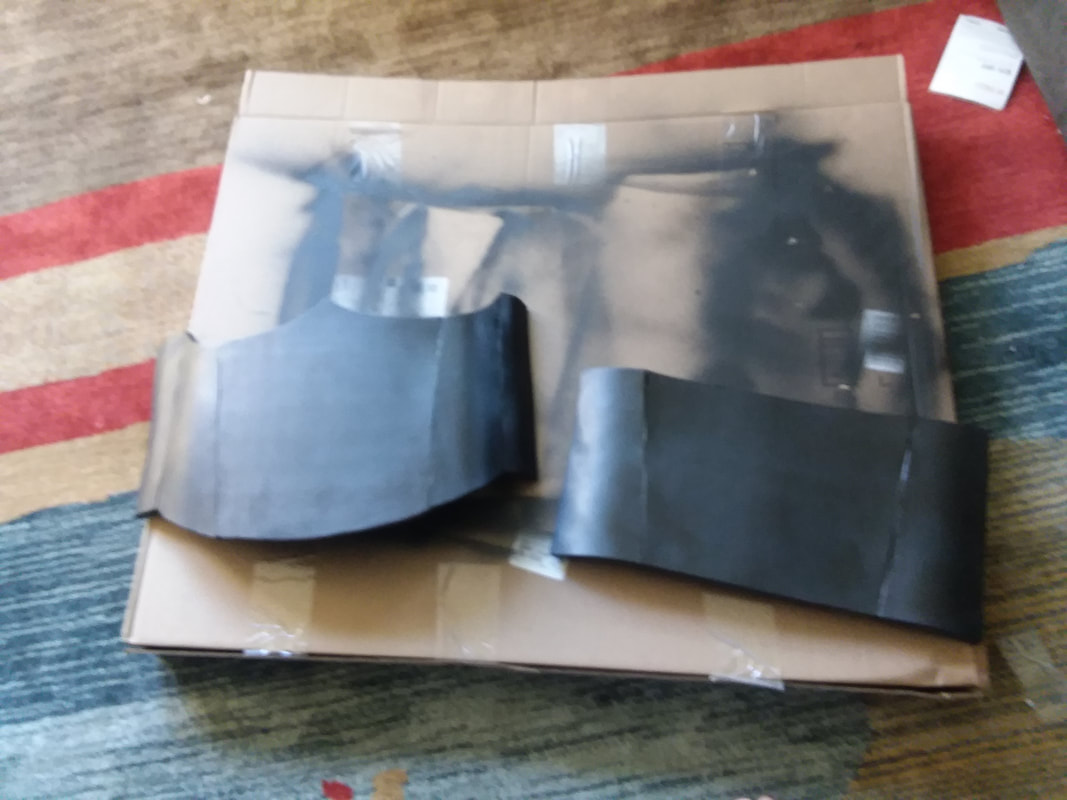
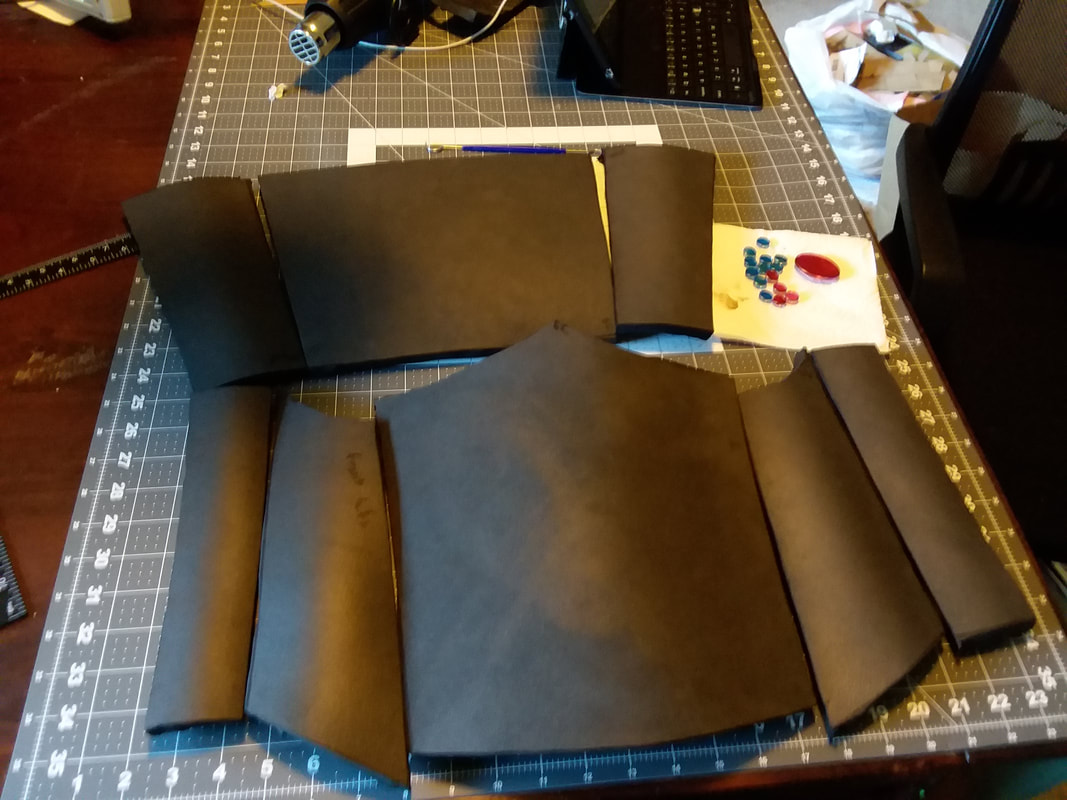
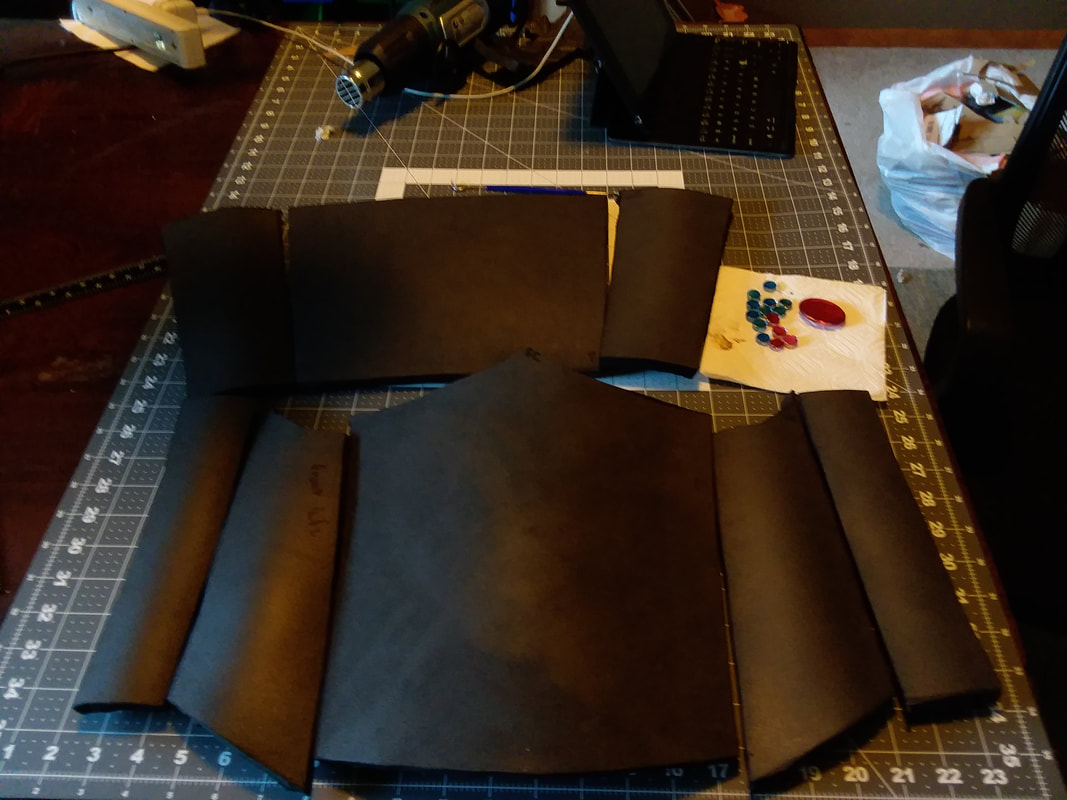
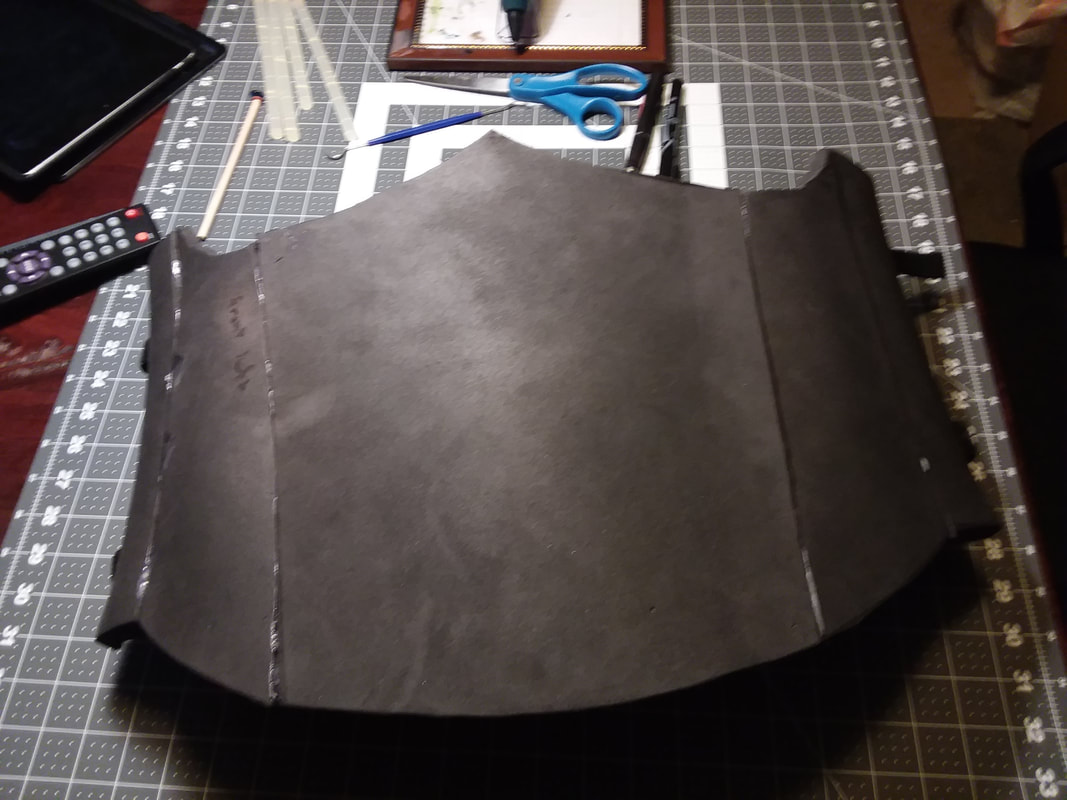
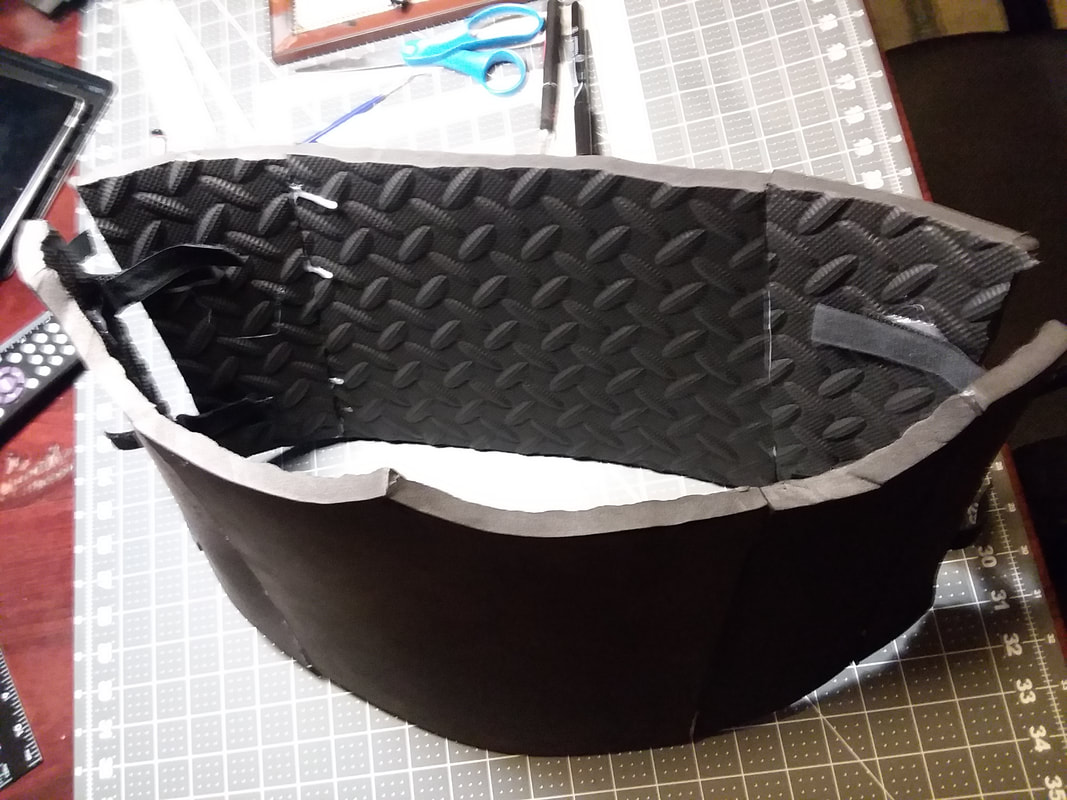
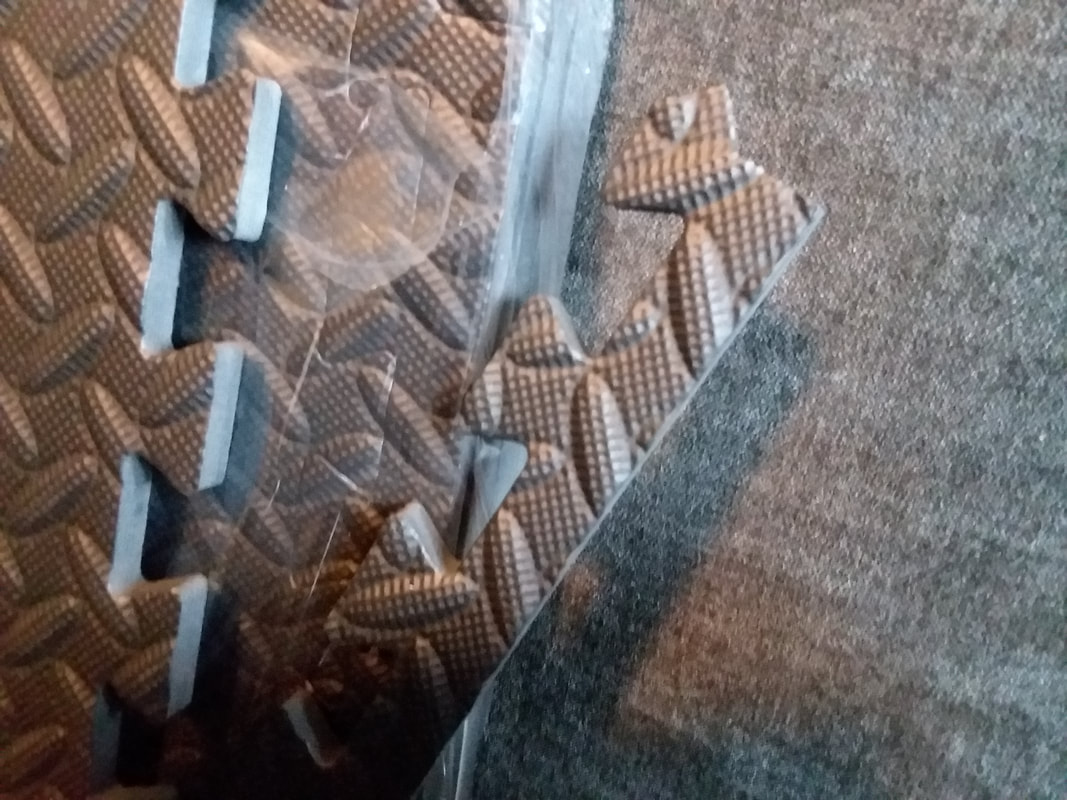
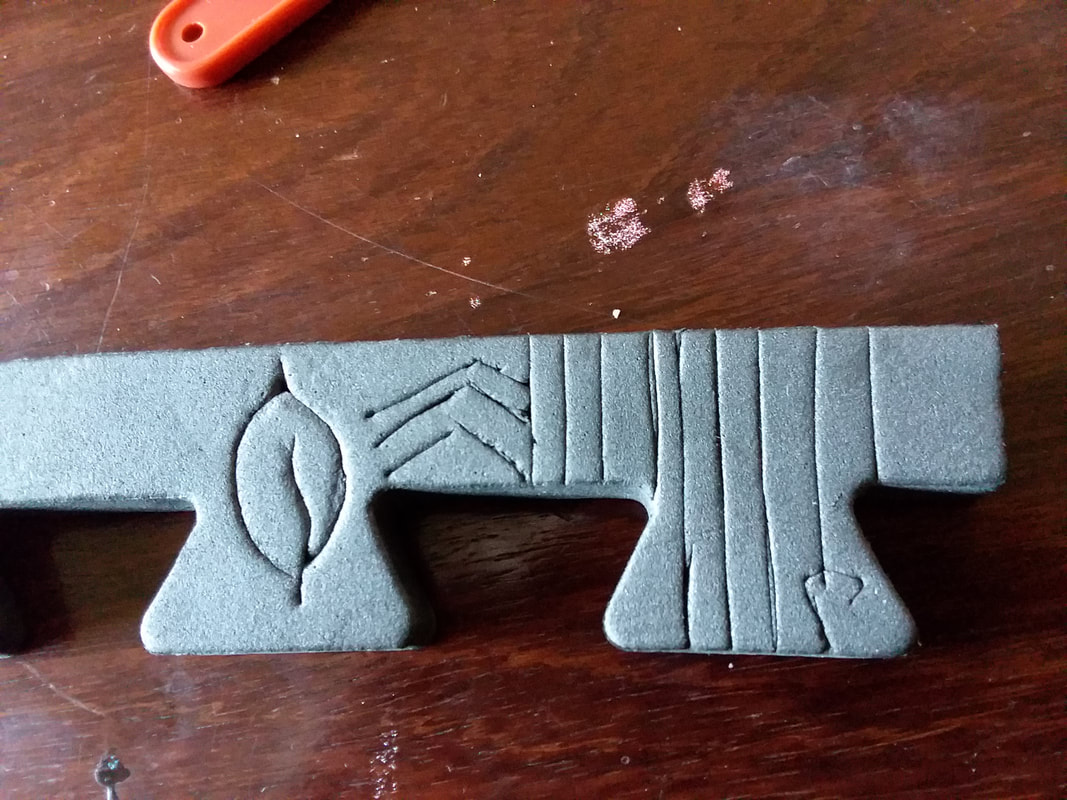
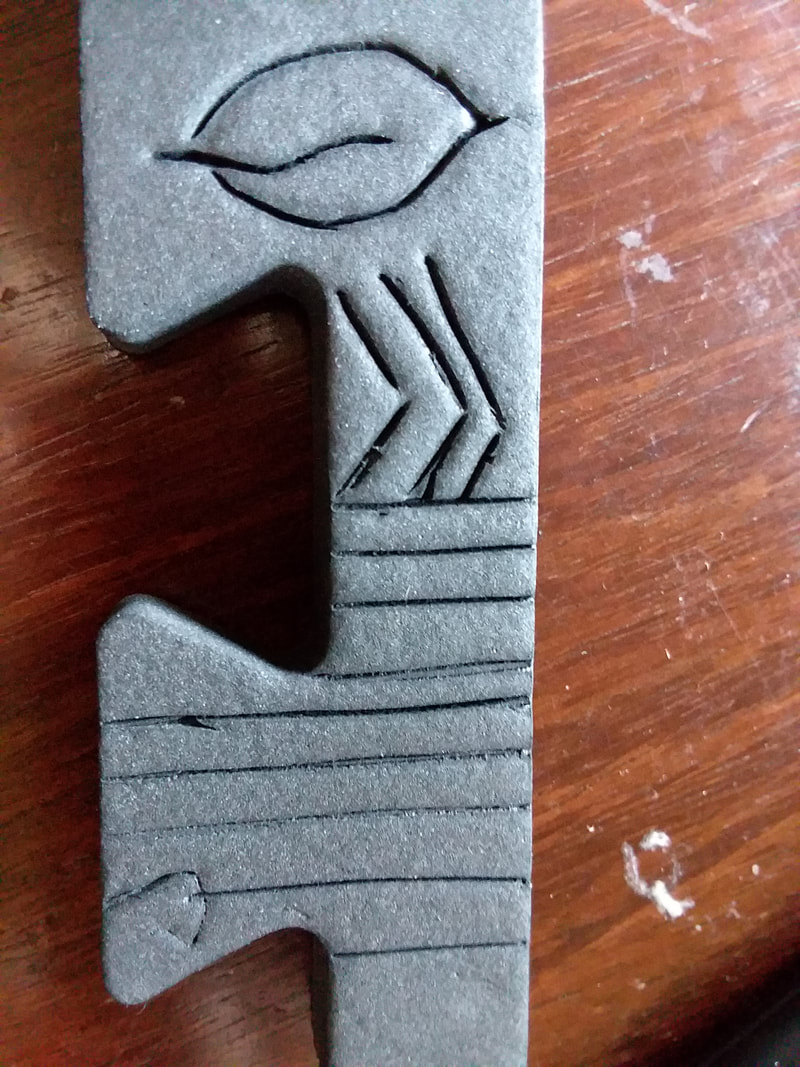
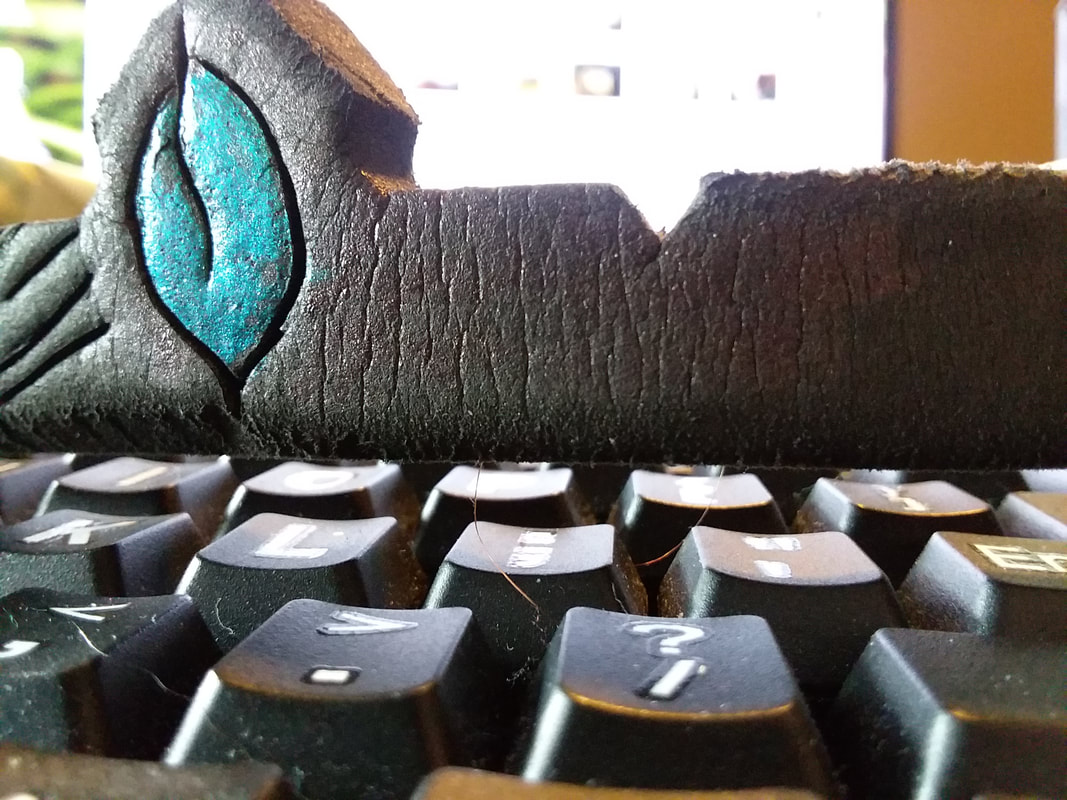
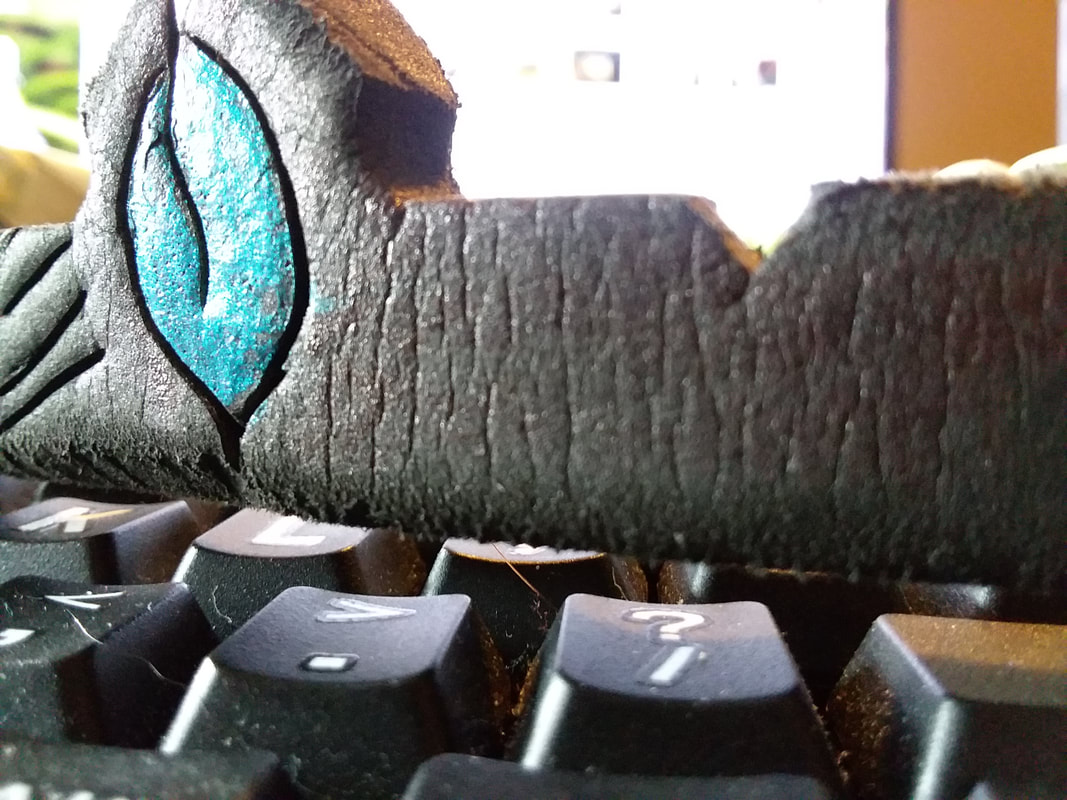
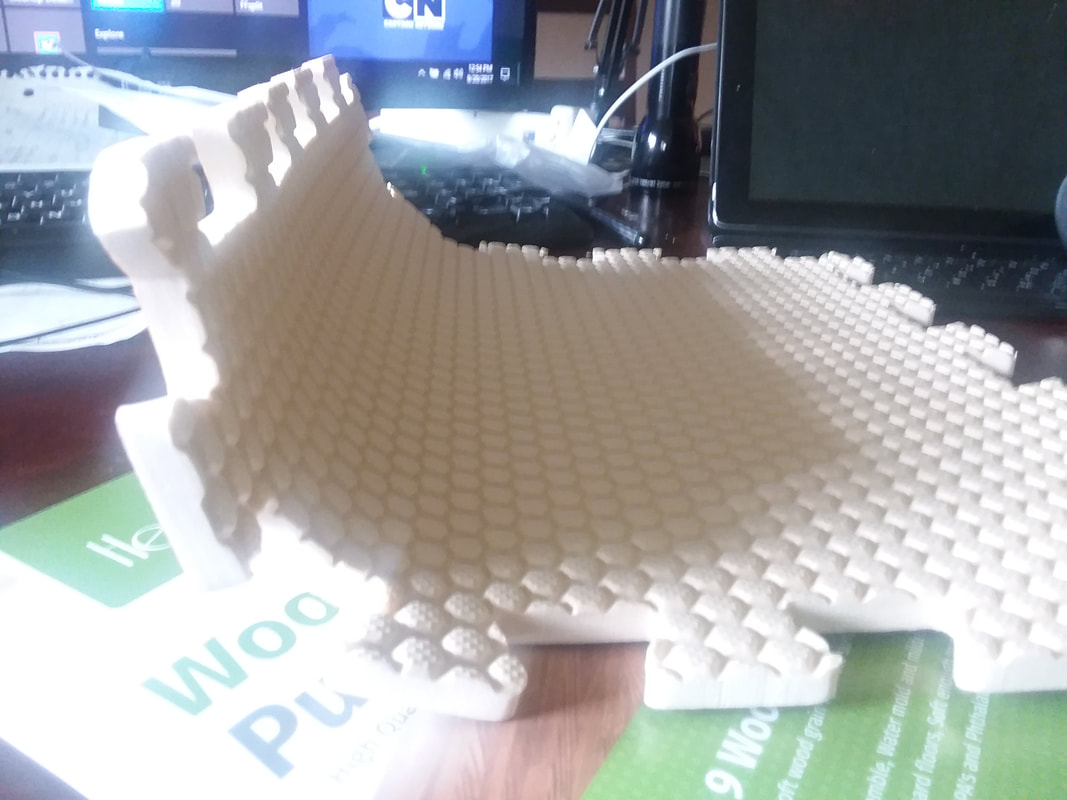
So as predicted, the second run at this turned out way better. I then put it together with DAP contact cement. There were some gaps, but it also worked way better than hot glue, and way faster. Prettier.
So as predicted, the second run at this turned out way better. I then put it together with DAP contact cement. There were some gaps, but it also worked way better than hot glue, and way faster. Prettier.
 |  |
 |  |
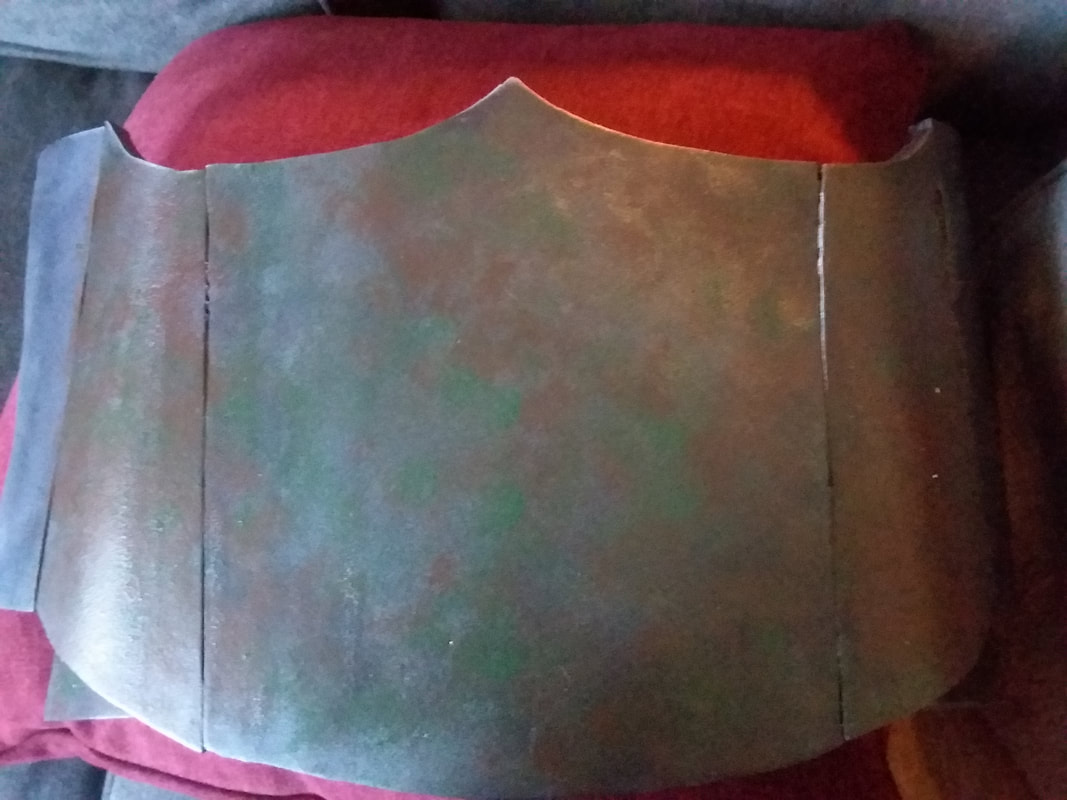
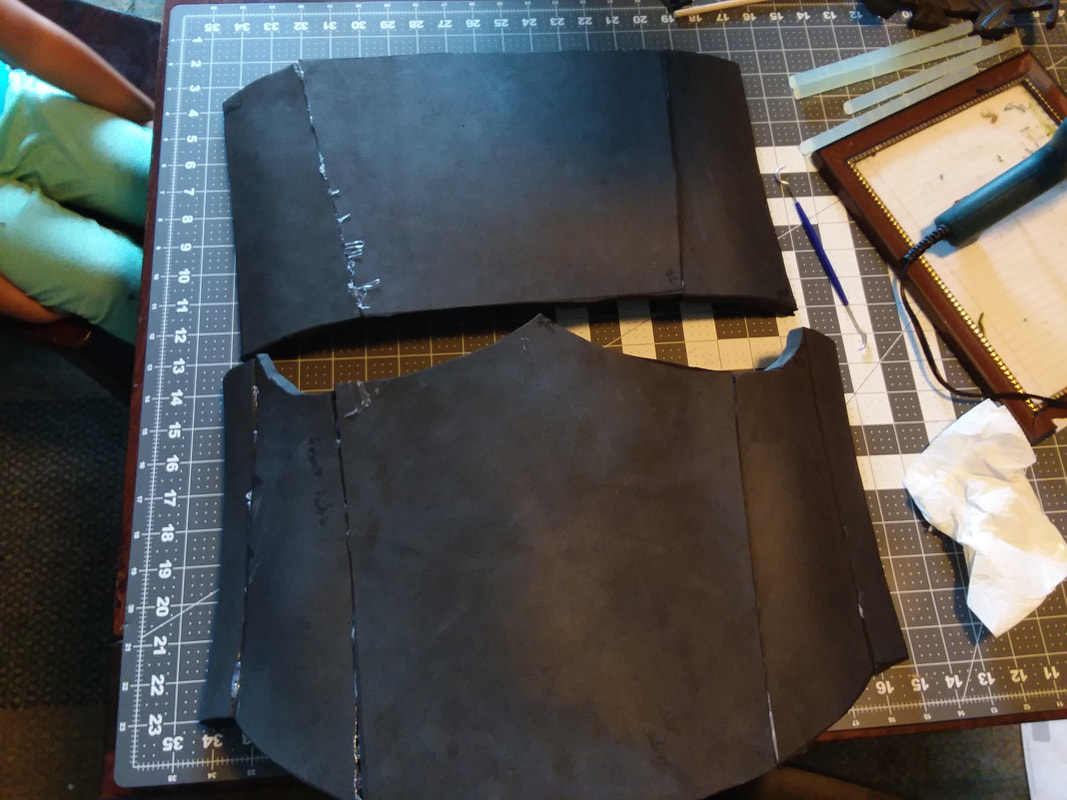
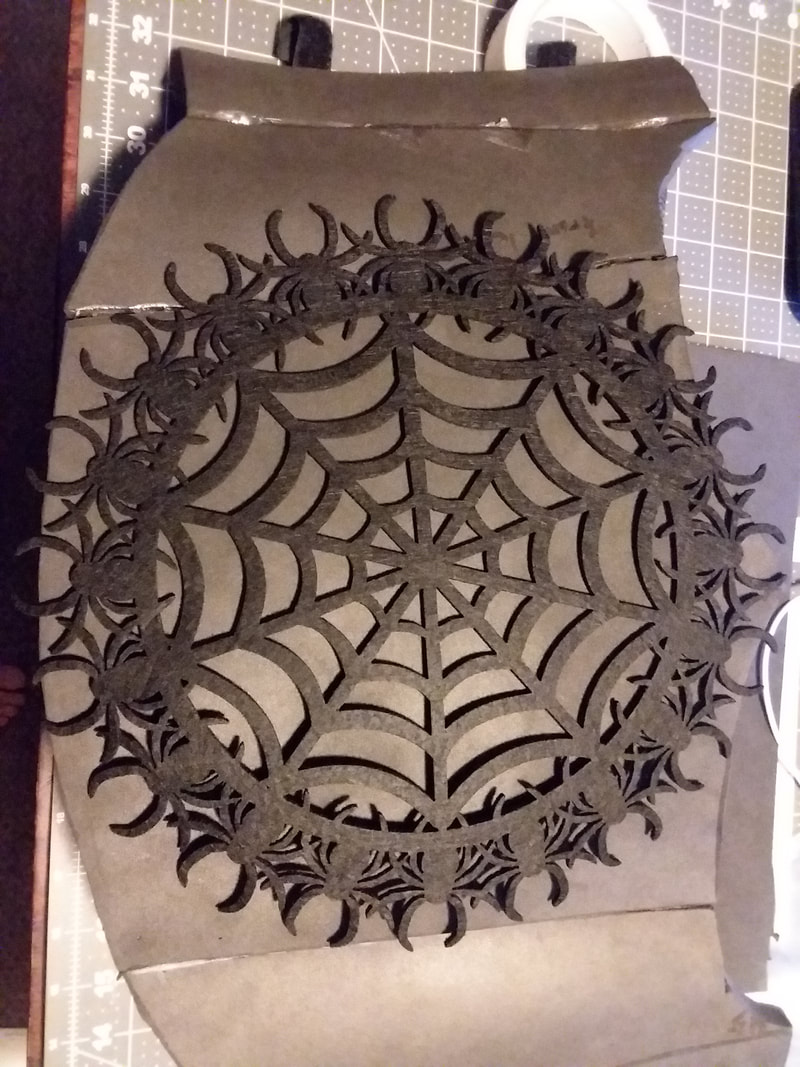
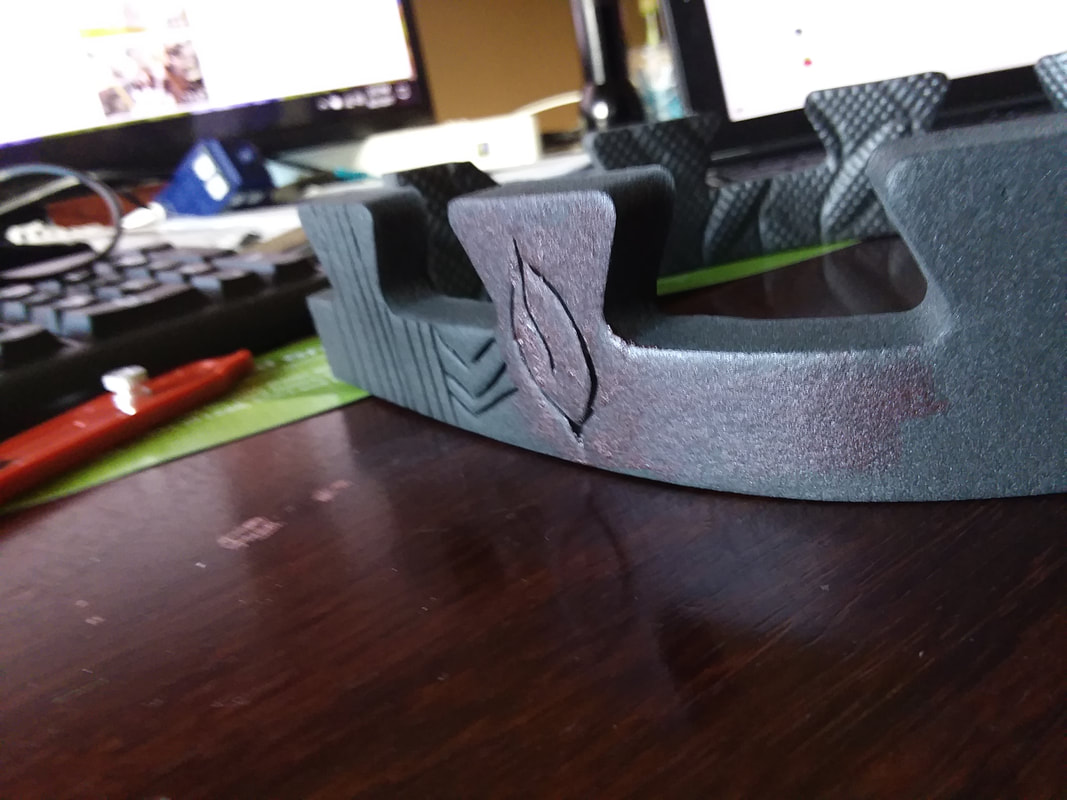
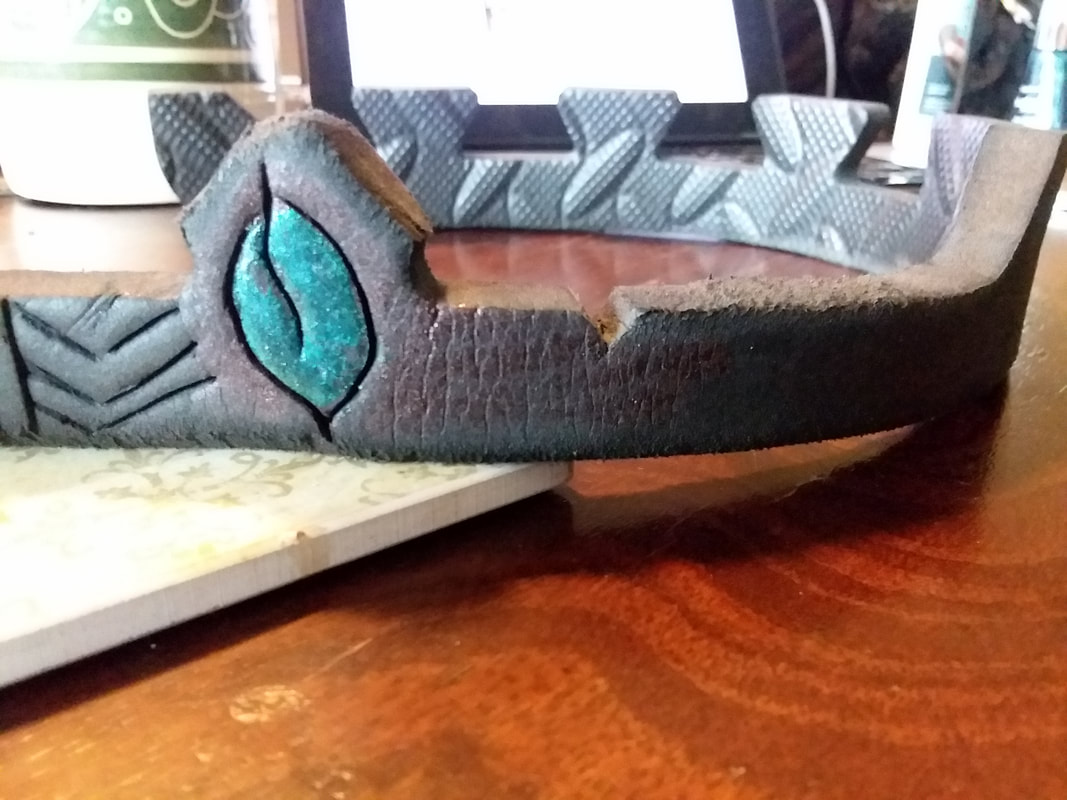
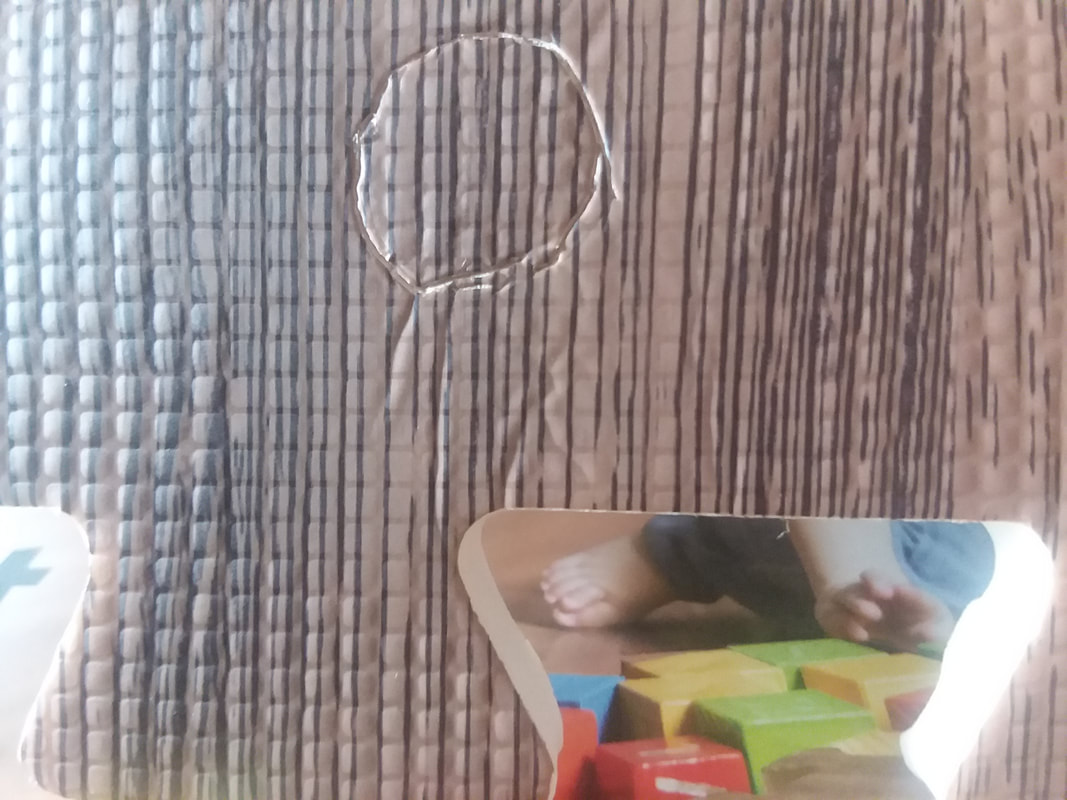
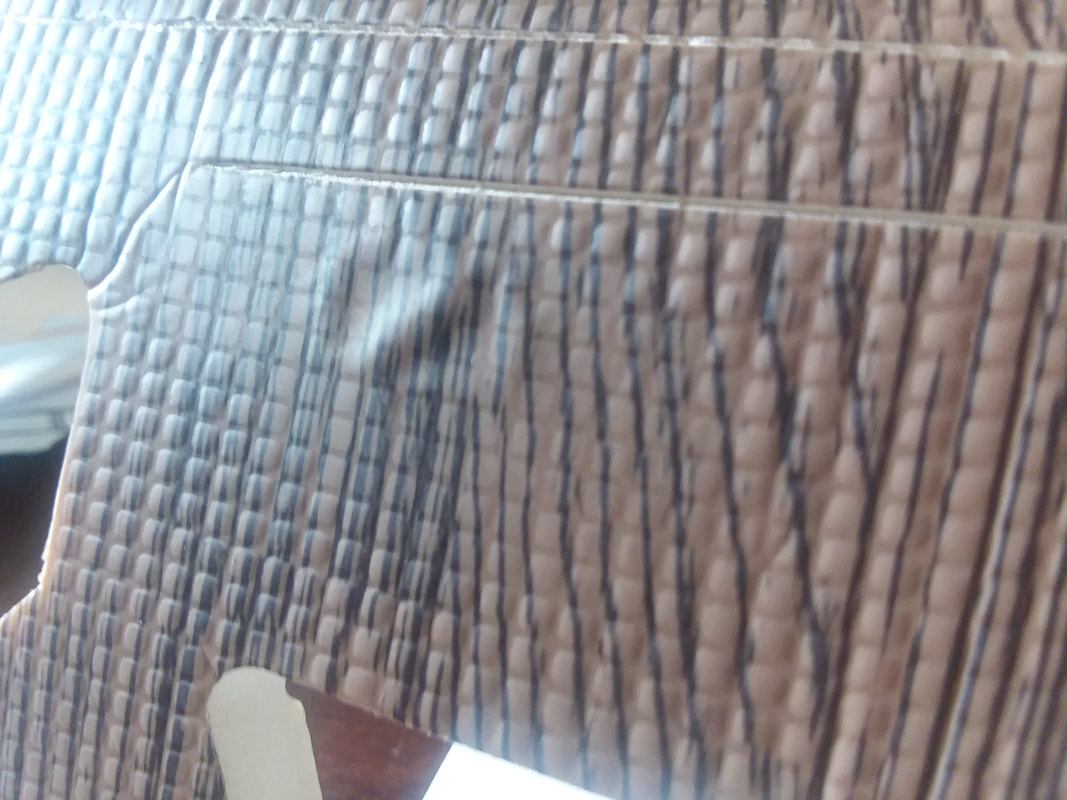
So that part being done, I let it cure overnight. Well, a couple of nights. I had homework to do so I let it go a few days. The next thing is the paint job. I wanted to paint it grreen and brown, dapping so it is remeniscent of leaves. I ended up doing it a couple of times. It is really hard to see. I am unsure how to proceed from here. First I put down 3 layers of Plasti dip, to prime it for paint.
 |  |
 |  |
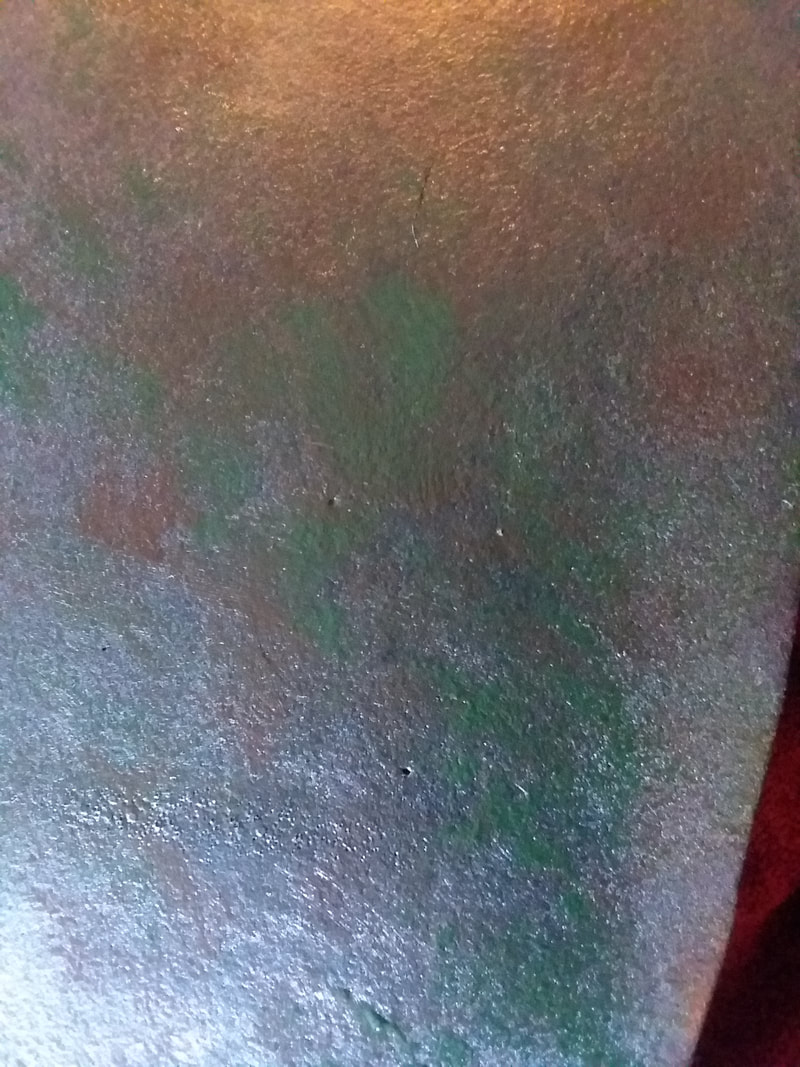 | 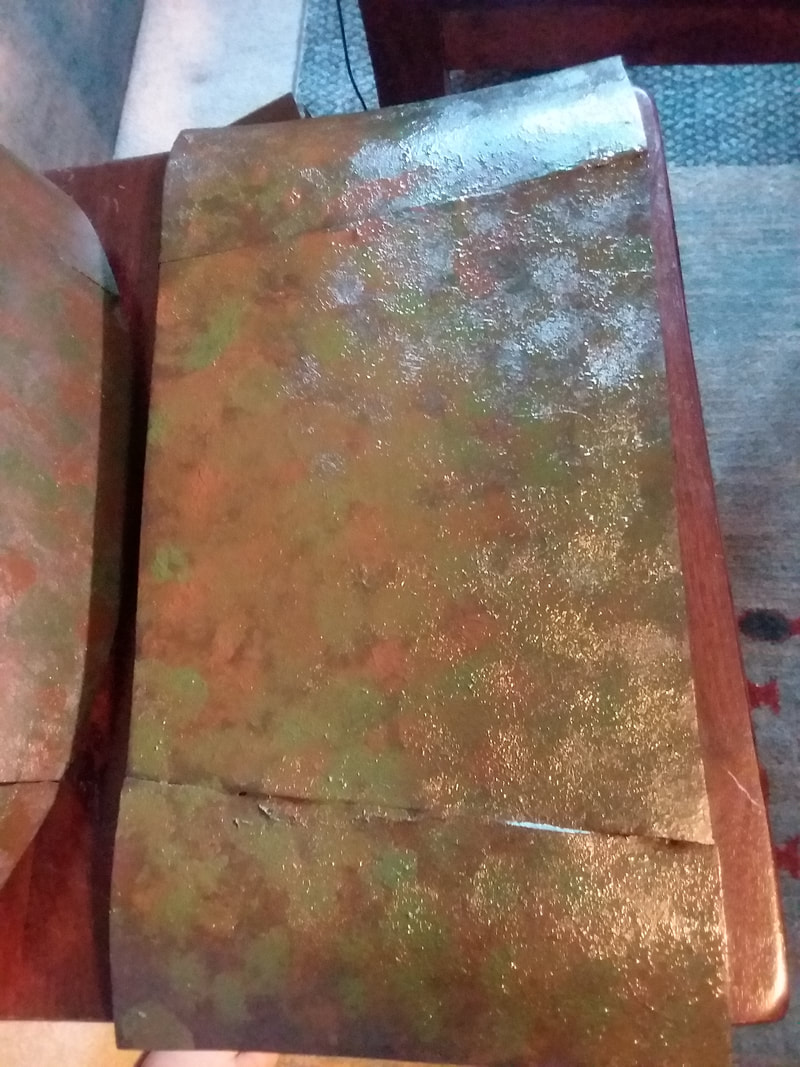 |
See? Unless it is in a certain light you can hardly tell it is there. I guess it might be fine. I don't know. Depends on how it ends up. Next is to attach the stretchy fabric to both sides, and create the boob parts. That won't happen until after the weekend, though. I have only 4 weeks left to finish a couple of classes, so this weekend is buckle down time. That'll give it time to cure completely, and for me to decide how I am going to finish execution.


 RSS Feed