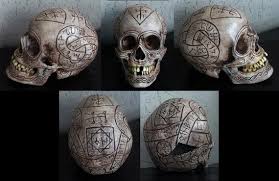
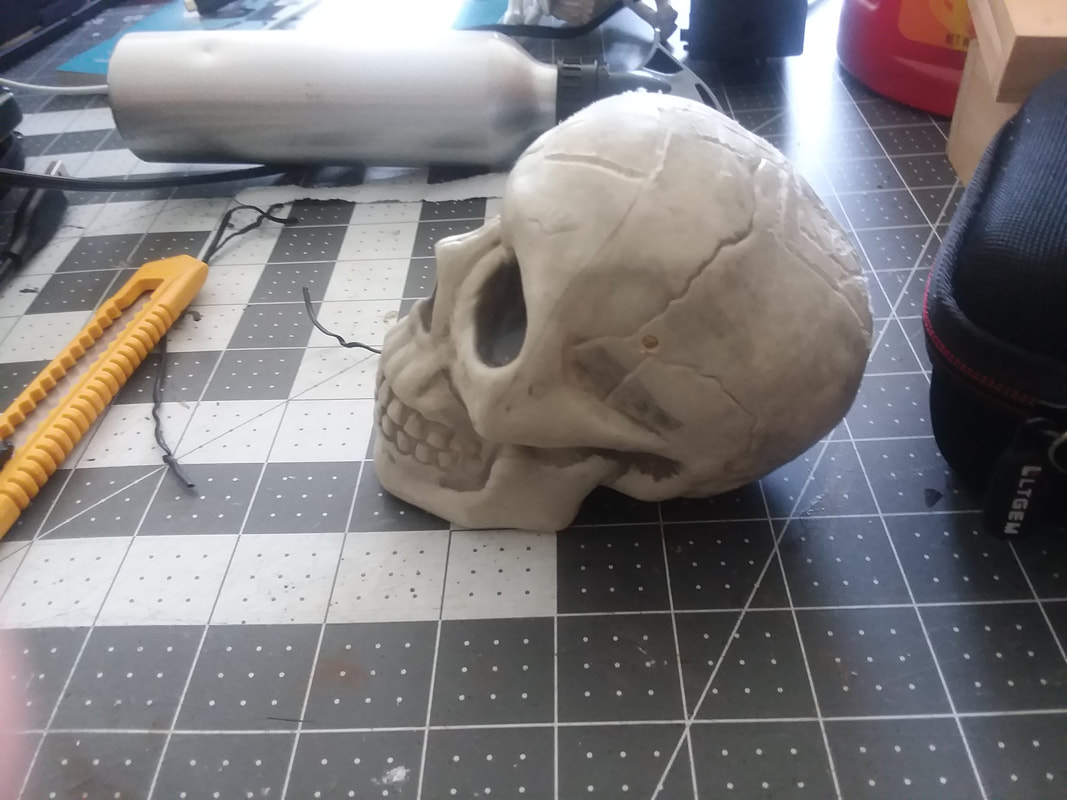
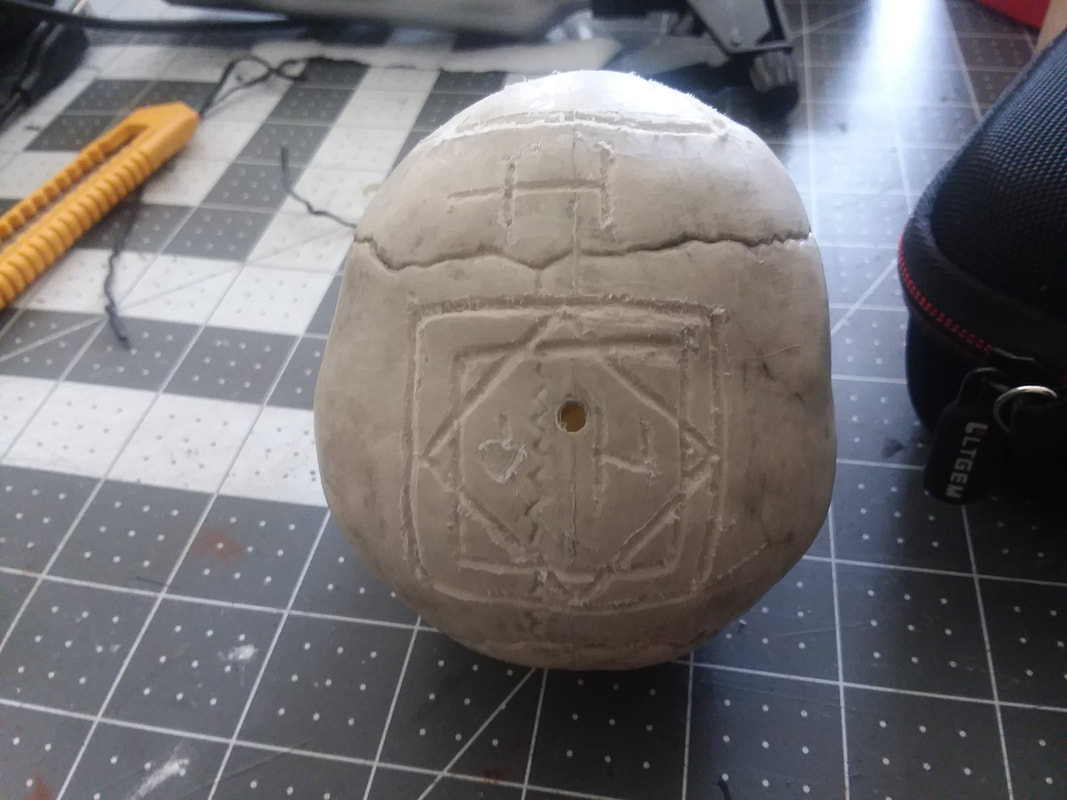
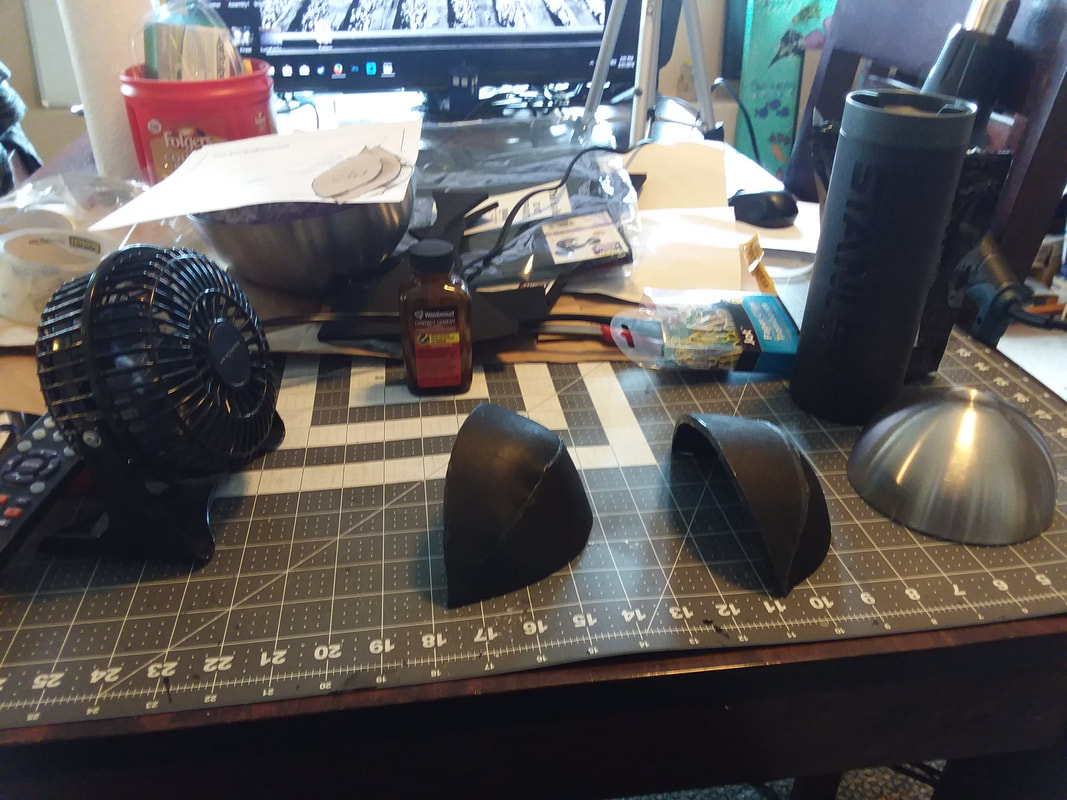
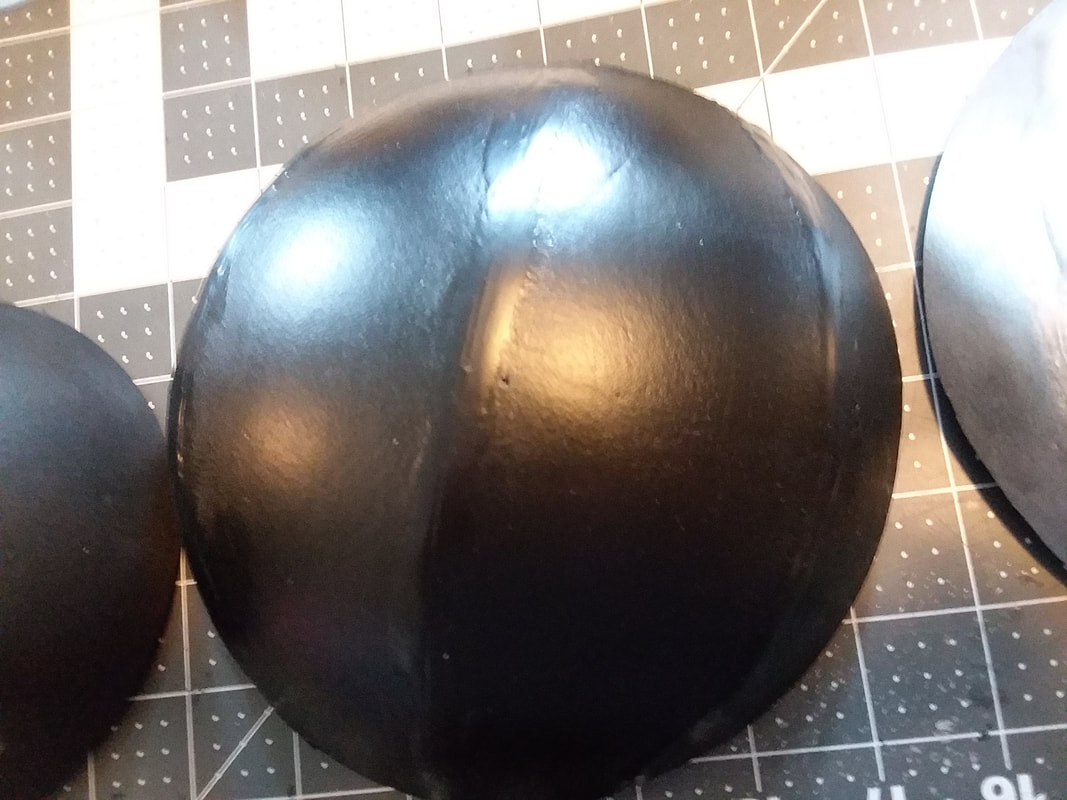
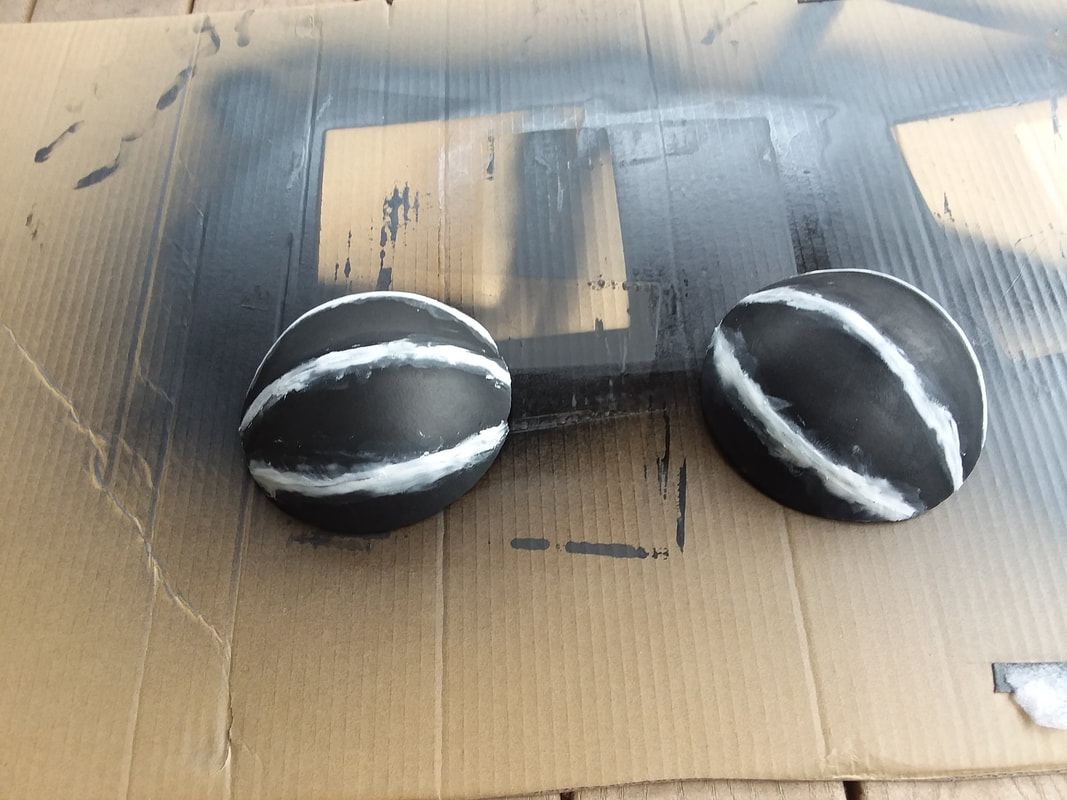
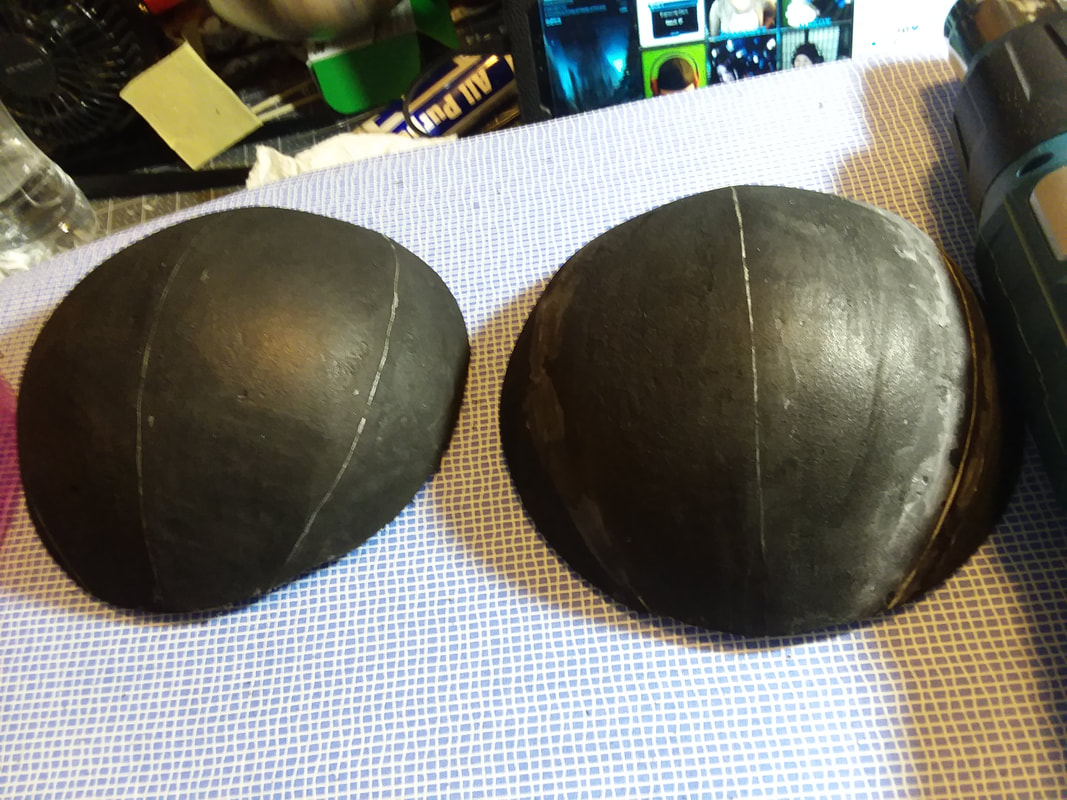
So this week I have been working on homework and getting my life back in order. I haven't done much creative-wise. This last week, however, I started a new project. I have decided that Bob's Skull needs to go from the book version to the TV version. That means etching runes on it.
So I looked around and found some pics of the skull prop.
So I looked around and found some pics of the skull prop.
 |  |
And I found some pics of a Bob that someone else made.
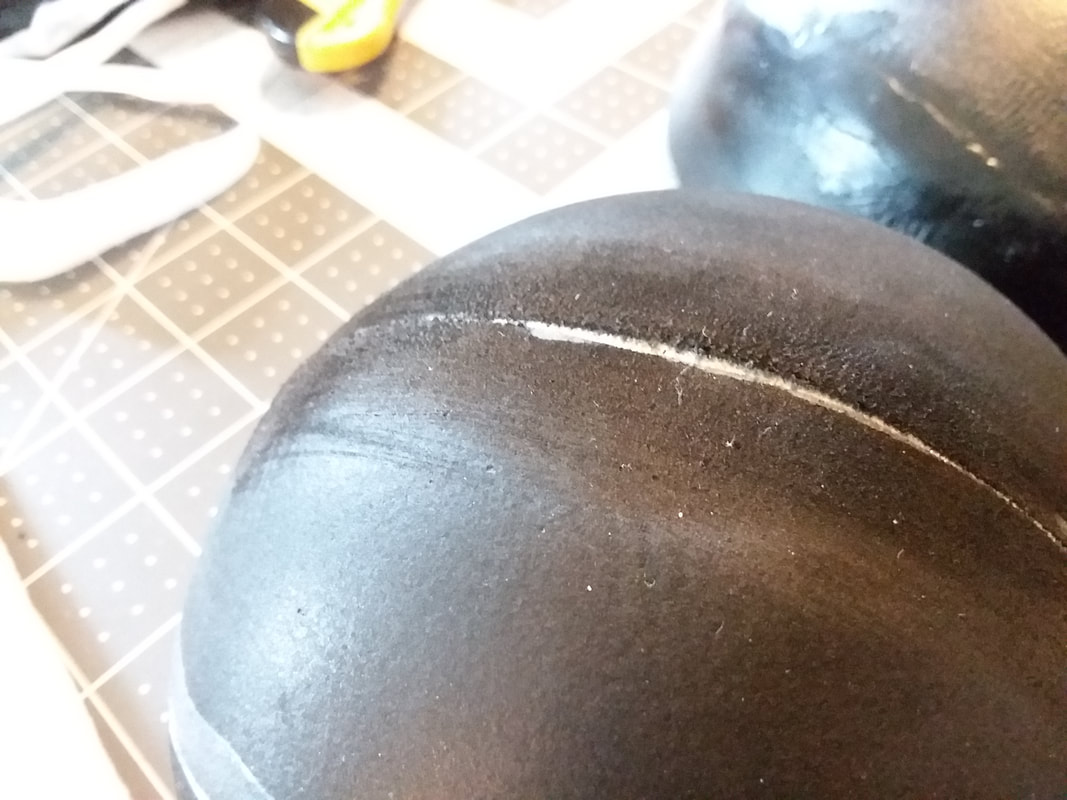
At first I was going to draw all the markings on it then carve them out with an Exacto knife. I found that as I worked I was wiping out the marks I made. Also, the knife was hard to control. I thought about using my soldering tool, but the plastic fumes would be toxic and I don't have a well ventilated area in which to work.
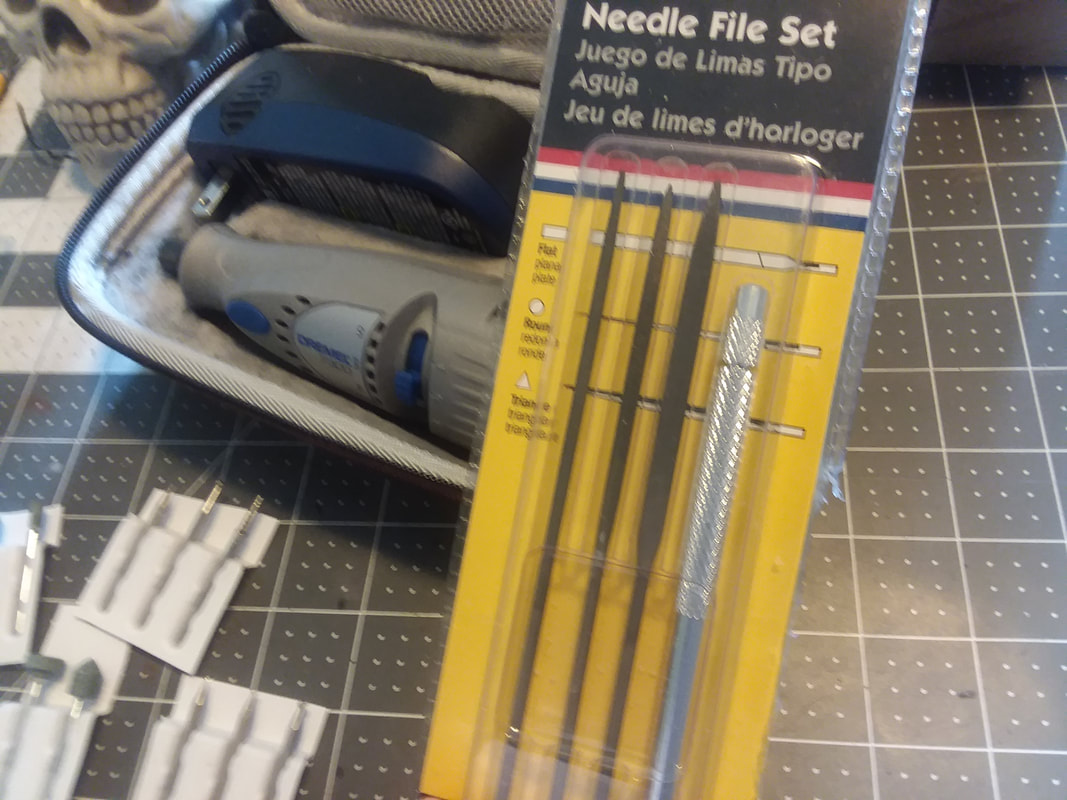
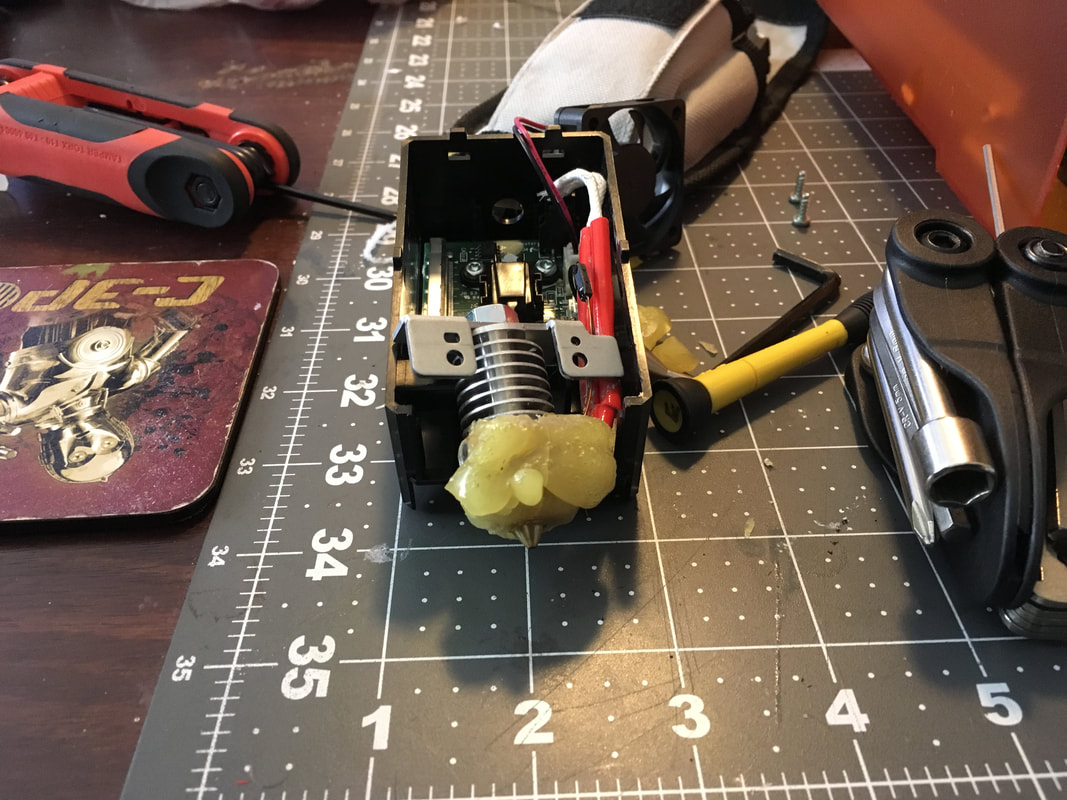
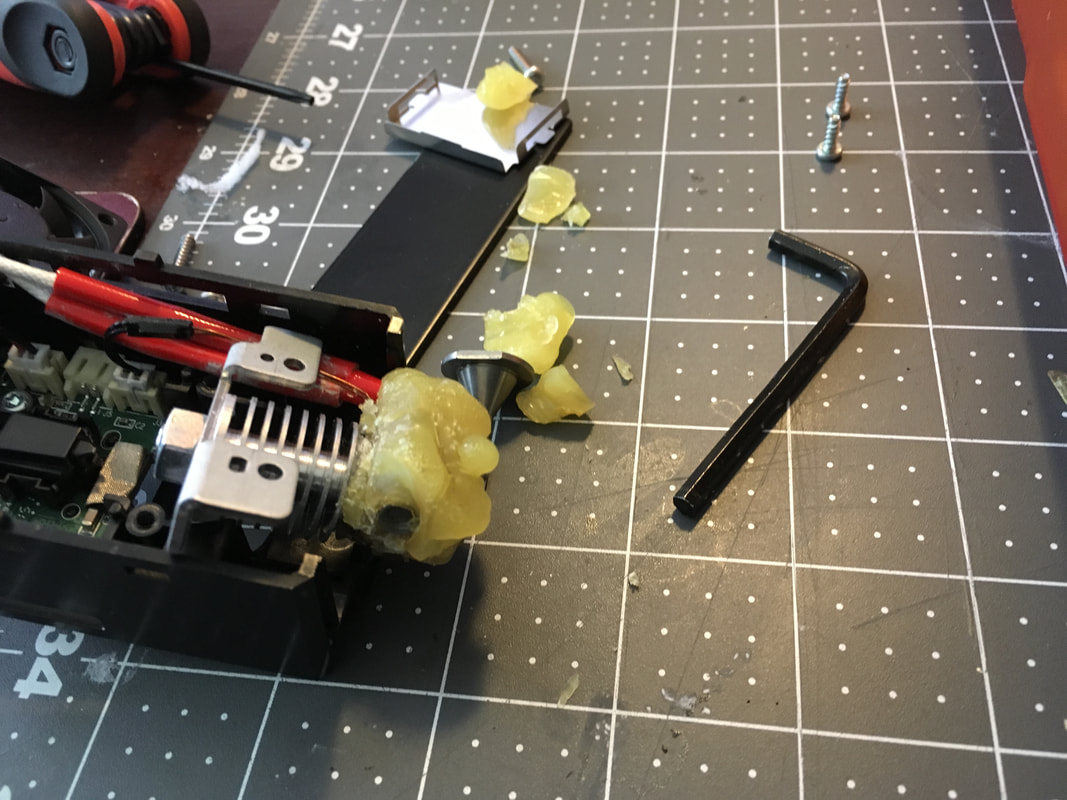
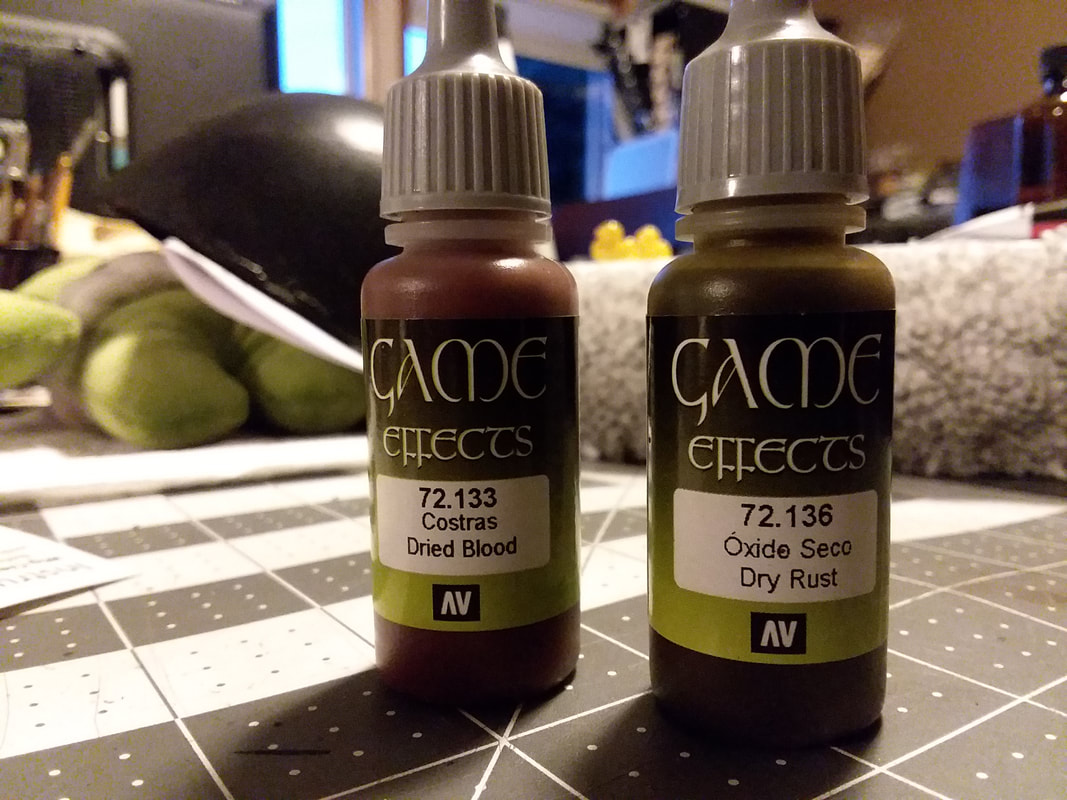
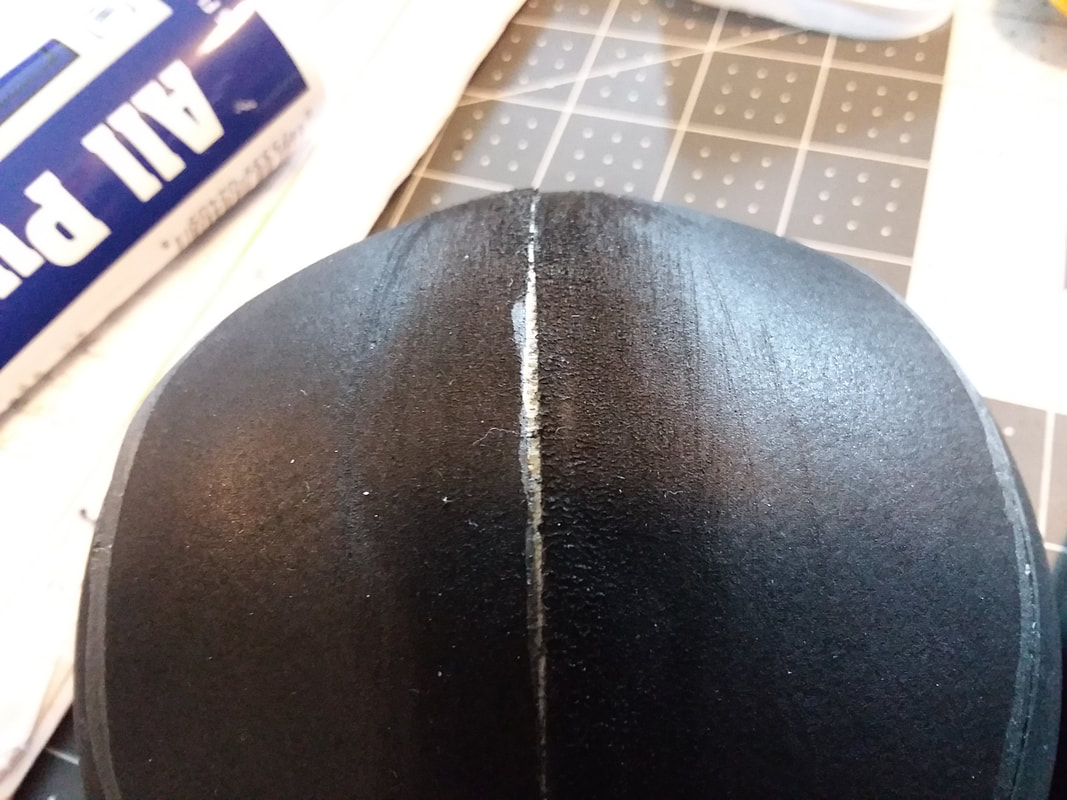
So I took look along the intertubewebs, and found some cheap Dremel bits that are for carving and cutting. I decided to try that.
So I took look along the intertubewebs, and found some cheap Dremel bits that are for carving and cutting. I decided to try that.
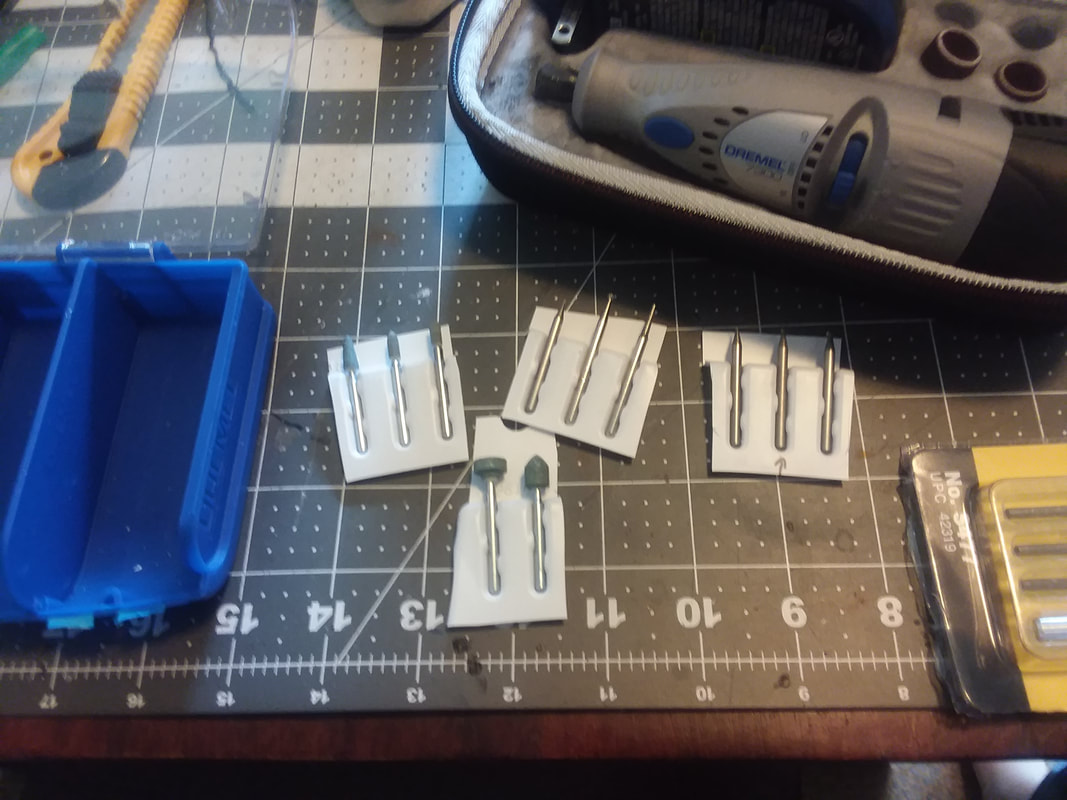 | 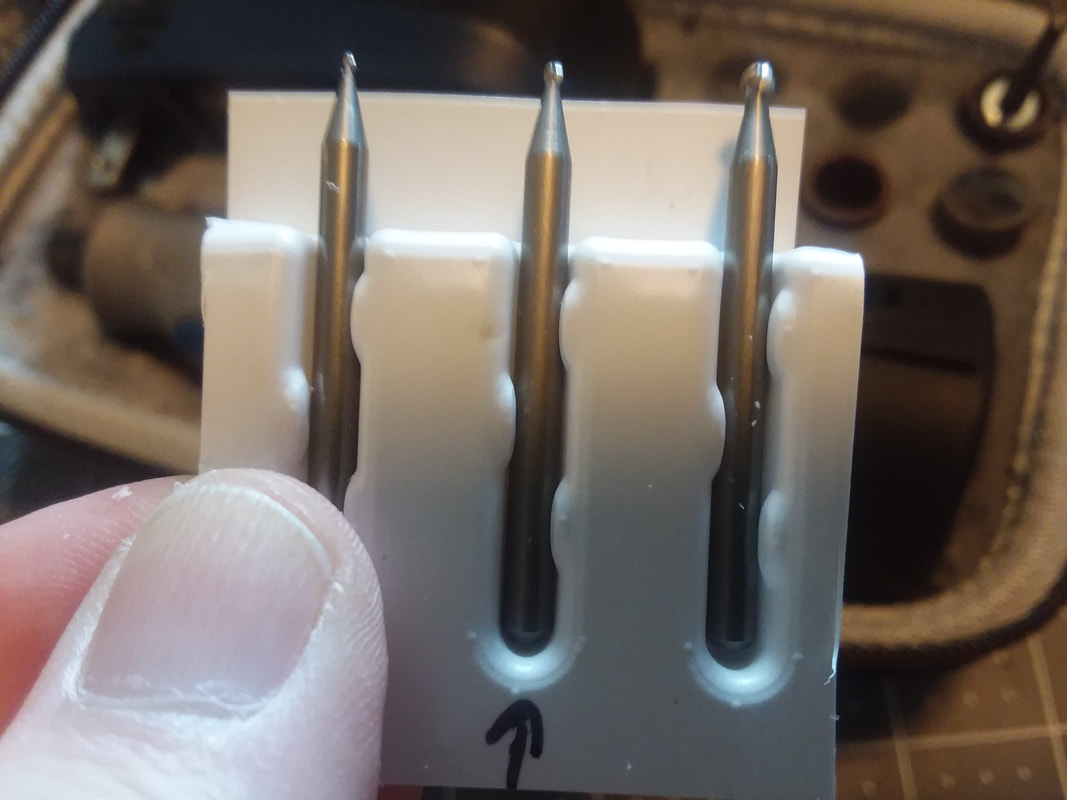 |
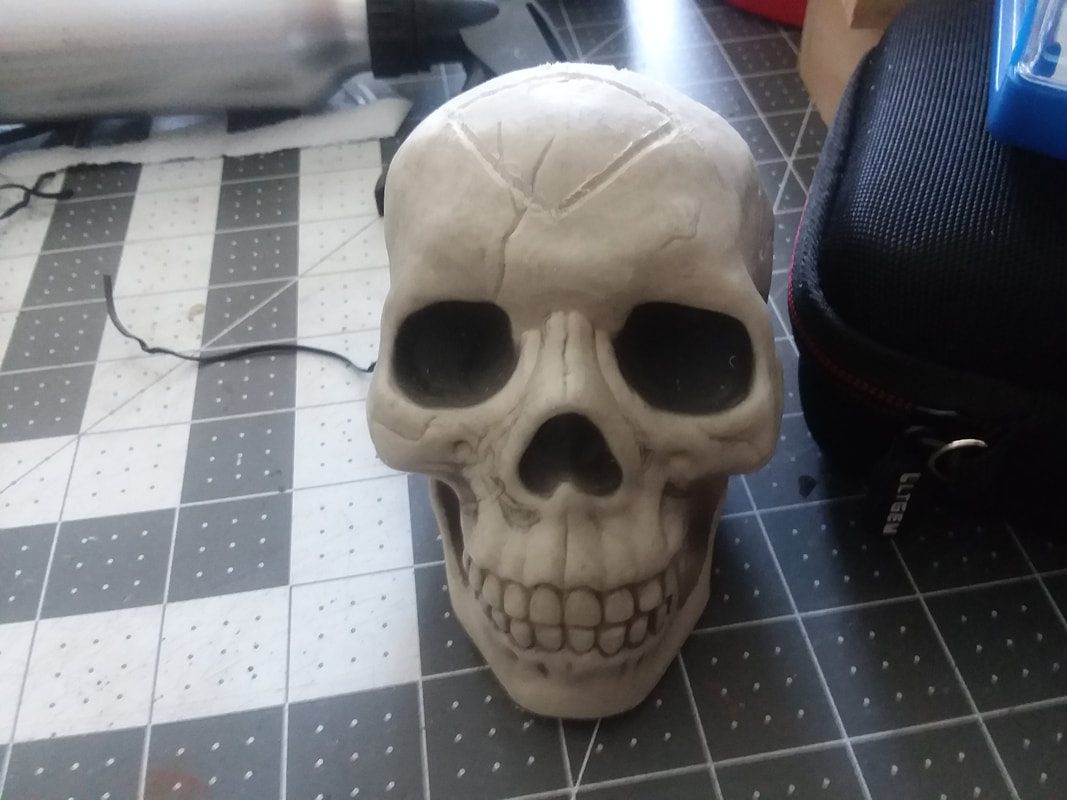
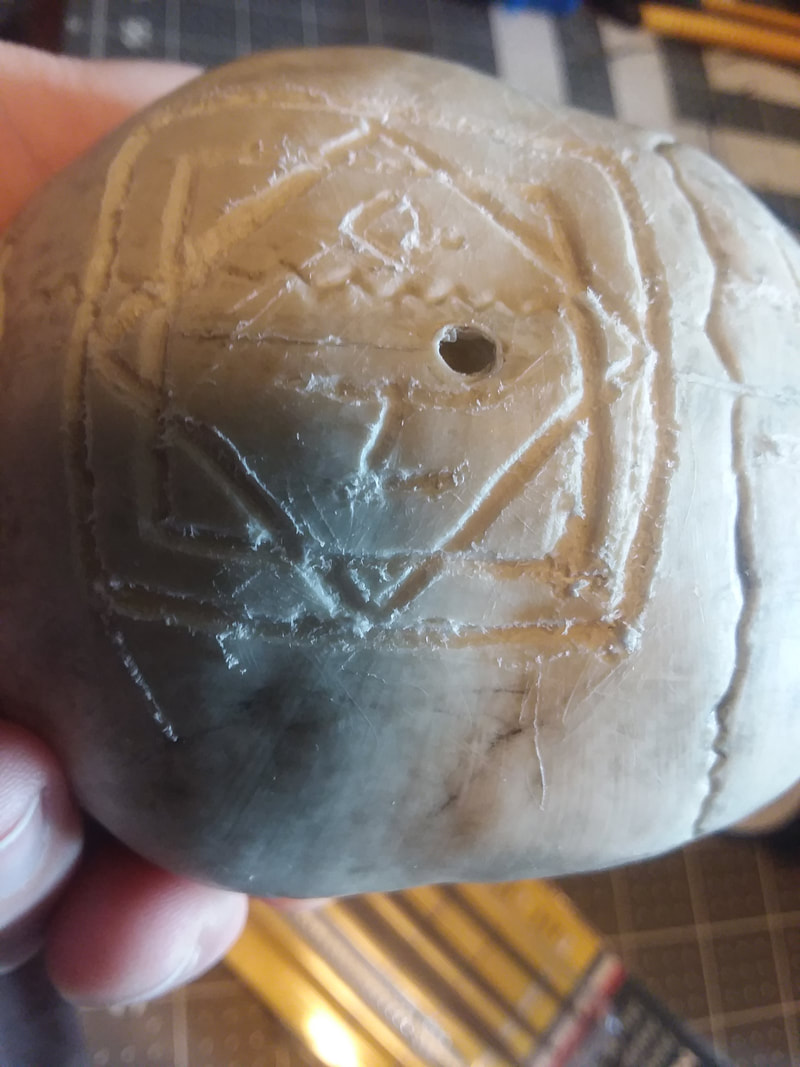
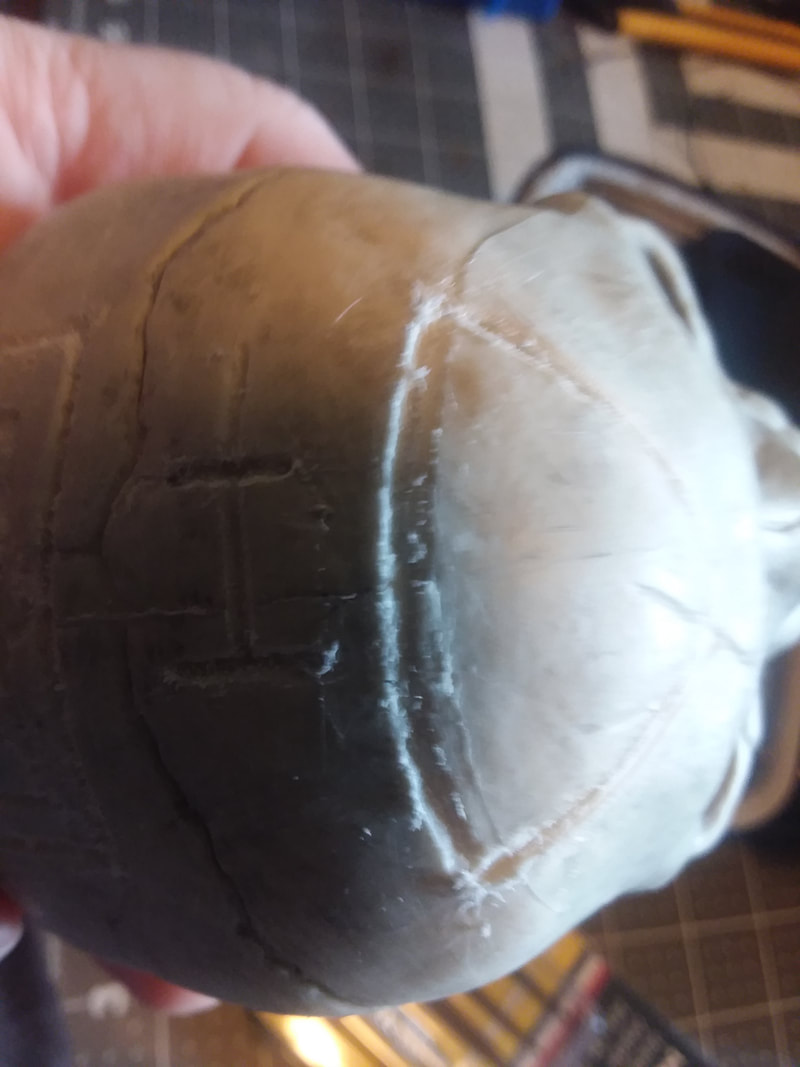
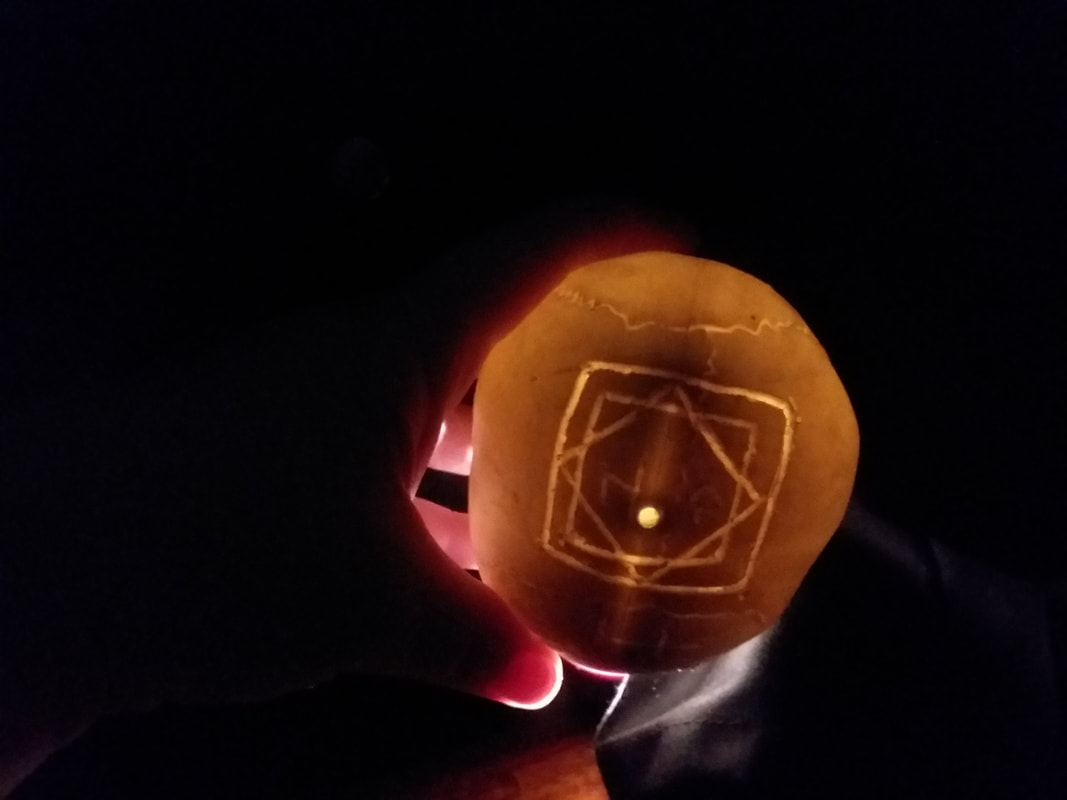
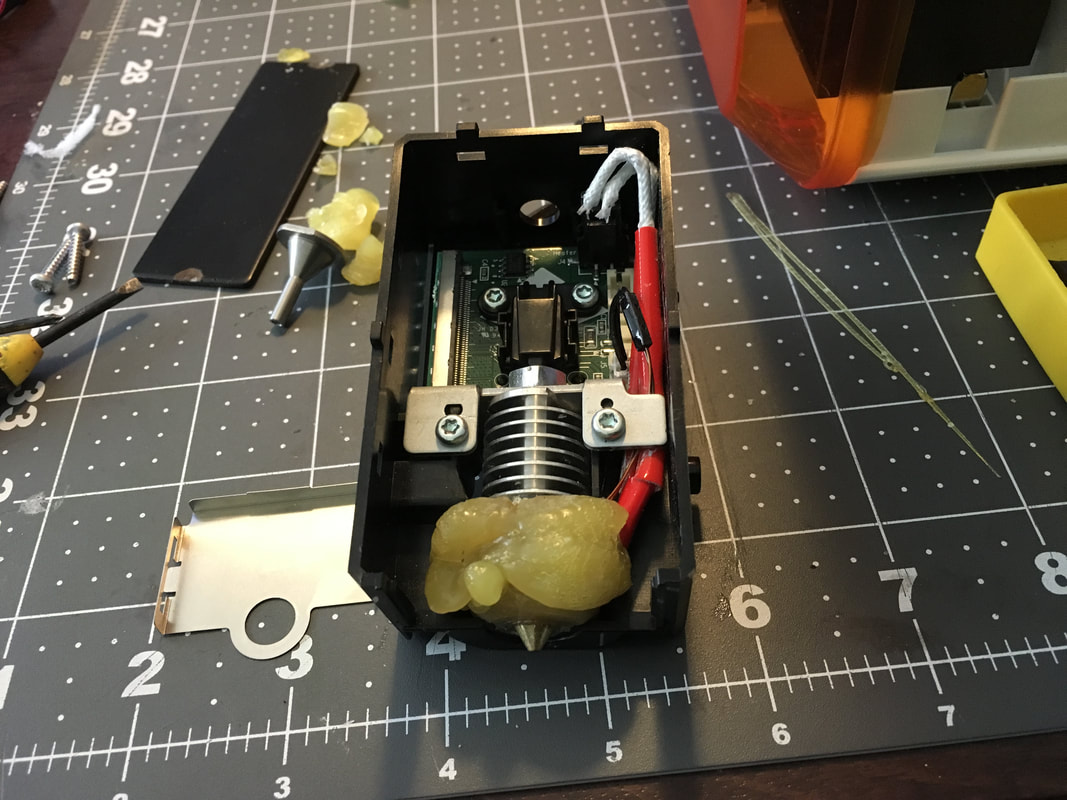
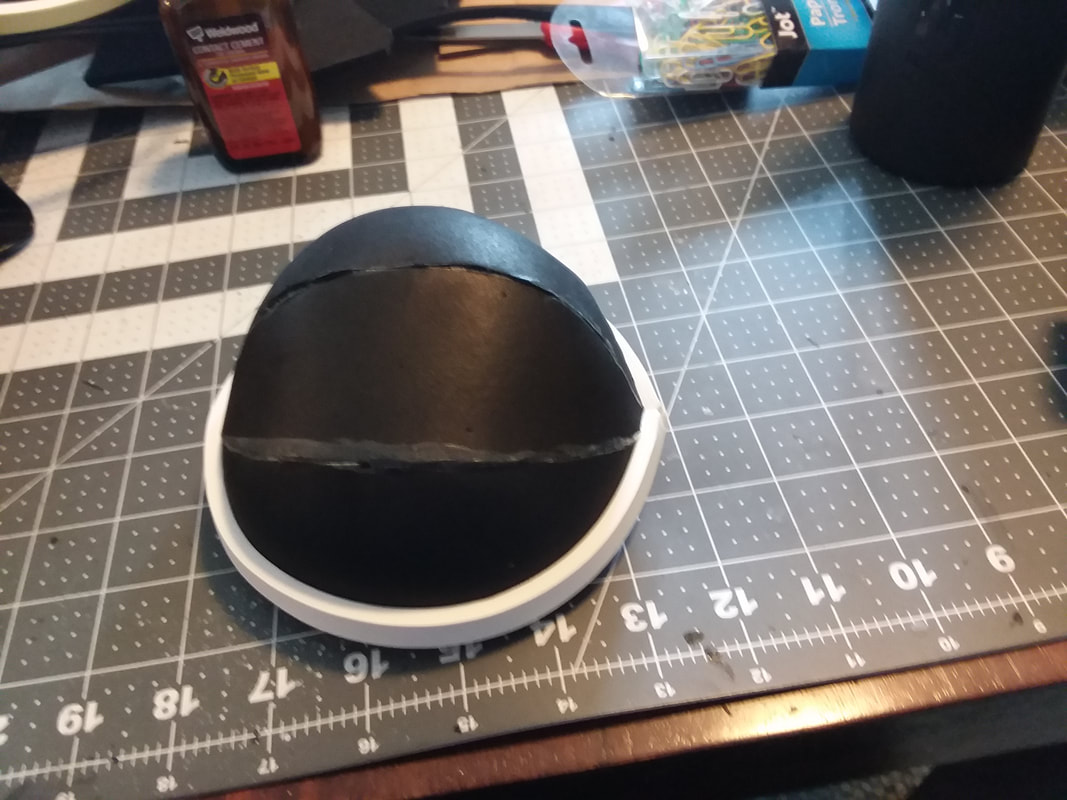
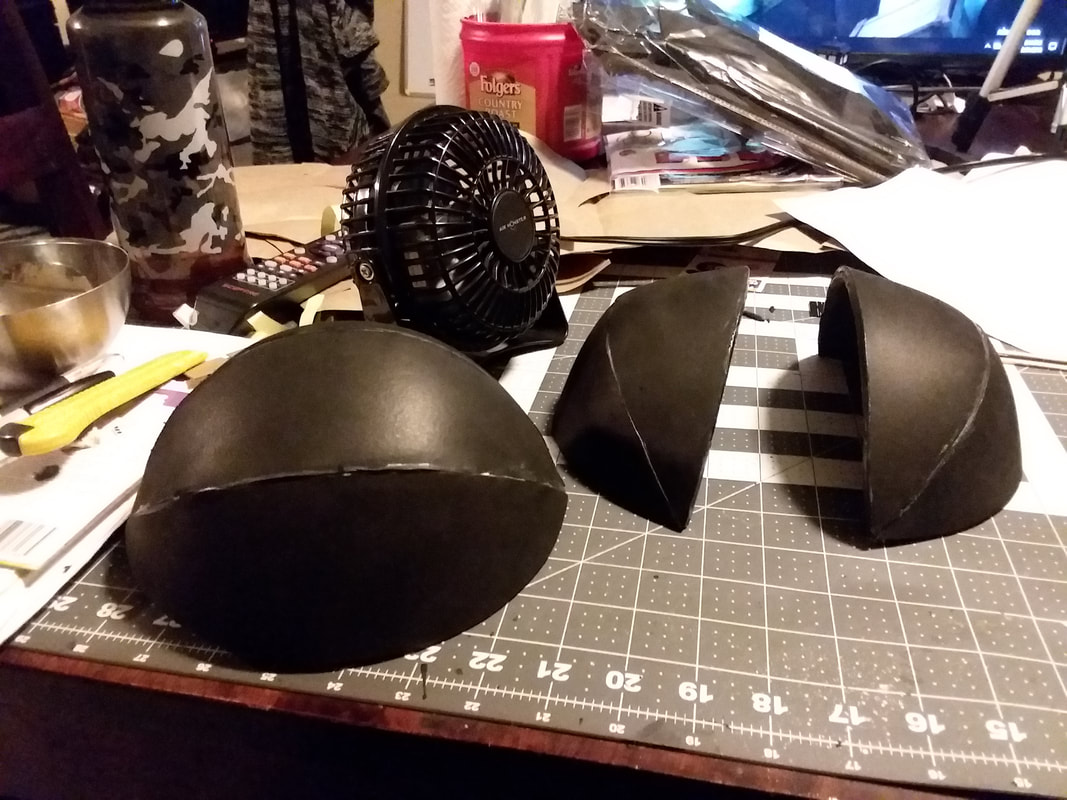
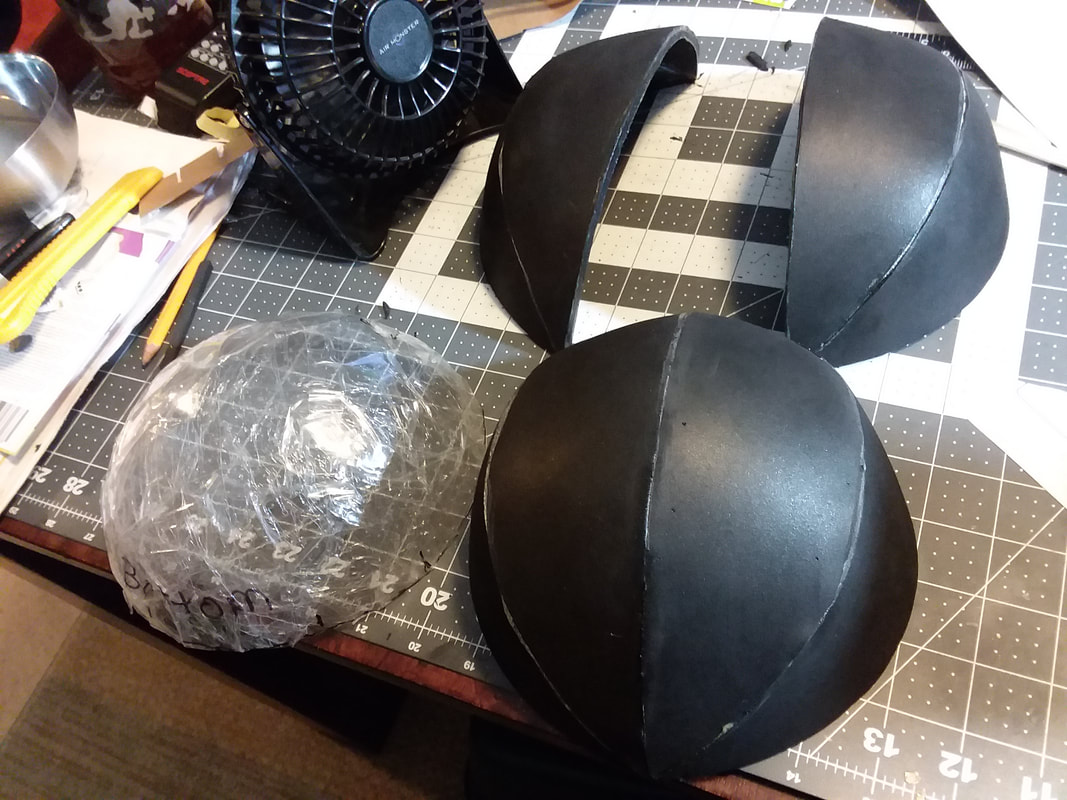
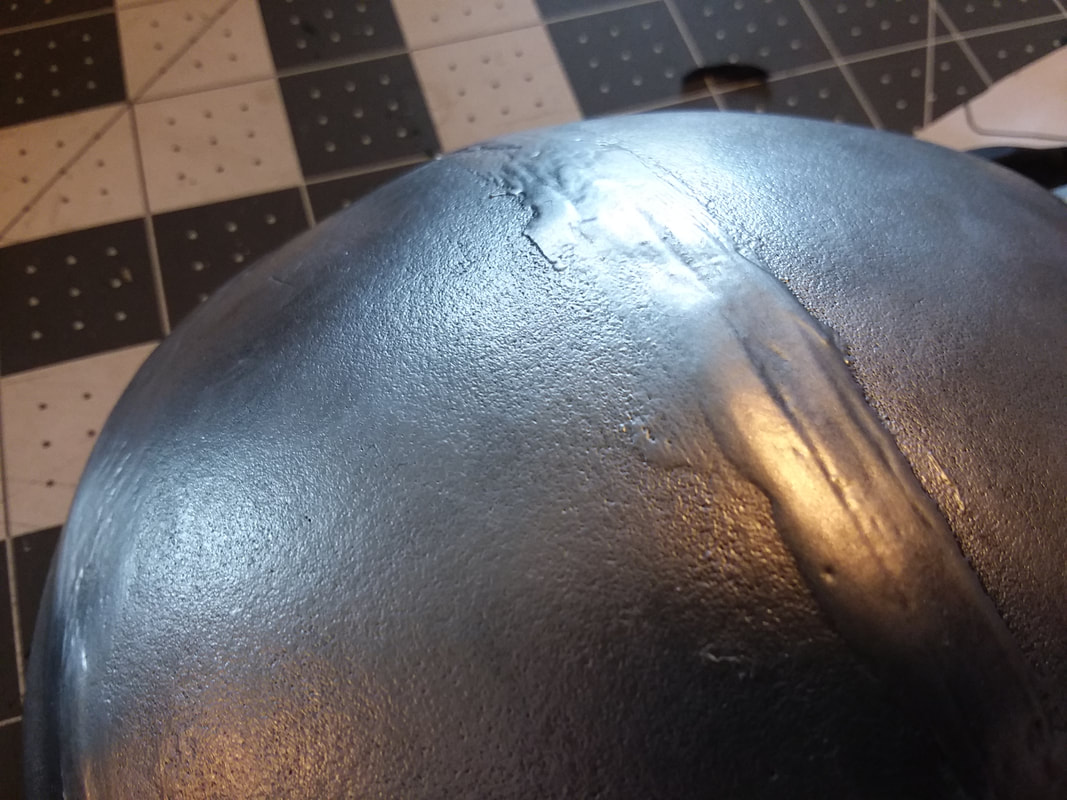
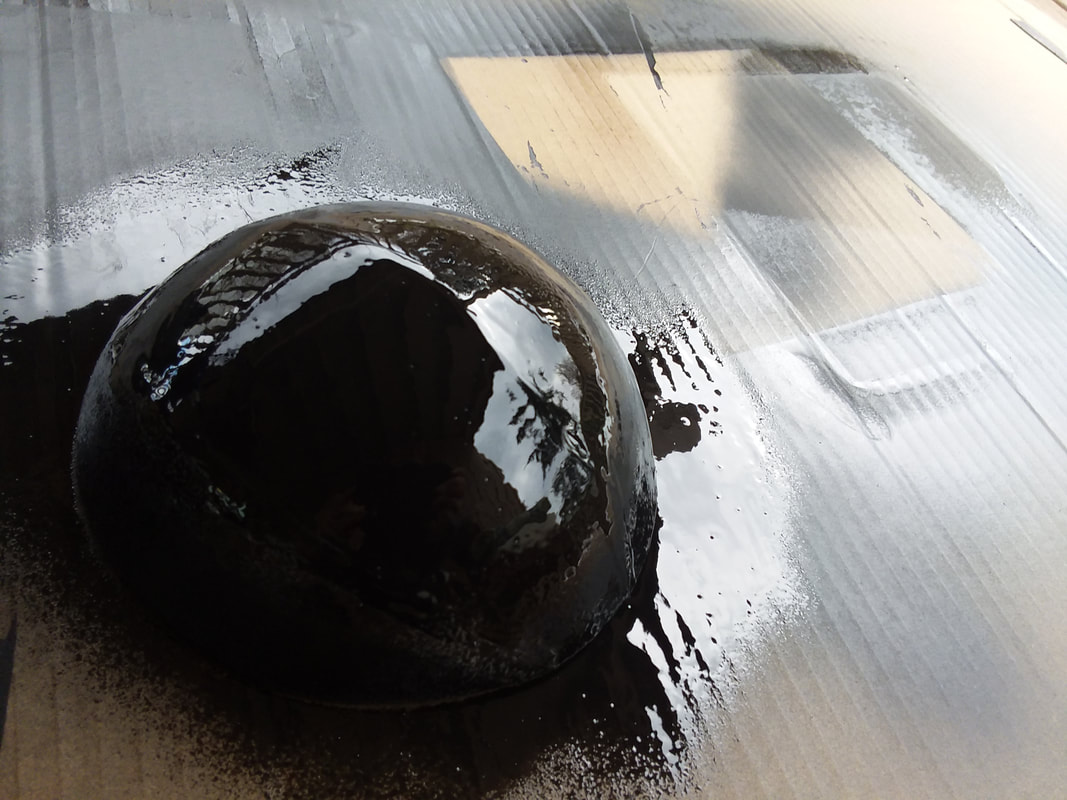
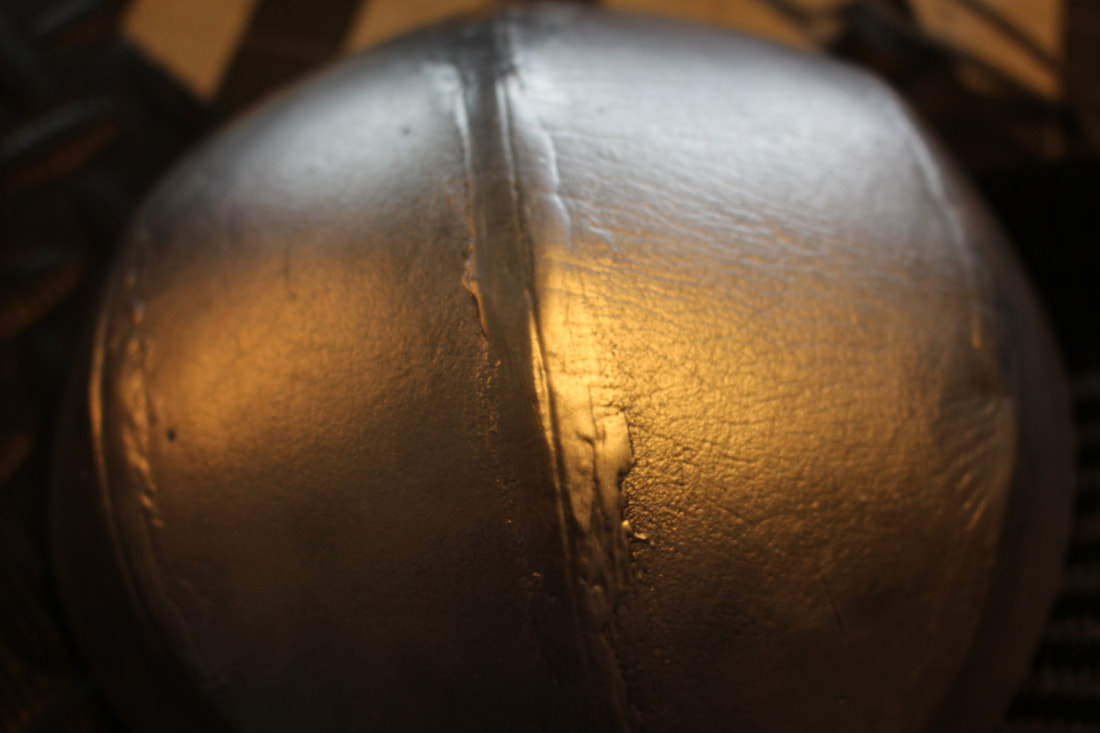
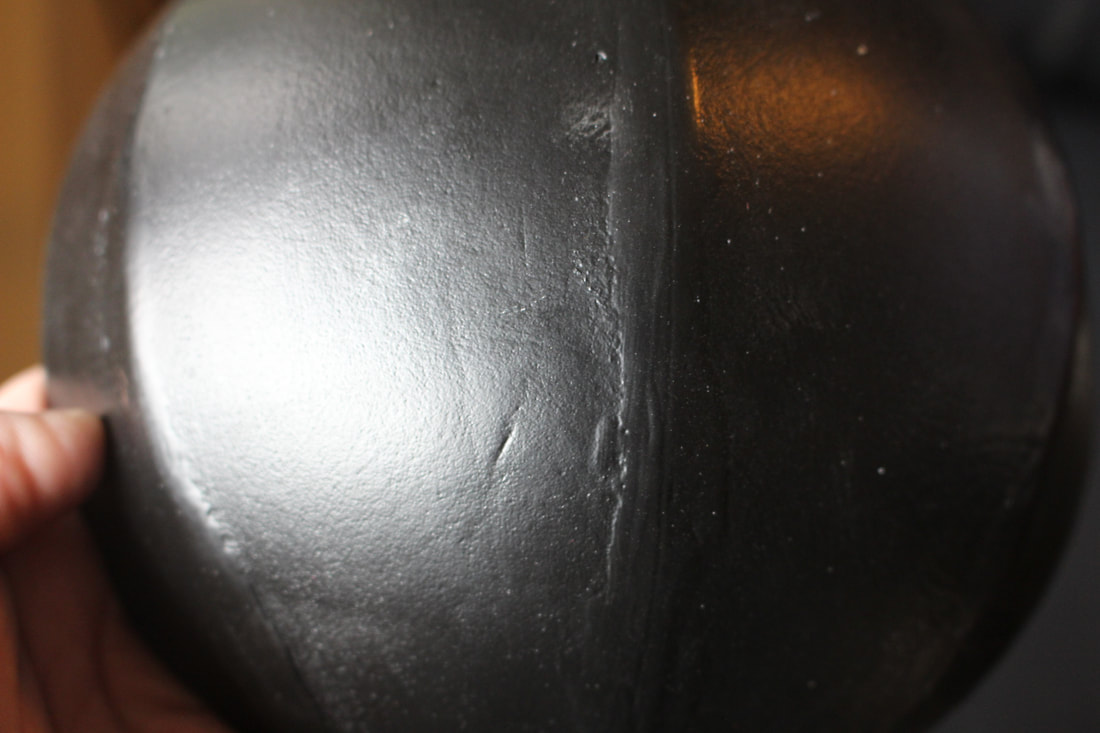
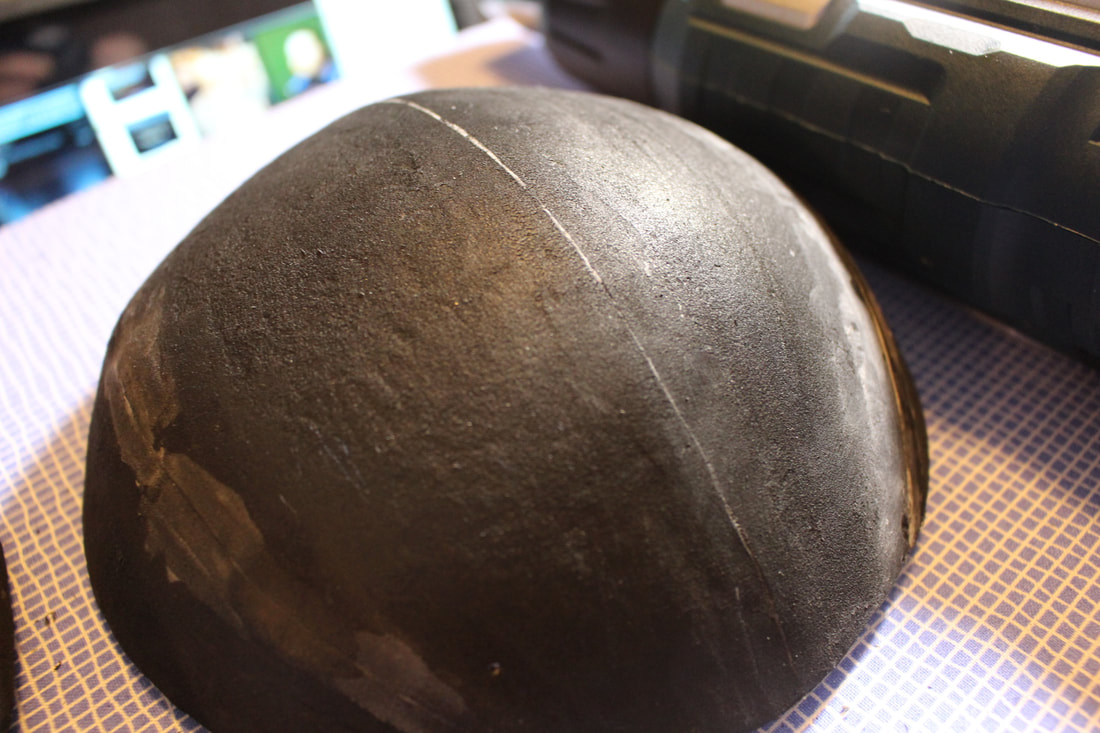
They work ok. The results are less than stellar, but I am figuring I need to do some cleaning up and finishing. There may be a better way to do this, but at this point I need to work with the tools I have on hand. So I did the first cuts with the Dremel, then clean it up with smoe needle files I bought for a different project a while back. The plan then is to insert an orange LED light into it and the lines and runes will glow orange, like the skull is supposed to do when Bob is called.
 |  |
 |  |
 |  |
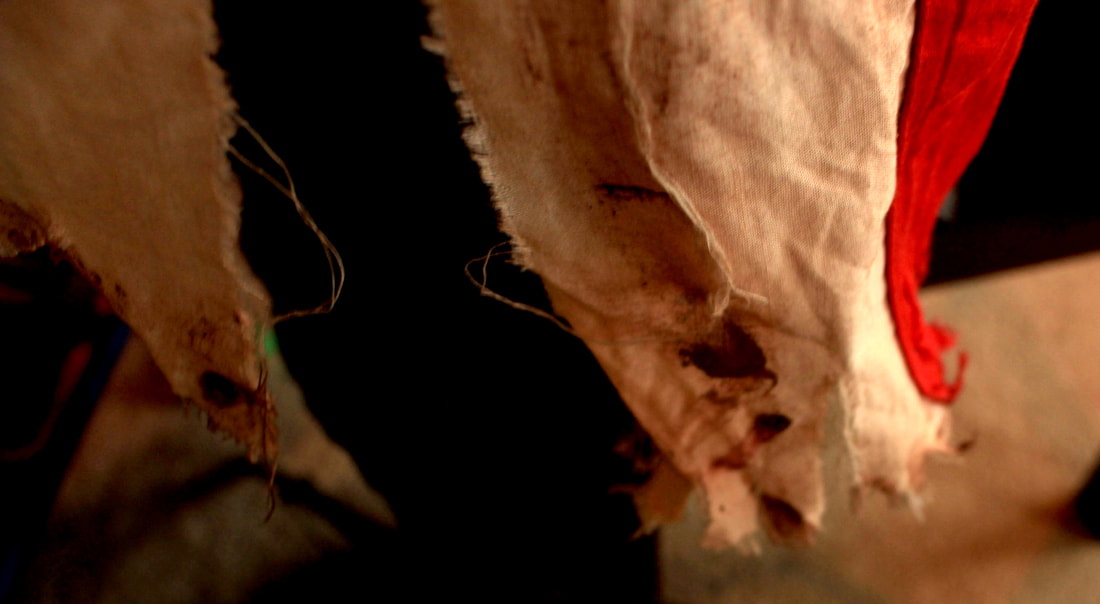
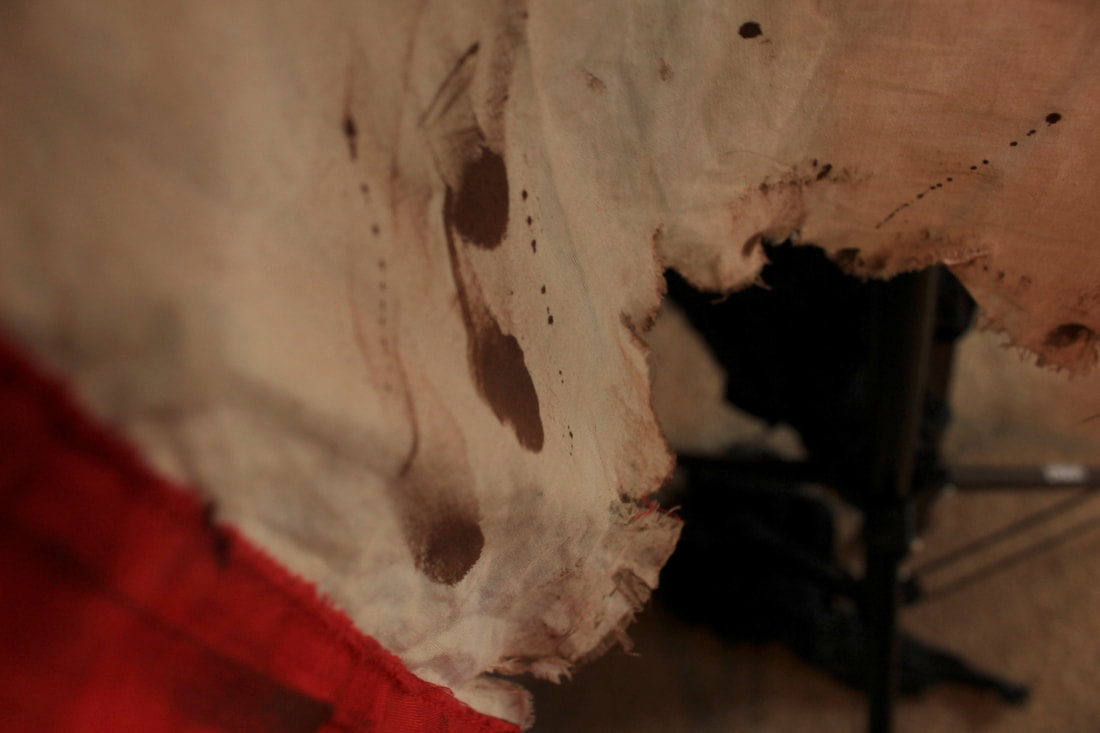
I don't have the orange light yet. I am waiting for it to come from Amazon. But in the mean time I did some tests to see if my idea was a viable one. Result...it works! So I will continue as I am. Then I will make a blakc or grey wash to rub into the lines. Once the light is here I will take pics and post them here. I think Bob is going to turn out great. :)
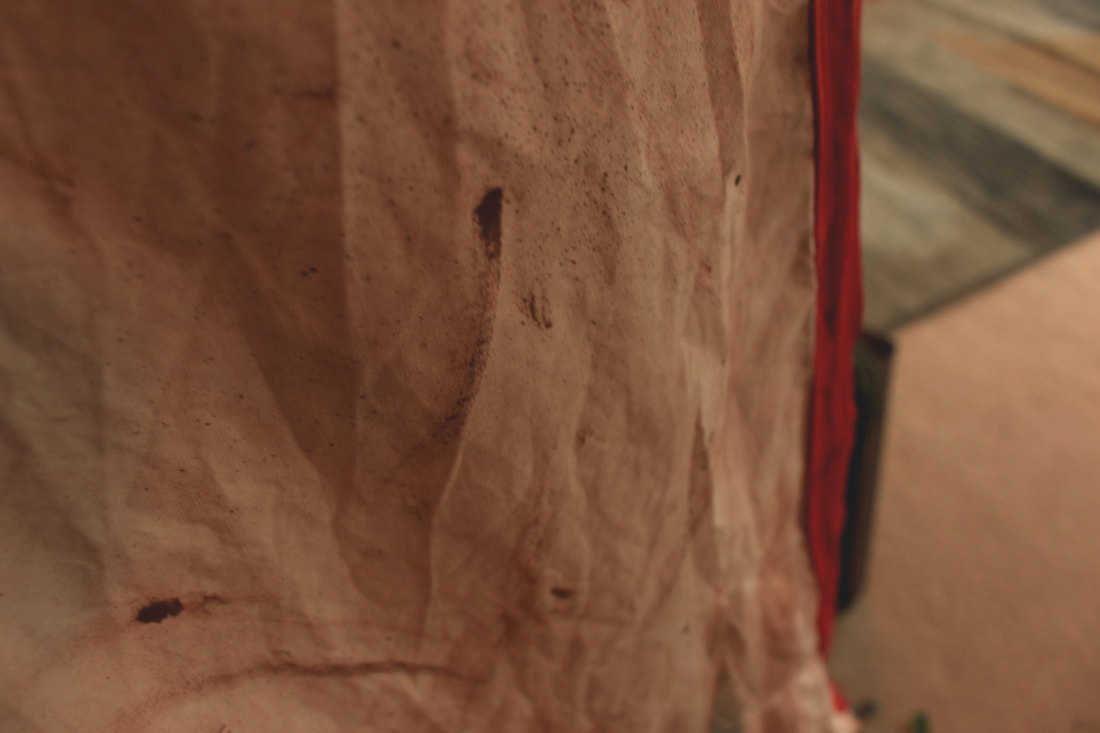
I am not really happy about the dot in the middle. that was already on the plastic skull when I bought it. I did not buy it for this purpose, so I did not take that into consideration when I was shopping. But it is from the dollar store, so I will make do. I will maybe try filling it with air dry clay or something.


 RSS Feed